Christine de Beer - effortless floral craftsman
Twig Christmas Star
- 8 December 2021
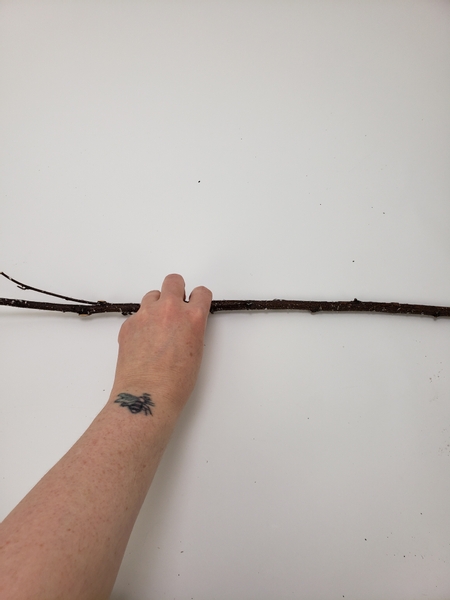
Place the first twig on a flat working surface.
Design note: I added a dusting of artificial snow to the twigs. See the Tutorial below for detailed instructions.
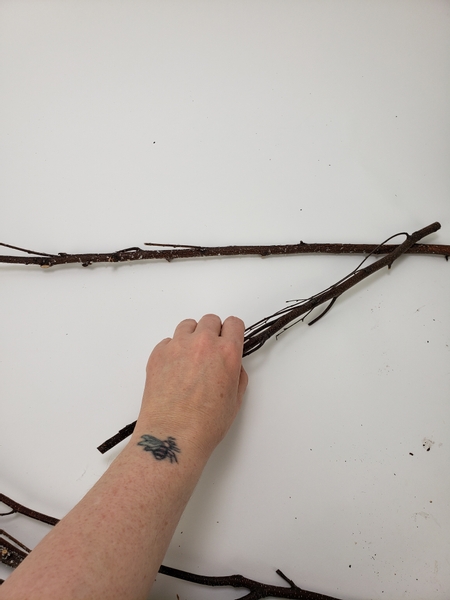
Place the second twig over the end of the first.
Design note: I used hot glue and wood glue to secure the twigs. If you wan the star to hang outside it might be better to wire the twigs into position.
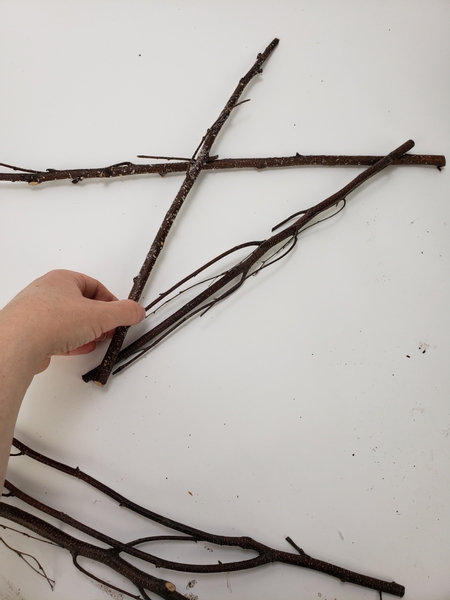
Cross the third twig over the first two to shape the star.
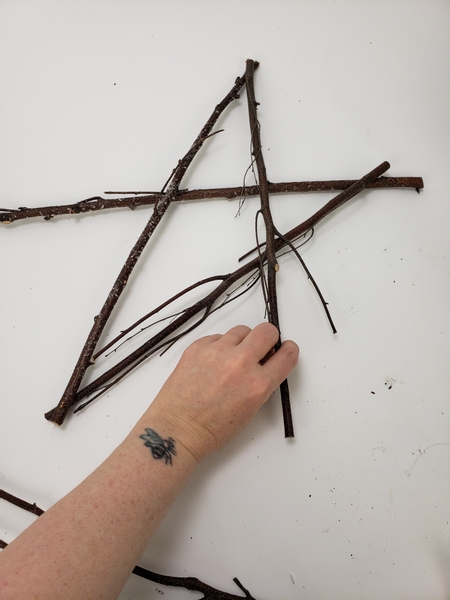
Connect the first twig and the second twig with another twig to craft the next point of the star.
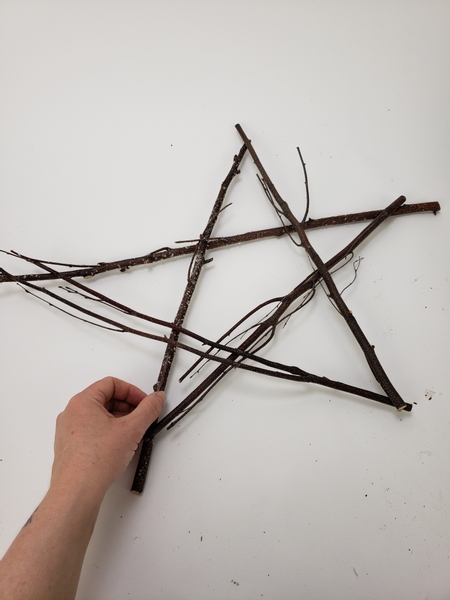
And craft the fifth point of the star by connecting the last twig.
Place the star in the way you wan to hang it so that you can add more snow to look like it gathered on the twigs.

Pour out wood glue on the twigs where the snow would fall...
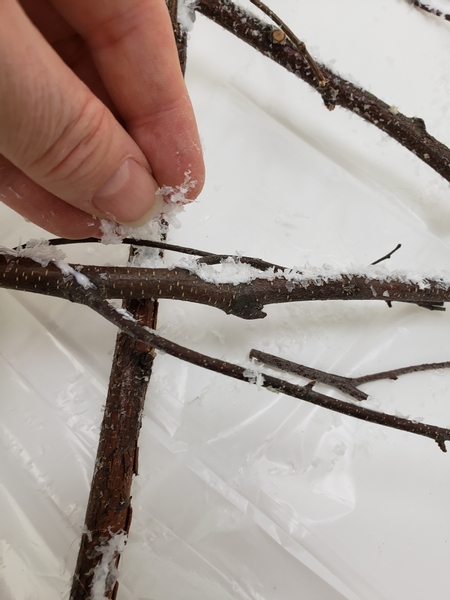
Sprinkle a dusting of artificial snow to the glue parts.
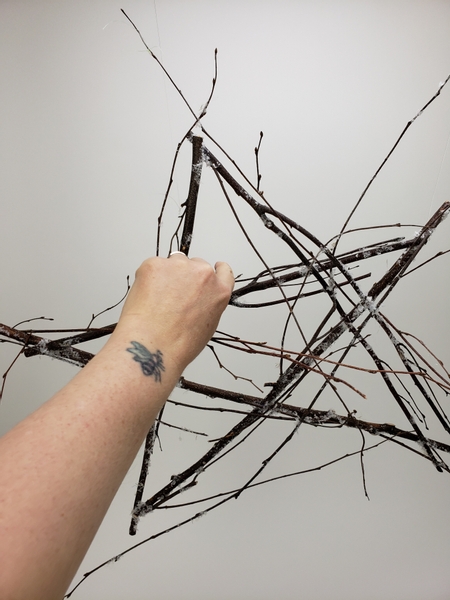
Hang the star up so that you can see where to add a few more twigs to break up the pattern.
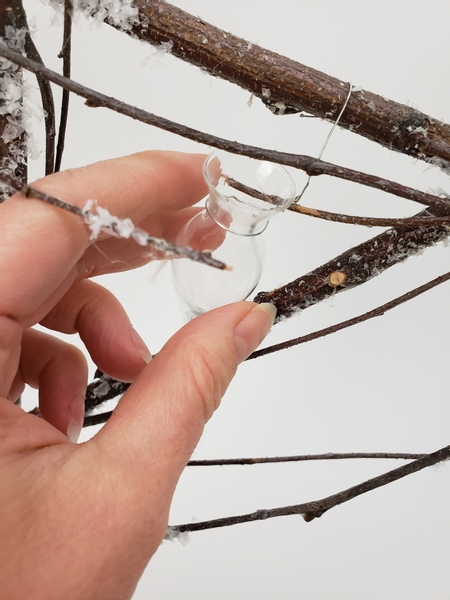
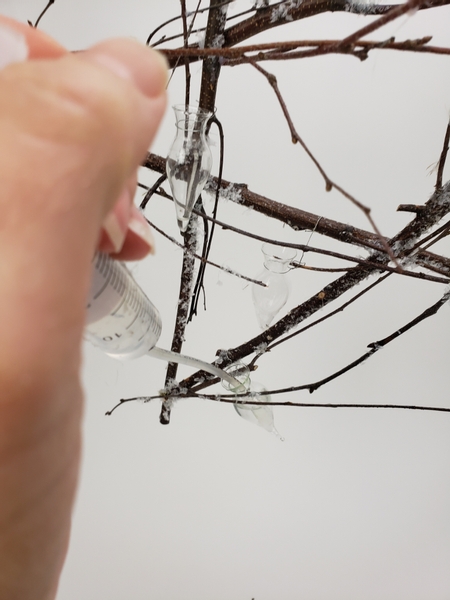
Wire in small glass tubes... or vases... or sea horses.
For more inspiration on small items that can be used as a water source for your flowers see page 196 of my book. Or the tip on page 197 to turn almost anything into a water tight water source to keep your flowers hydrated. It works really well!
For more information about my book: The Effortless Floral Craftsman
Fill the vases with water.
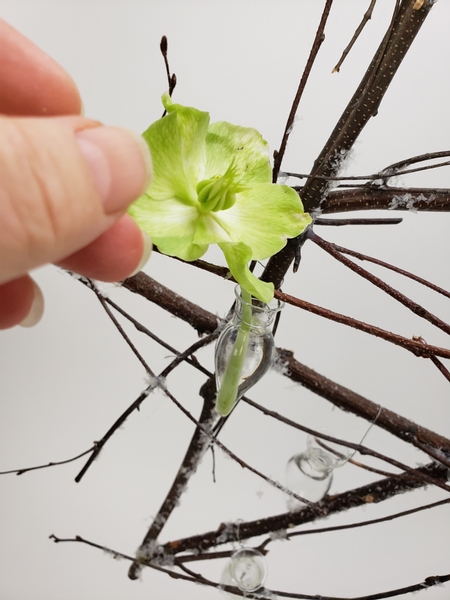
And place the flowers in the water containers.
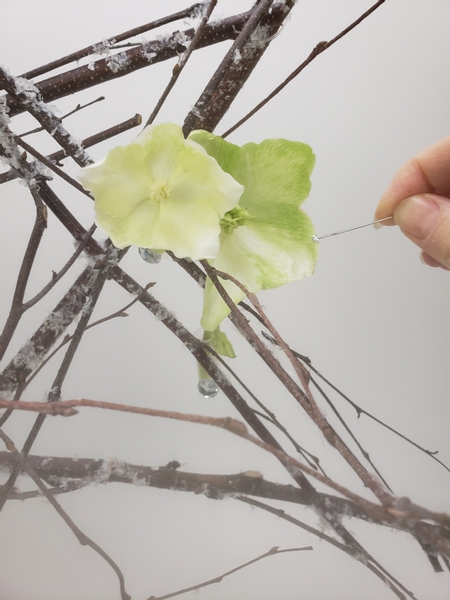
Add a few sparkling dew drop crystals to the petals. See the Tutorial below for more information how How and Why I add the crystals with a pin.
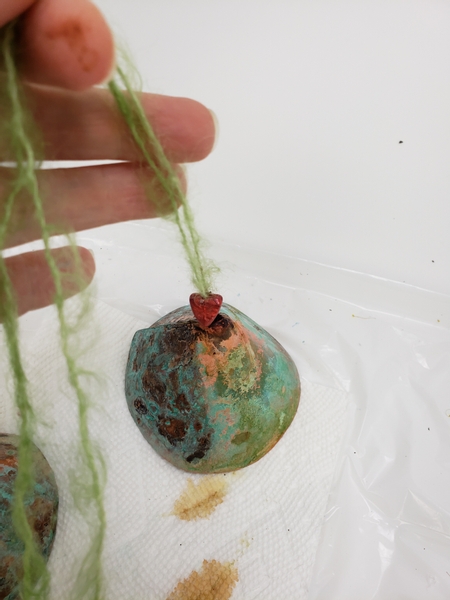
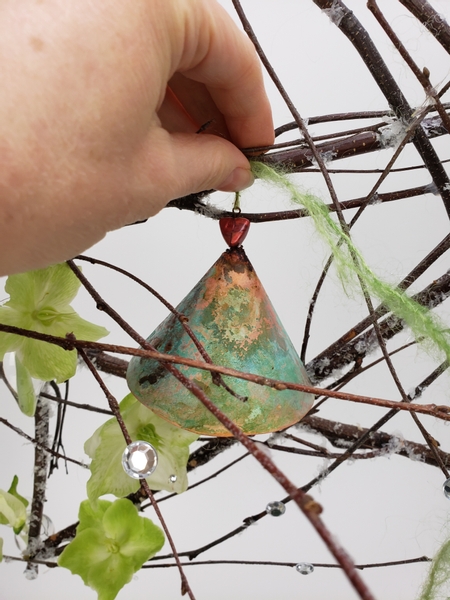
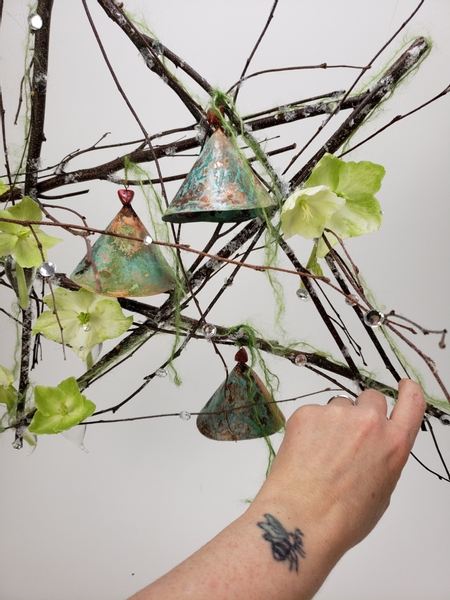
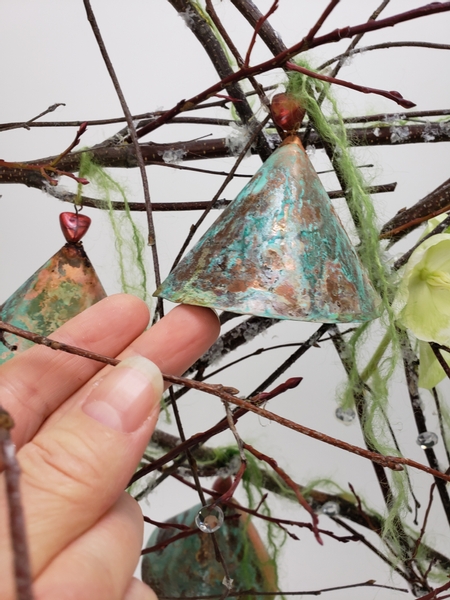
See the Tutorial below for detailed instructions on How to add patina to copper... and How to make these copper bells.
String the bell up to hang.
I used this fluffy wool to hang the bell. You can, of course, use ribbon or string if it suits your design better. I used the wool for a good reason though. See this week's newsletter for my explanation. The sign up button is below this post.
Tie the bell into the design.
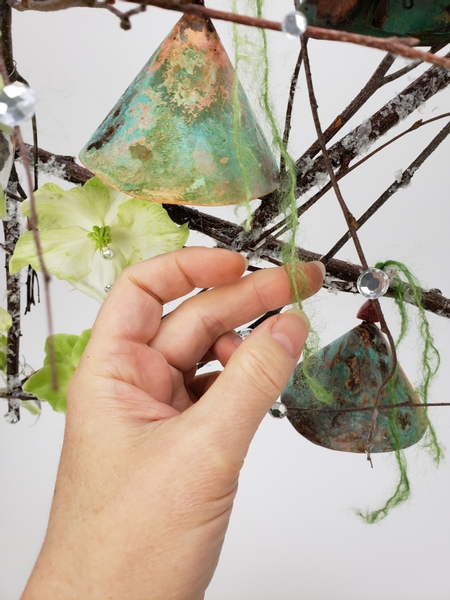
Letting the wool ends dangle down.
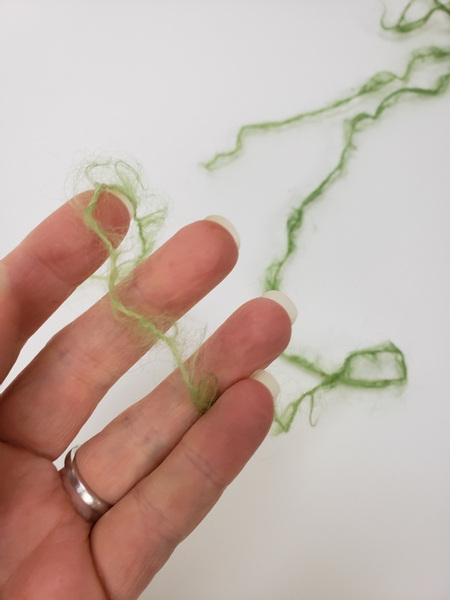
Fluff out some more wool...
... And glue the fluffy wool around the star shape.
The wool should just barely trace the outline of the twig star. I wanted a green glow more than a collar. Again, see this week's email for more details.
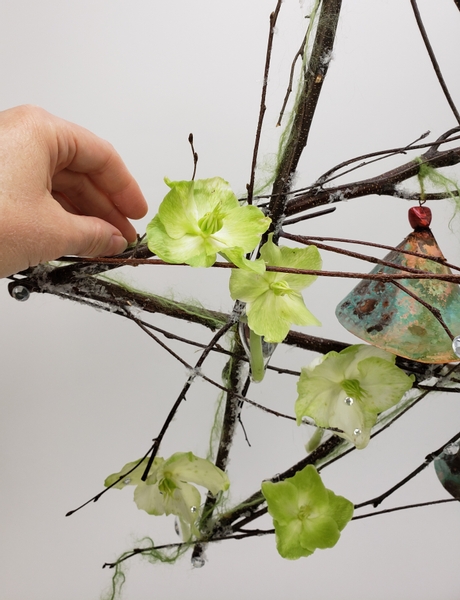
The next step is to add our last festive colour. We have the green from the wool and to bring out the deep red from the beads I used to make the bell I am adding Red tipped Alpine Huckleberry tips into the design.
Sign up for my weekly newsletter
Every week I add a new design with related tutorials. Be sure to subscribe to receive an email notification with design inspiration.


 Eucalyptus Christmas wreath")


