Christine de Beer - effortless floral craftsman
Green Patina Copper Bells
- 8 December 2021
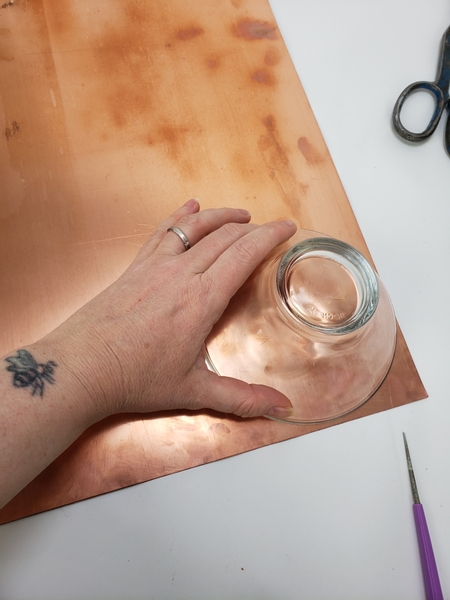
Trace a circle on to a copper sheet.
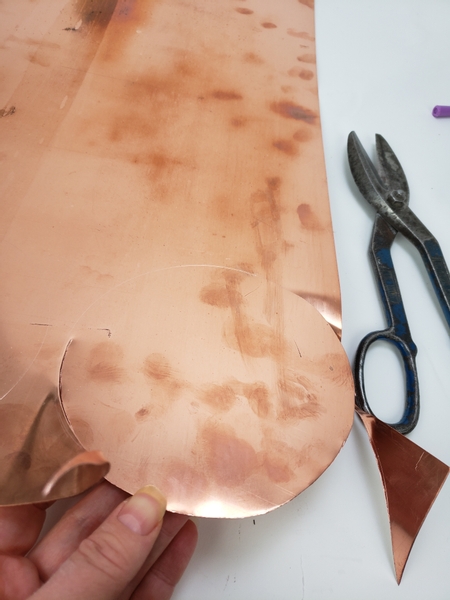
Cut the circle out.
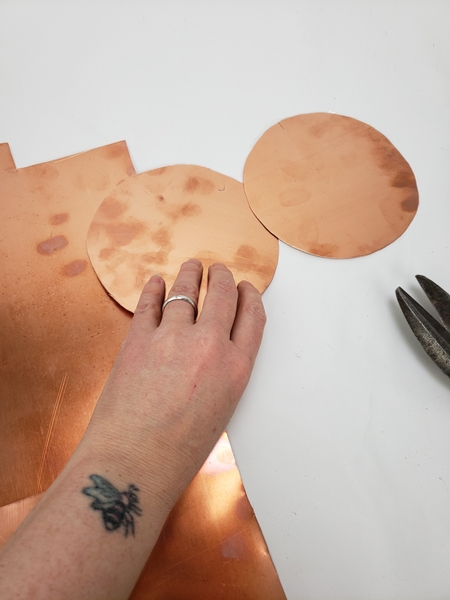
You will need one circle for each bell. I made three bells.
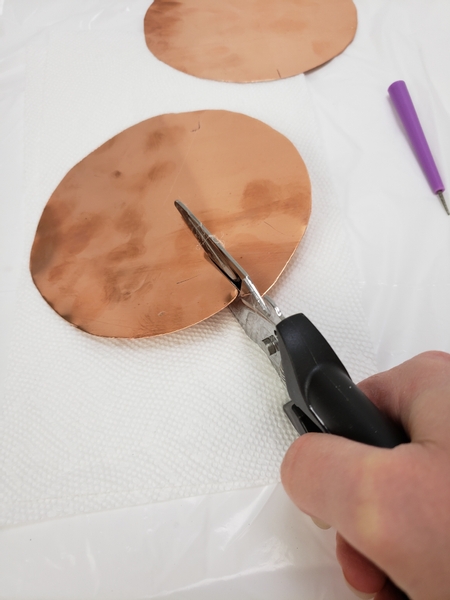
Cut into the circle...
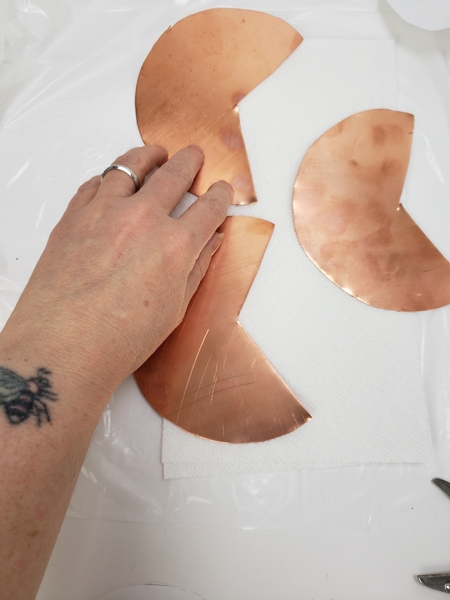
To remove a generous wedge.
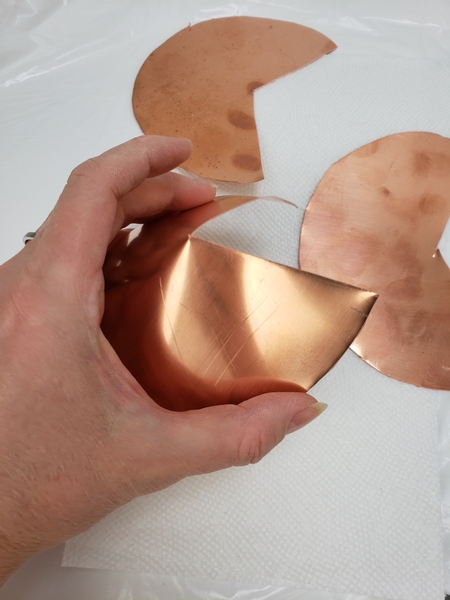
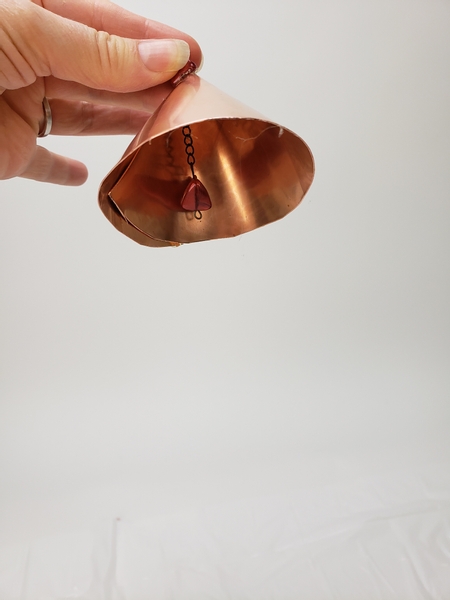
Carefully curve the copper circle to shape the body of the bell into a cone...
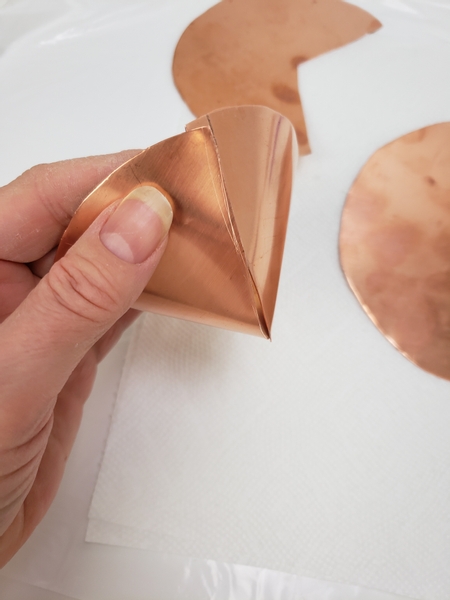
To close the gap.
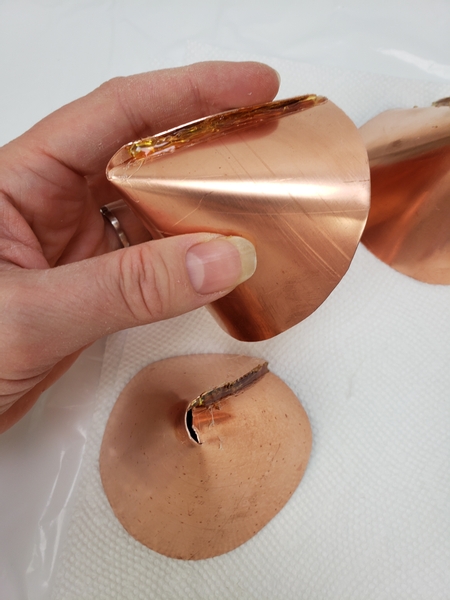
Secure the bell with hot glue to make it easier to shape so that the end pieces remain aligned as you curve it.
Design note: you don’t need to glue the bits closed if you feel you like the shape. Or once you are happy with the shape and patina you can remove the glue with pliers. Or keep it as it with the glue sealing the openings.
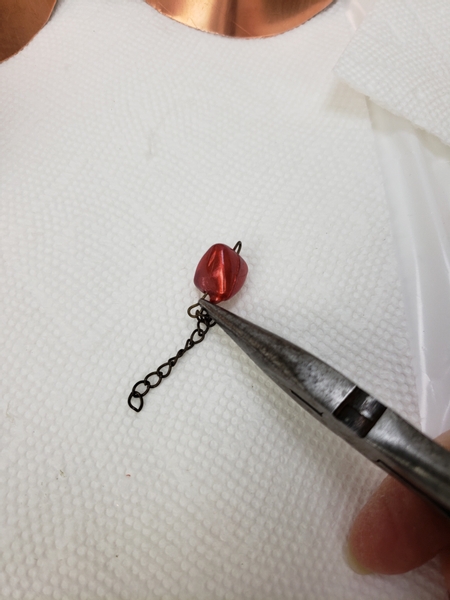
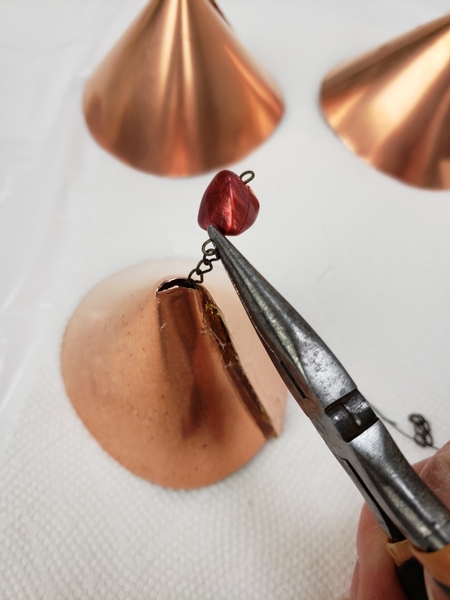
For the clapper: Attach a bead to a thin chain...
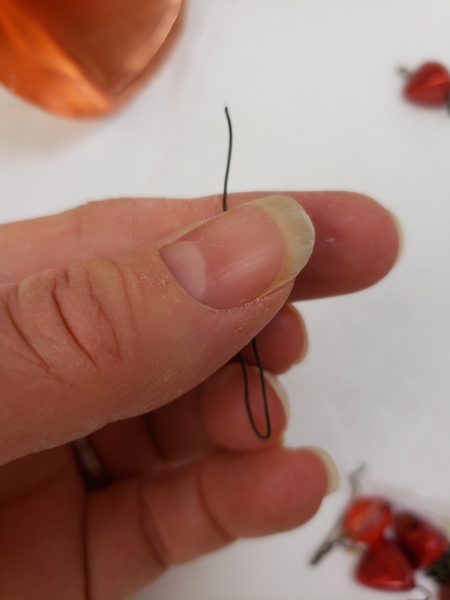
Curve a wire into a hairpin...
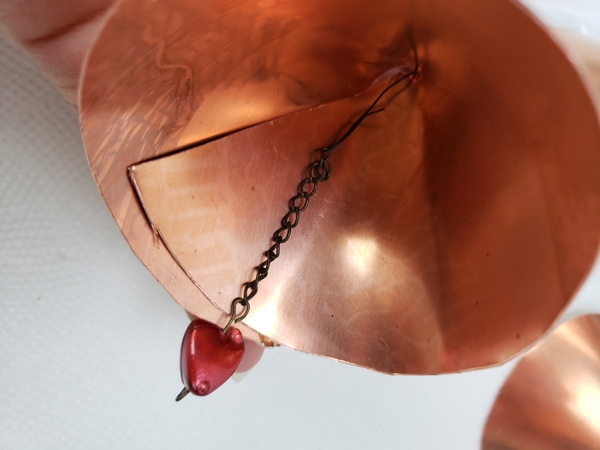
Hook the chain and thread it through the bell.
So that the bead is dangling inside.
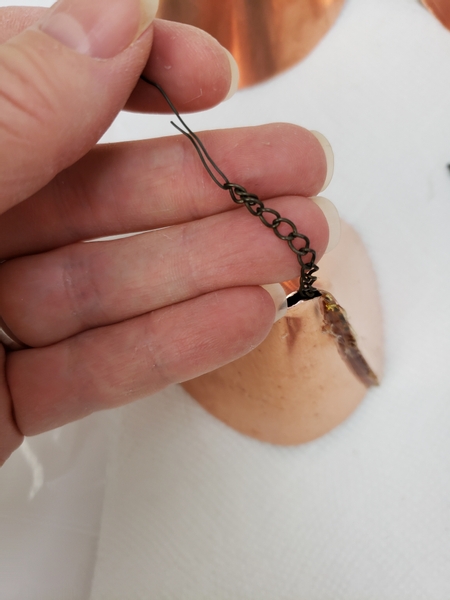
Attach another bead to the other end of the chain
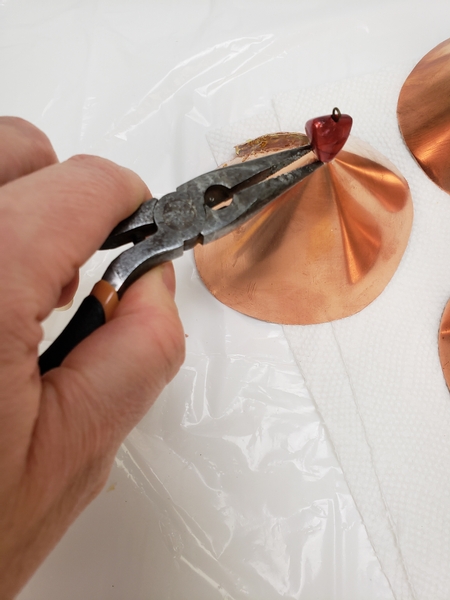
And pinch the copper closed around the chain.
Leaving you with a pretty dangling clapper... Ring the bell to test

Place the bells overnight in the chemicals to add the patina...
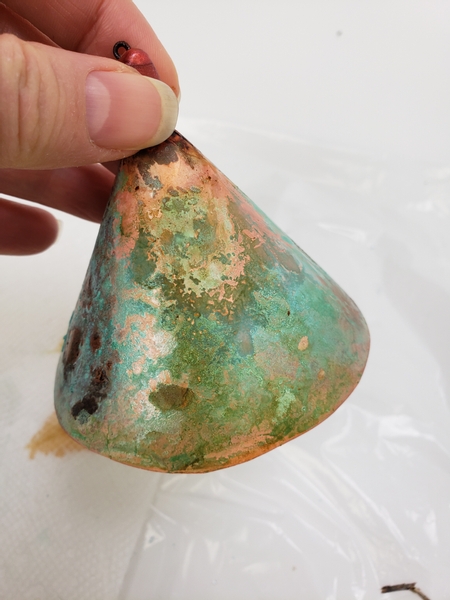
For our workshop I mixed the chemicals to show you how to get this green colour.
See the Tutorial below for more detailed instructions.
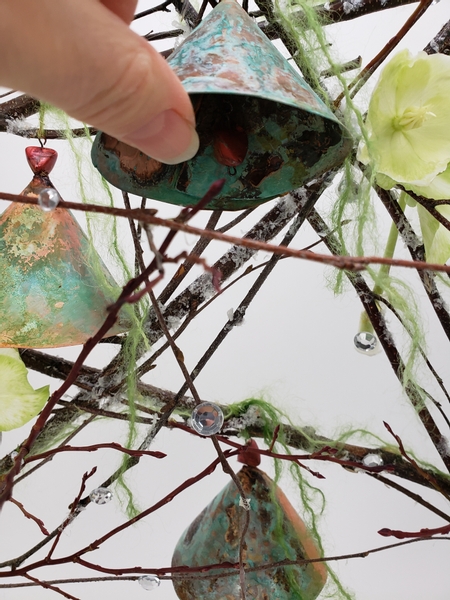
Hang the bells in the design.
Sign up for my weekly newsletter
Every week I add a new design with related tutorials. Be sure to subscribe to receive an email notification with design inspiration.


 Eucalyptus Christmas wreath")


