Christine de Beer - effortless floral craftsman
Balance a Jingle bell tabletop twig set on a glass giftbox vase
- 3 December 2025
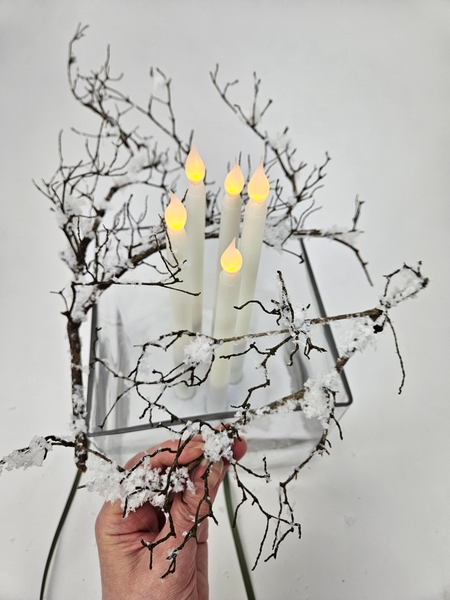
This entire design is all about not breaking the delicate twigs! Even the snow is actually to make the dried twigs a little more robust. Be careful, especially when adding the ribbon. If it snags the twigs will break.
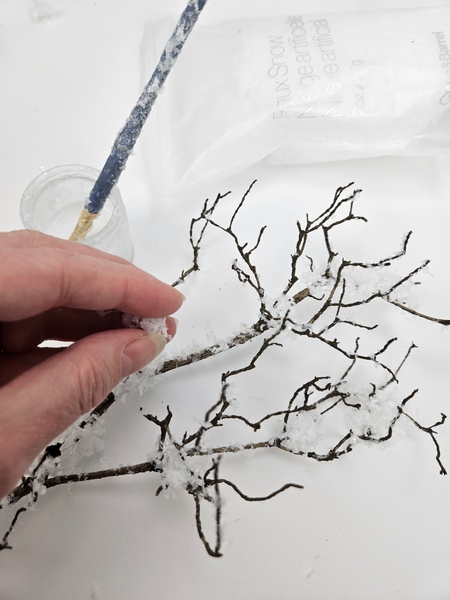
The twigs are going to take the longest to prepare so start adding the snow the day before you want to design. Set them aside so that the glue dries completely.
For detailed instructions on how to add artificial snow to dried twigs see the Tutorial linked below.
Design note: my candle holder is printed on a 3D printer so that it fits perfectly. If you do not have a candle holder or access to a 3D printer...
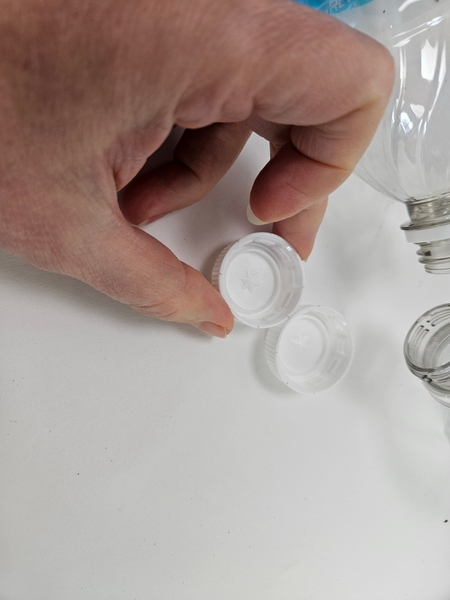
... you can (of course!) place any small candle holder(-s) in the bottom or use a collection of empty spice bottles, water tubes or perfume bottles into a clumps to keep the candles upright. Or simply make your own candle holder container by using hot glue to stick bottle caps together.
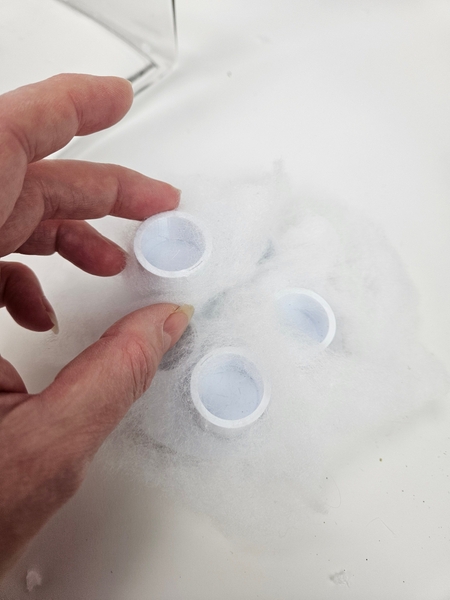
and then adjust the size or opening with a layer of fluff so that the candles fit in snugly. The fluff layer is well worth experimenting with ... it works really well to keep candles upright.
See the Tutorial below for detailed instructions on how I fluff cotton wool for "snow". Or you can use pillow or teddy bear filler. See the Tutorial below.
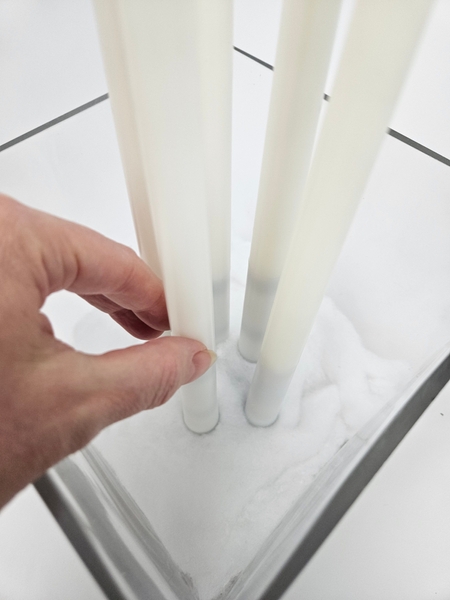
Conceal the base of the container and candles with white fluffy "snow"-filler.
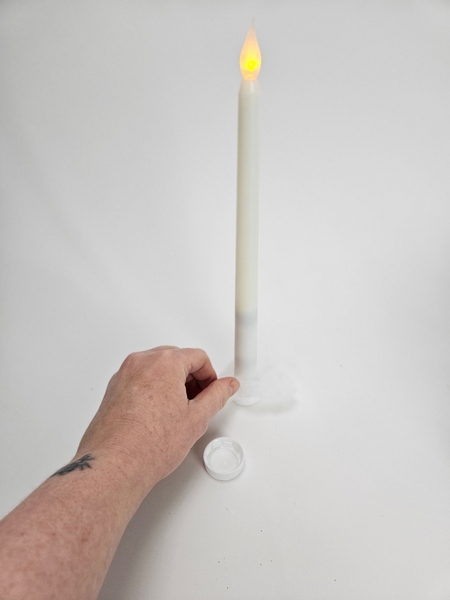
If you are displaying the design and want to switch the candles on and off secure the candle holders to the bottom of the vase with floral putty. Use the technique that you use to secure a Kenzan.
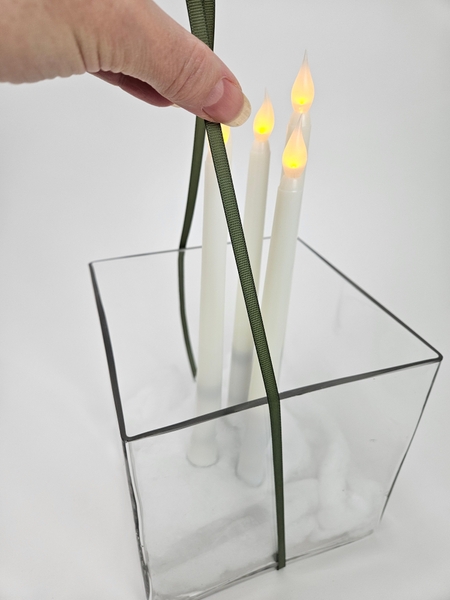
Wrap a ribbon under the cube vase and up both sides...
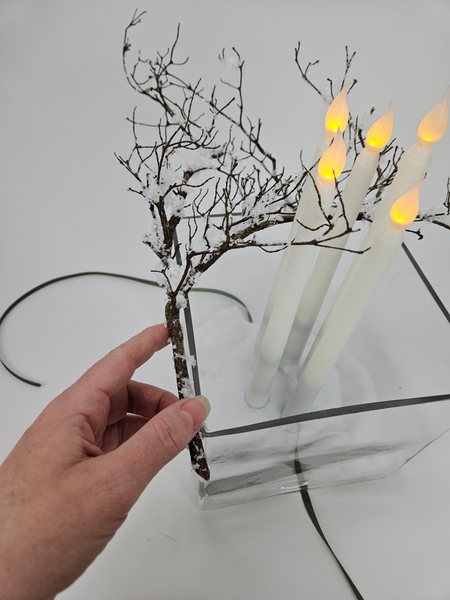
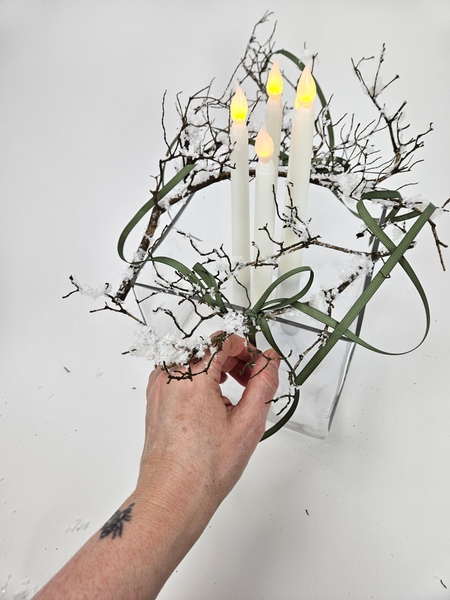
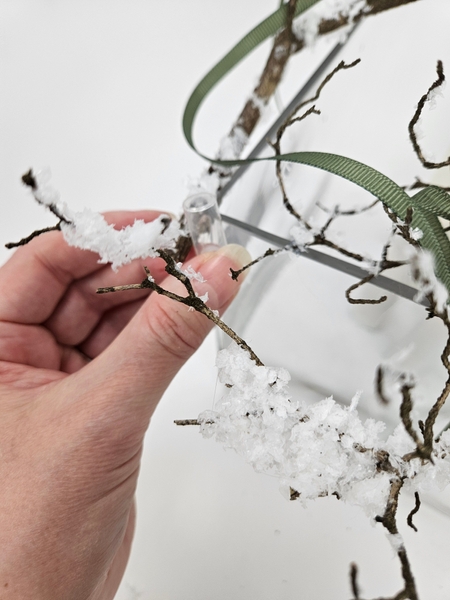
Fit a snow covered twig to balance on one side of the cube container.
And carefully snuggle in another twig in and around the candles from the other end.
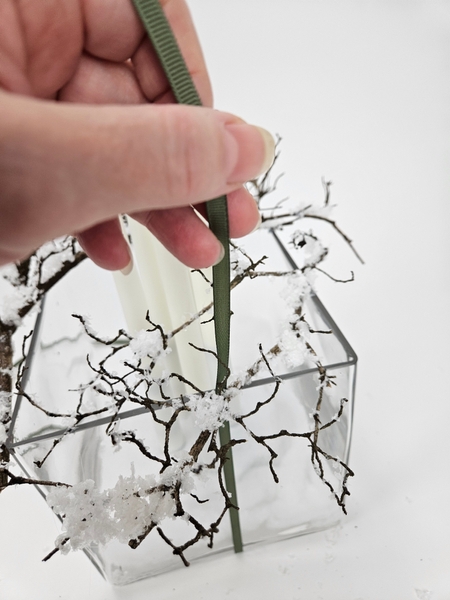
Lift the ribbon up on both ends through the delicate twigs...
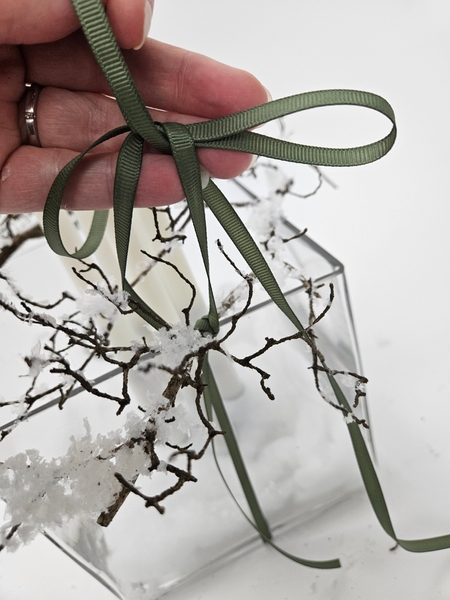
And secure that ribbon with another ribbon tied in a bow.
When both sides of the ribbon are secured...
You can pull on the ribbon running under the container to adjust it snugly without the risk of damaging the delicate twigs.
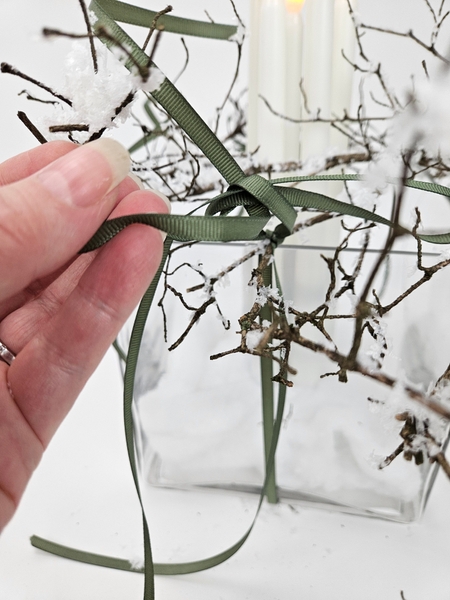
Here is the part where you can really customize your design. I like to add my ribbon as if the winter wind helped me arrange the ribbon tails by blowing it... this way.
But you might want to allow them to dangle or cut the tails short or add an elaborate bow... whatever is more your style.
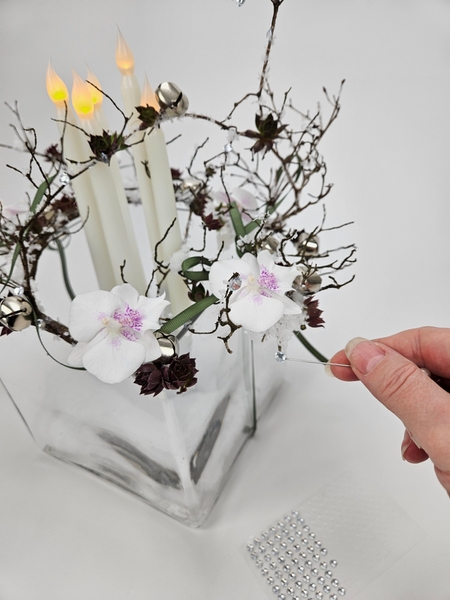
Glue in water tubes to keep the Phalaenopsis orchids hydrated.
I use the tiny water tubes that I make from pipes. See the Tutorial below.
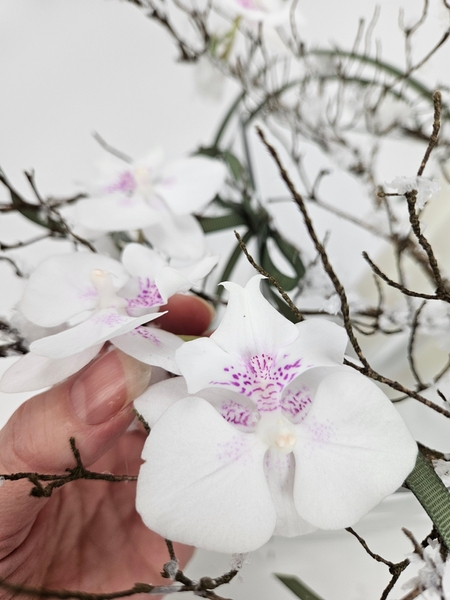
Slip the orchids into the water filled tubes. Make sure not to touch those delicate twigs.
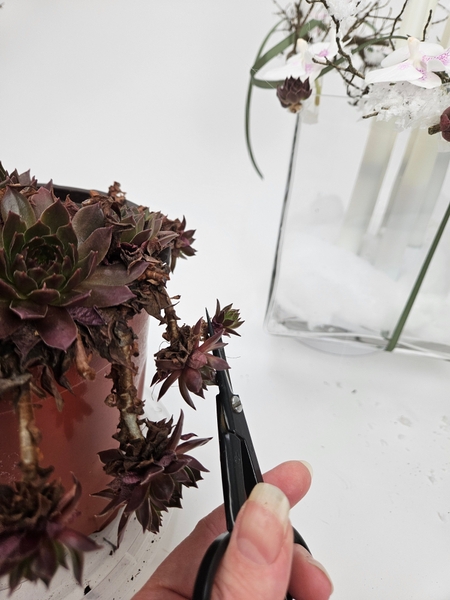
Snip chocolate kisses succulents from an overgrown plant...
Book readers turn to page 105 of my book where I show you in detail how to groom succulents so that you can glue them into a design. This is a great way to allow the succulents to callus over if you want to propagate your overgrown plant.
For more information about my book: The Effortless Floral Craftsman
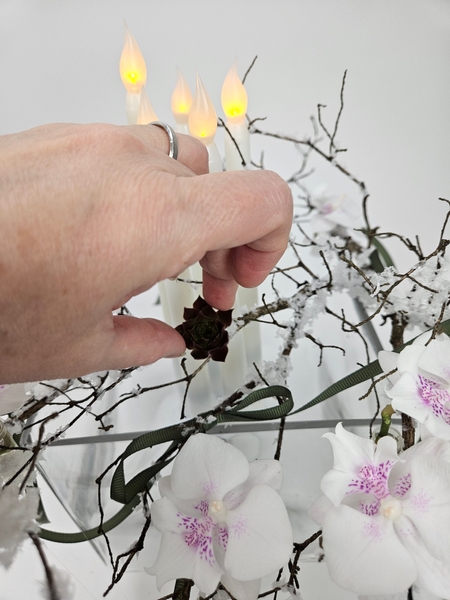
Glue the chocolate kisses succulents into the design.

Glue in a few silver bells to make small clusters.
I love how the sempervivum succulents perfectly mirror the ribbon colour... and the flecks on the orchids. It is such a lovely combination!
And I finish my design with a few extra sparkly dew drop crystals.
One final note: You can either place the candles in so that it can be removed to switch on and off everyday...
Or if they are really snugly fitted you might have to give them a wiggle and a twist to switch the candles on or off. I do think lifting them out made me less nervous of breaking any of the twigs!
Talking about twigs breaking... the design is so delicate and minimal be mindful to keep it neat. Any debris falling into the fluff below will distract from the lovely lightness of the minimal design. I guess this is part of designing, really. You have to put in the effort to make it all look oh so effortless.
Every Wednesday morning (Vancouver time), I send out a design note as an early glimpse at the newest Design and a few notes that I picked up creating the Tutorial that might be useful to you. This week, I tell you how I picked up all the tiny bits of debris that fell into the container to make sure it is picture perfect. If you’re new here, you can sign up below this post. And if you’ve been receiving these notes for some time, I hope they feel like a welcome break in your busy week.
Sign up for my weekly newsletter
Every week I add a new design with related tutorials. Be sure to subscribe to receive an email notification with design inspiration.


 Cotton Christmas")


