Christine de Beer - effortless floral craftsman
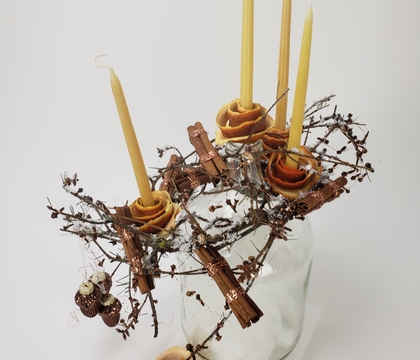
Christmas twig wreath, cinnamon bundles, clove garlands and roses of orange peel candle holder
- 27 December 2023
- and more
Oh yes…what to do with the Christmas greenery once those needles drop… what to do with an empty glass jug… add some spice!
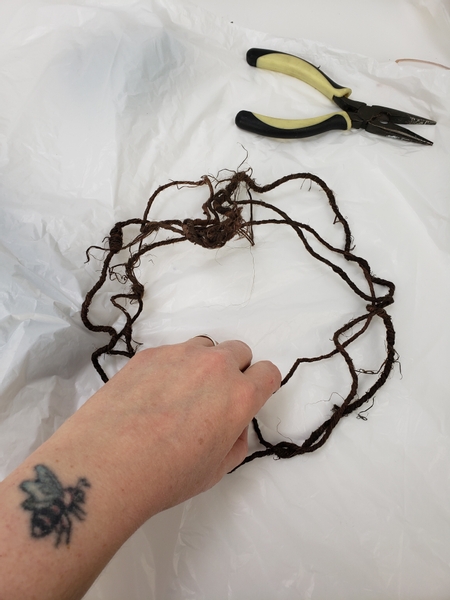
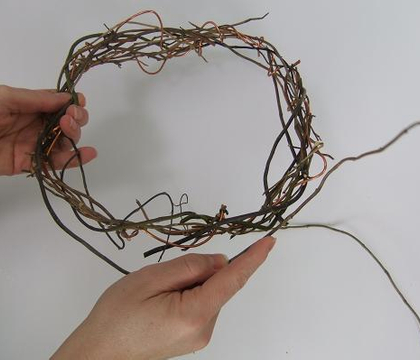
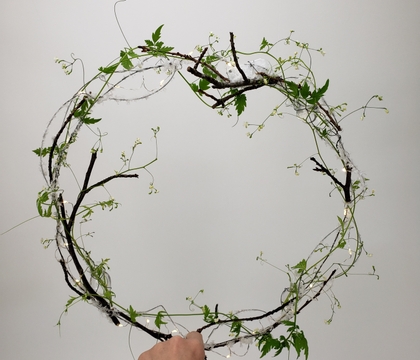
Craft a basic wreath shape from wire.
If you are unsure of how to make this kind of wire wreath see the Tutorial below.
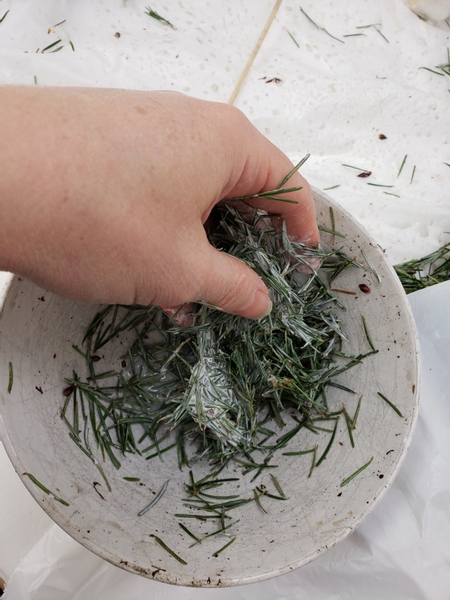
This is a great way to use those last bits of Christmas greenery that are dropping needles. Remove (or pick up) the needles and soak it in water thinned wood glue.
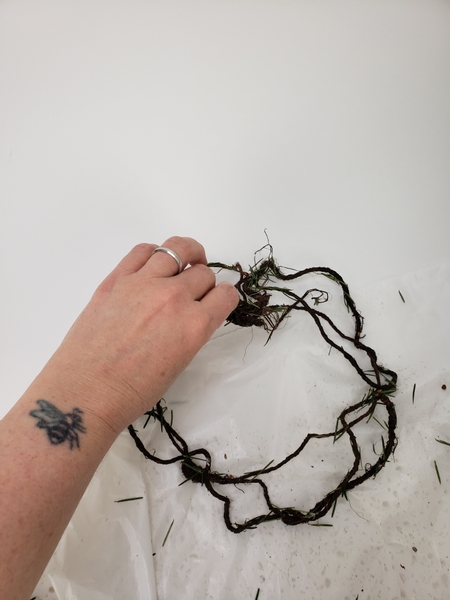
Add a few needles into your wire wreath frame. You can cover the entire frame or simply bundle up the needles every here and there like I did...
The idea is to blend in the wire with the twigs. Set the frame aside so that the glue can dry completely.
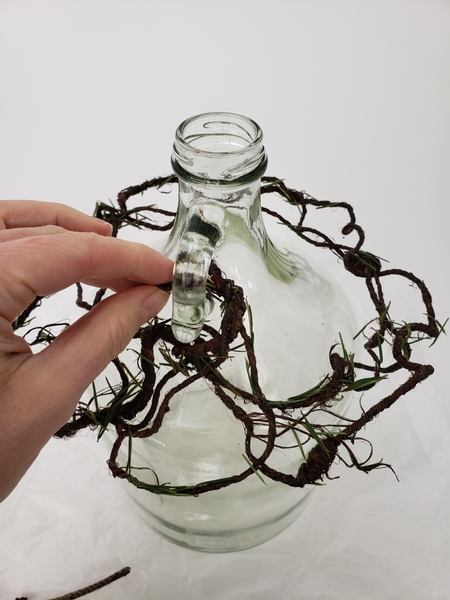
Fit your wire wreath on your glass container and see how you can support it. My display container is a robust apple cider bottle. An empty jug like this is ideal because you can hook the frame through the handle to secure it.
If you do not have a glass jug like mine simply create a hook that slips over the top opening to hang from... like a clothes hanger. Or If your container is tapered twist the wreath shape so that it rests a bit below the opening and is supported by the glass where it tapers. There is no need to make the frame sit perfectly level. I found it rather charming that it tips slightly lopsided. Just make sure it is secure in some way.
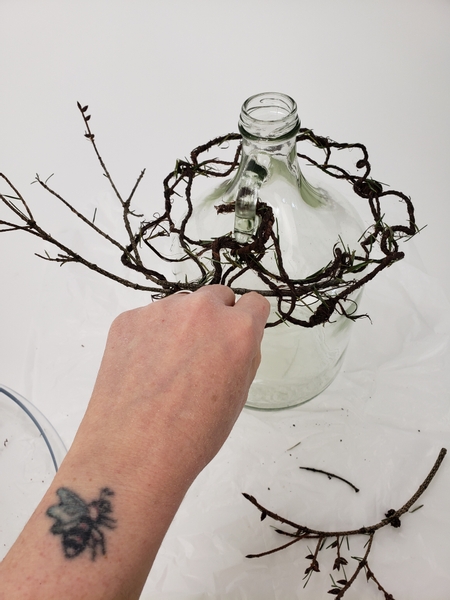
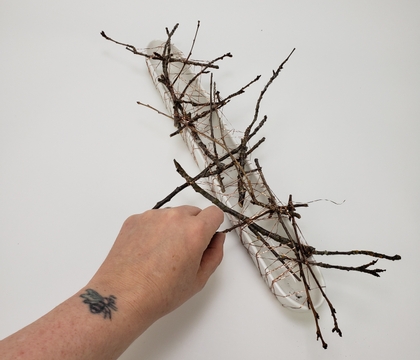
Start weaving in the twigs. Again leave a bit of the needles on the stems (about the same amount as what you added to the wire) so that it blends in with the wire.
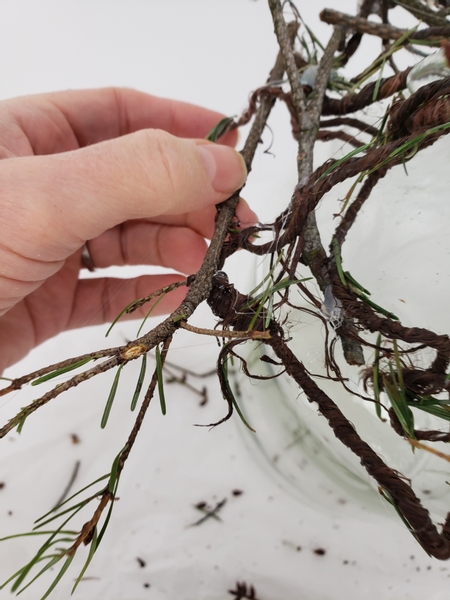
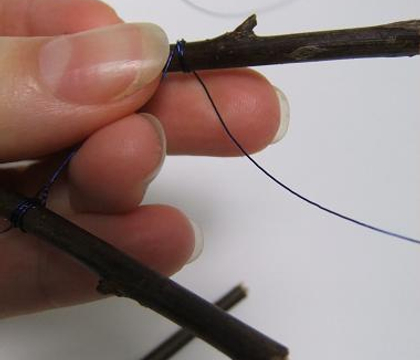
Don't weave the wreath too tightly and neatly. Rather twist the wire around the twigs or glue it with hot glue to keep it perfectly in position. The wreath should be light and open.
... a bit of a celebration of the after-the-Christmas-feeling. The needles might have dropped but we are still feeling cozy. That "even if (because) it is not all perfect... it is so perfect".
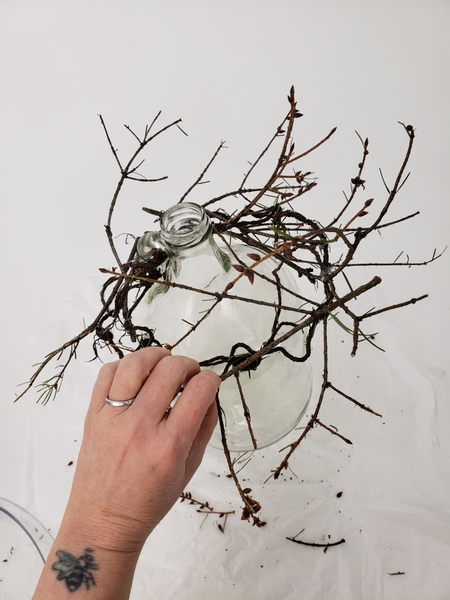
Break up the neat weaving shape with some wild twigs sticking over and around... well all over the place, really.
I have a bit more information about the "messiness" that I want to achieve in this design in our email this week. I would love to hear what you think! You are welcome to reply to the email if you have a question or comment or say hi. If you are not yet signed up, I send out one email every Wednesday morning (Vancouver time) to let you know when the new design is ready for you to view. Each week I also discuss one newsletter exclusive tip of something that I think would help you make the most of whatever I am showing you this week. The sign up is below this post.
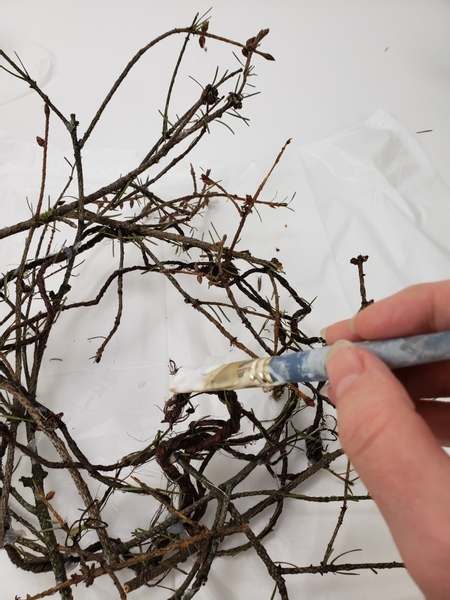
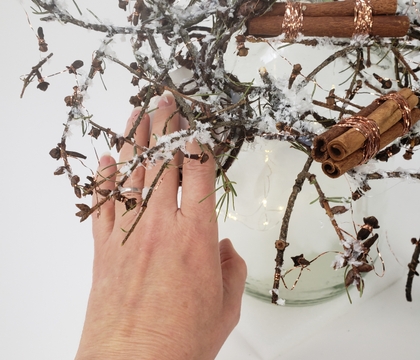
Place the twig wreath on a plastic lined design table and paint a bit of thinned wood glue every here and there to add some artificial snow.
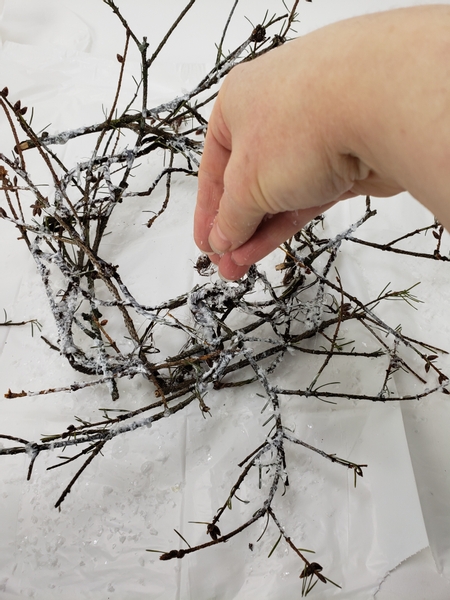
Scatter artificial snow all over the twig wreath. Set the wreath aside for the glue to dry completely.
See the Tutorial below for more detailed instructions on how to add the snow.
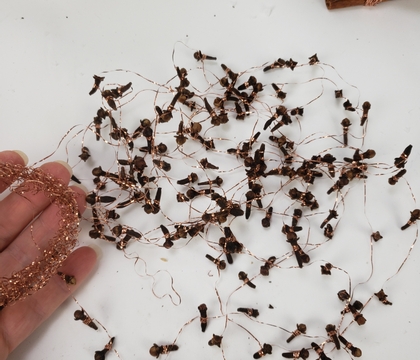
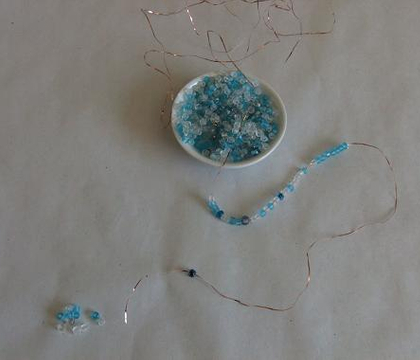
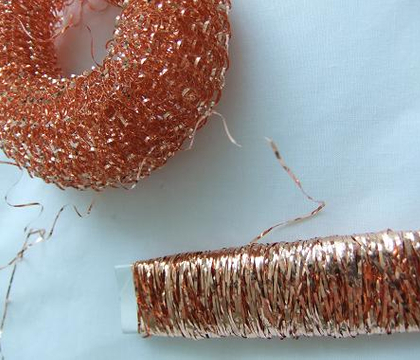
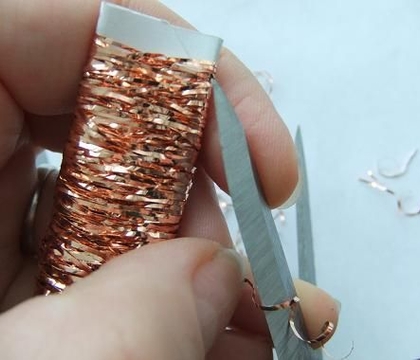
Next up an old favourite of mine... copper wire unraveled from a pot scrubber. I love using this wire. It is not only cost effective but also looks unusual in designs because it is a float wire. It adds something really special. Book readers turn to page 37 to see more. For more information about my book: The Effortless Floral Craftsman
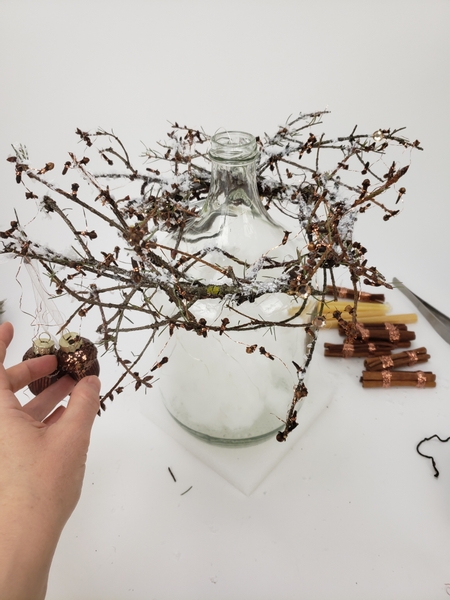
Hang the acorns or baubles and drape the copper wire clover garland all over the twig wreath...
You can find a Tutorial for the clove garland below this post.
Do you see the ringlet curls hanging from the acorns? See the Tutorial below for detailed instructions on how I made those... it is another reason why I love the copper scrubber wires so much!
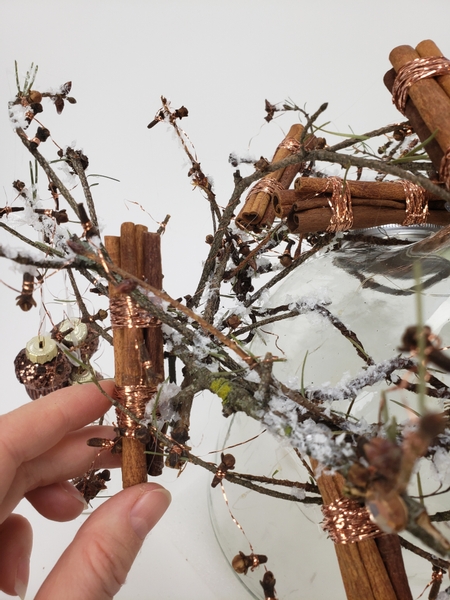
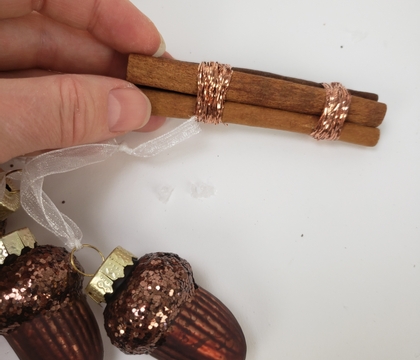
Add in the cinnamon bundles
See the Tutorial below for more detailed instructions on how to make the wired bundles.
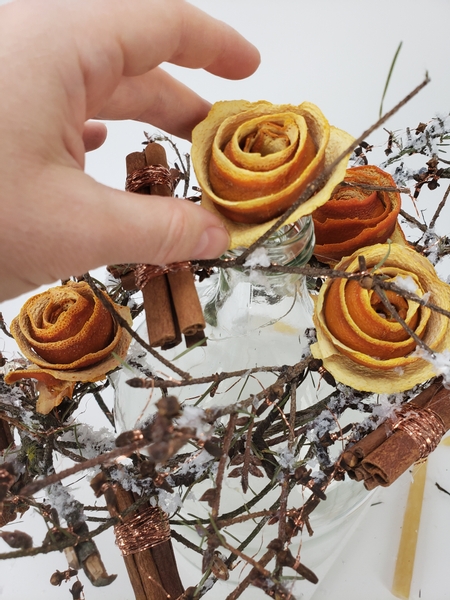
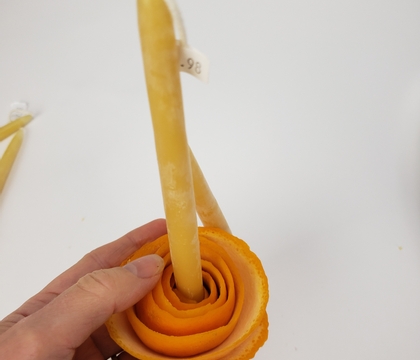
And lastly add in the orange peel roses...
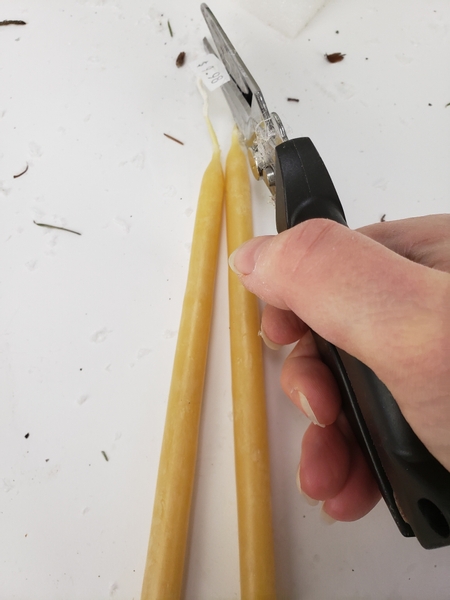
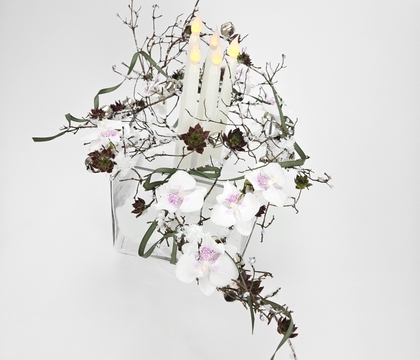
Use good quality dipped candles...
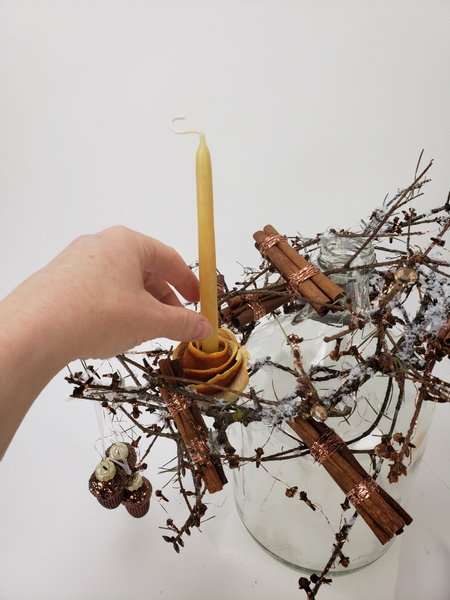
To finish off the design.
This is the exact ingredients I use in our apartment to simmer all season long. Add an orange peel rose, two sticks of cinnamon and some cloves into a large saucepan. Fill with water and simmer on low to release the fragrance. All natural and so wonderfully cozy... Christmas.
Sign up for my weekly newsletter
Every week I add a new design with related tutorials. Be sure to subscribe to receive an email notification with design inspiration.
