Christine de Beer - effortless floral craftsman
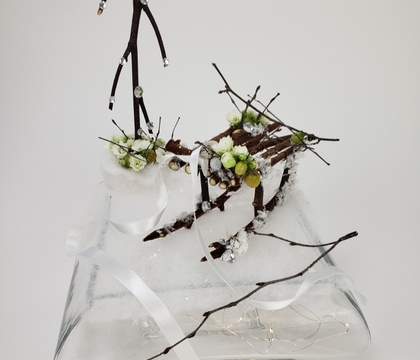
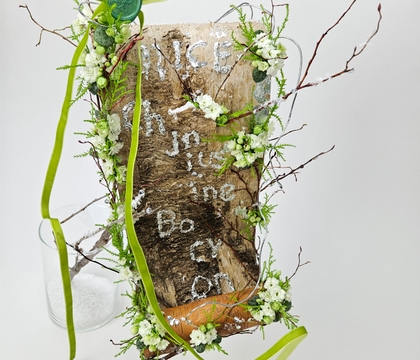
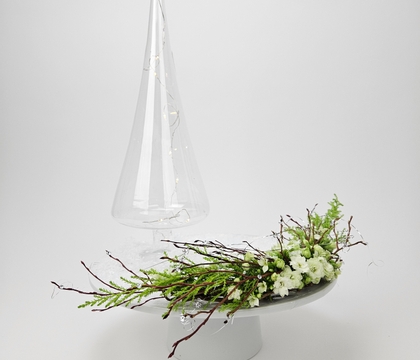
A not yet all done… bark floral frog to catch that feeling of setting out together to collect the Christmas Tree to decorate
- 10 December 2024
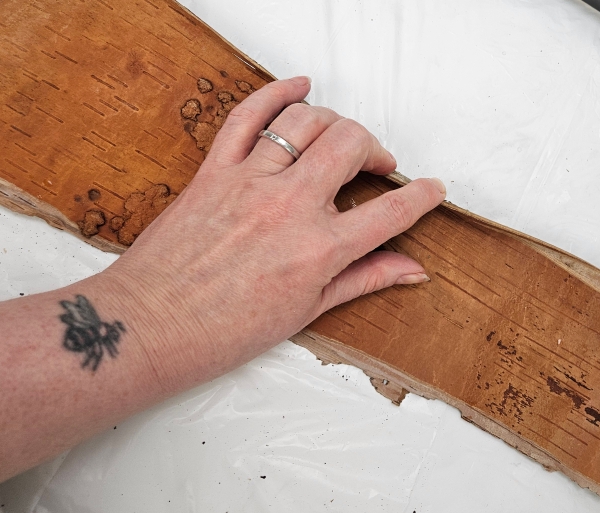
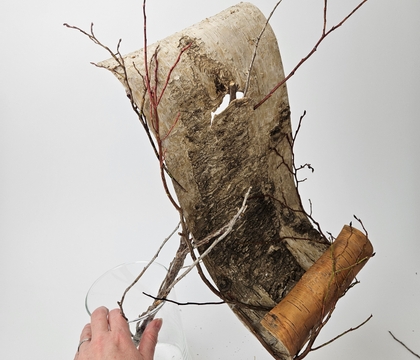
Fold over the edge of a strip of birch bark...
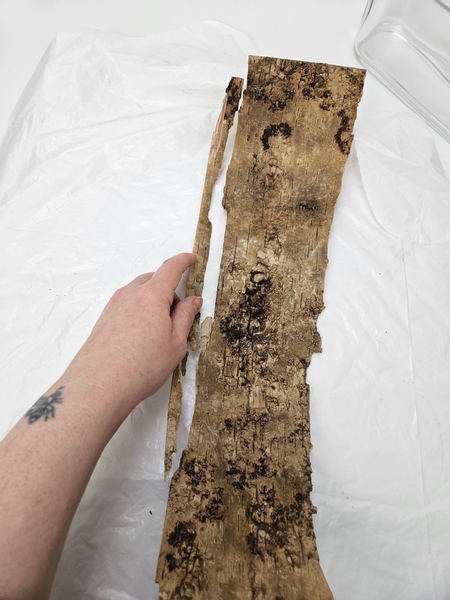
And tear away the smooth cut to give the edge a raw look.
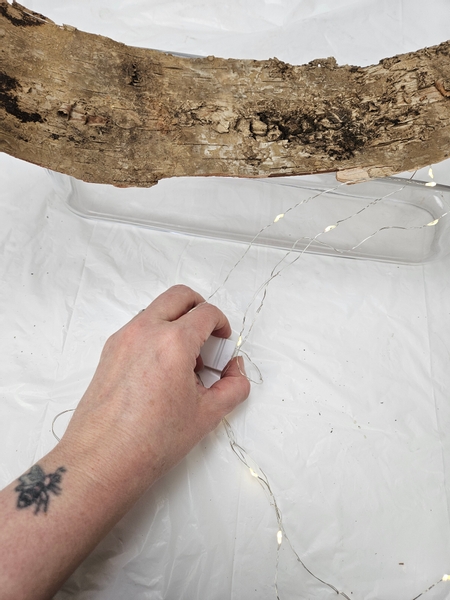
Place the bark on a long container and quickly test a string of fairy lights to make sure they work before we start the design.
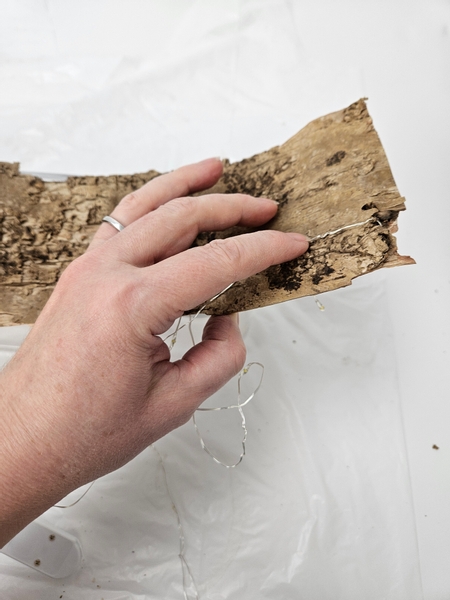
Catch the end of the fairy lights on the bark strip so that they hook into position securely
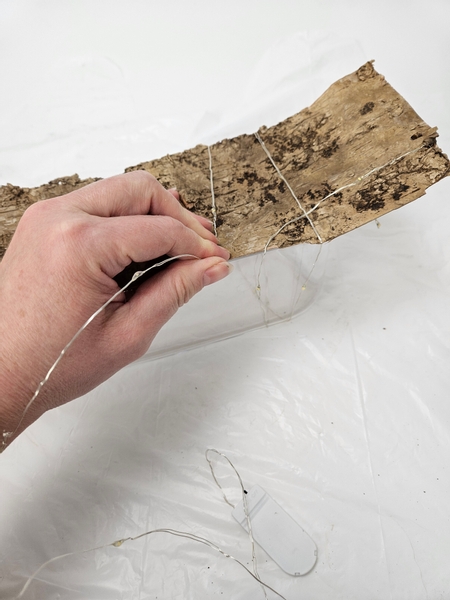
Wrap the string of lights around the container to keep the bark in place.

Pull the lights as tightly as possible to really strap the bark on to the container securely.
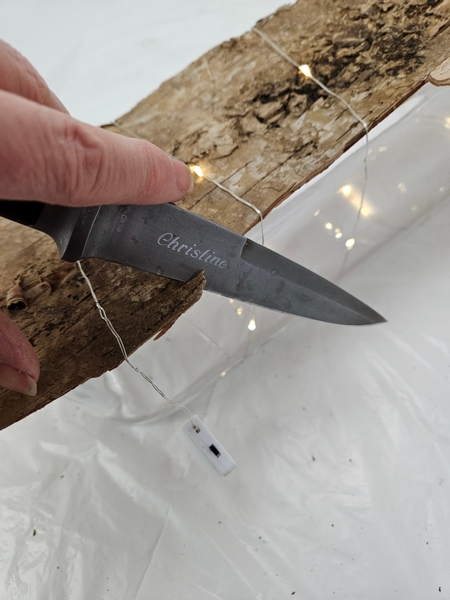
Cut into the bark with a sharp knife...
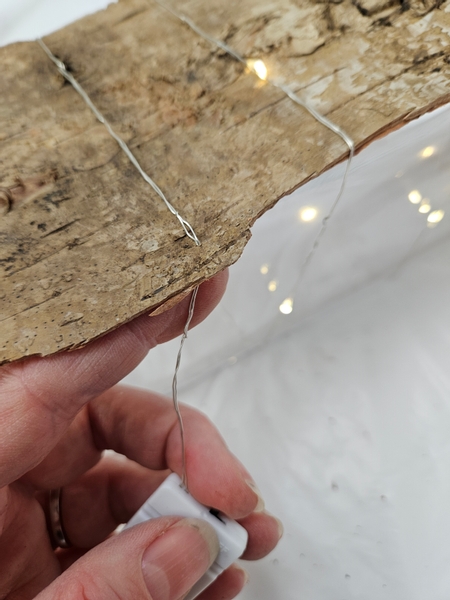
And slip the fairy light wire into the cut bark to secure it in place.
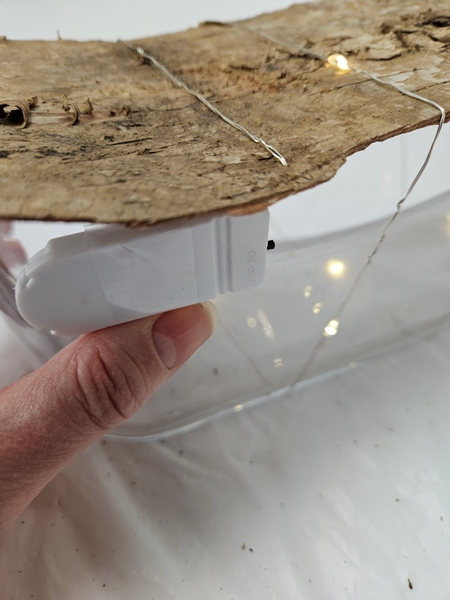
Use clear tape to secure the battery pack at the edge of the container and make sure it is easy to operate the on/off switch.
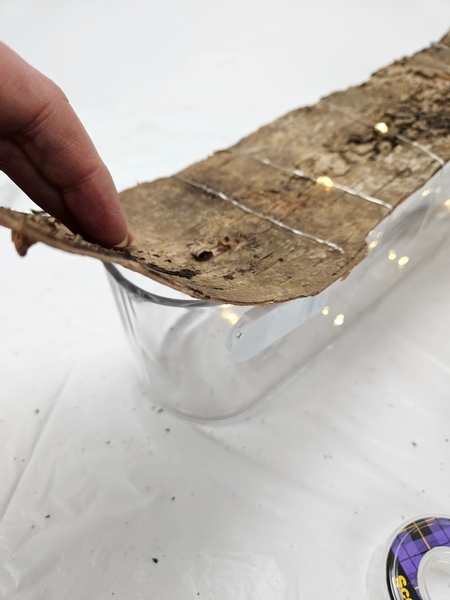
Leave the ends open so that you can add water into the glass container to keep the plant material hydrated.
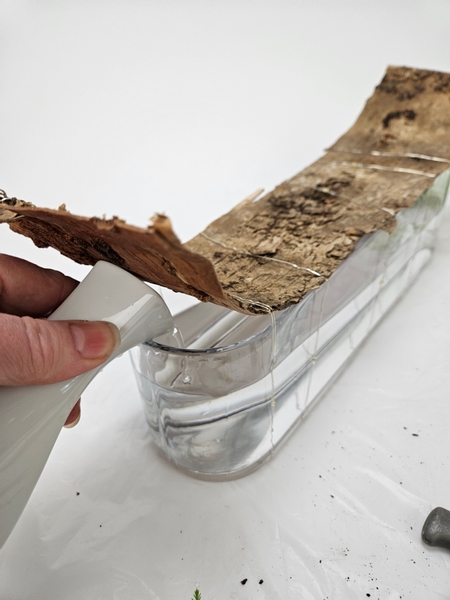
Simply lift the bark ends up and pour in the water.
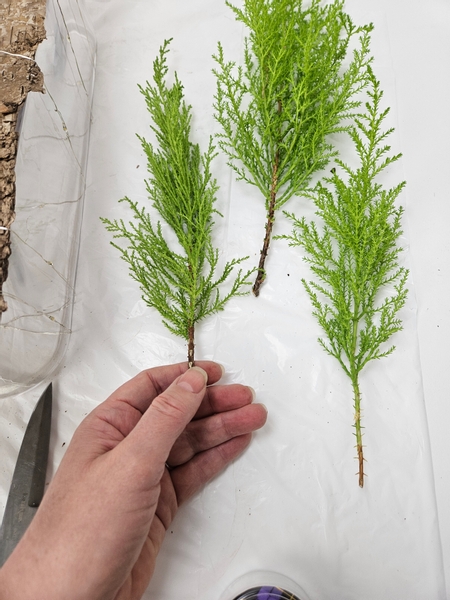
Cut a few lemon cypress sprigs and groom them to look like mini Christmas trees.
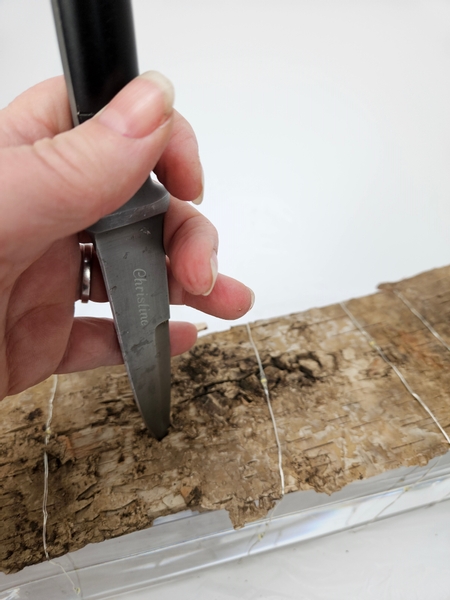
Cut a small hole into the bark for the cypress branch.
This week in our email I show you how I cut the holes so that the cypress branch is securely held into place. It is an easy trick that can be used for any long stemmed flowers that you want to position upright without using floral foam. I send out an email every Wednesday morning (Vancouver time... and I say Vancouver time because our time zone is always the last to get anywhere and if you are not from here you will probably already be well in the future... but it really is first thing in the morning in British Columbia) the moment the design is ready for you to view. I also add a small detail that will be helpful for you to make most of the week's inspiration. The sign up is below this post.
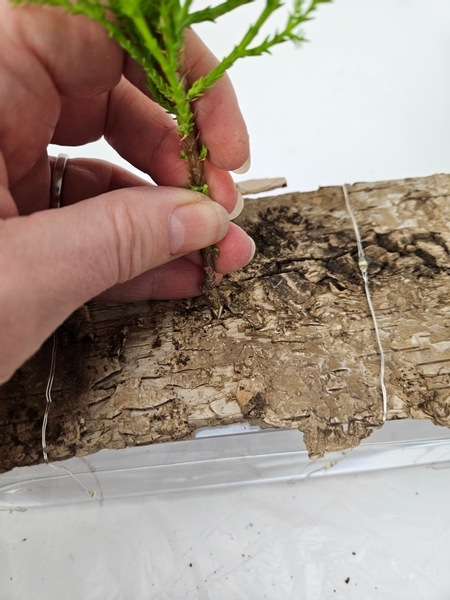
Spear the stem through the cut...
I use the exact same technique when I insert water tubes into a carboard armature. Book readers turn to page 309 for an example of a carboard armature where you can do this.
For more information about my book: The Effortless Floral Craftsman
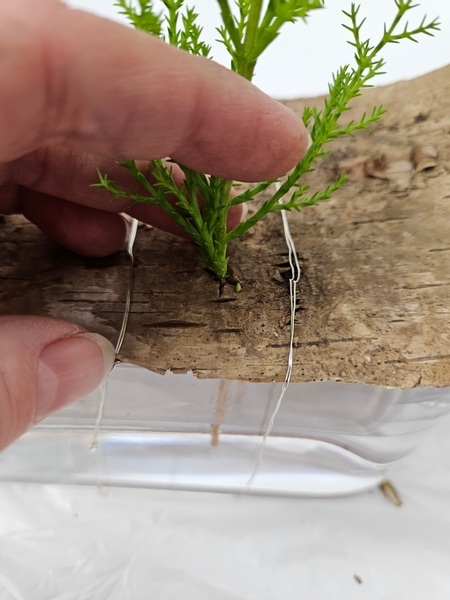
So that the branch is in position above the bark and the cut stem end is well below the water in the container.
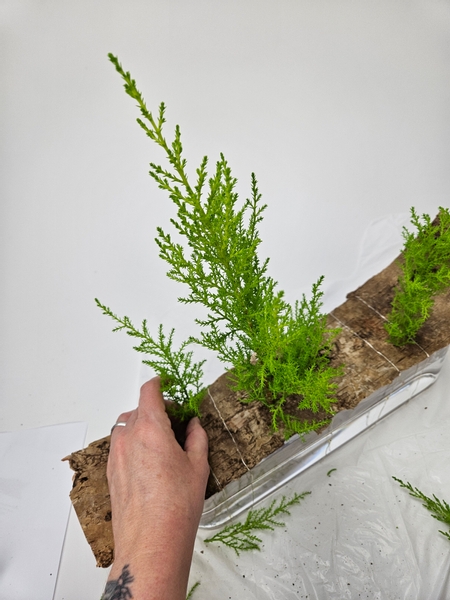
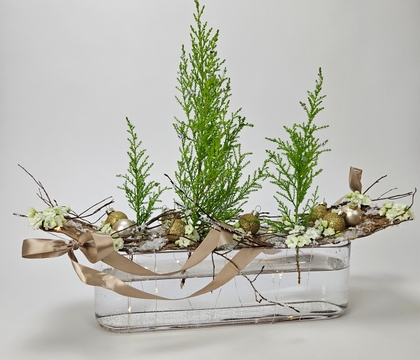
Build up a bit of a forest scene by positioning a few trees on the bark, whichever way you want your design to look.
My design is aimed at creating a feeling of anticipation, something to look forward to. An unfinished scene so I chose three "trees" for us to choose from when we pretend, pretend go cut our tree... Which one is yours? The itty bitty one that is super cute or the towering tree that will take all of us to carry it home? Or the one that is a perfect Christmas tree shape... not too small... not too big. Something in the middle?
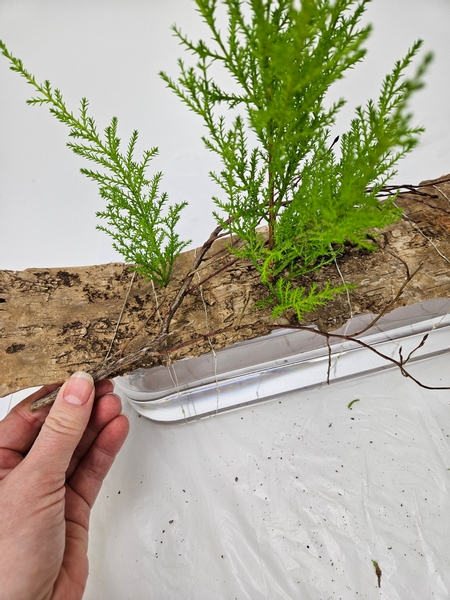
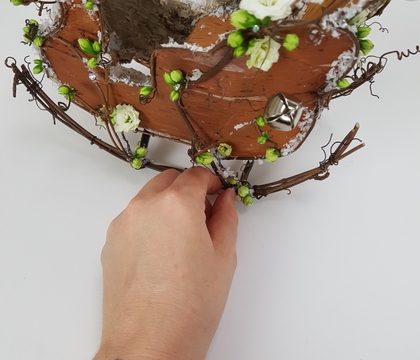
Next I am adding in the forest floor with a few fallen huckleberry branches to finish off the raw edge of the bark.
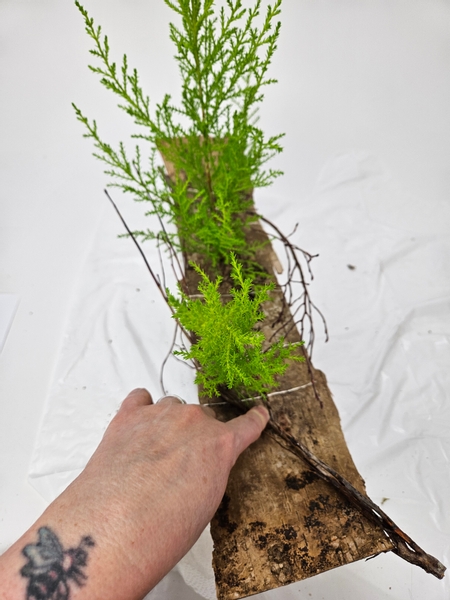
Extending the branches from one end to the other... and from the other end to the one end all the way around the design.

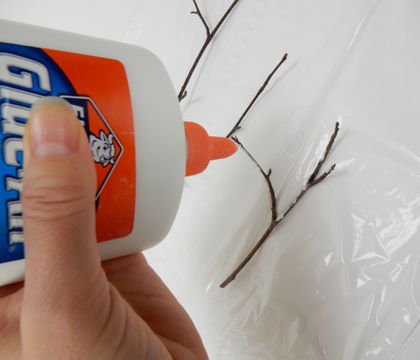
Paint the stems with a bit of wood glue...
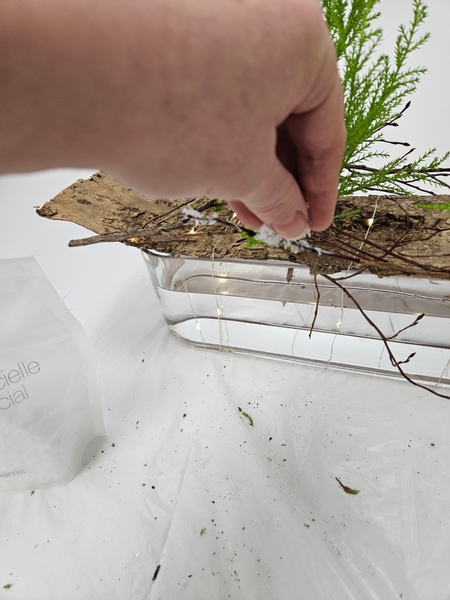
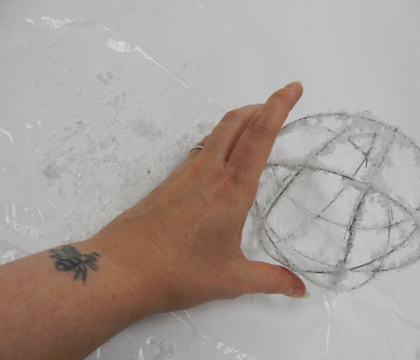
And add a sprinkling of artificial snow.
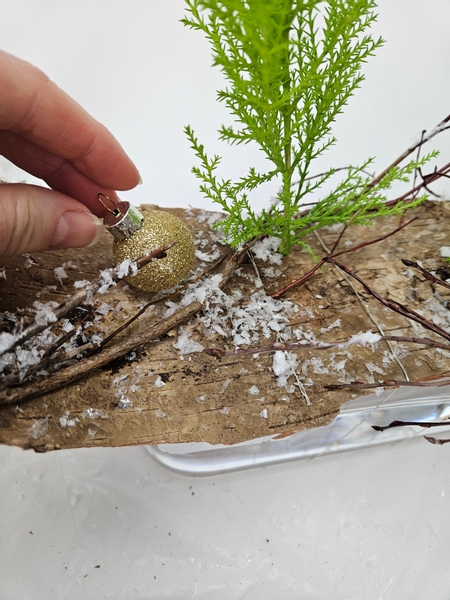
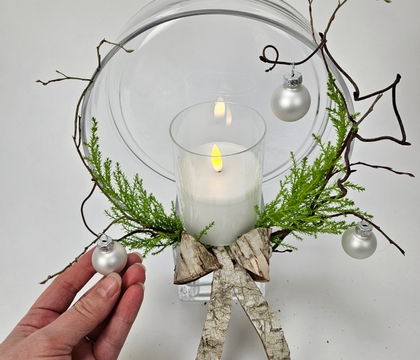
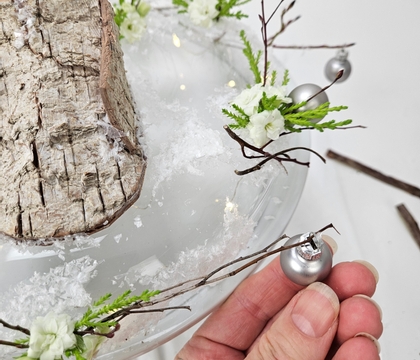
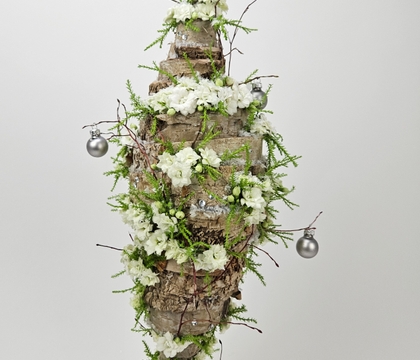
Glue in a few baubles... but keep the bauble loop visible. The idea is that the baubles look scattered around the design and not (yet) designed... the moment before we design... something to look forward to.
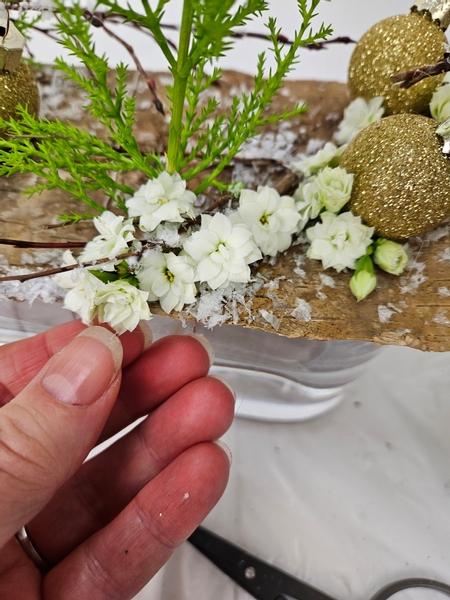
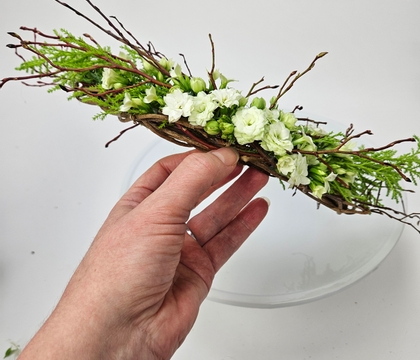
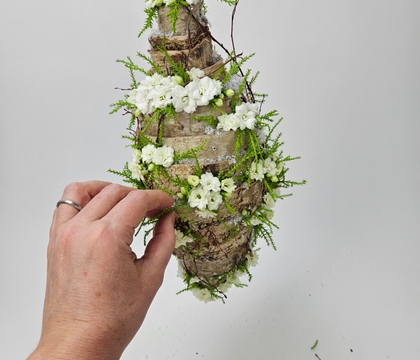
Use floral glue to add in a few Kalanchoe succulent flowers. No need for a water source for these flowers they just look delicate. They will remain this pretty for weeks even without a water source making them ideal for this kind of a design.
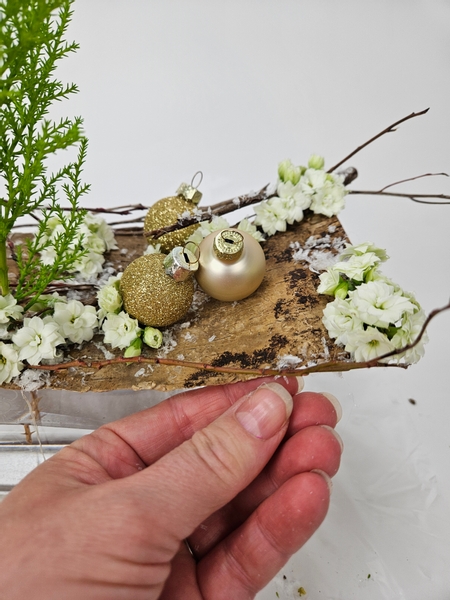
And in a few more twigs to finish the kalanchoe flower clusters around the design...
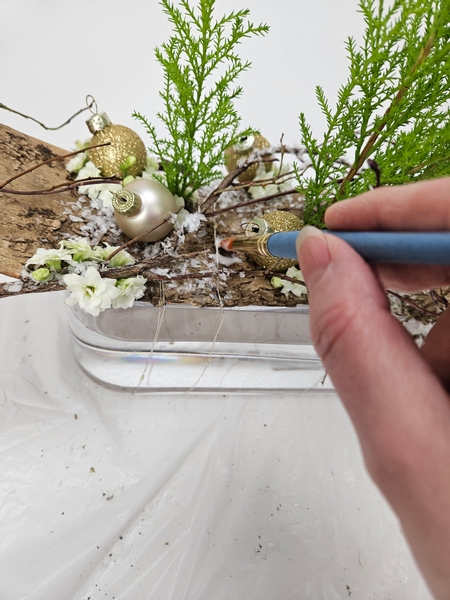
Paint over the fairy light wires with wood glue...
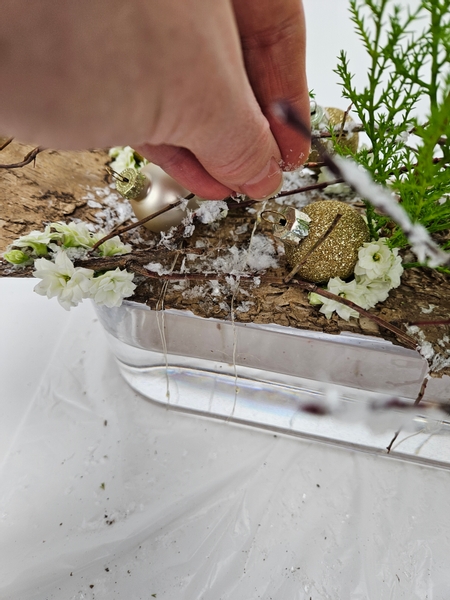
And conceal the wires with small puddles of artificial snow.
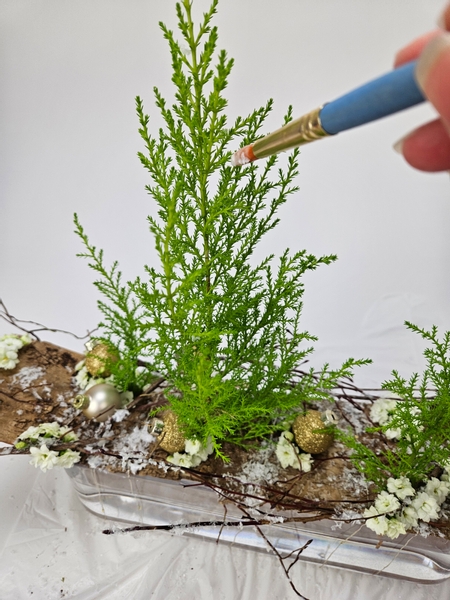
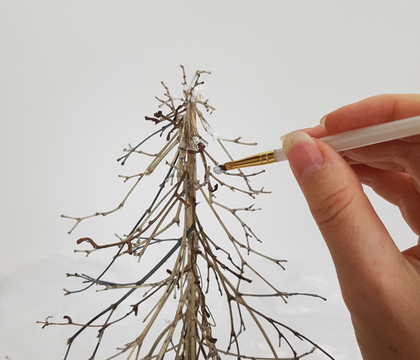
Gently brush wood glue on the cypress branches...
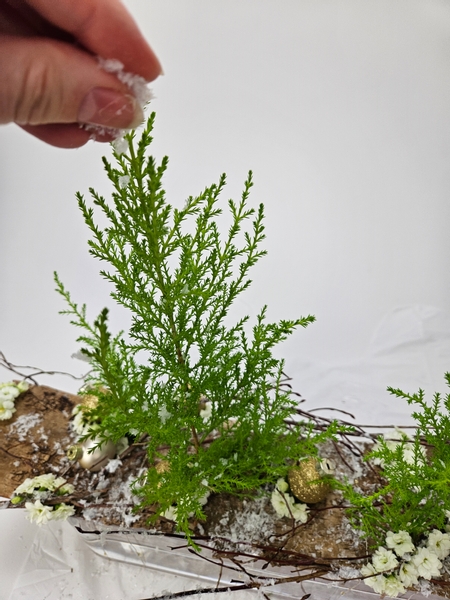
And sprinkle the lightest dusting of artificial snow on to the branches from above.
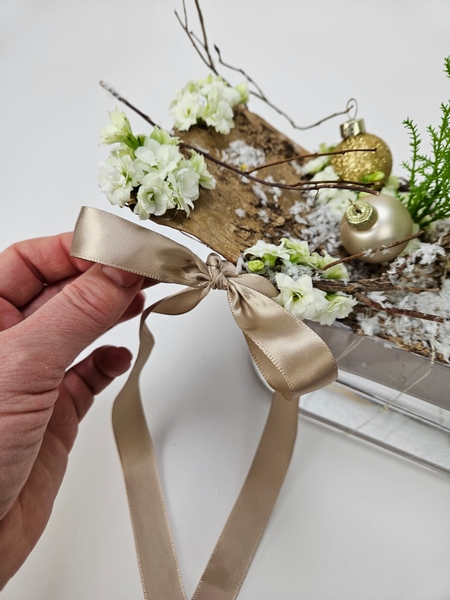
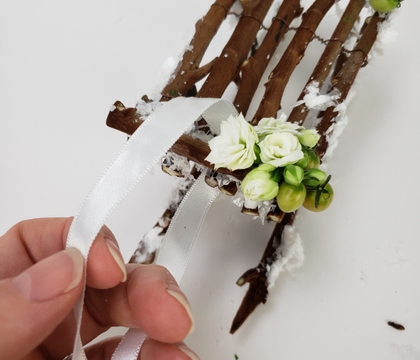
Tie a bow on one side of the design...
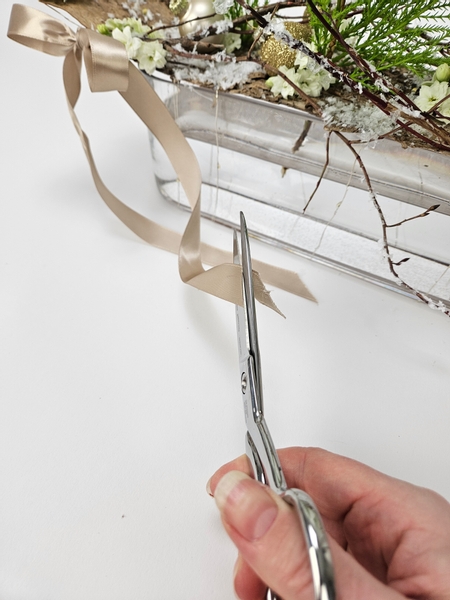
Cut the ribbon ends neatly with sharp ribbon scissors...
And absolutely, keep scissors in your tool box for nothing else than just for ribbon cutting. It makes your life so much easier!
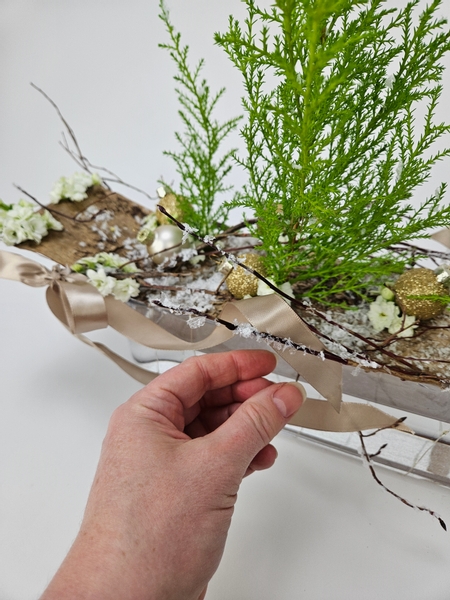
And drape the ribbon ends through the design... or let them dangle... if that is more your style.
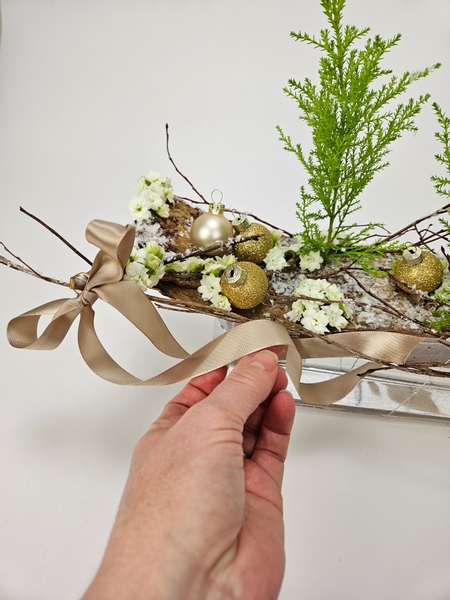
I am draping my ribbon so that I can conceal the battery pack on one side... and then mirroring the draped ribbon on the other side.
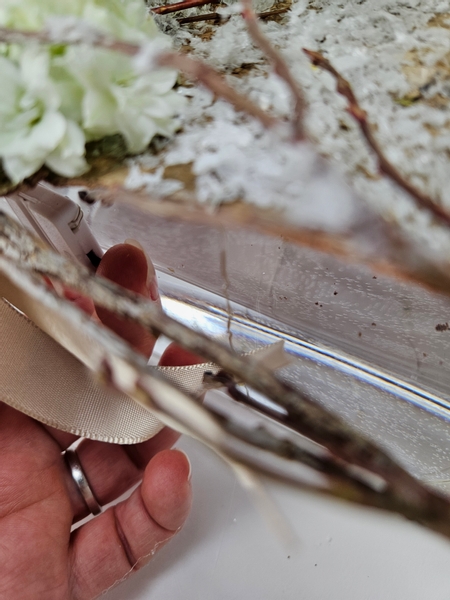
Making it easy for me to simply reach in behind the ribbon to switch the lights on or off.
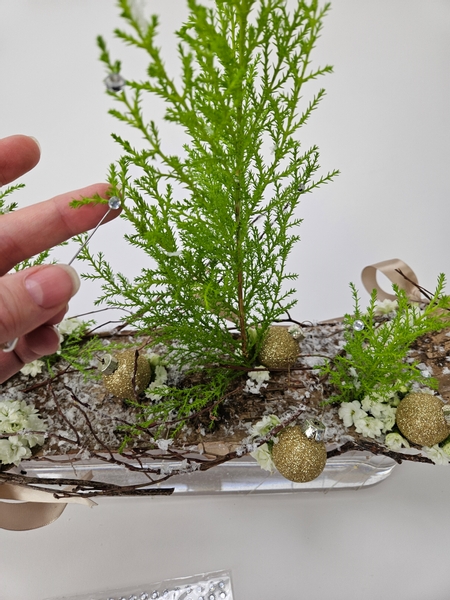
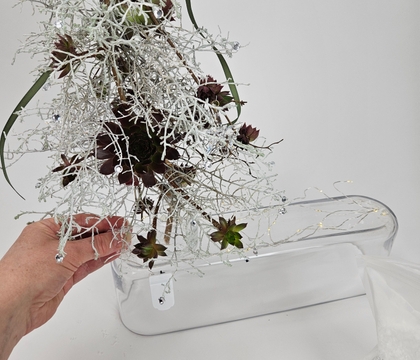
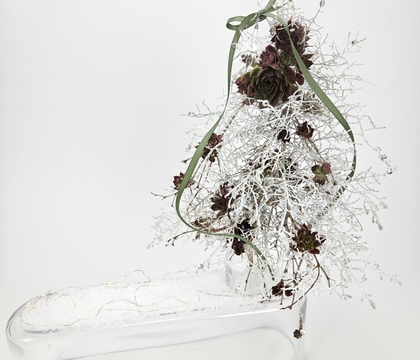
And I am finishing off my design with a few dew drop crystals. I wanted to keep the trees undecorated but (for me at least) the scattering of crystals unifies the design with the glass container on the bottom and the sparkling crystals on the trees above.
See the Tutorial below for detailed instructions on how I add the tiny crystals to my designs.
Sign up for my weekly newsletter
Every week I add a new design with related tutorials. Be sure to subscribe to receive an email notification with design inspiration.

