Christine de Beer - effortless floral craftsman
Sparkle Spool and Velvet Magnolia Table Top Christmas Tree
- 14 December 2022
One of the times when I prefer to get plastic rather than any other packaging is as spools for wire, ribbon or tape. The are so useful to design with!
One of my favourite go to's... but it works so well: An empty spool makes a great base for table top trees.
Another is to use the spool of florist tape to make wrist corsages. I will link the Tutorial below so that you can have a look. It is the most comfortable corsage bracelet... ever!
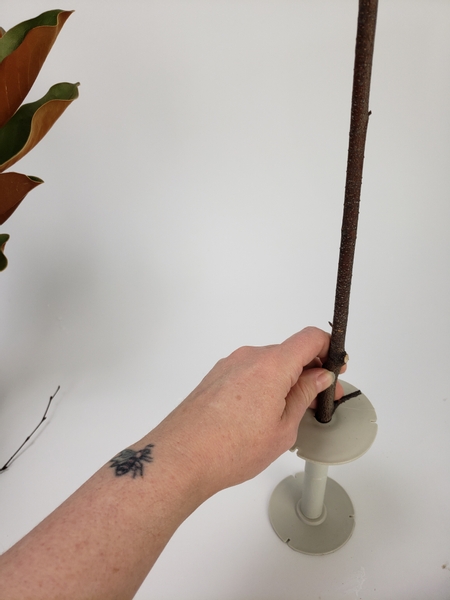
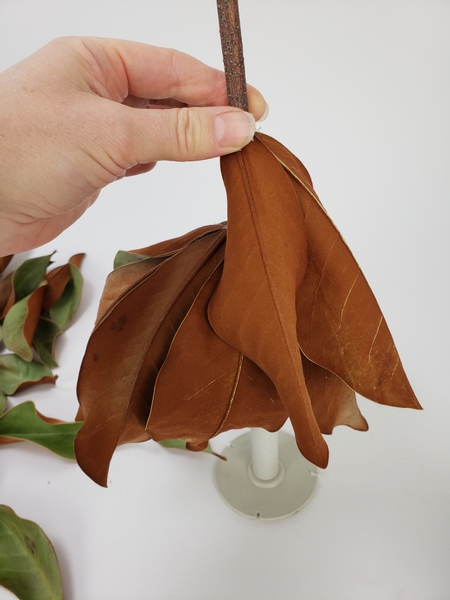
Fit a sturdy twig into the spool.
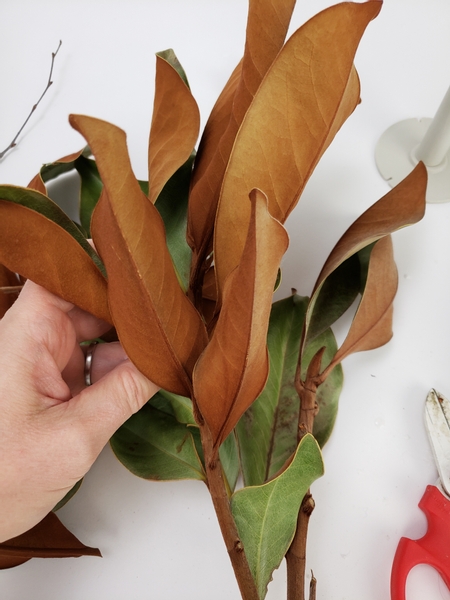
The velvety underside of these magnolia leaves is such a great way to bring warmth into your space. Cut the leaves from the branches.
Book readers turn to page 110 of my book to see all the information about preserving plant material. For more information about my book: The Effortless Floral Craftsman

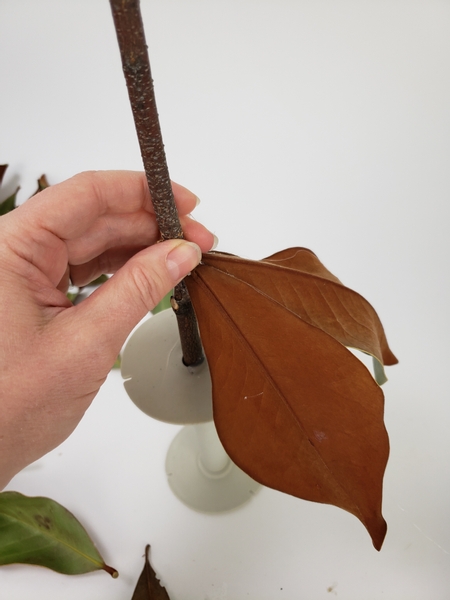
Start at the bottom and glue the leaf to the support twig with hot glue.
Glue in the next leaf to overlap the first one slightly.
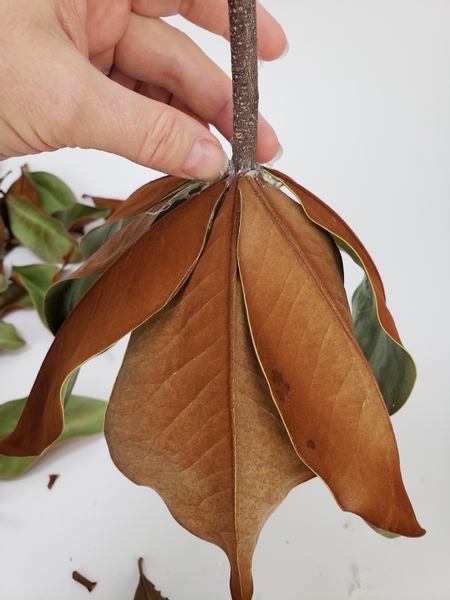
Work your way around the support twig and add leaves.
Design note: Use a generous amount of hot glue to position the leaves so that they puff away from the support twig slightly.
Glue in the next row of leaves slightly higher up the support twig.

Glue in leaves all the way around
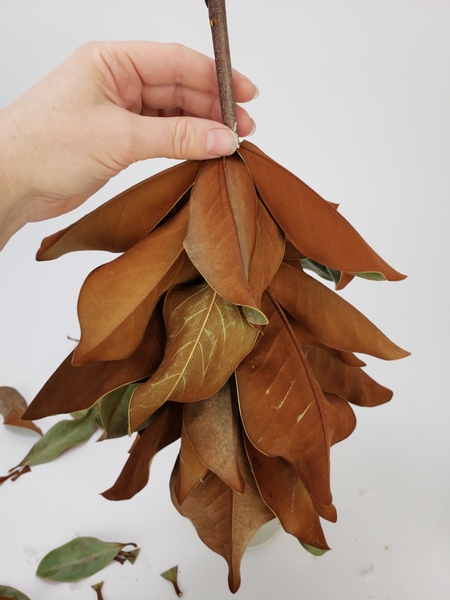
Work your way around and around and around the support twig...
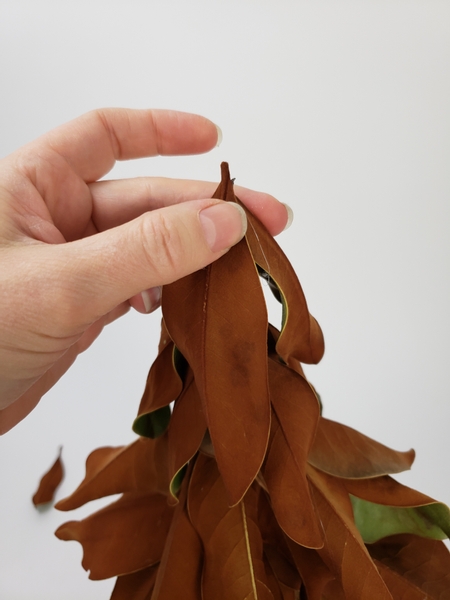
All the way to the top of the support twig.
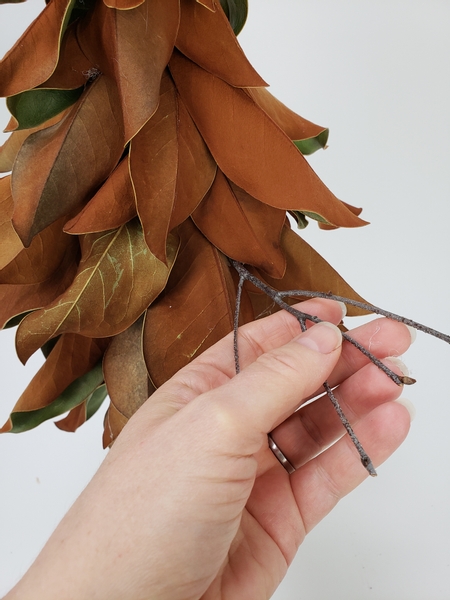
Glue in a side twig extending out of the design. I want to hang glass icicles from these... but... it is really helpful; from a design perspective. Have a good look at the tree and glue in the twigs so that it marks the front of the design for you. When you add the lights you need to know which side is the back and having the twigs there already makes it easy to design the base in a way that is easy to operate the switch.
Now for the base:
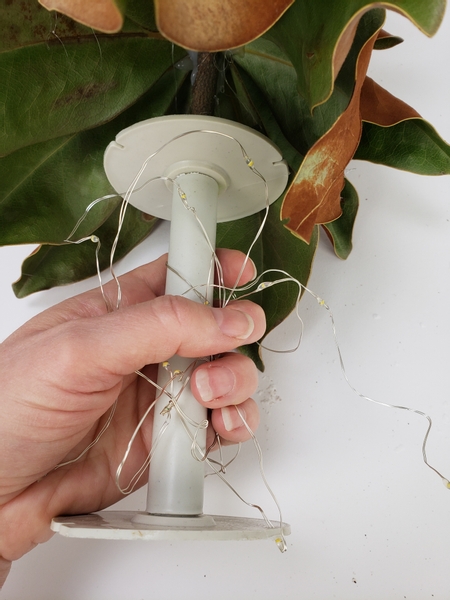
Bundle up fairy lights around the spool...
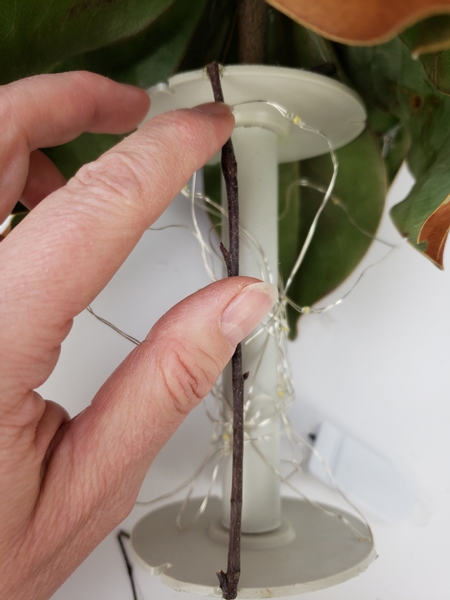
Glue in tiny twigs from the top to the bottom to keep the lights in place.

Glue in twigs all the way around...
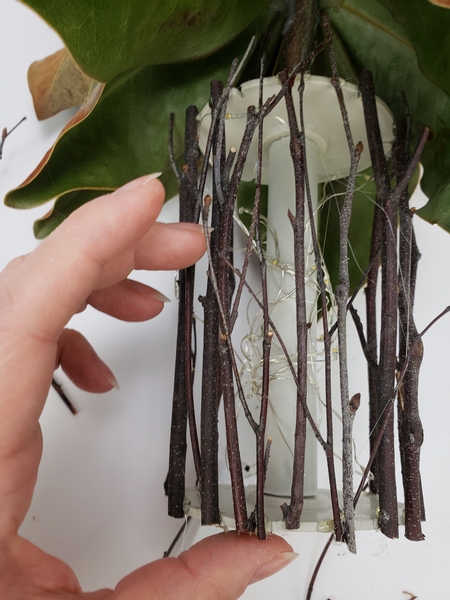
Giving special attention to the front with delicate twigs that cover the openings.
Design note: I loved the look of the lights. It created this "walk in a winter forest" light. Well worth the effort!
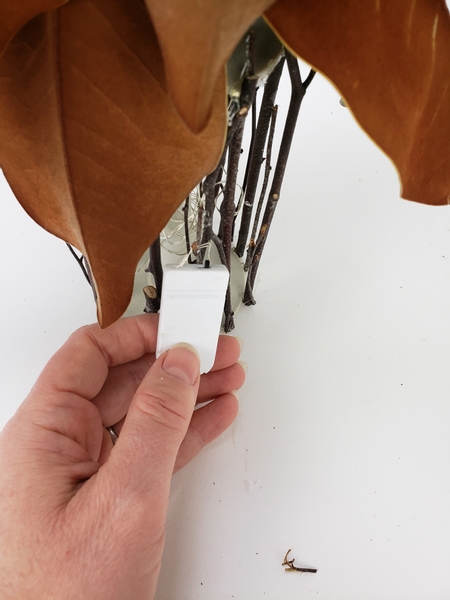
Secure the battery pack at the back so that it is easy to operate.
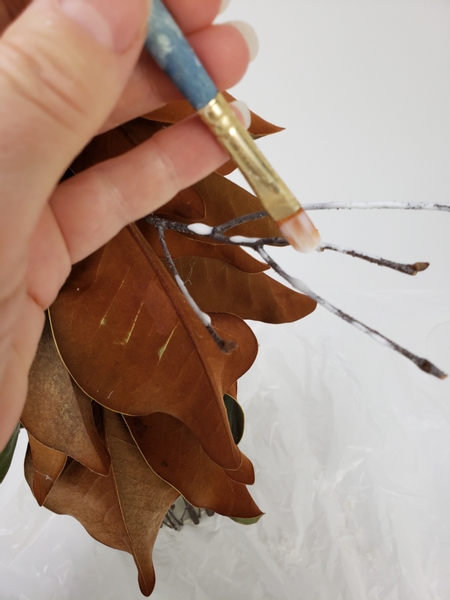
Paint the twigs with wood glue...
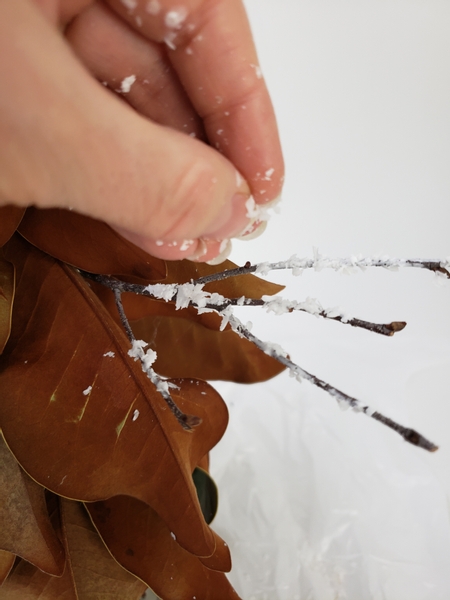
And sprinkle with artificial snow.
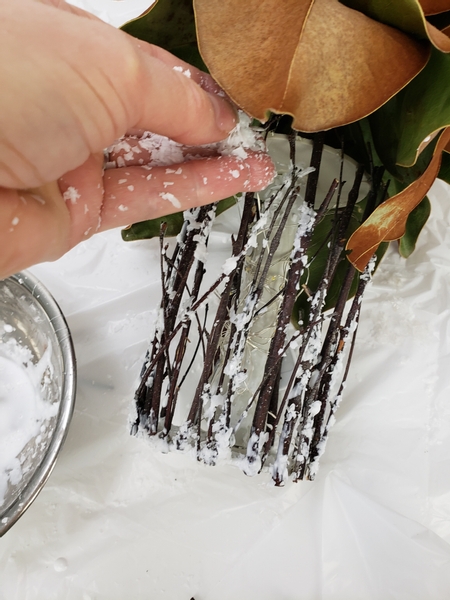
Add snow to the base of the tree...
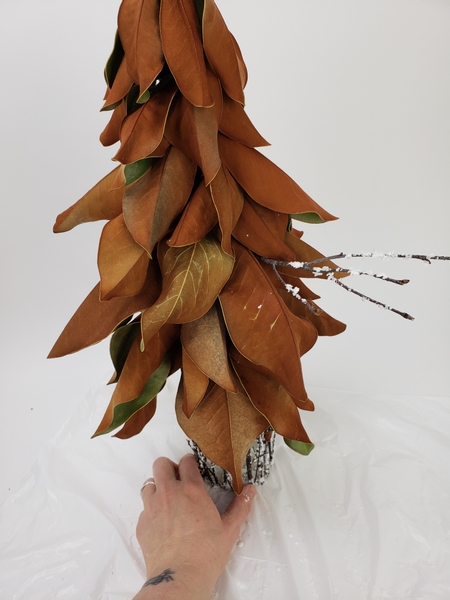
And the tree is ready to design with. Actually it looked pretty just like that. But it is Christmas!

Hang a few glass icicles from the twigs in the front of the design.
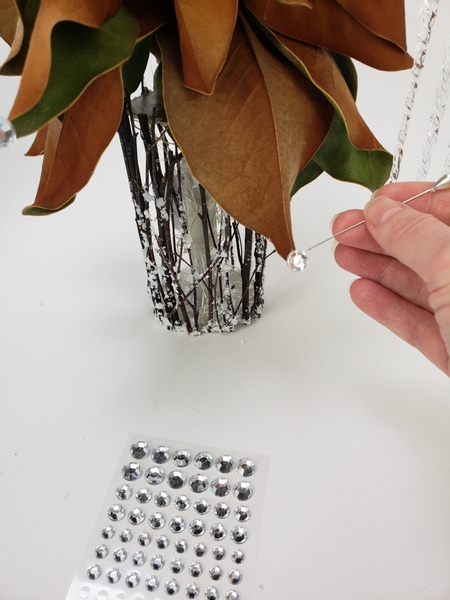
Place a few oversized dew drop crystals...
See the Tutorial below for more detailed instructions of how to place the crystals without disturbing delicate or brittle plant material.
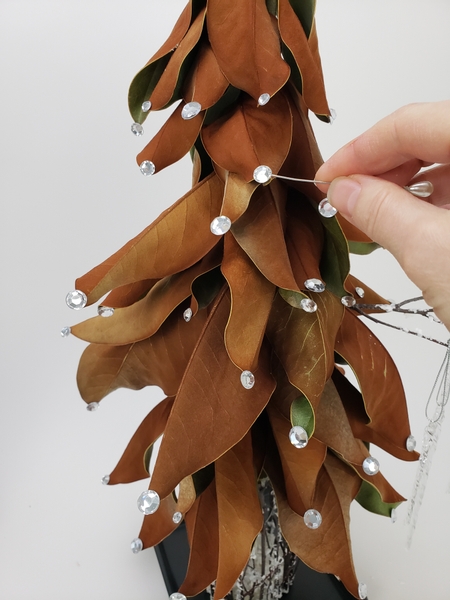
To the tips of the Magnolia leaves.

Add in Kalanchoe flower buds and tiny green berries to barely peek out from behind the dramatic leaves.
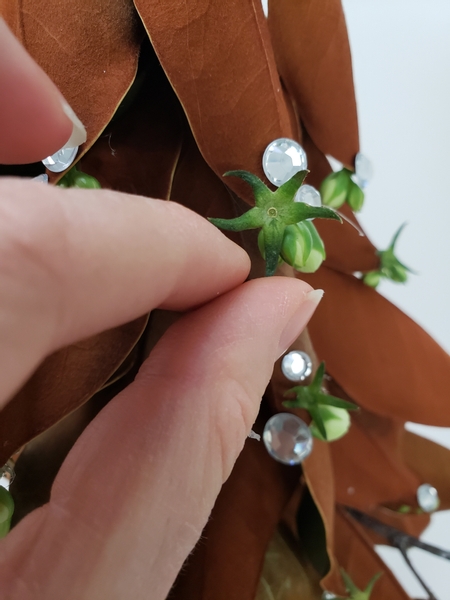
Add in a few of the star shaped berry sepals...

And a few scattered twigs to create a unit between the base and the tree part.
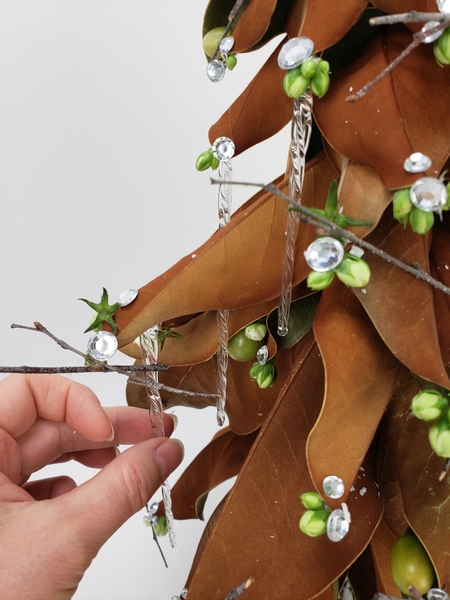
And finish the design with a few more glass icicles (this time glued in instead of dangling) on the opposite side of the Magnolia tree design.
Sign up for my weekly newsletter
Every week I add a new design with related tutorials. Be sure to subscribe to receive an email notification with design inspiration.


 Eucalyptus Christmas wreath")


