Christine de Beer - effortless floral craftsman
Half and Half Copper and Twig Christmas tree
- 15 December 2021
Trace a half Christmas tree shape on to a copper plate with a sharp object like a nail.
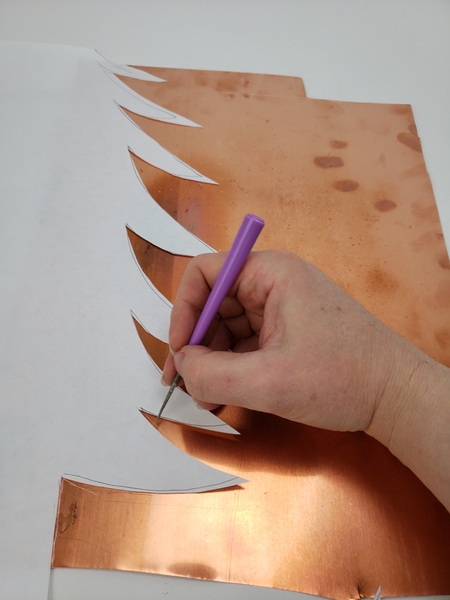
Simply lightly scratch out the outline of the shape.
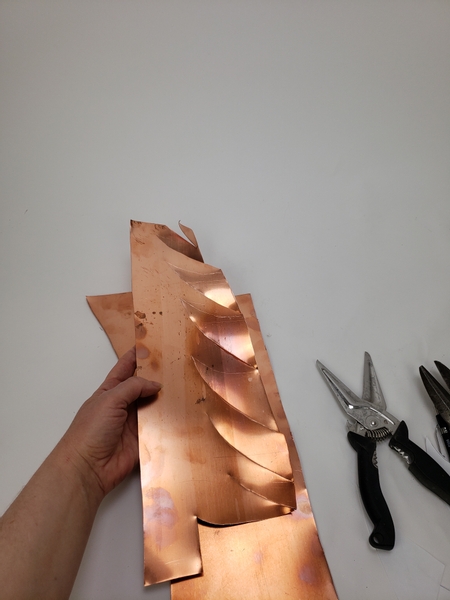
Cut out the Christmas tree shape.
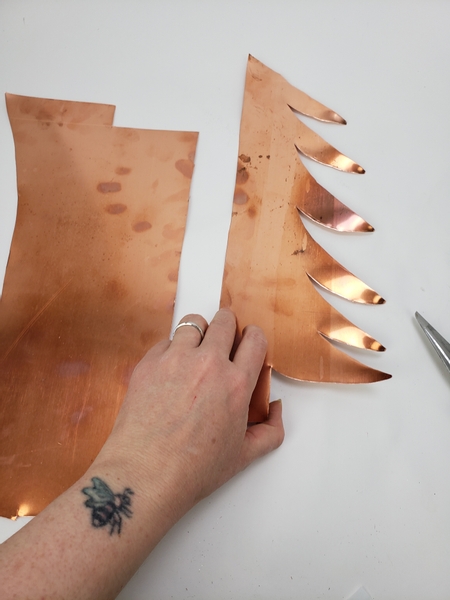
Press the inside edge (where you add the opposite half) of the tree so that it lies flat on the surface.
Design note: I rather loved the outside edge to not be flat, to curve slightly so I left that as is.
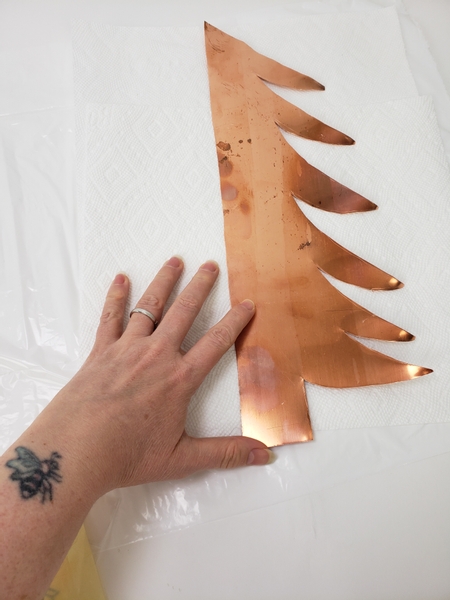
The Christmas tree shape is too big to fit into a bowl or jar to allow the chemicals to develop so I will apply the mixture directly onto the surface.
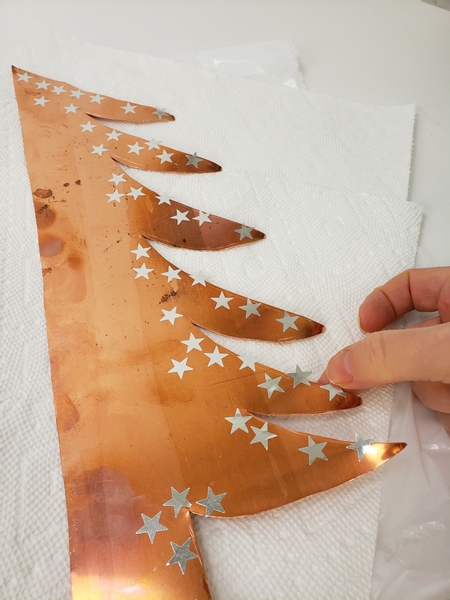
For a bit of extra Christmas detail I added sticker stars to the edge of the design to protect the copper from the chemicals. Make sure to smooth the stars down. The effect is subtle if you use paper stars (like I did) I will show you in another design how to completely block out the chemicals to create patterns. But for this design I just wanted to hint at stars.
Design note: The more you smooth the stars flat the more of the chemicals will be blocked out. So work lightly if you just want a hint... or smooth some flat and some just lightly place, even over the edge in some places for a more natural look.
Mix the chemicals to patina the tree (see the Tutorial below)
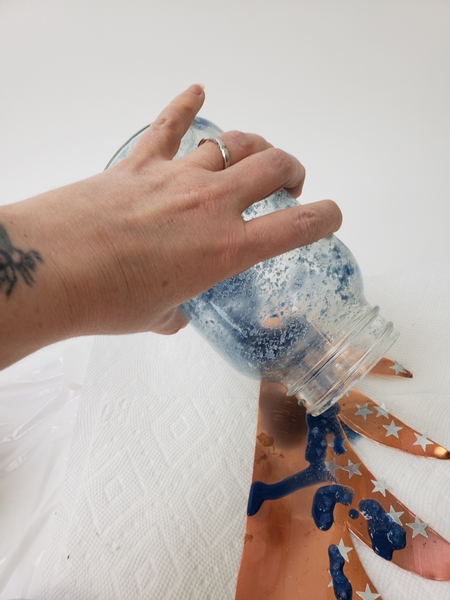
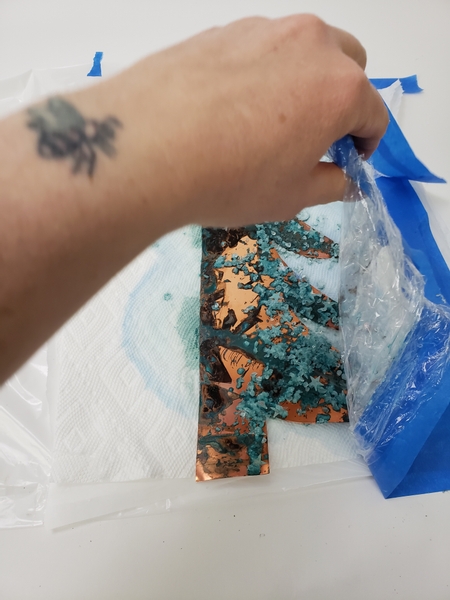
The next step depends on the object you want to treat. If it is a large object such as a lantern or sculpture place the chemicals in a spray bottle and spray it onto the surface in a well ventilated area. Or if it is really large, like a door or fence you can paint it on. Or if it can be placed flat, like my tree pour the chemicals to puddle in the areas you wish to treat.

And guide it with a wooden skewer in the direction you want treated.

Close the copper with plastic
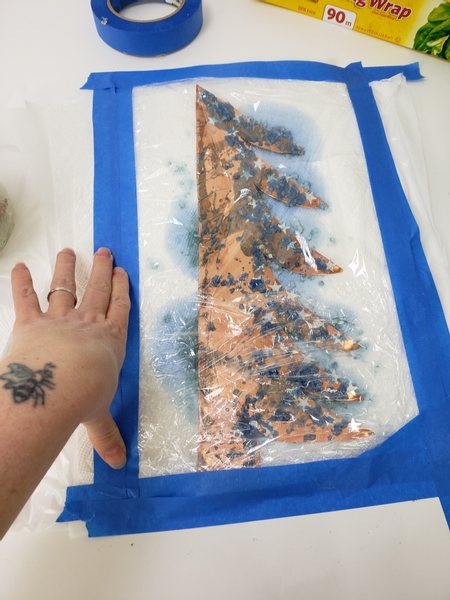
Design note: seal the edges with painters tape to make sure it is tightly wrapped.
Let the chemicals develop overnight.
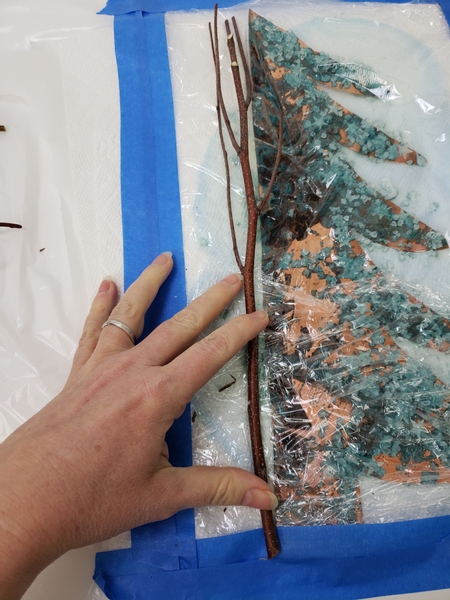
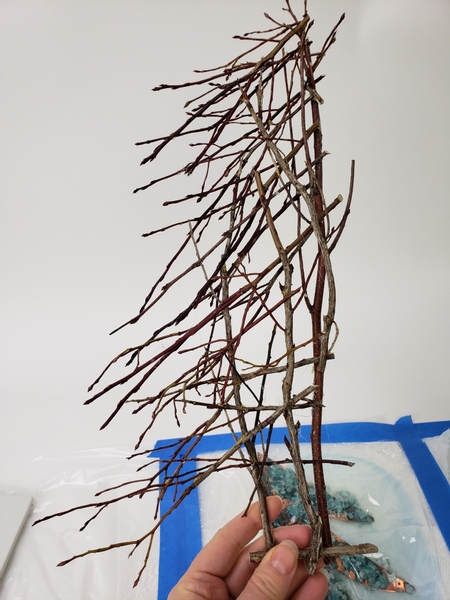
Meanwhile start to build up the matching twig half of the tree on the plastic that covers the copper.
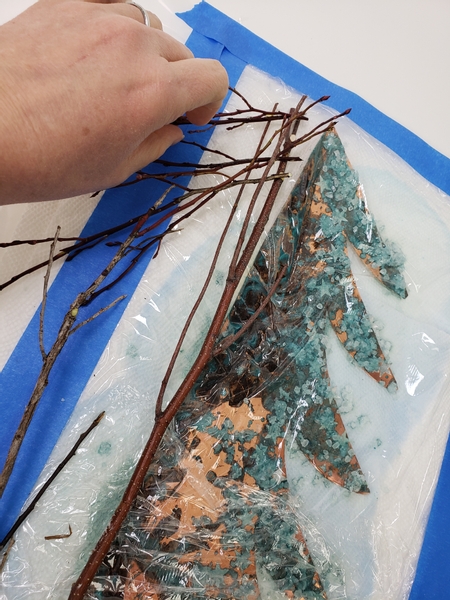
Glue in side branches with hot glue.
Design note: To build up a strong but delicate structure make sure each twig you add is secured at, at least three other places. This way it still looks as if it is barely there delicate but it can even support the weight of the water tubes we will add...
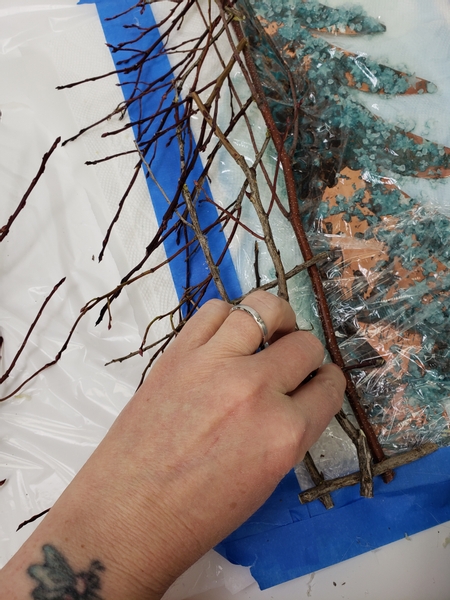
Also make sure to glue the twigs to the other twigs and not to the plastic.
Mirror the shape of the copper tree half so that they match.
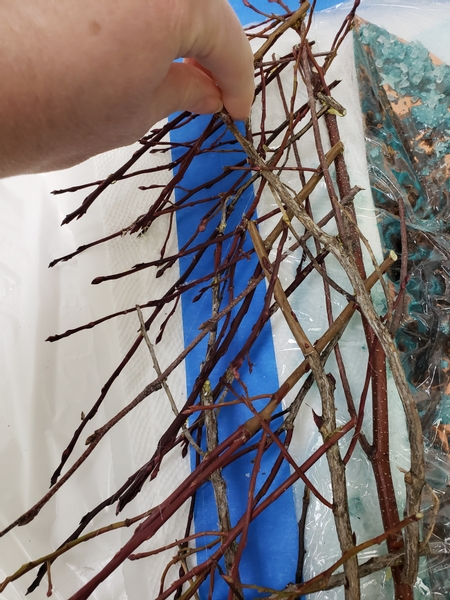
Carefully remove the glued twig half of the Christmas tree from the plastic.
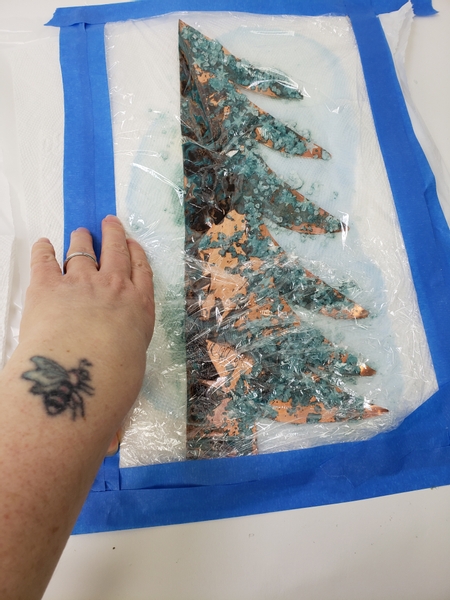
Lift the plastic from the copper.
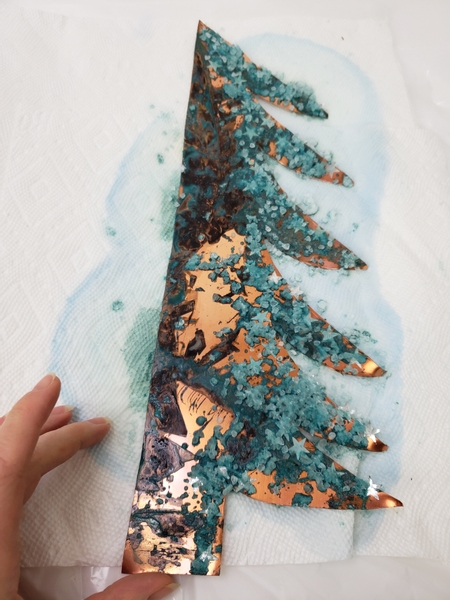
To reveal the beautiful blue green patina.
Design note: If you want you can leave the paper stars on the copper and just continue the design. In time the salt will disappear leaving a vintage look on the silver stars as the paper cracks.
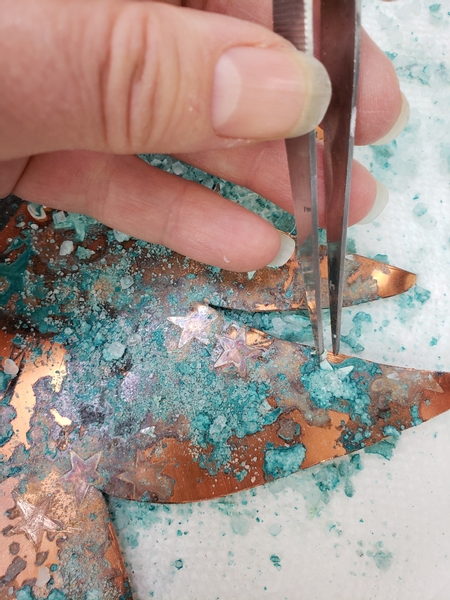
For my design I used a tweezer to lift away the star...
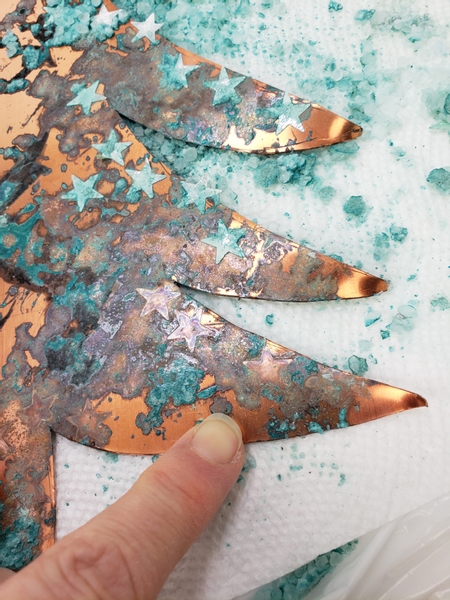
Leaving just the suggestion of a star on the copper surface.
pretty, right?
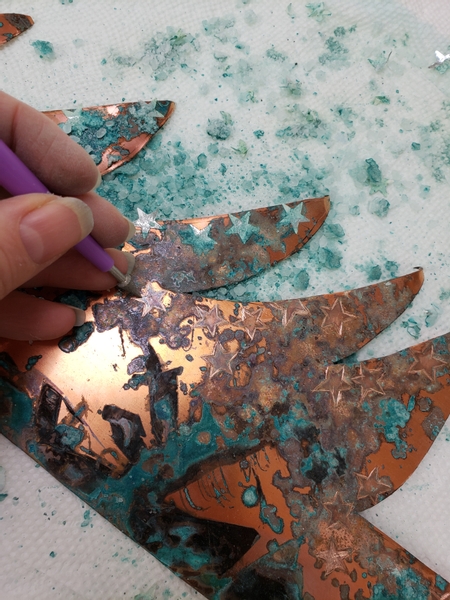
For a third option you can also score the outline of the star so that it is more visible than the shape alone but not so visible that it still shines.
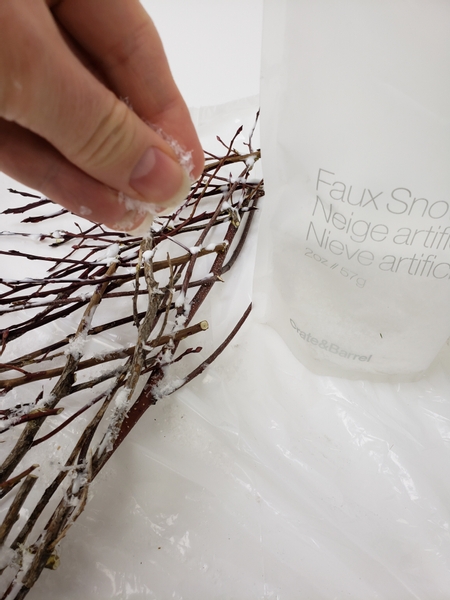
Sprinkle on some artificial snow to cover the twigs.
See the Tutorial below for detailed instructions on how to add artificial snow to twigs.
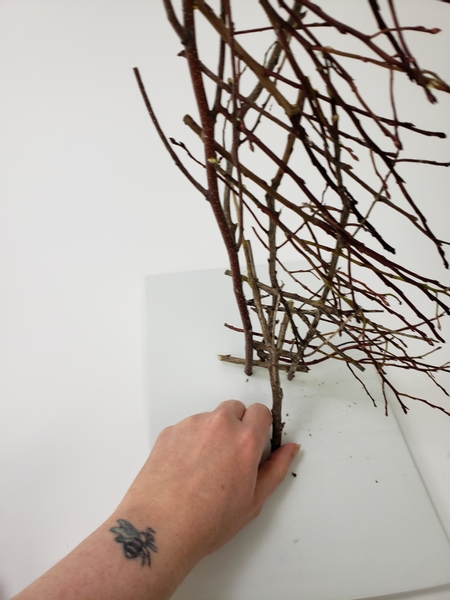
Add a twig to the back of the twig tree half so that it stands upright on a display surface.
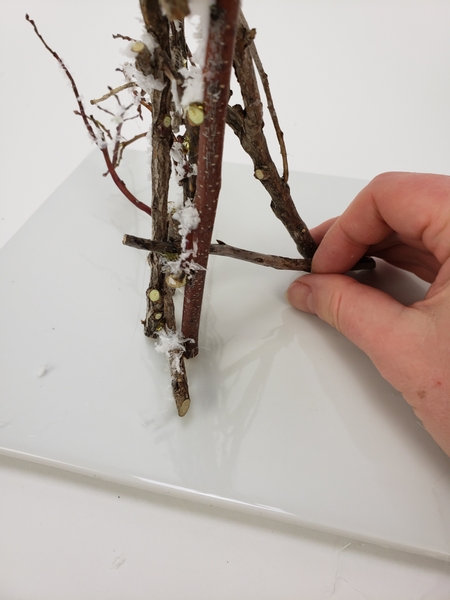
Connect the two twigs so that the twig Christmas tree is extra secure. The copper half is rather heavy so make sure the twigs are able to carry some weight.
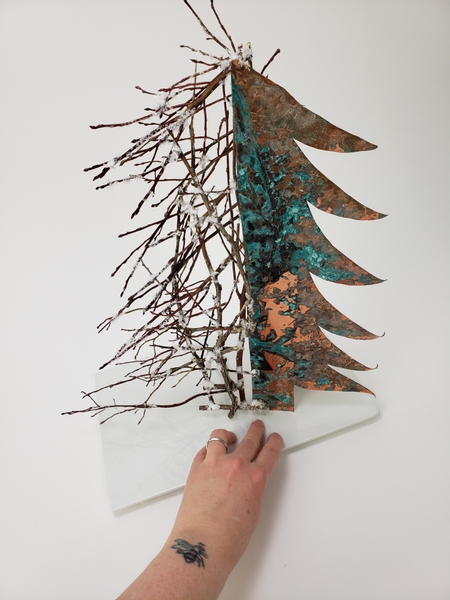
Match the two halves of the Christmas tree on a display surface.
It stands up perfectly with just the twig support but if you want to decorate the tree it might need more support at the back.
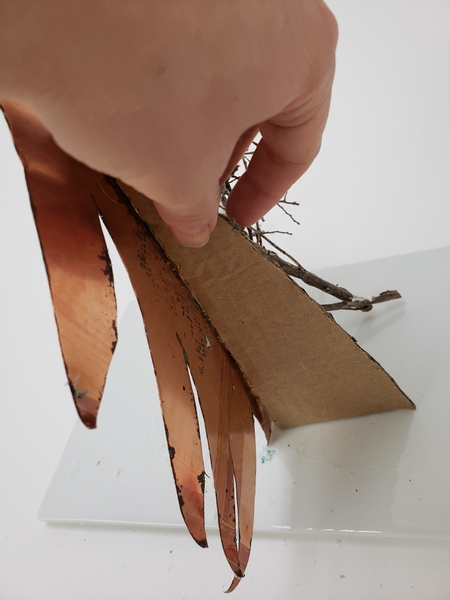
Option one is to add a cardboard support to the back of the copper half of the tree if it needs more support
I like this option because it is fairly easy to make, will not scratch or damage the display surface and can be removed without damaging the tree. But you can also add in a twig support to match the other side or a copper support similar to the cardboard.

Glue in a few water tubes to keep the flowers hydrated.
See the Tutorial below for detailed instructions on how to make your own water tubes.
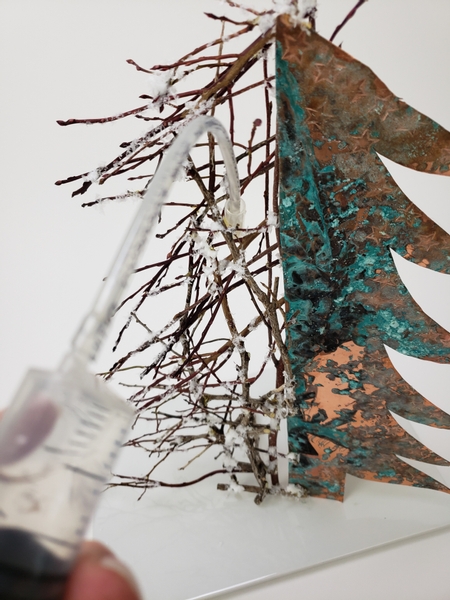
Fill the tube with water.
Because my designs are so delicate I like having a bit more control on how to fill the tubes with water so that I can reach deep into a structure and maneuver the pipe to pour the water just there... See the Tutorial below for detailed instructions on how I make my own pipette. And book readers turn to page 184 for a fun 2 litre version of this for when you need to fill quite a few water tubes. And I tell you how I came up with this idea.
For more information about my book: The Effortless Floral Craftsman
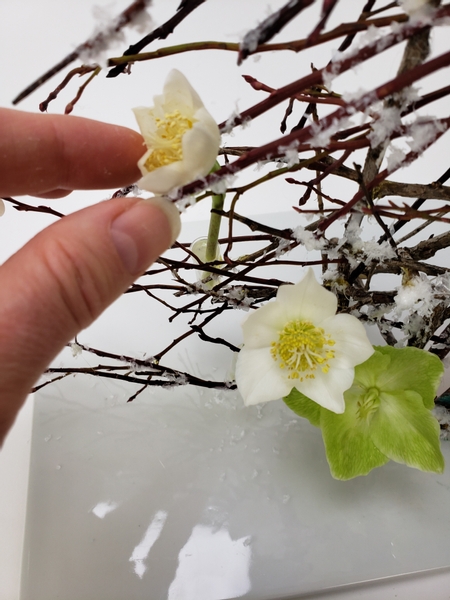
Place the Christmas Roses to nestle in the snow covered twigs.
Oh and then... my favourite: Rosary vine. The vines are perfect for positioning delicate tips to look like they are draped over the copper. The delicate succulent heart shaped leaves can cling in ways that opens up so many creative options.
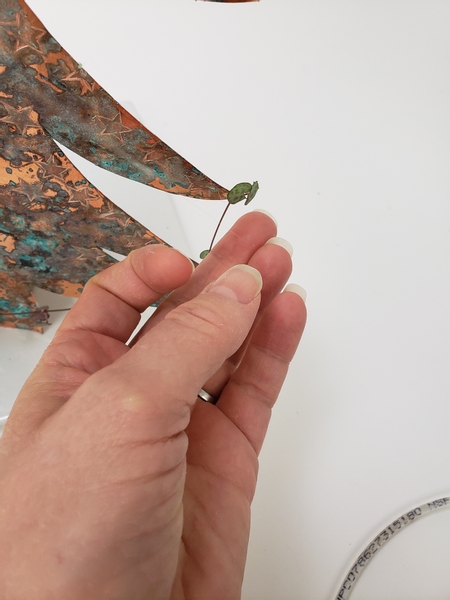
Simply introduce the vine to the copper and it will hook in place.
Which is brilliant to design with. But once the vines get tangled it can take hours to untangle. I have a fun tip for you on how I untangle these vines. I discovered this trick trying to untangle vines on a competition floor. I was amazed how quickly it works. It is all in this week's notification email. The signup is below this post.
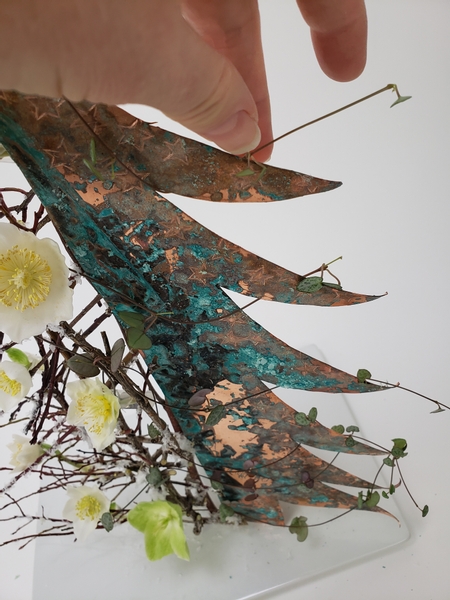
Hook the vines to drape over the copper part of the Christmas tree and rest on the branches.
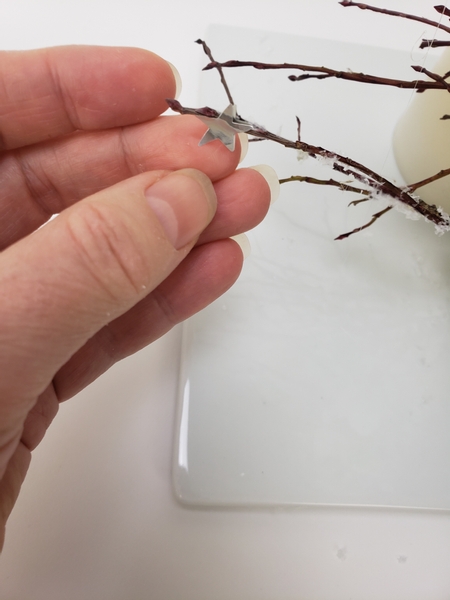
Add Christmas stars to the twigs to mirror the copper stars.
Design note: If you find something that is supposed to be sticky is not as sticky as it was supposed to be double up. Place a star (or crystal or whatever) on the front and on the back of the twig to sandwich it. The accessory will no longer drop and stay perfectly in place.

Design tip: If you struggle to match the stars around the twigs sandwich them both at one end...

... before placing the other ends over the twig to secure.
Sign up for my weekly newsletter
Every week I add a new design with related tutorials. Be sure to subscribe to receive an email notification with design inspiration.


