Christine de Beer - effortless floral craftsman
Sparkling Eucalyptus Tabletop Christmas tree
- 19 December 2018
- and more
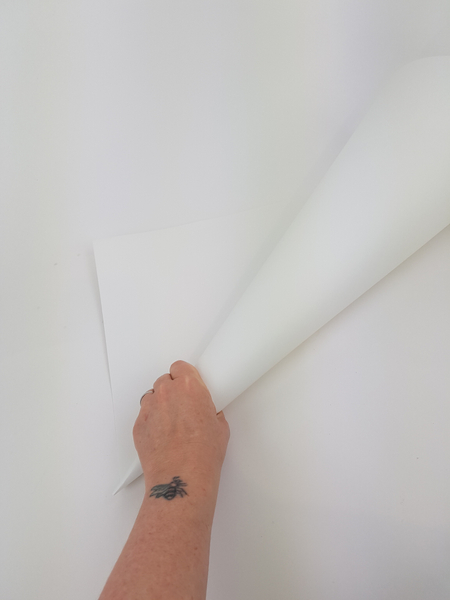
Roll a large sheet of thin cardboard into a sharp cone shape

Secure the cone with tape.
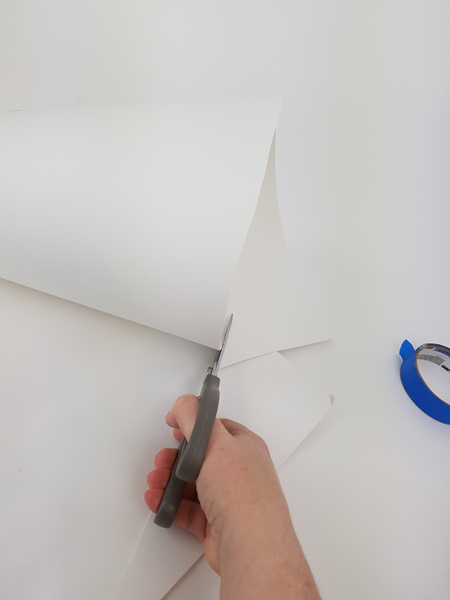
Cut the wide open end of the cone flat.
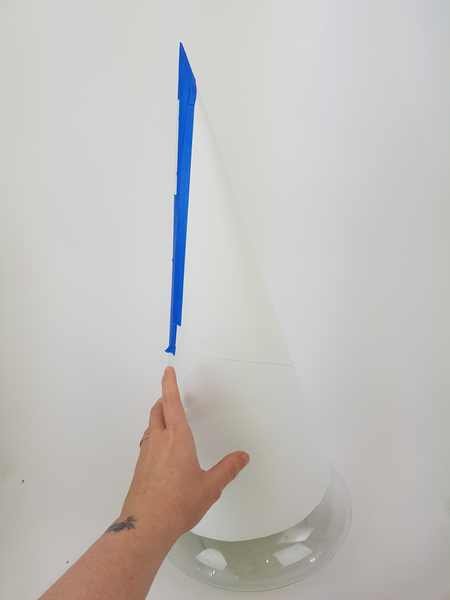
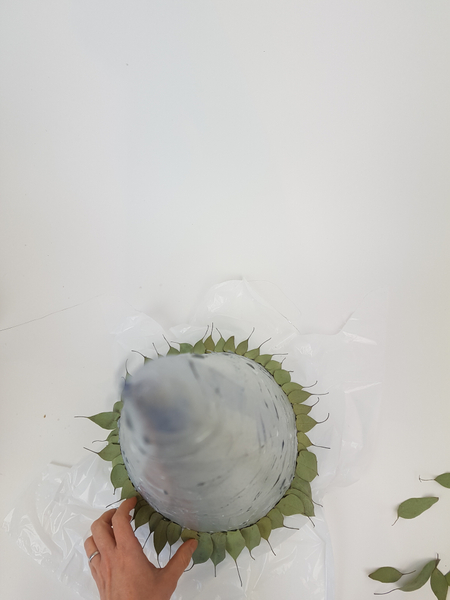
Fit the cone on a display container.
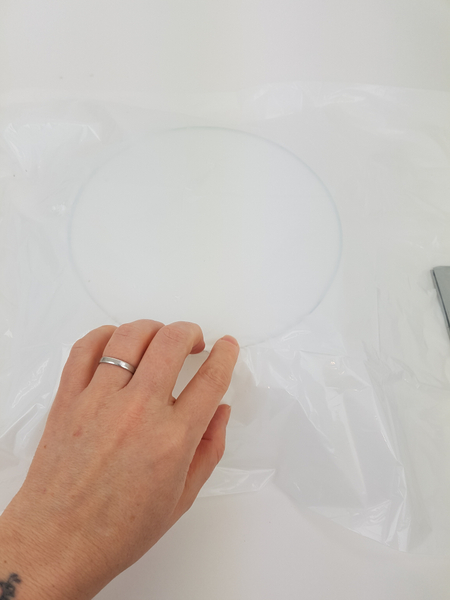
Cover the display container with plastic to catch drips of glue.
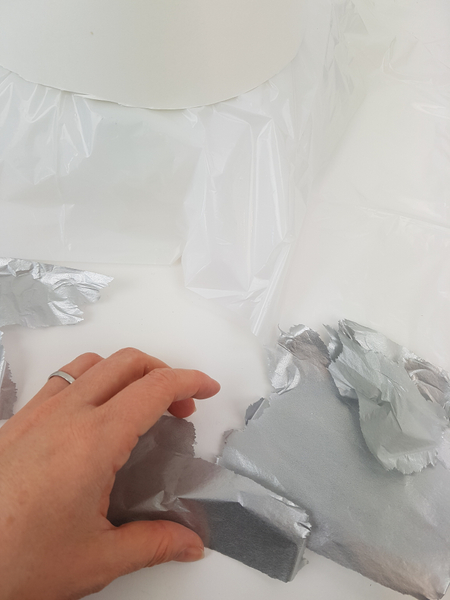
Rip up silver tissue paper.
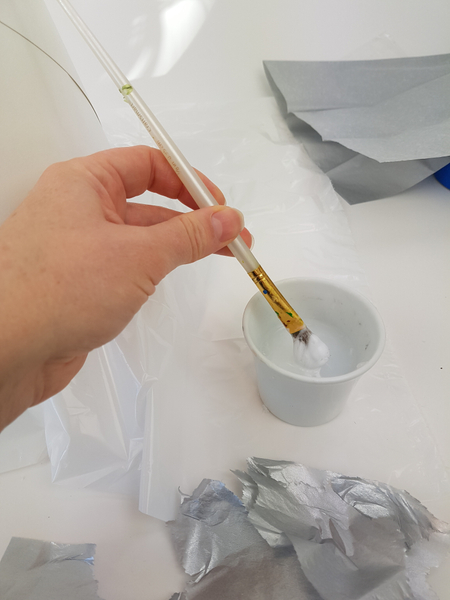
Thin wood glue with warm water.
This is to create a base layer for the cone shaped tree. For a more detailed instructions on using Papier Mache see the Tutorial below.
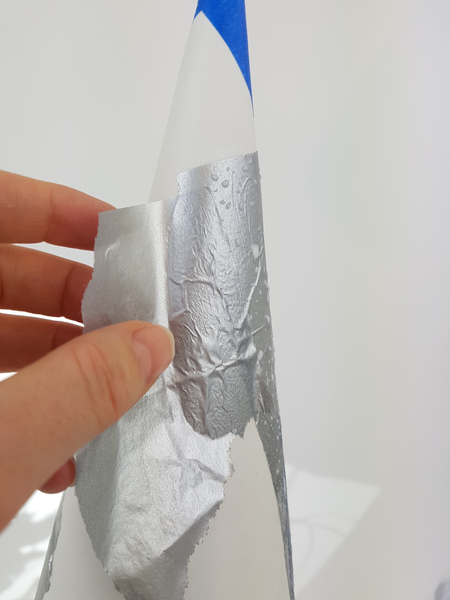
Paint the cardboard cone with thinned glue and smooth on the tissue paper.
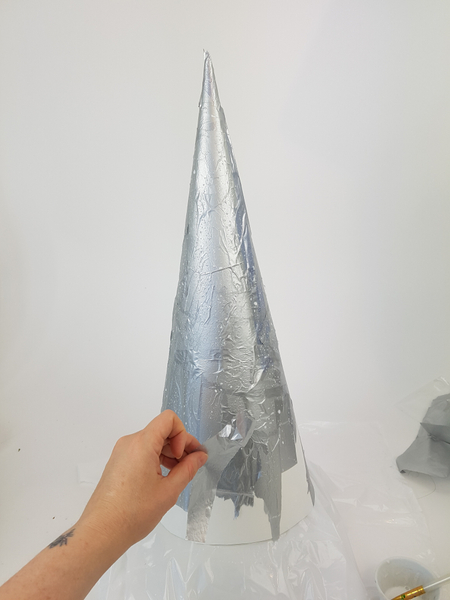
Cover the entire shape with glue and paper.
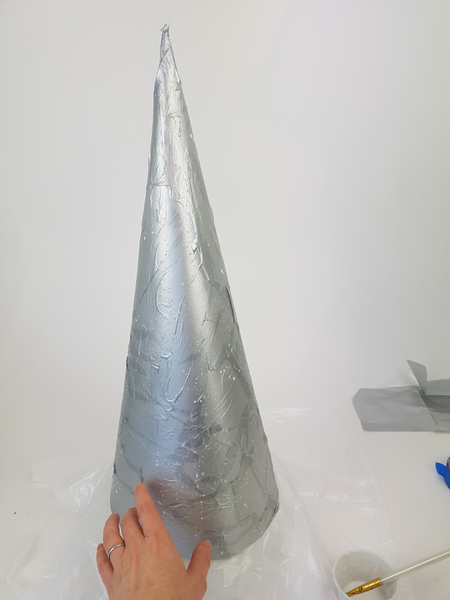
Set the cone shape aside to dry for about 20 minutes.
You can craft any base colour for your design. We craft a base colour because as the dried leaves are shriveled and curl leaving gaps for small bits of the base colour to peek through. The glue also dries making the shape become stronger and sturdier to carry the weight of the plant material.
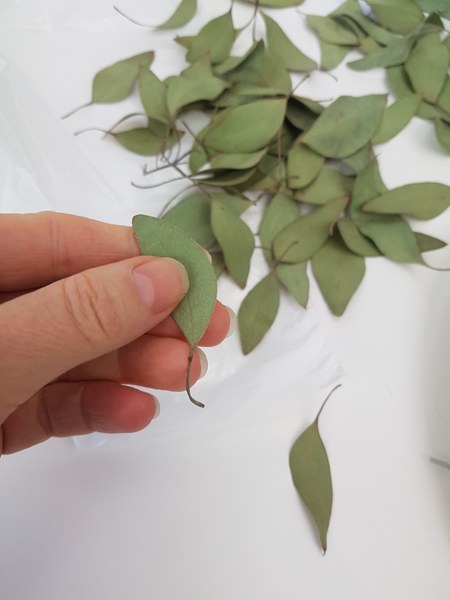
Cut the Eucalyptus leaves from the twigs leaving the stem on the leaves. I used dried leaves so that I can follow their natural shape to craft the tree.
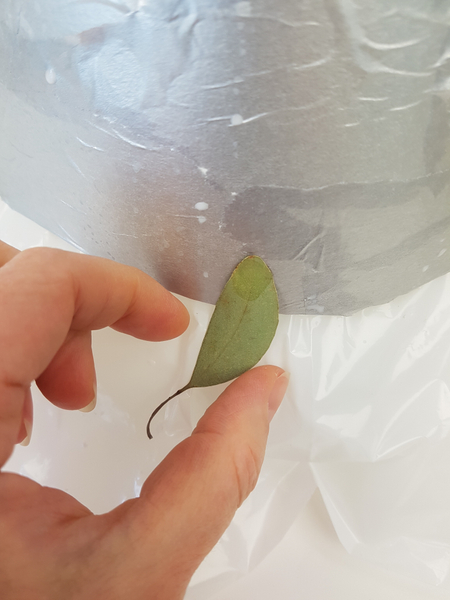
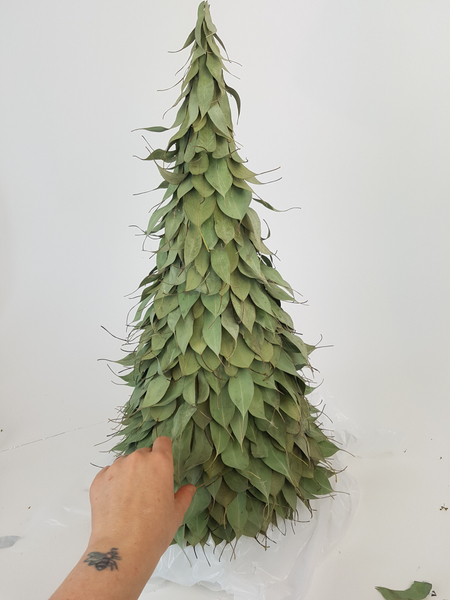
Glue the leaves to the cone shape. I glued mine stem side out for extra visual interest.
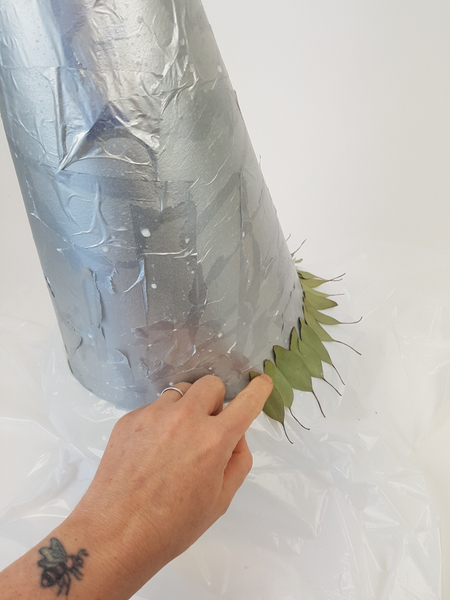
Glue leaves around the cone shape.
Overlap the leaves slightly in a roof tile pattern.
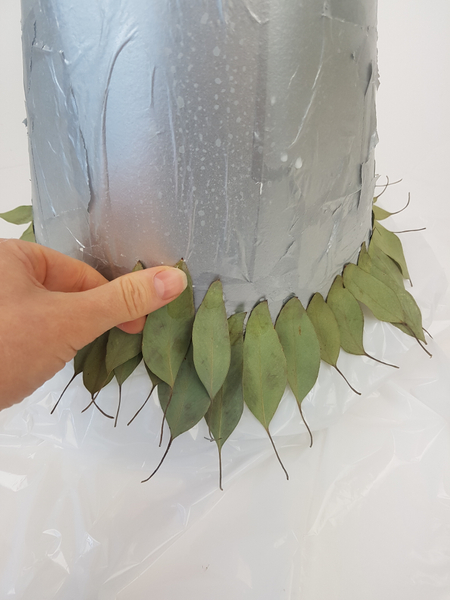
Once done with the first row start a second row of leaves.
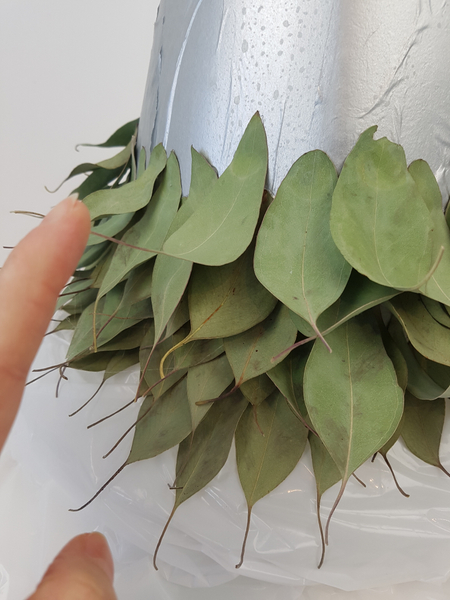
Place the leaves so that they curve up slightly so that the tree looks vibrant and not like it is wilting.
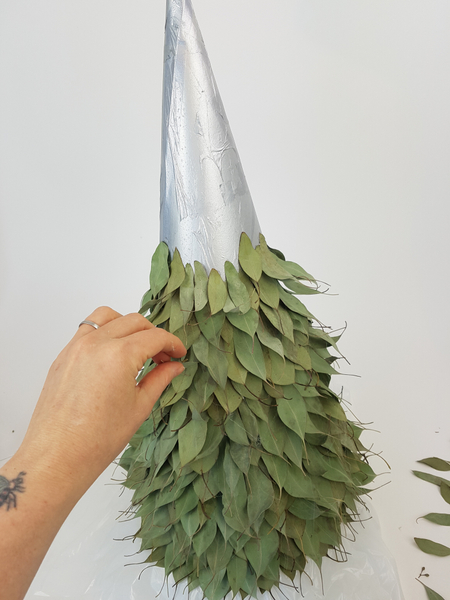
Cover the cone shape, row by row.
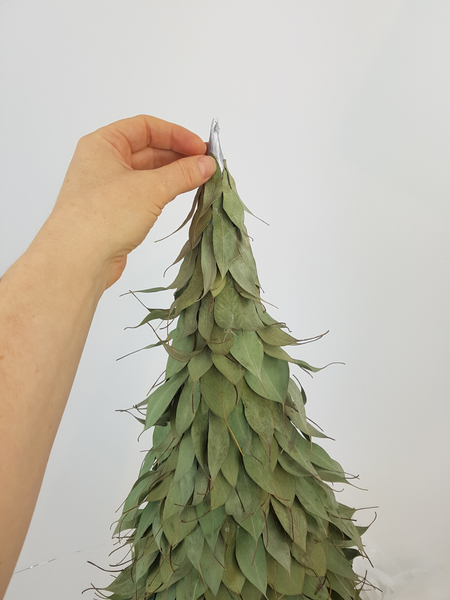
All the way to the top.
See the Tutorial below for more detailed instructions on how to remove hot glue strands.
Once the glue strands are removed the cone armature is ready to design with.
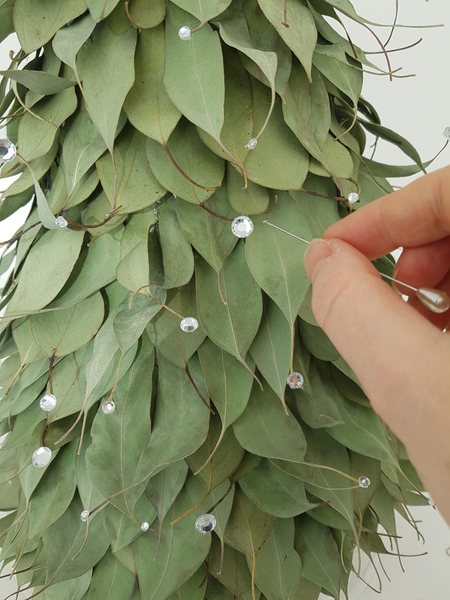
Glue in some sparkling snowflake crystals.
See the Tutorial below for more detailed instructions on an easy way to glue in crystals.
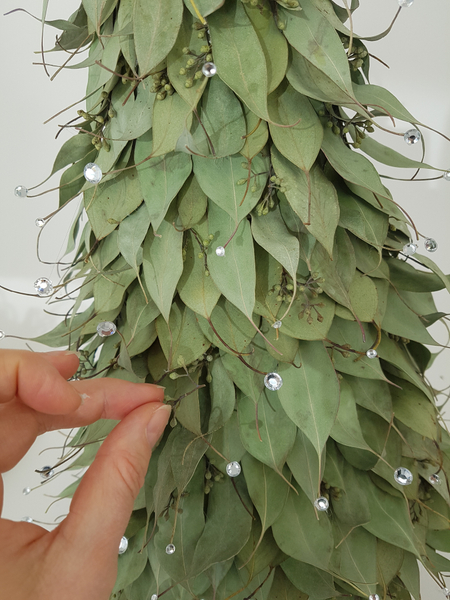
Glue in some seeded Eucalyptus.
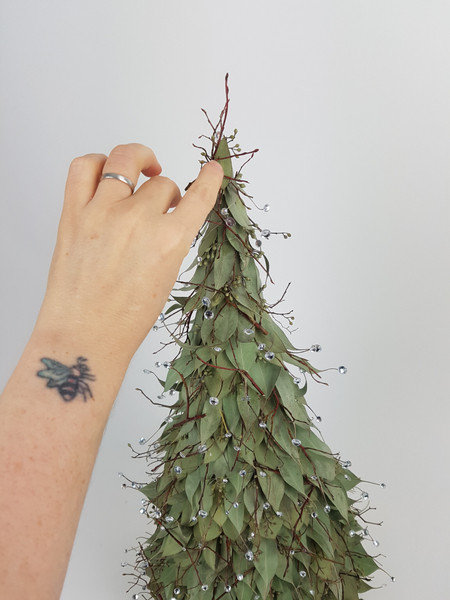
Finish the design by adding a few winter twigs to break up the too neat roof tile pattern of the leaves.
Sign up for my weekly newsletter
Every week I add a new design with related tutorials. Be sure to subscribe to receive an email notification with design inspiration.


 Cotton Christmas")


 Eucalyptus Christmas wreath")

