Christine de Beer - effortless floral craftsman
Stack and Glue Needle Trees
- 13 December 2023
I am showing you a few versions of the tree. One with lights, with and without a stand, a pyramid stacked one and one on a wire. Before starting make sure you have loads of needles... you are going to need more than what you think. Any ever green needle would work great.
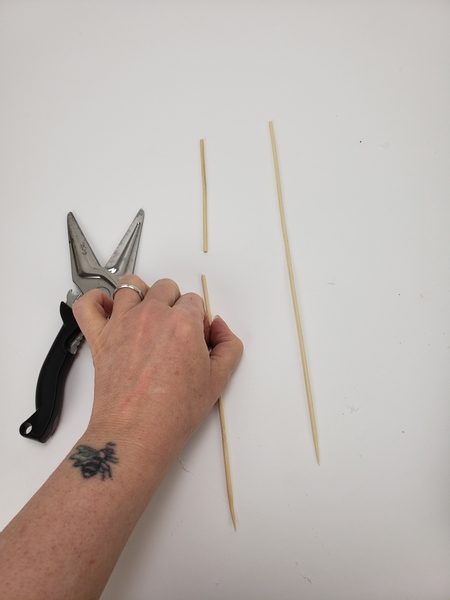
Cut bamboo skewers to the size you want the tree to be.
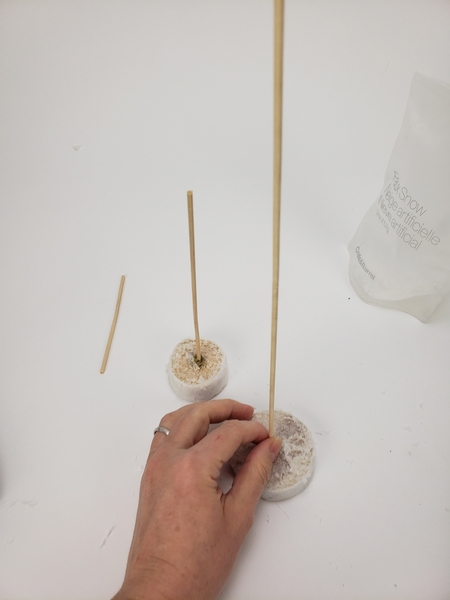
Drill a hole in a small wooden disk and cover it with ribbon or artificial snow and secure the bamboo skewer into the hole
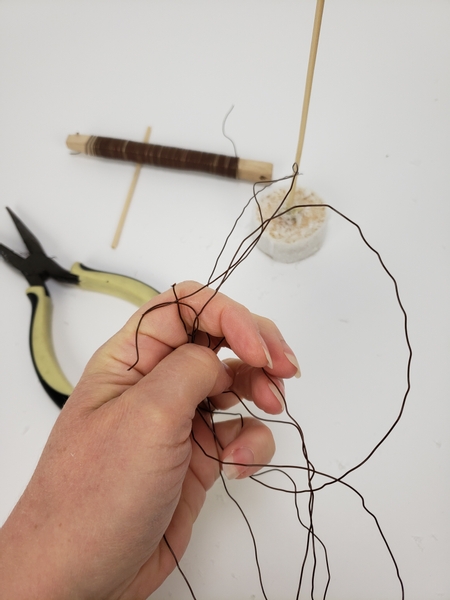
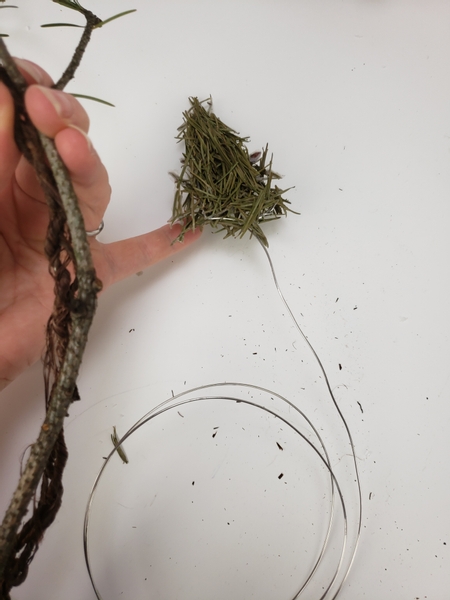
Tangle up some thin wire...
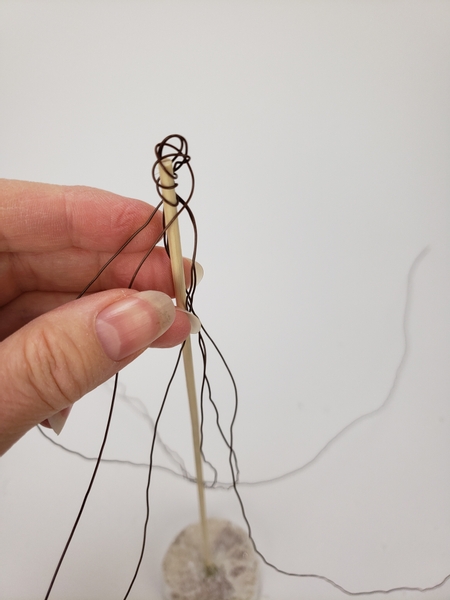
Wrap the wire around the end of the bamboo skewer.
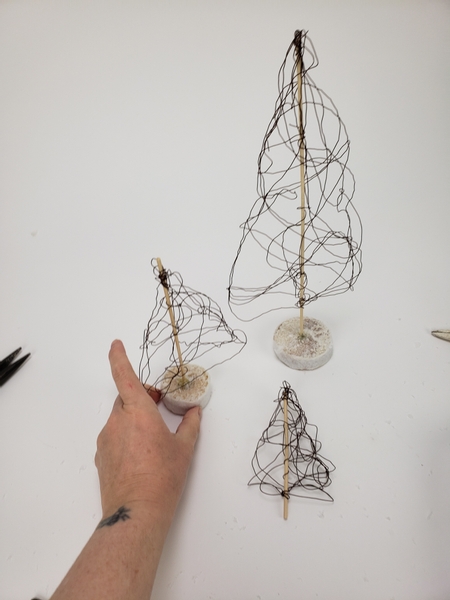
And shape the wire into small trees.
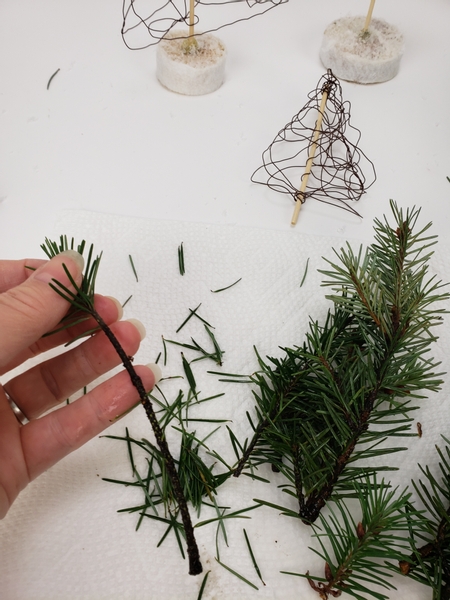
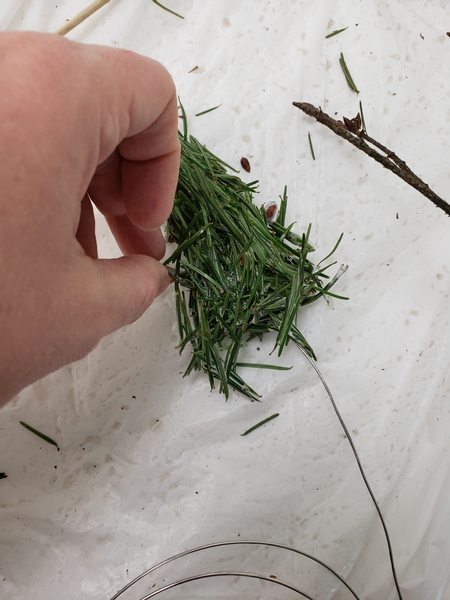
Strip the needles from a branch...
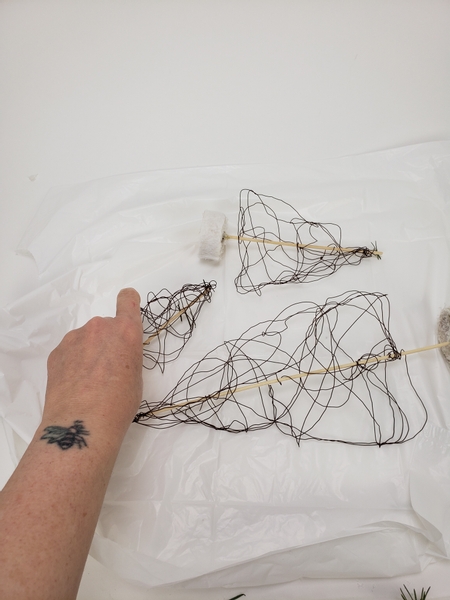
Line your working surface with plastic and place the wire trees on the surface.
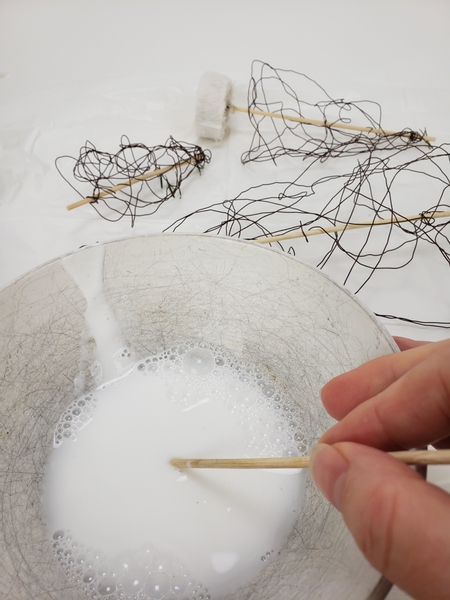
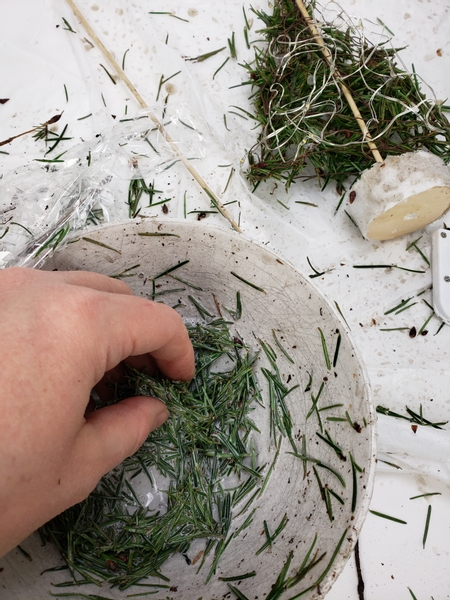
Thin some wood glue in an old bowl... this is going to get pretty messy and you might not get the bowl completely clean again.
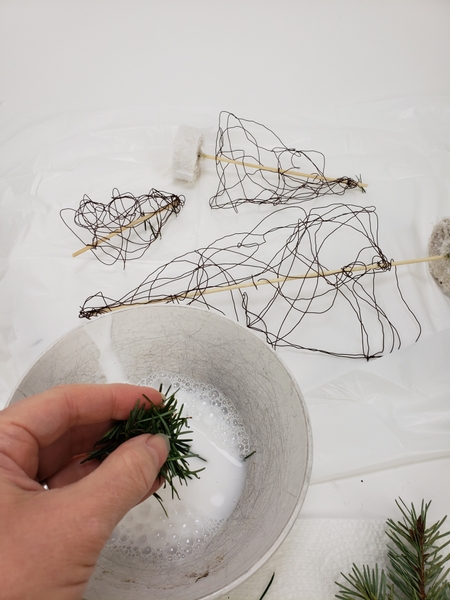
Dip the needles into the glue.
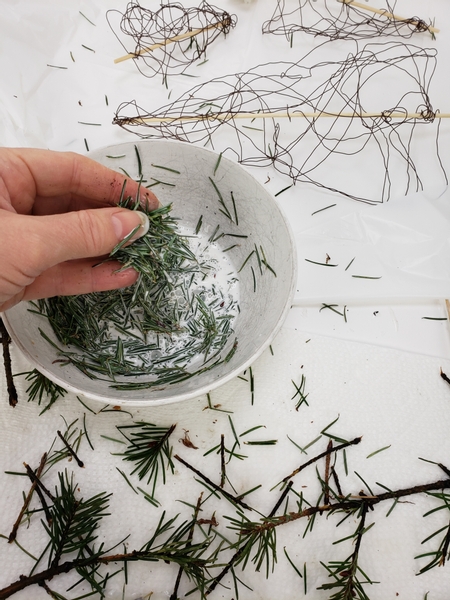
So that it is completely soaked.
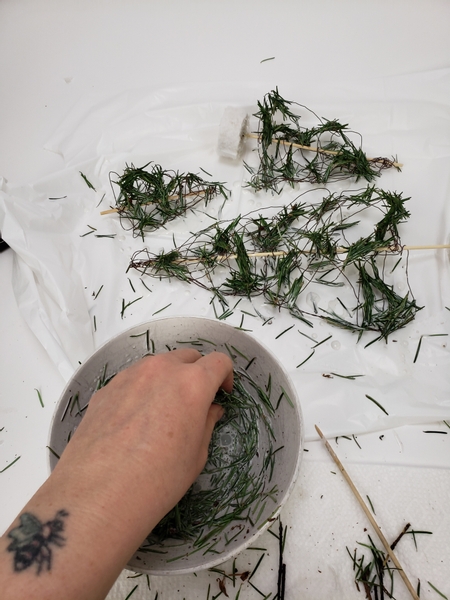
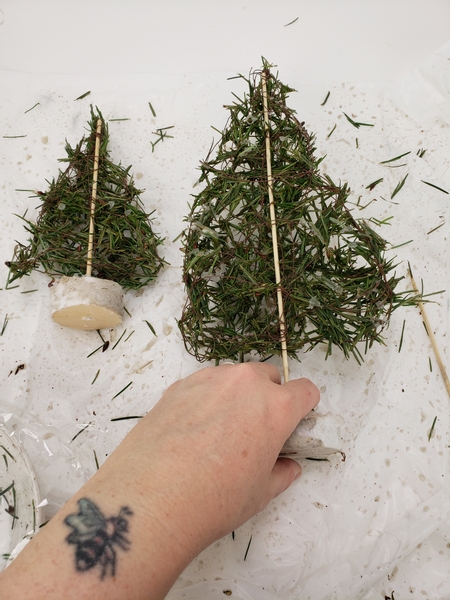
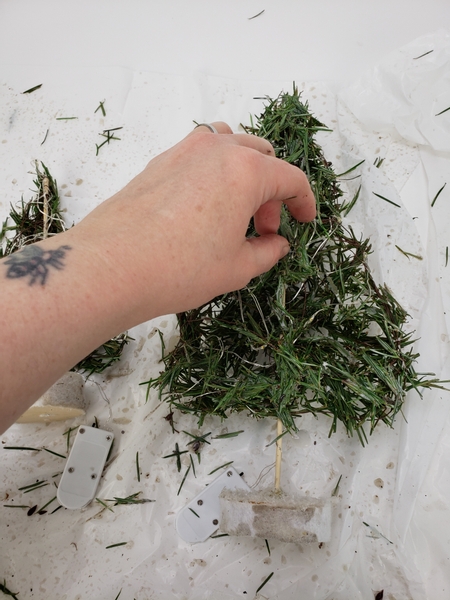
Pile the needles onto the wire tree frames.
Until the frame is completely concealed.
Set the tree aside to dry.

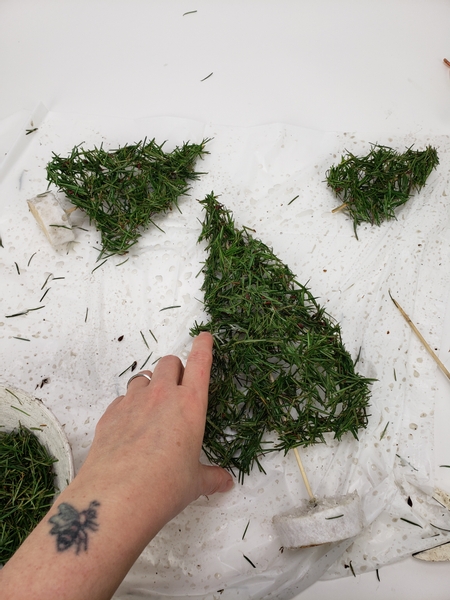
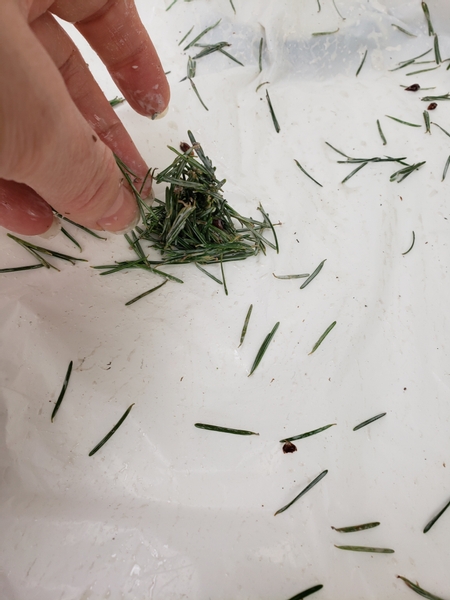
To craft the tiny pyramid tree: Build up a small puddle of needles dipped in glue on a plastic lined working surface. Set it aside to become slightly tacky...
As the glue starts to dry and become more sticky sprinkle more needles on top of the foundation...
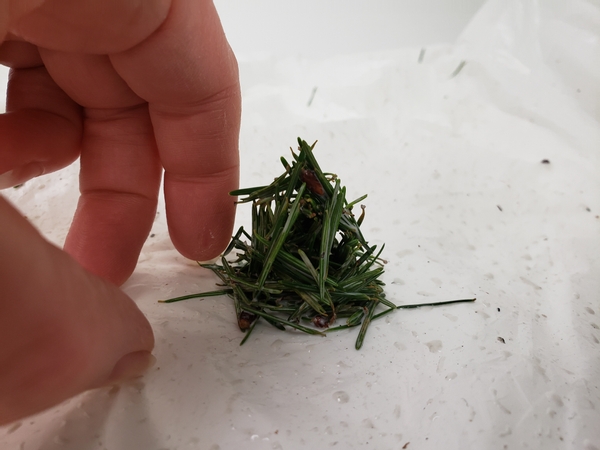
That will set into a tiny Christmas tree once dry.
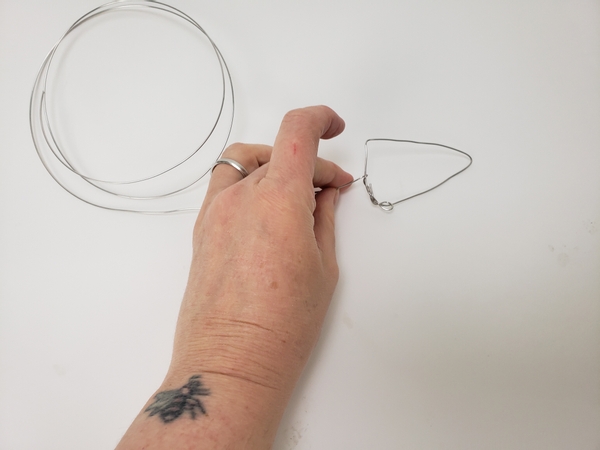
For the wired tree shape a triangle tree shape out of wire leaving a long tail for you to design with.

Place the glue soaked needles over the wired tree shape to cover the wire.
Creating a few windblown bits at the bottom edge that will show off nicely at the end of the wire once lifted up and seen from the front...
Set the wired tree aside to dry completely before adding it to the design.
And to add the lights: When the first layer of needles are set around the wire frame on the one side flip the tree over...
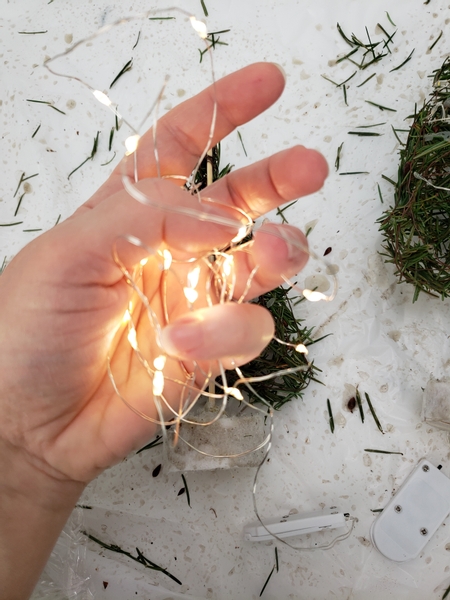
Tangle a string of fairy lights...

And shape the lights inside the needle and wire tree frame.
Soak more needles in the glue...
And sprinkle the needles lightly over the lights.
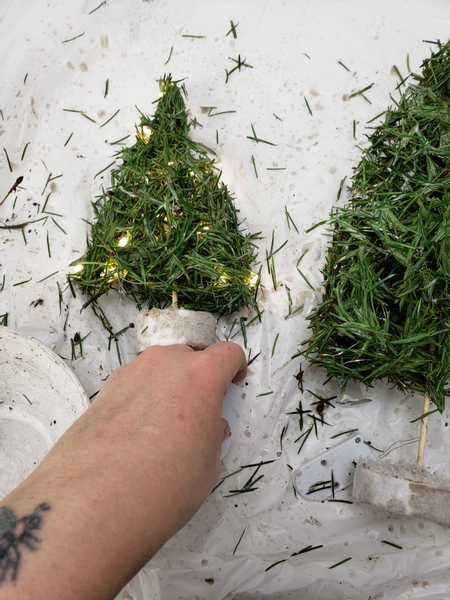
Remember to test the lights as you craft along and keep the on/off switch so that it is convenient to use when you add it into the design. Set the trees aside to dry completely before lifting it up to add to the design.
I also have a tip for you this week in our email on how I use this glue technique to vary the amount of reflectiveness and give it a muted look but only in some places. I send out a tip email every Wednesday morning (Vancouver time) with something that I found interesting and wanted to share with you in more detail. Feel free to reply to the email if you have questions or comments... or to say hi. The sign up is below this post.
Sign up for my weekly newsletter
Every week I add a new design with related tutorials. Be sure to subscribe to receive an email notification with design inspiration.


