Christine de Beer - effortless floral craftsman
Piled Pine Needle Tabletop Wreath
- 12 December 2012
- and more
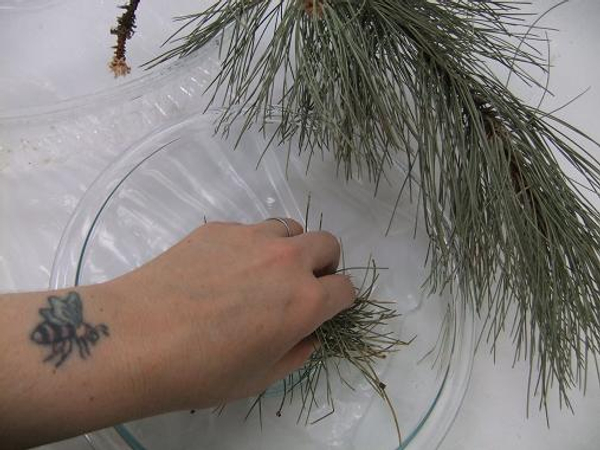
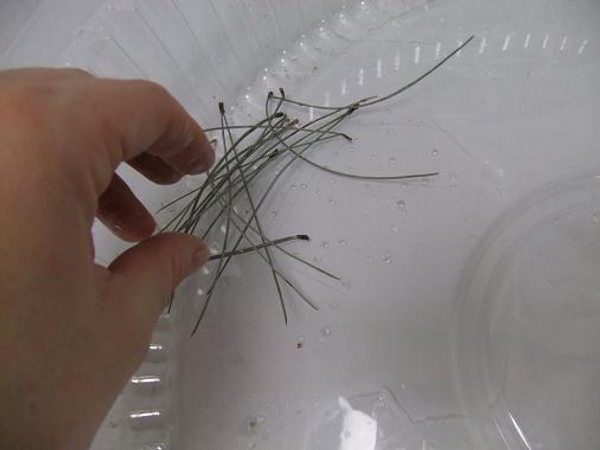
Place dry pine needles in a bowl
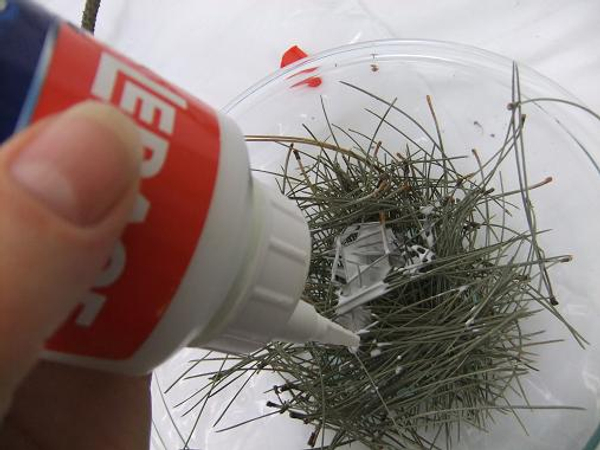
Pour wood glue over the pine needles
Thin the wood glue with warm water.
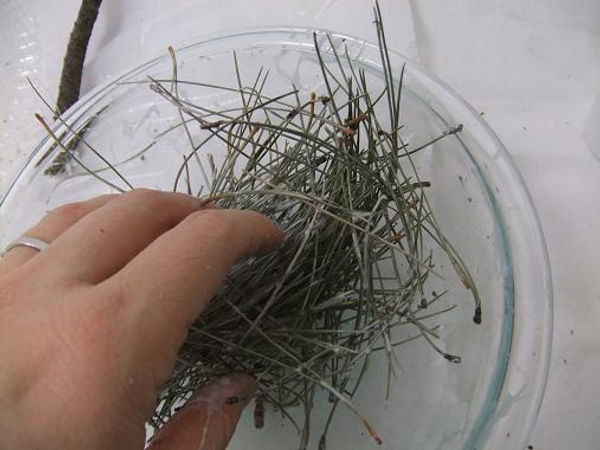
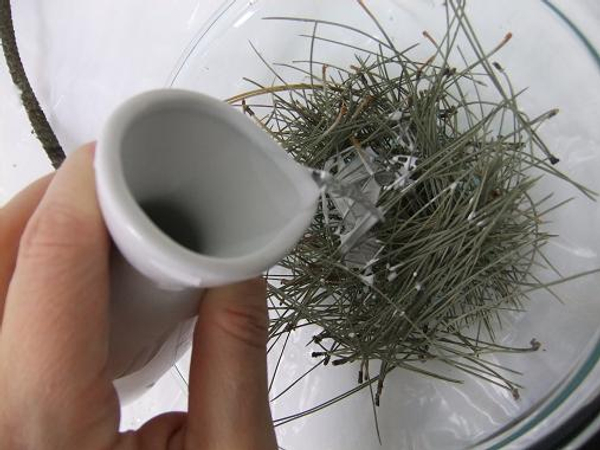
Mix the glue and pine needles to make sure that the needles are covered in glue
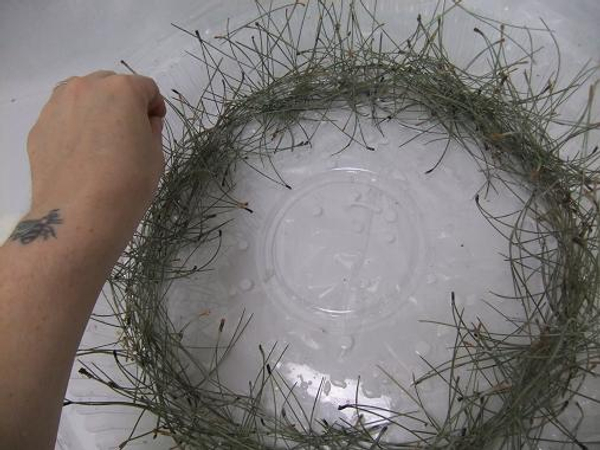
Lightly pile the needles in a circle. I am working inside an upturned catering tray lid to guide the wreath shape and catch all the glue spills.
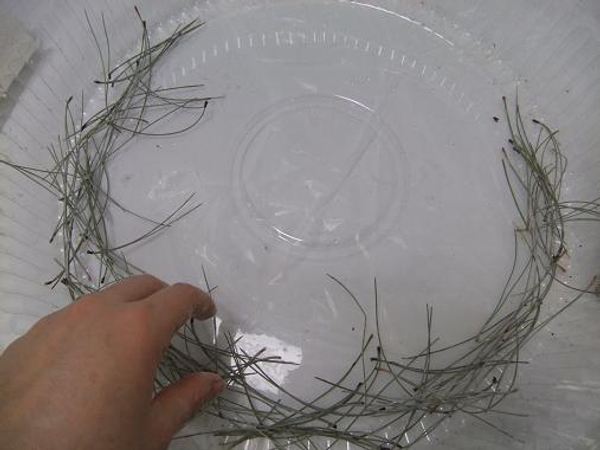
Keep on piling pine needles
Make sure the foundation is still light and airy but secure. Have a look around the circle and add needles where the connection seems weak

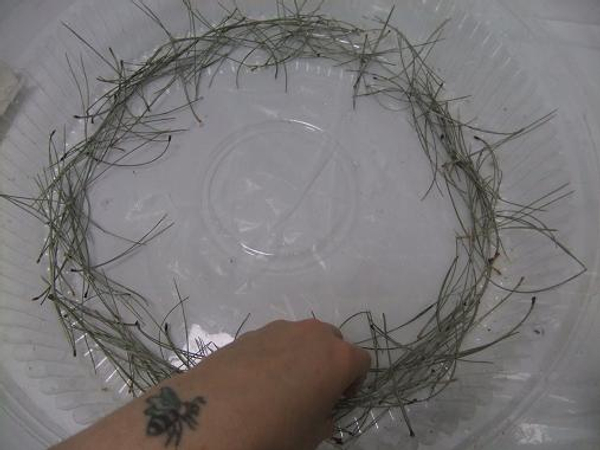
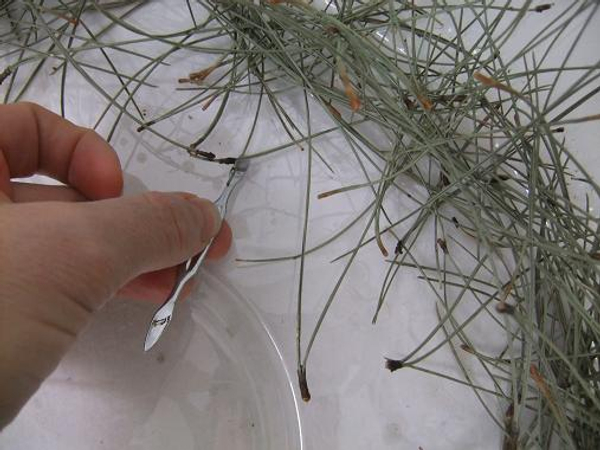
The next layer should add a bit of height to the wreath. Do not pat it down. Let the pine needles trickle from your fingers
The two layers should add enough height to help the next few pine needles to stand upright.
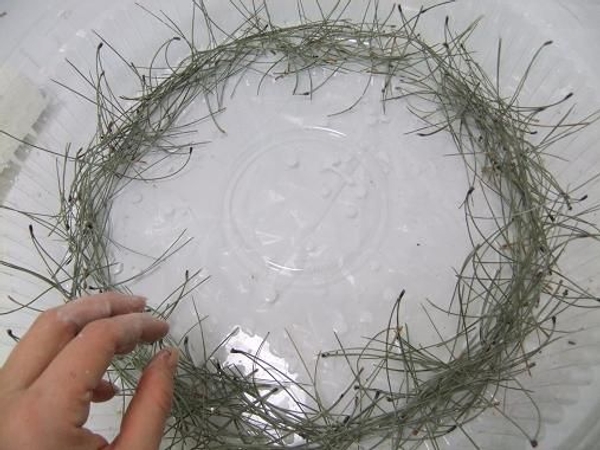
Glue in needles to stand on end. It should look like they just fell from the tree and froze that way
Set the wreath aside to dry overnight
Carefully lift the wreath from the plastic, first by flexing the tray to loosen the glue, and then carefully wiggle any bits that are still stuck.
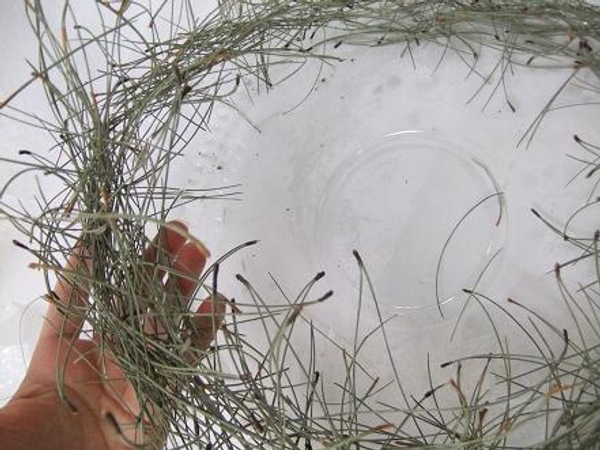
Place your hand under the wreath and lift it out of the tray
Gently shake the wreath to make sure there are no weak points
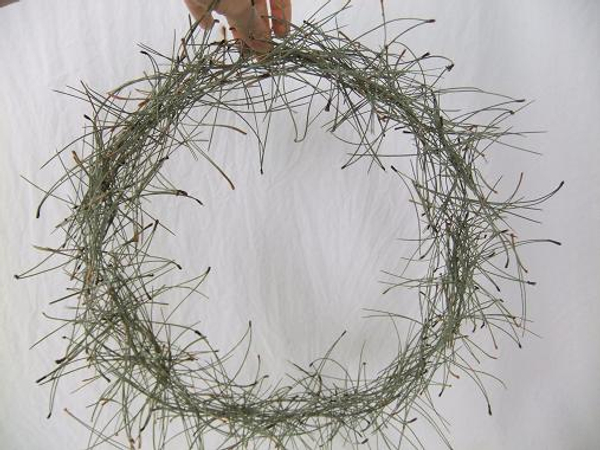
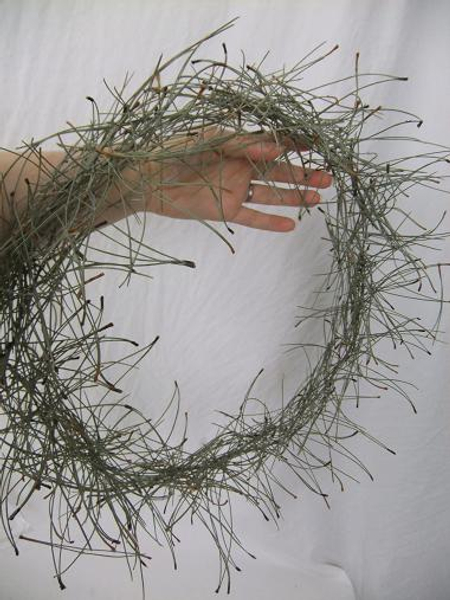
Piled Pine Needle Tabletop Wreath ready to design with
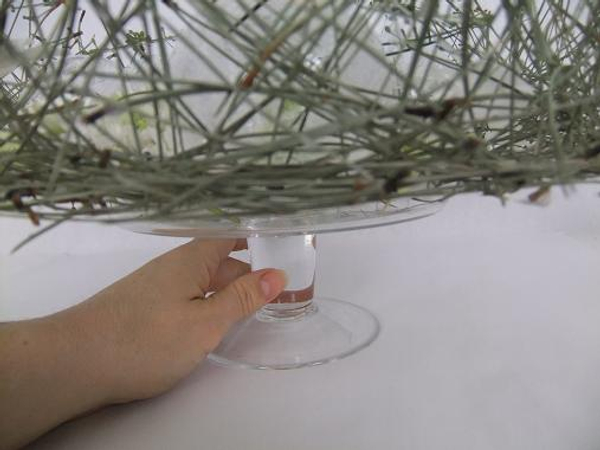
Fill the bottom of a lipped cake stand with water and float just a few stems of white hydrangea shooting star flower heads. Place the Piled Pine Needle Tabletop Wreath to rest lightly on the lip of the cake stand but away from from the water. Add a few frosted glass baubles, the eucalyptus snow flakes (See Tutorial below for how to make Eucalyptus Snow Flakes) and more dried pine needles
Sign up for my weekly newsletter
Every week I add a new design with related tutorials. Be sure to subscribe to receive an email notification with design inspiration.


 Eucalyptus Christmas wreath")


: Worth a second look")

