Christine de Beer - effortless floral craftsman
Snowy Bead Garland Planter Bowl
- 13 December 2023
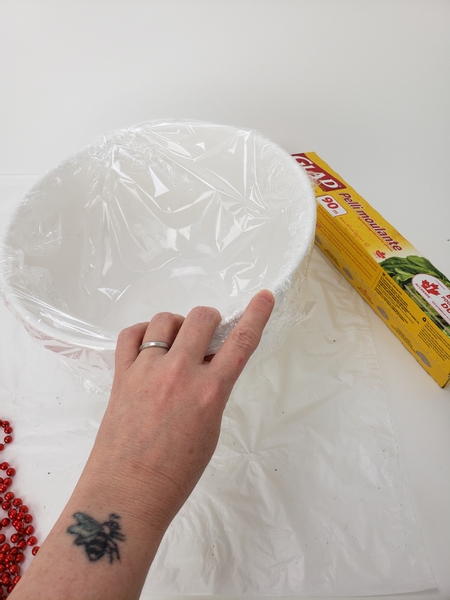
Cover a large bowl with plastic wrap.

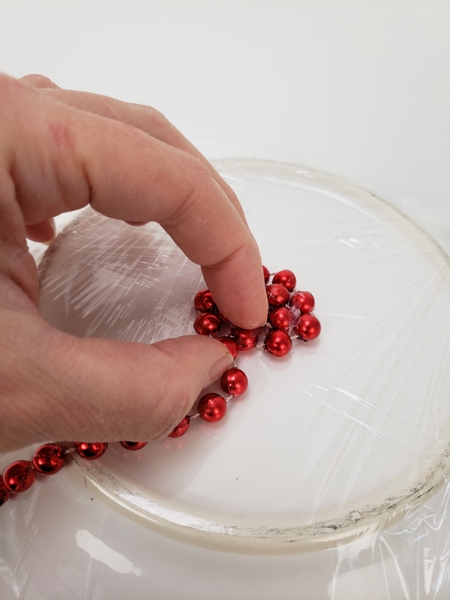
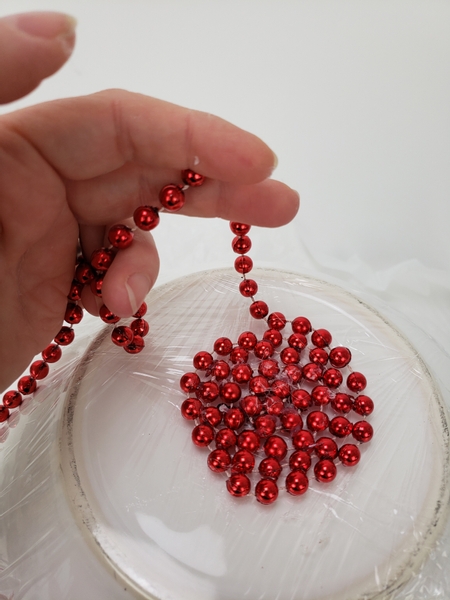
Start to coil the bead garland in the bottom middle of the bowl.
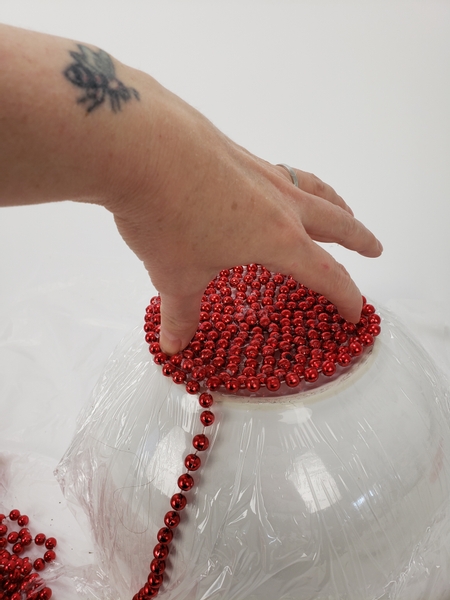
Every here and there secure the beads with a drop of hot glue.
Drape the garland in coils around and around to cover the base of the container...
All the way to the edge...
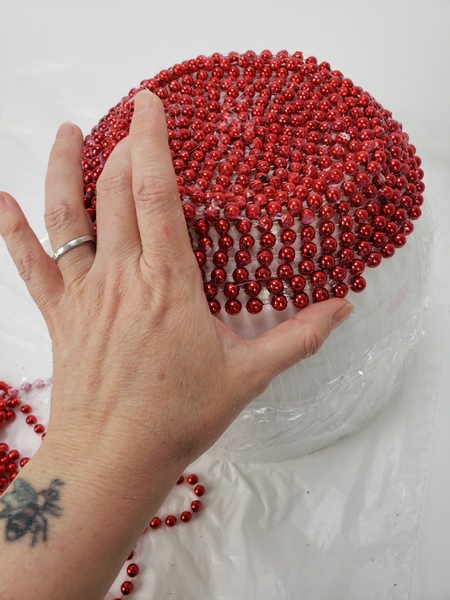
Around and around and down the side.
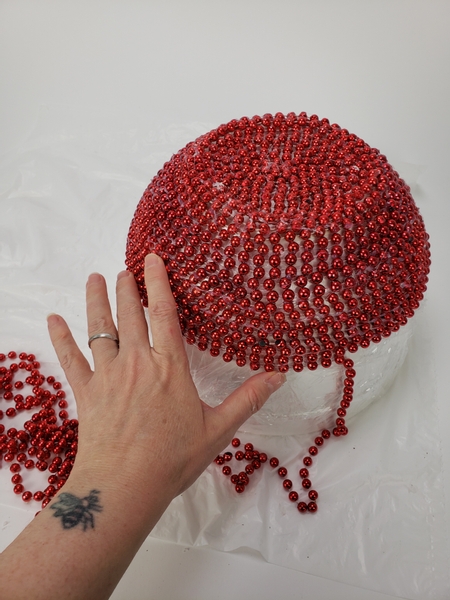
Securing the beads with hot glue as you coil.
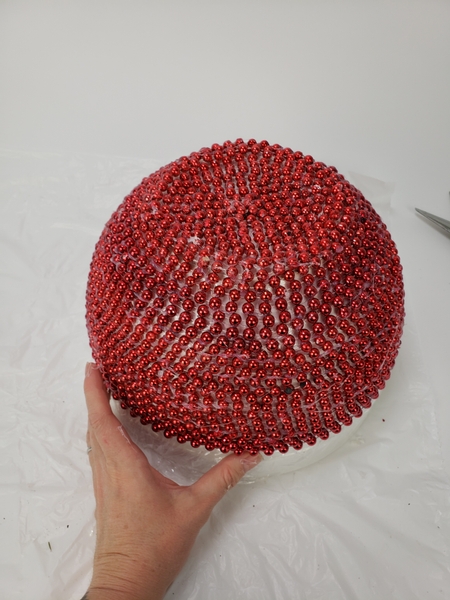
Until you run out of garland... or container to cover.
Design note: Do not underestimate how many strings of beads you will need for this bowl. Lots!
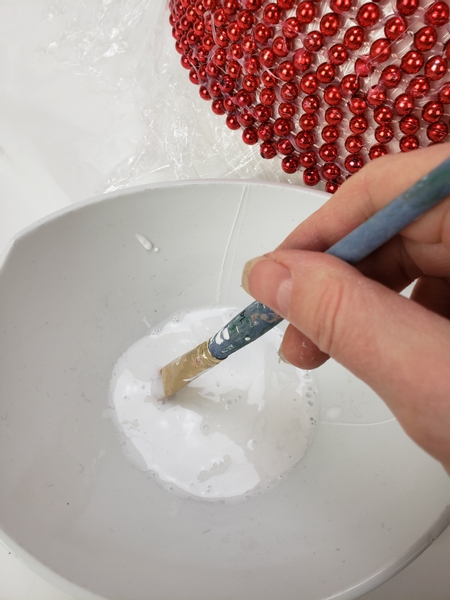
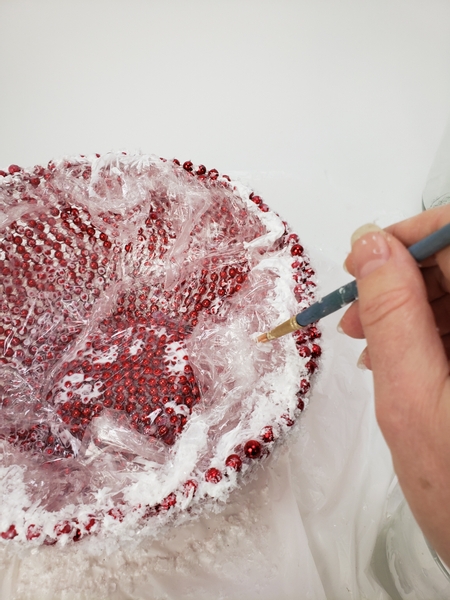
Thin wood glue with a bit of warm water...
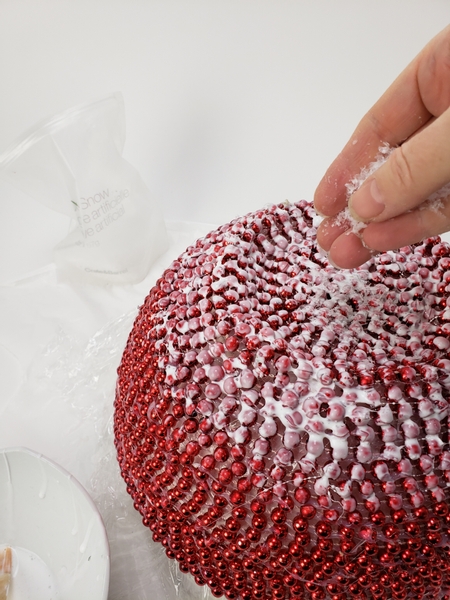
Paint the bowl with the glue and sprinkle on some artificial snow.
Work in small sections. The glue needs to soak into the beads and the snow to keep the shape of the bowl. I also have a tip for you this week in our email on how I use this glue technique to vary the amount of reflectiveness and give it a muted look but only in some places. I send out a tip email every Wednesday morning (Vancouver time) with something that I found interesting and wanted to share with you in more detail. Feel free to reply to the email if you have questions or comments... or to say hi. The sign up is below this post.
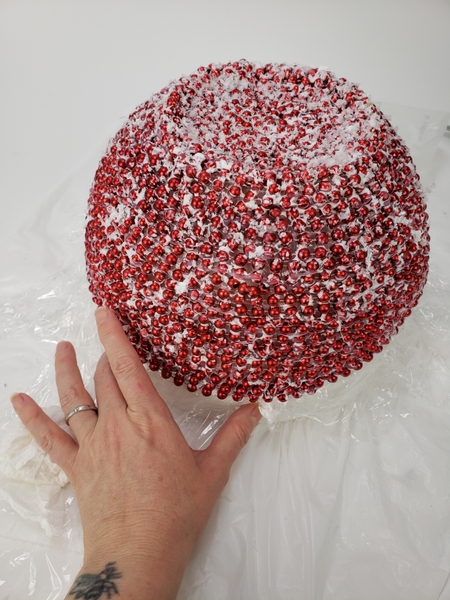
Once the entire bowl is drenched in glue and snow soup set it aside to dry completely.
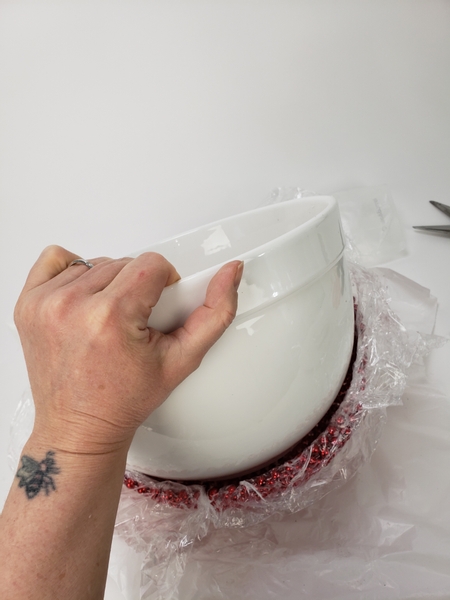
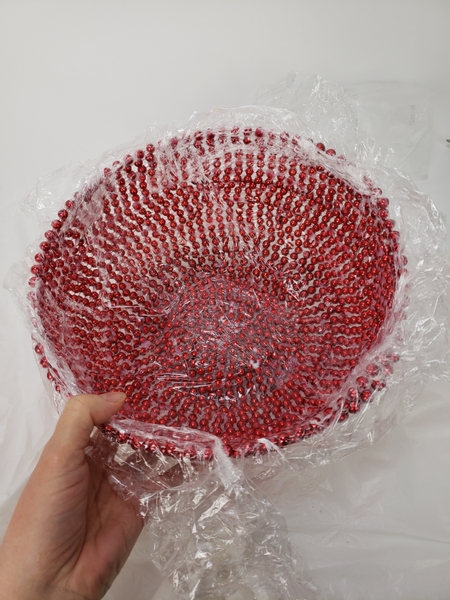
Lift your container out of the bead bowl but leave the plastic wrap. A glue bowl (just like papier mache) is not waterproof and you can use this wrap layer to protect the bowl in your design.
For more detailed instructions on how to make and craft with papier mache see the Tutorial below.
Set the bowl on your design table and if you still see any glue bits that are not yet completely dry set it aside again to dry.
Once dry test the bowl add more glue where it is not completely set. And add a bit of snow to the wrap at the top edge to conceal it. Again let it dry completely.
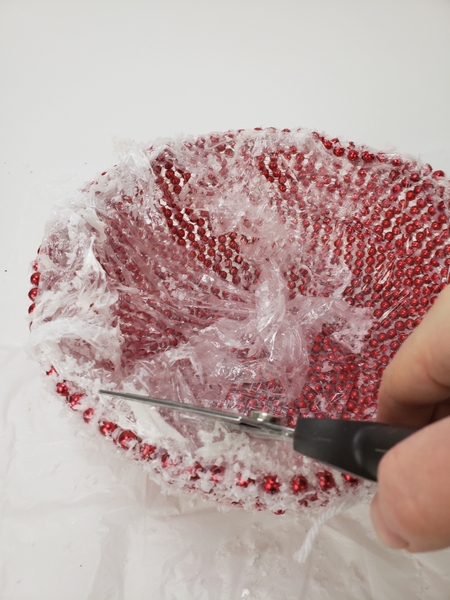
Once dry snip away some of the plastic wrap around the edge. Cut around the snow to give you a nice edge.
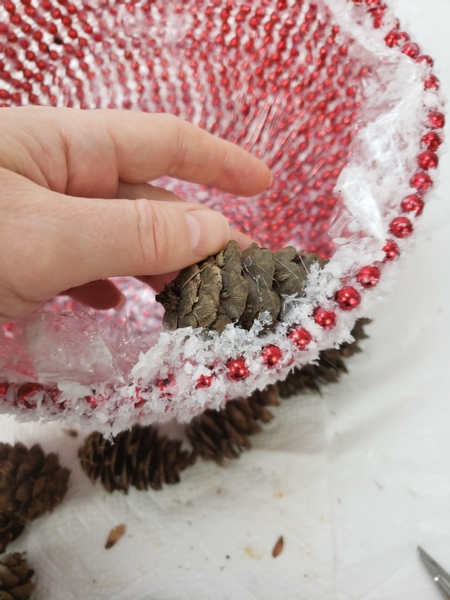
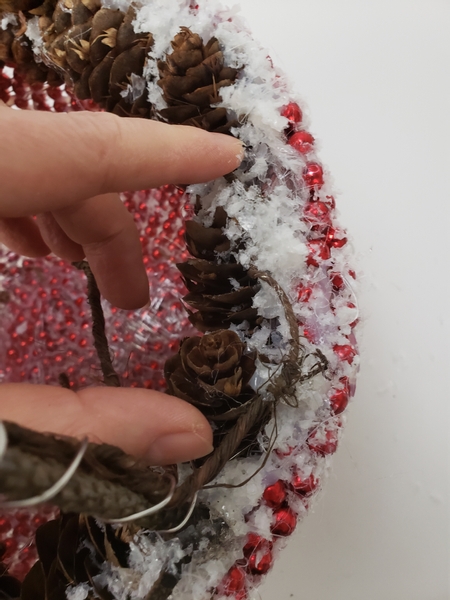
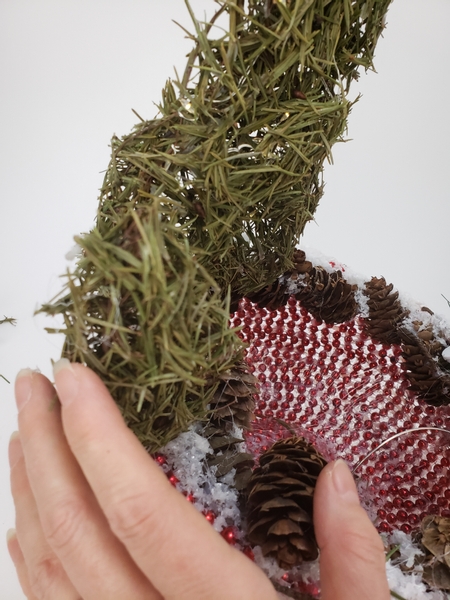
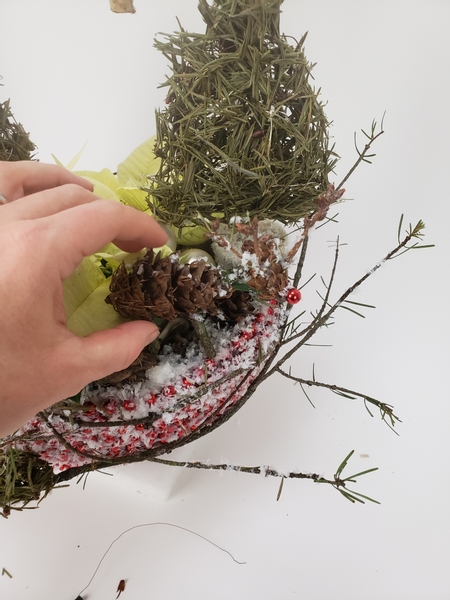
Lift up the snowy wrap and glue in a seed cone just under the edge.
Glue cones all the way around so that they just peek out from under the edge.
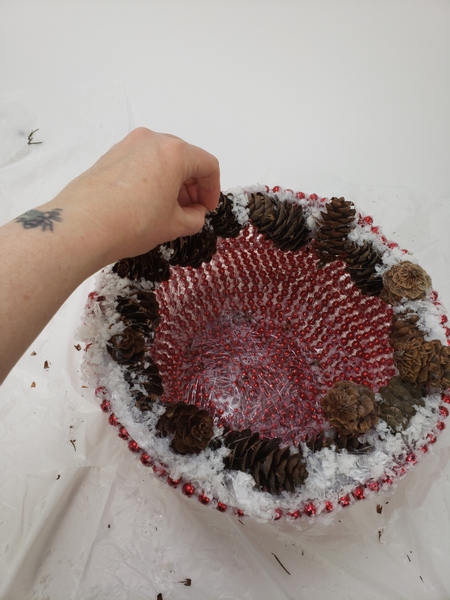
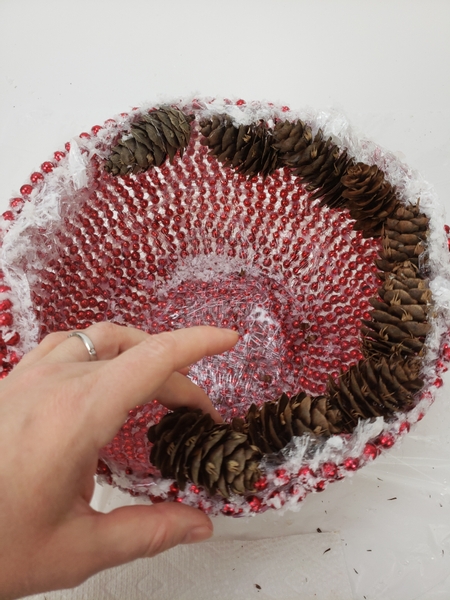
Again paint the cones and add sprinkle in artificial snow. Set the bowl aside to dry completely.
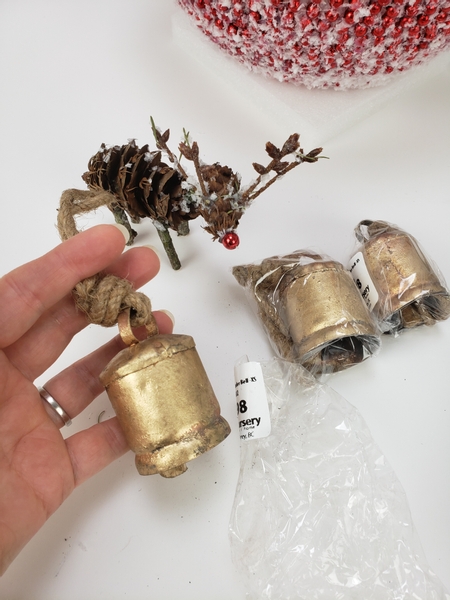
To match the reindeer I am adding a few copper bells that dangle down from a branch...
See the Tutorial below for detailed instructions on how I made the reindeer.
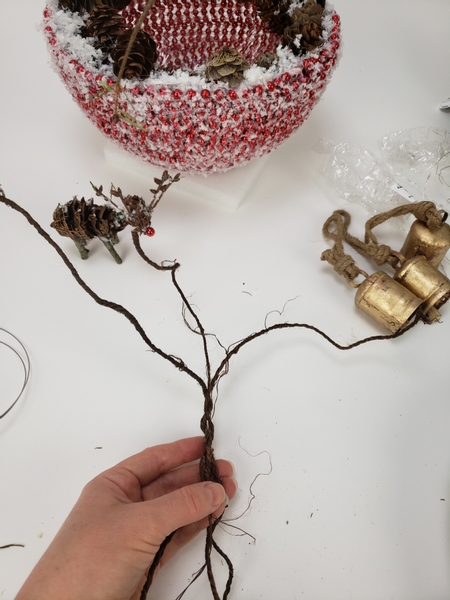
To make the bell branch I twist together three bark wires...
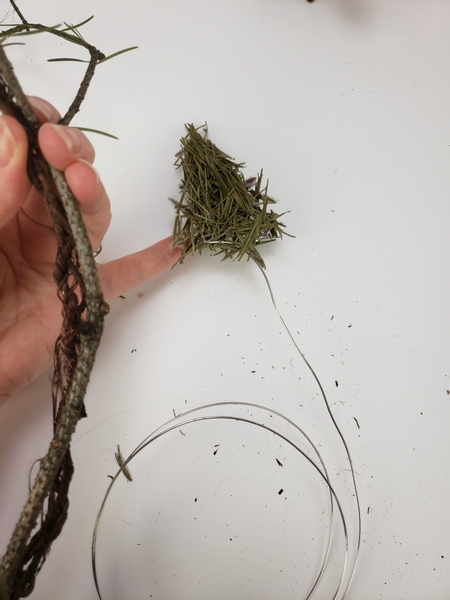
And I am wiring them together with a wired needle tree.
See the Tutorial below for detailed instructions on how I made this wired tree... and the other needle trees I am still going to show you.
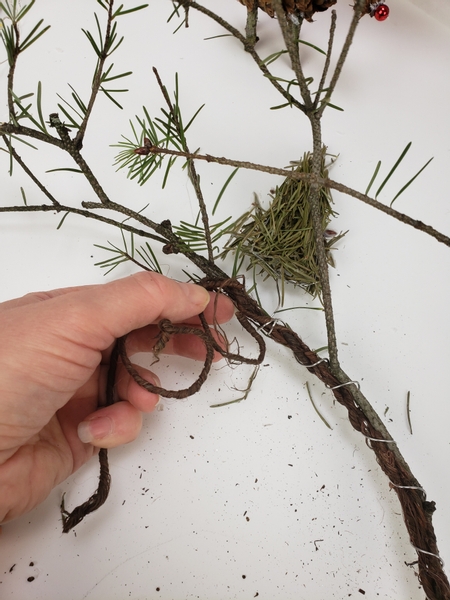
Simply wrap the wire from the needle tree around the bark wire and the twig and curl the bark wire into hooks to hang the heavy bells.
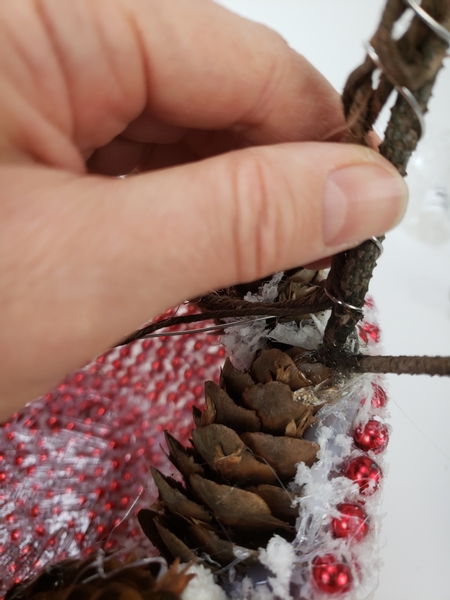
Press the wired stem between the pinecones and secure it with hot glue.
And extend the bark wire and secure it to the bead bowl in as many places as possible to make sure the twig is standing upright even when you add the heavy bells.

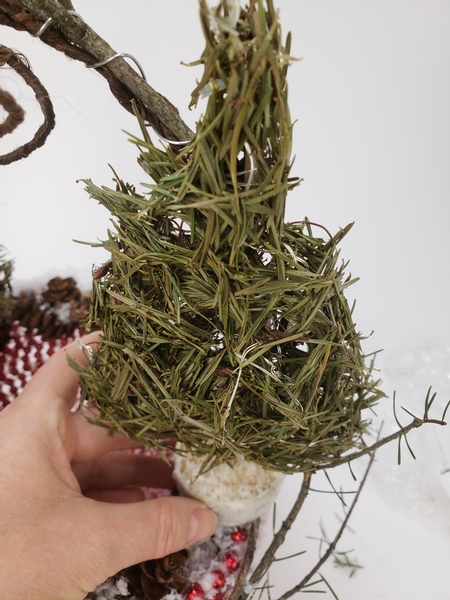
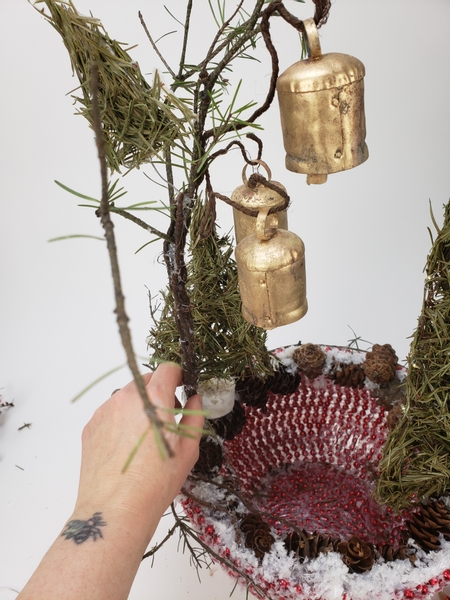
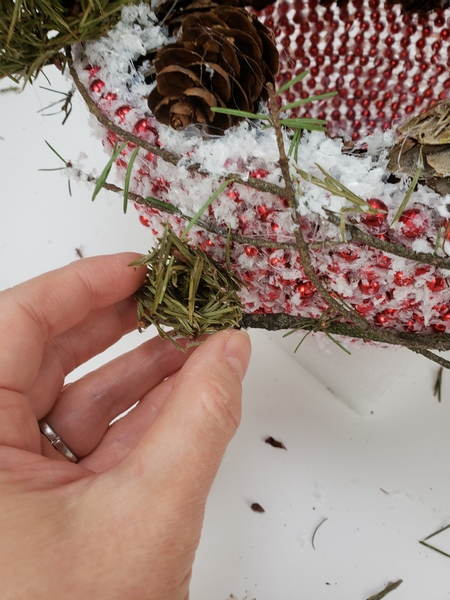
Snip the one needle tree from the support...
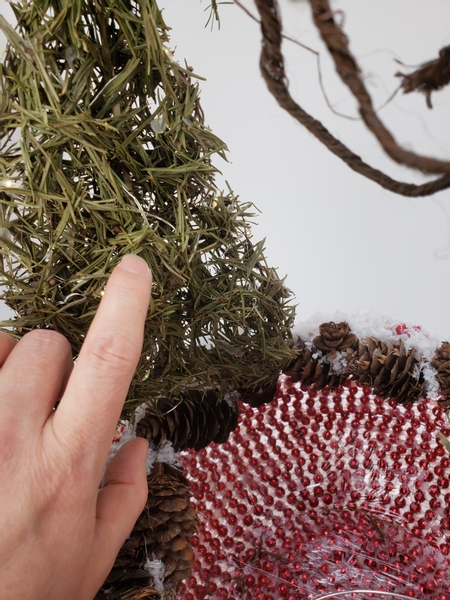
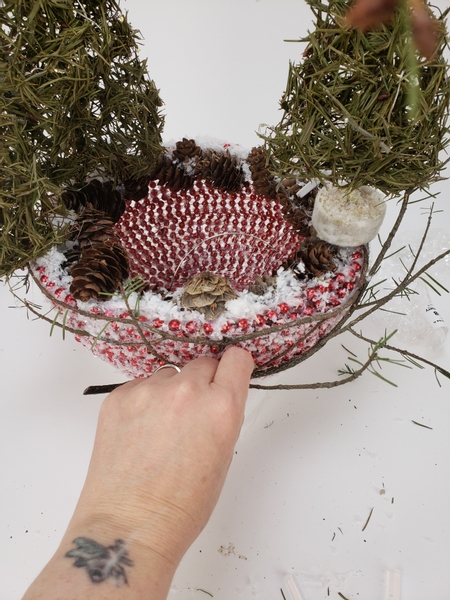
And glue it in to stand upright between the cones.
Glue in another tree in font of it leaving the gap inside the bowl as open as possible.
Glue in the next tree to conceal the wired bell branch...
This is the part where you can also add your own touch to the bowl. For my design I glued in a few branches to extend around the bowl.
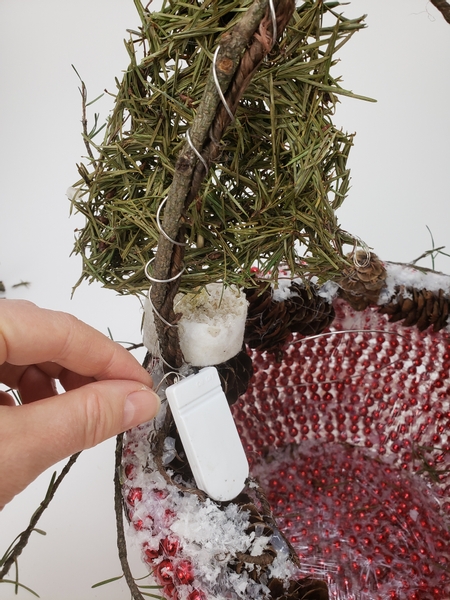
Tuck the battery packs for the lights inside the needle tree out of sight but in place where it is easy to switch on and off.
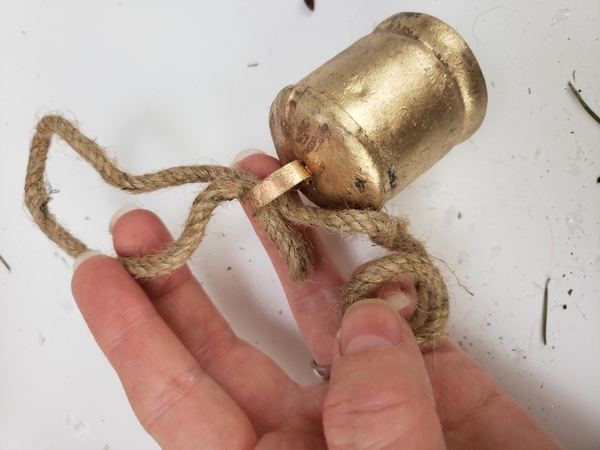
For my design I decided to remove the decorative rope...
And simply hang the bells from the wire hooks.
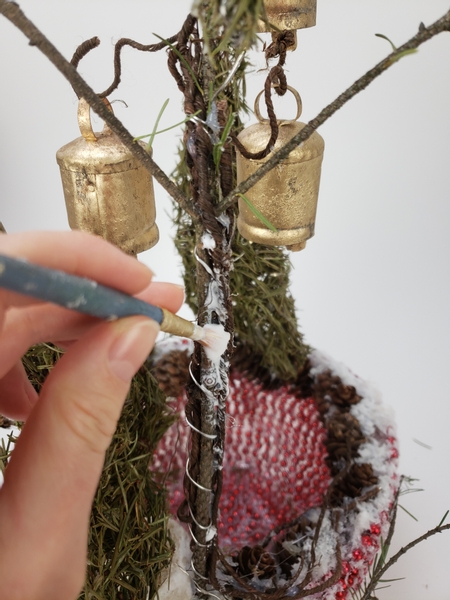
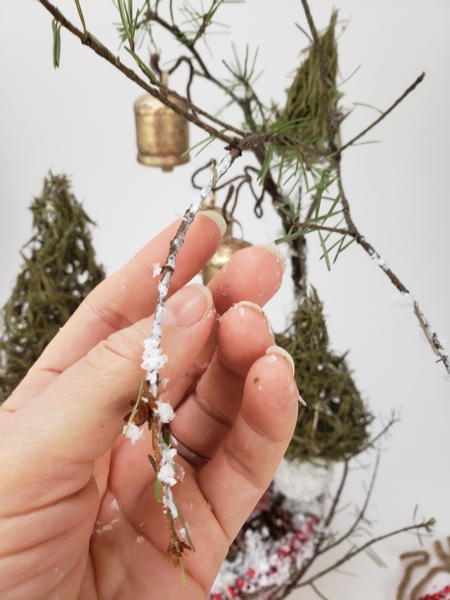
Paint the wired twig with wood glue...
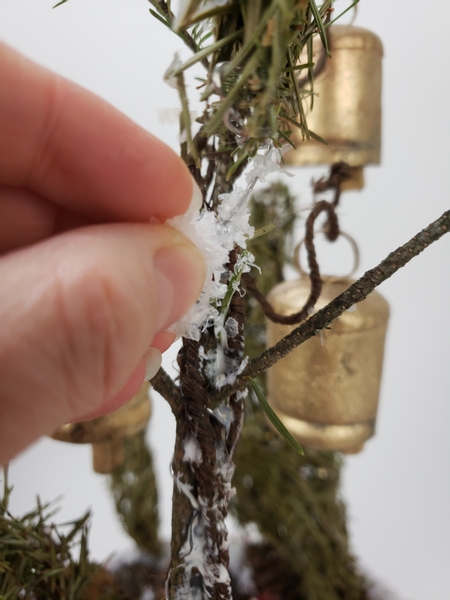
And sprinkle with artificial snow to conceal the wire.
Add some snow to the twigs...
And the smallest needle tree nestles in the twig in front...
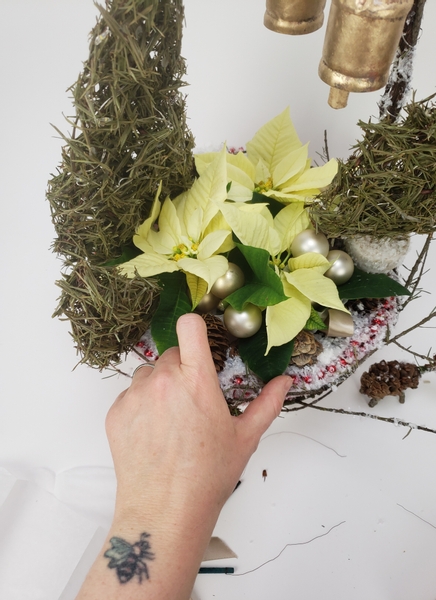
Three well dressed poinsettia plants nestle into the bowl for our oversized bloom forest floor...
The Rudolf with his red bead nose stands on the edge of the bowl...
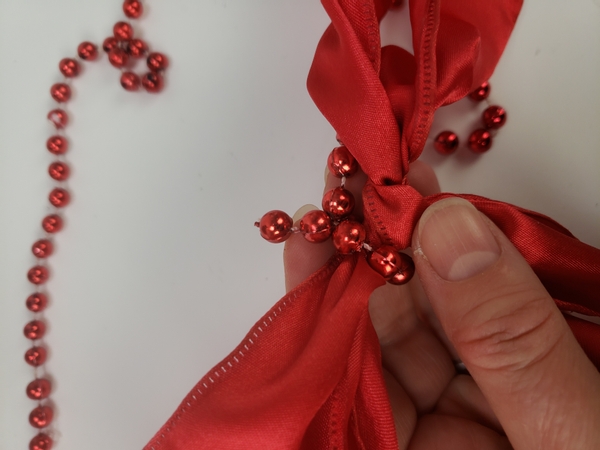
And as a final touch I twisted some of the beads around the bow in the red ribbon to bring it all together.
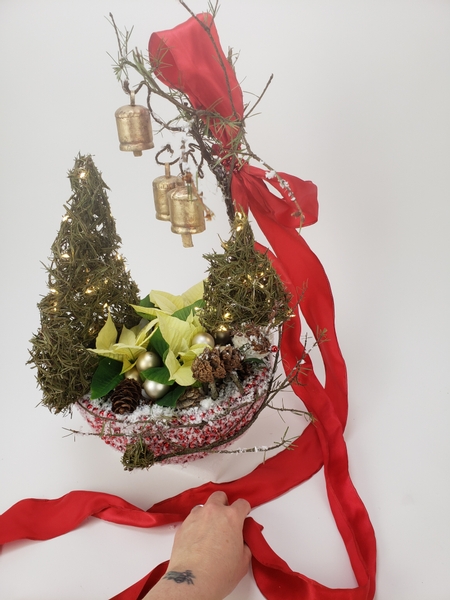
And added the oversize ribbon to drape and dangle down the side of the design.
Sign up for my weekly newsletter
Every week I add a new design with related tutorials. Be sure to subscribe to receive an email notification with design inspiration.


