Christine de Beer - effortless floral craftsman
Bleached Baby’s Breath Wreath
- 4 November 2015
- and more
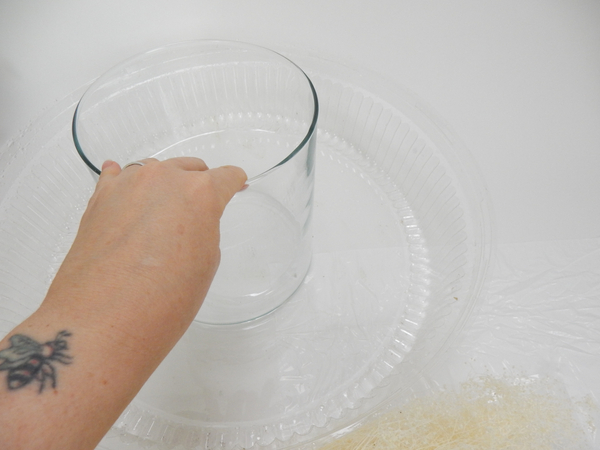
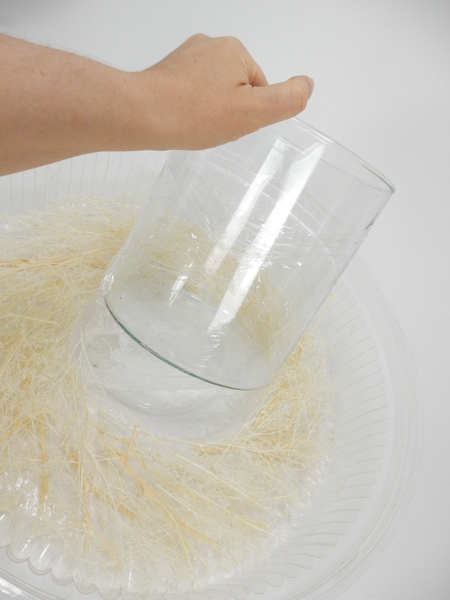
Measure out two containers for your wreath. I used a flat catering tray for the outer circle and a pillar vase for the inside circle.
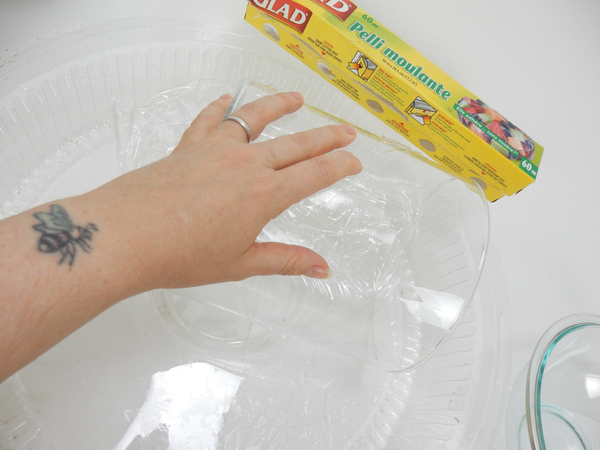
Cover the vase with cling wrap to make it easy to remove
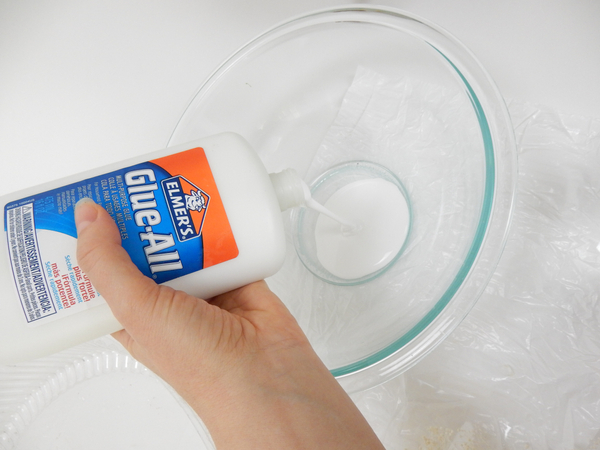
Pour wood glue into a deep container
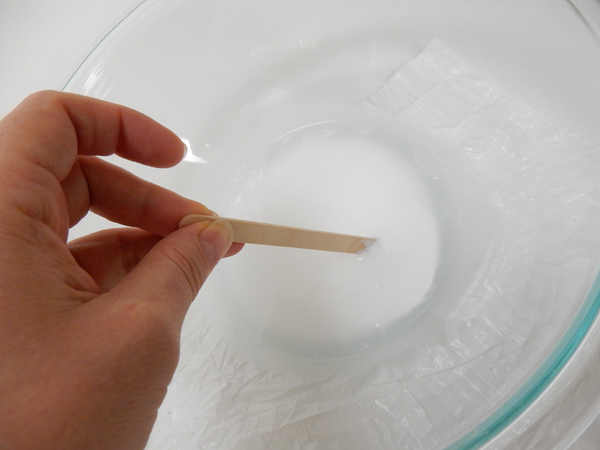
Thin the glue with water and stir well
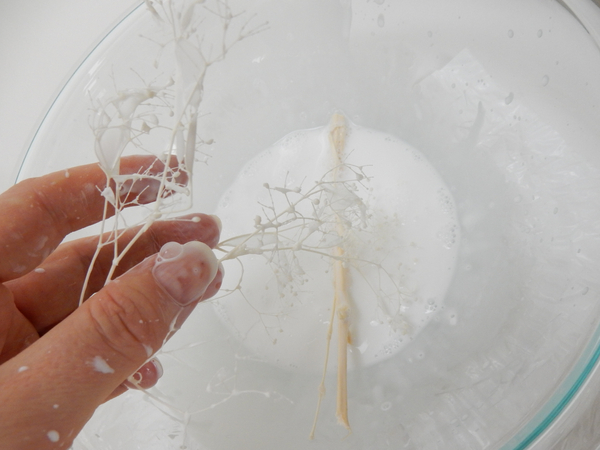
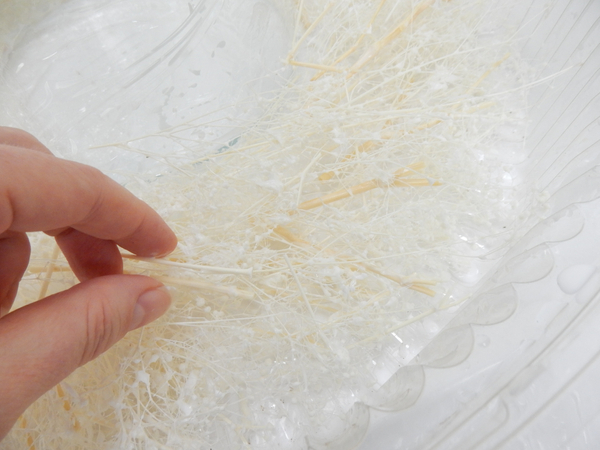
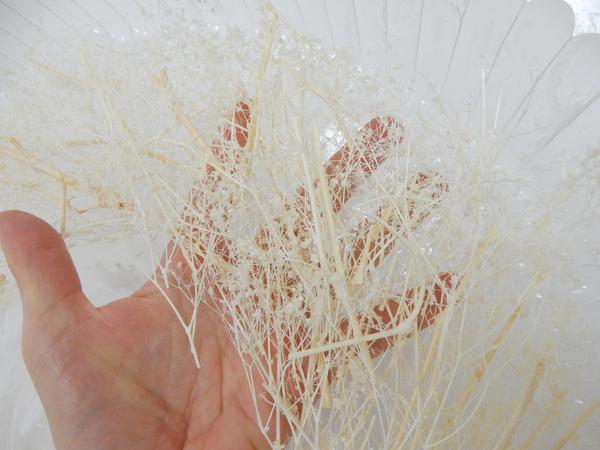
Dip sprigs of dried and bleached Baby's Breath in the glue mixture
See the Tutorial below for detailed instructions on how to bleach Gypsophila

Place the sprig in the tray, at an angle
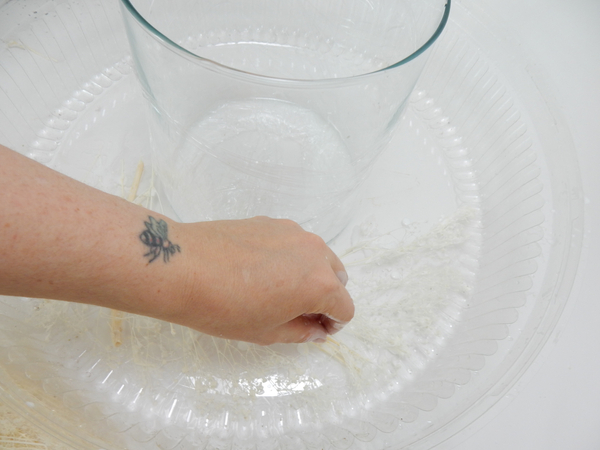
Add more sprigs of Gyp. Place the next sprig at the same angle as the one before to create an outward radiating wreath
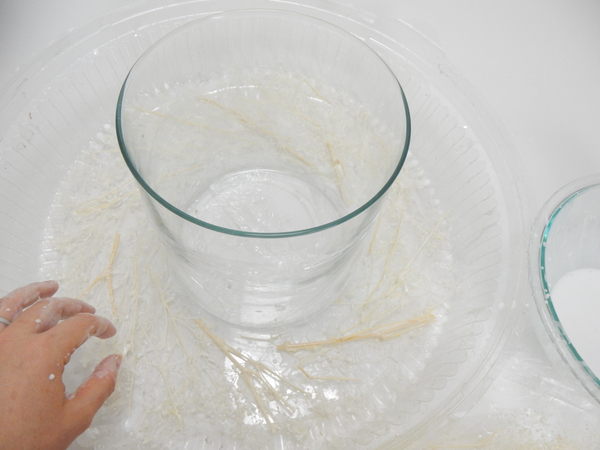
Allow the first layer to dry
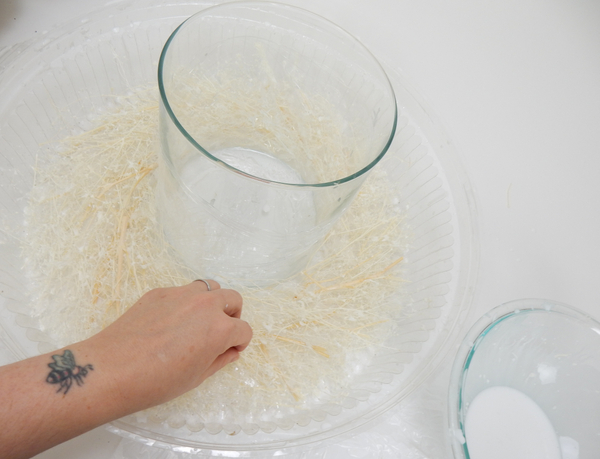
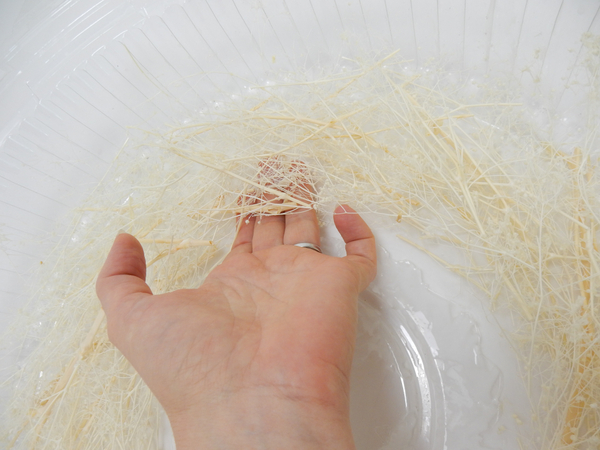
Build up layer after layer, allowing the sprigs to dry before adding the next layer
Stack each sprig to radiate out, same as the one before
Set aside to dry thoroughly.
Carefully lift the pillar vase from the tray
Wiggle your fingers between the tray and the wreath
Carefully start to lift the wreath
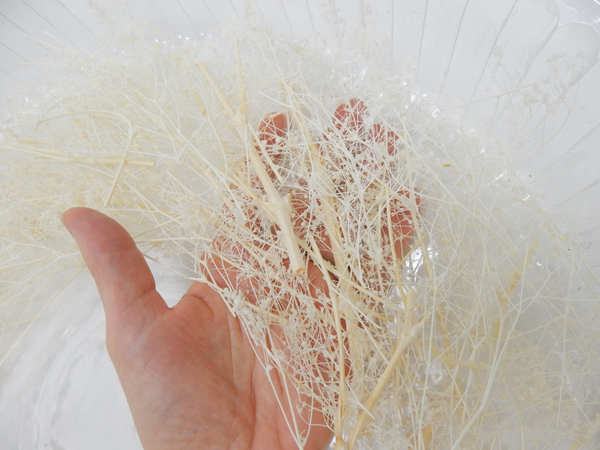
Spread your fingers and move your hand gently around the tray to loosen all the sprigs.
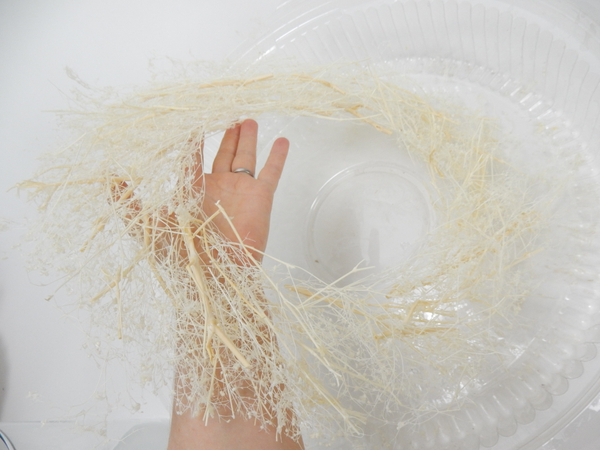
Remove the wreath from the tray
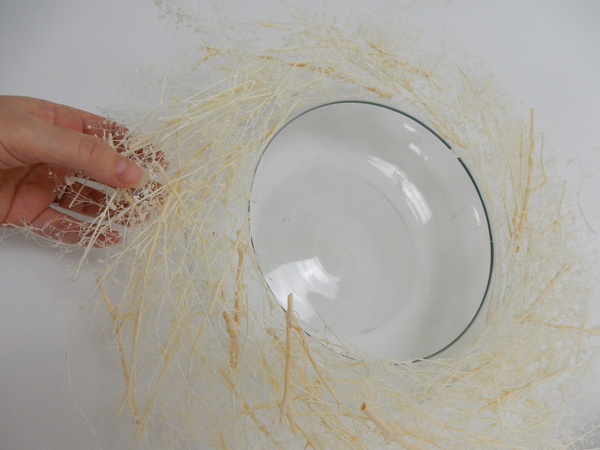
Place the wreath on a glass container
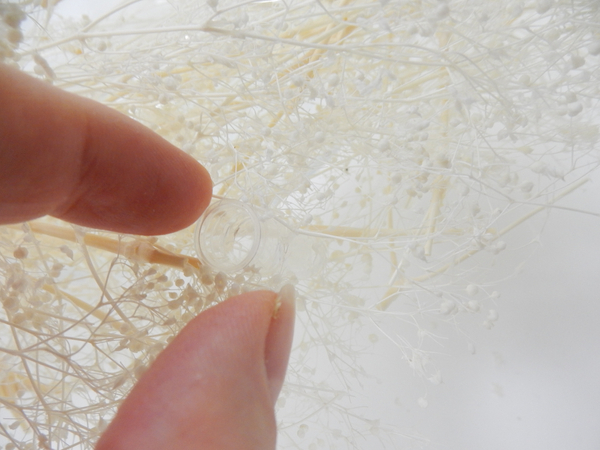
Glue in a few tiny test tubes for the fresh flowers
See the Tutorial below for detailed instructions on how I make tiny test tubes from drinking straws
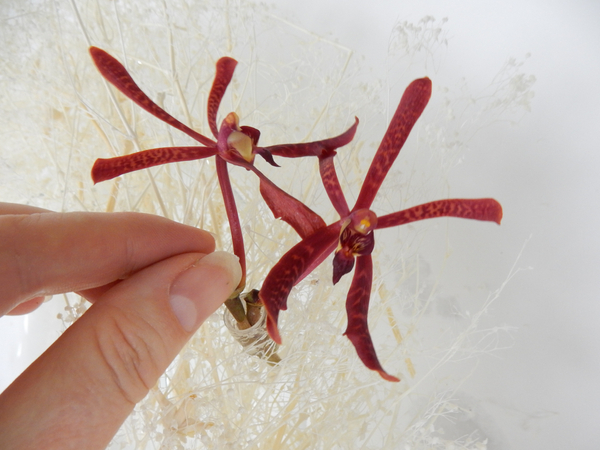
Fill the test tubes with water and add the orchids
See the detailed Tutorial below for an easy way to fill tiny test tubes with water
Sign up for my weekly newsletter
Every week I add a new design with related tutorials. Be sure to subscribe to receive an email notification with design inspiration.


 Eucalyptus Christmas wreath")


: Worth a second look")


