Christine de Beer - effortless floral craftsman
Dried Bougainvillaea and pink Pepper berry Disk
- 4 September 2024
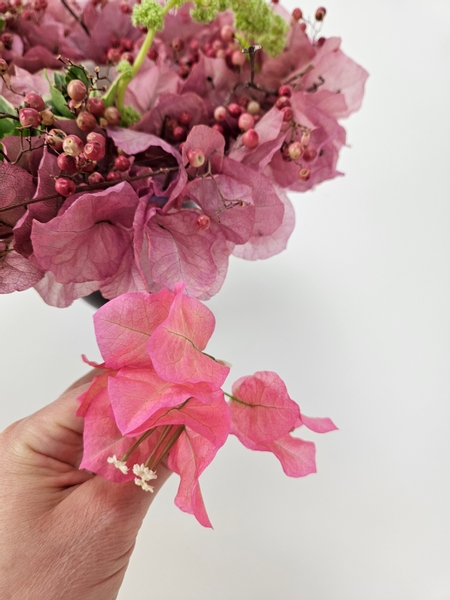
I grow bougainvillaea plants in a pot at our balcony door. I grow them mostly to use as dried flowers. And by flowers I mean bracts. The small, tubular cream-yellow flower shrivels but it is the showy, vibrantly colourful petaloid bracts that I allow to drop so that they dry. I have two... one white and one this peachy-pink. The white is my favourite fresh... but unfortunately turns brown when dry but this pink one is hard to condition fresh but spectacular dry.
Anyway... dry a whole lot of the flowers over summer so that you have a generous bowl full for this design.
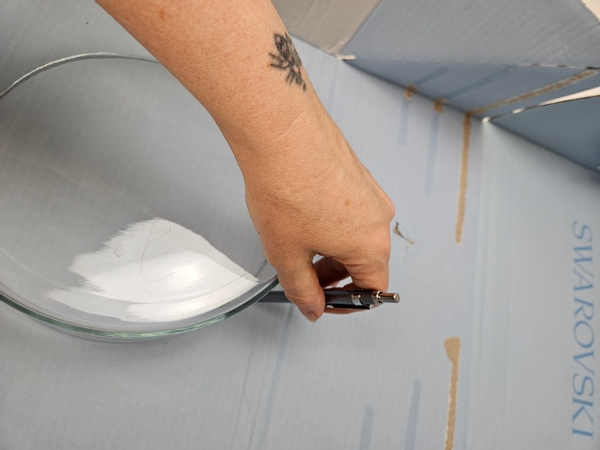
Trace a round shape the size of the disk you want to make on cardboard.
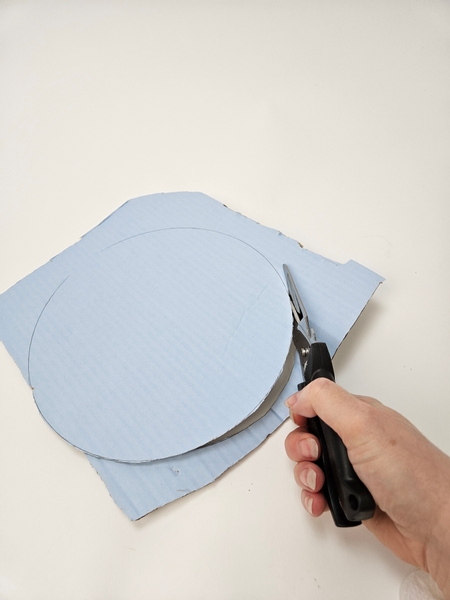
Cut the cardboard shape out with sturdy scissors.
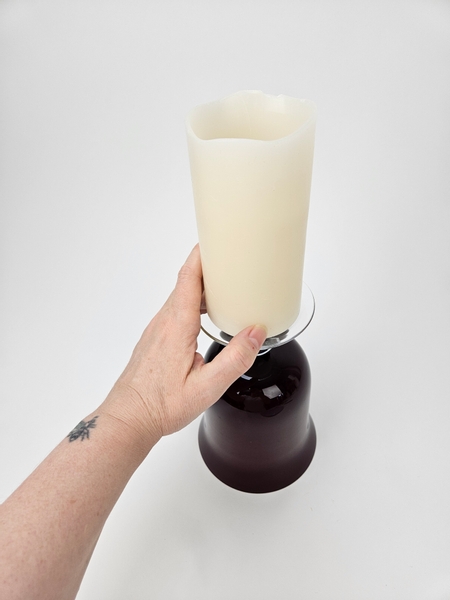
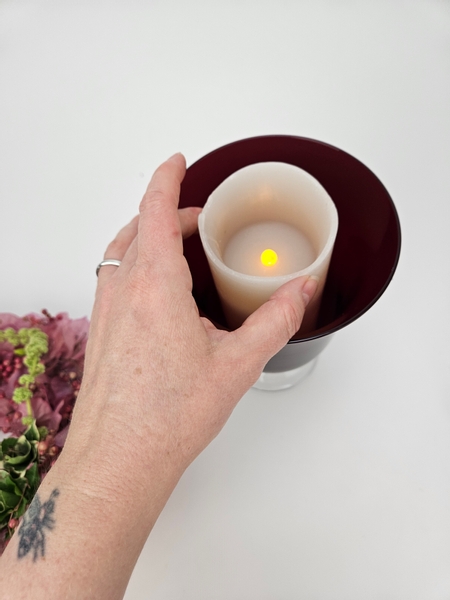
Measure out the size of a battery flame candle...
So that you can trace and cut a candle sized hole into the cardboard disk.
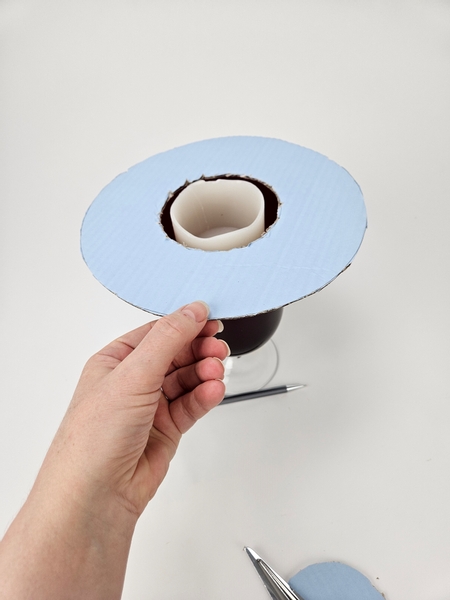
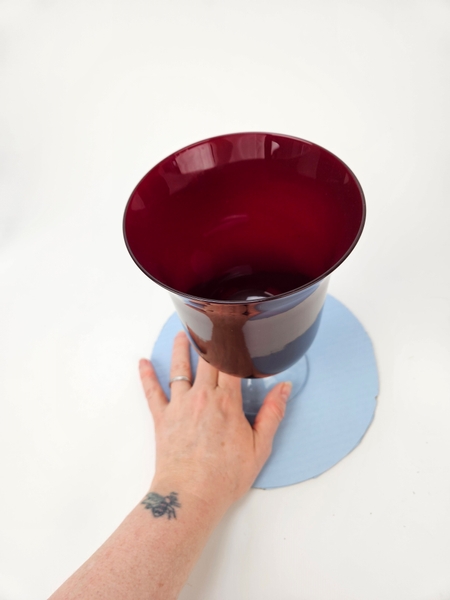
Fit the cardboard disk and candle into a display container.
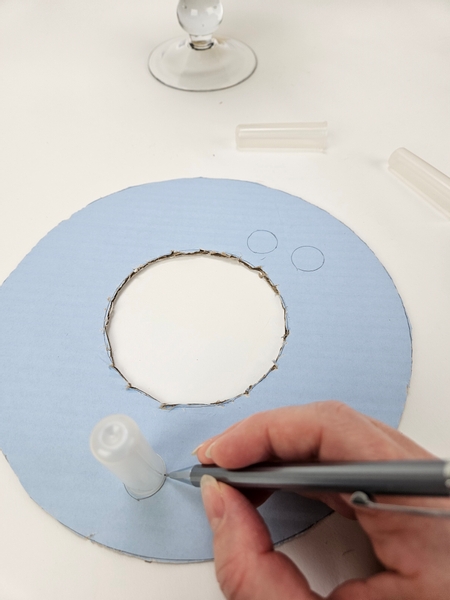
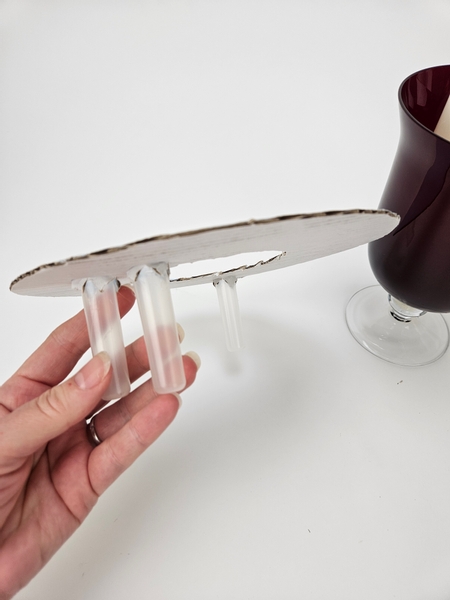
Trace out three (or as many as you want in your design) water tube shapes onto the cardboard disk.
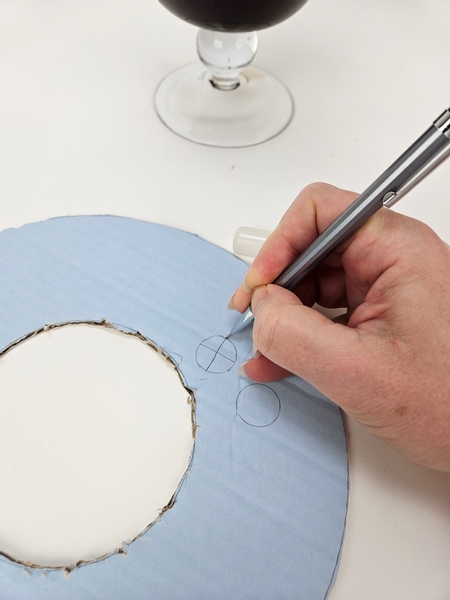
Draw a cross through the circle.
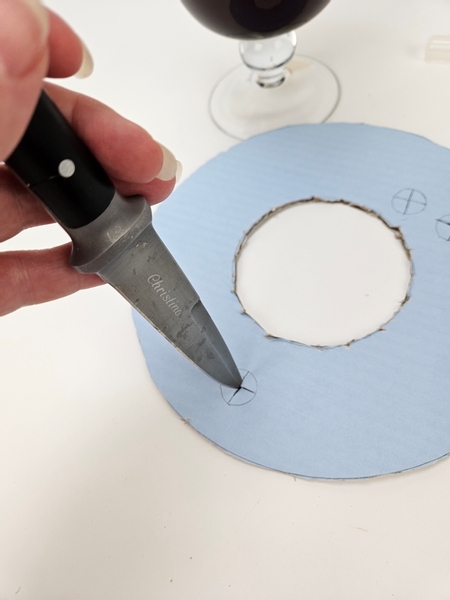
Cut along the lines with a sharp knife.

Press the bottom of a water tube into the shape slowly to split open the cross in the cardboard.
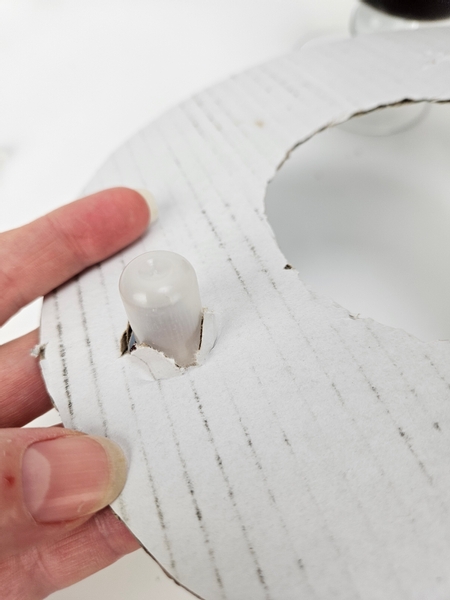
Press the tube slowly through the cardboard but make sure not to rip it any further than the circle...
This is not only the quickest way to insert the water tube but also the most secure. The flaps that are pushed down now holds the water tube perfectly in place...
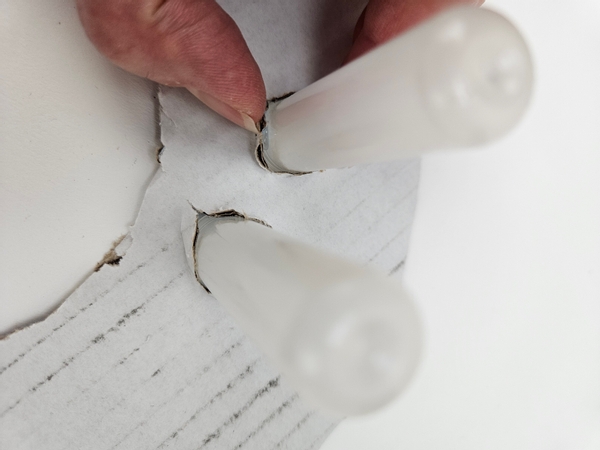
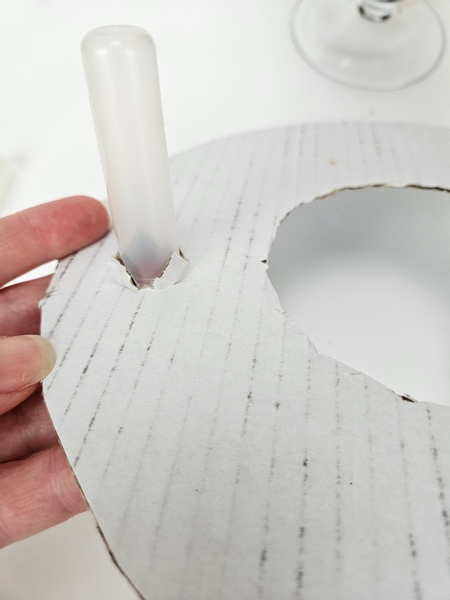
Glue the flaps down with hot glue to make sure it stays in place even after you add a whole tube full of heavy water.
For a neat finish from all angles.
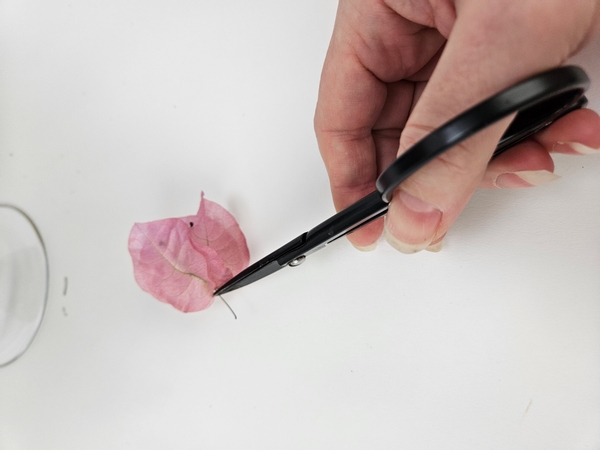
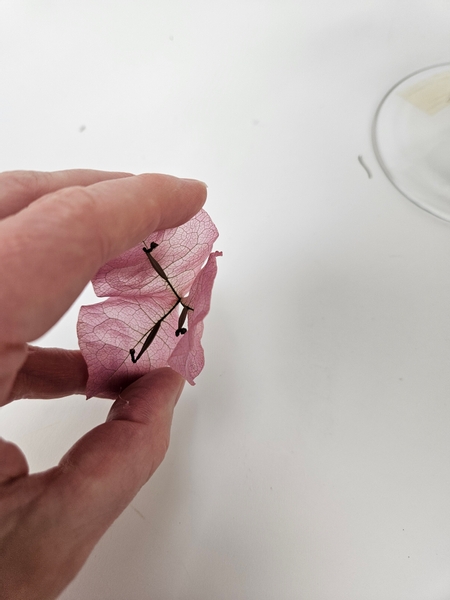
Cut away the dry flower stem...
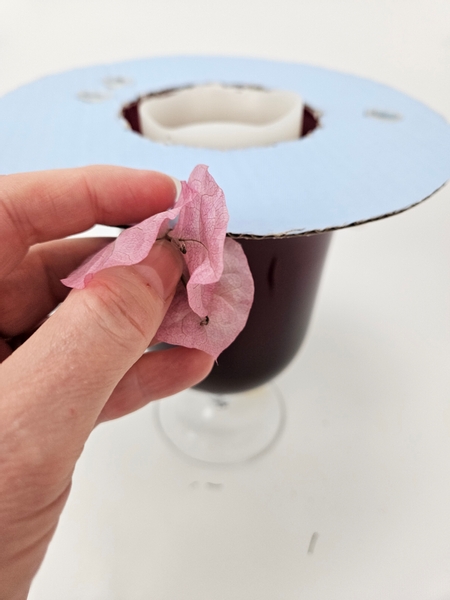
And glue the bracts to the edge of the cardboard disk
Angle the flowers slightly so that the bottom of the cardboard is not visible when viewed from the side.
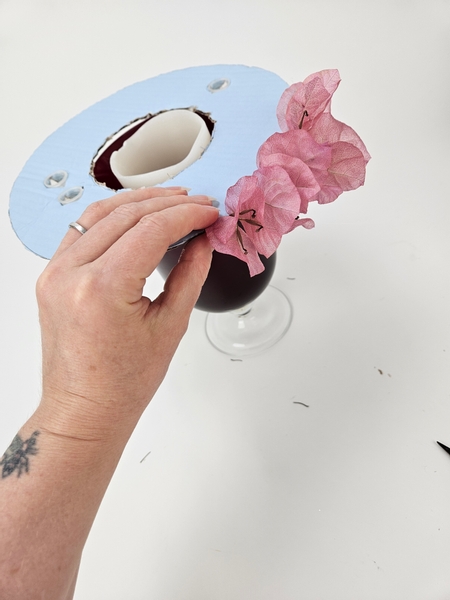
Flair the flowers slightly open so that the effect is light and natural...
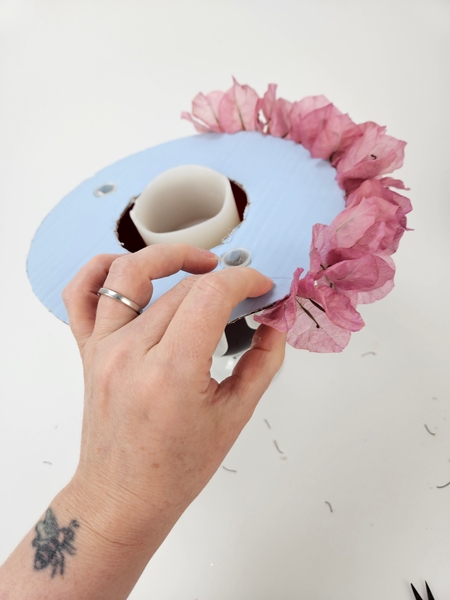
And glue it down without crowding the flower next to it.
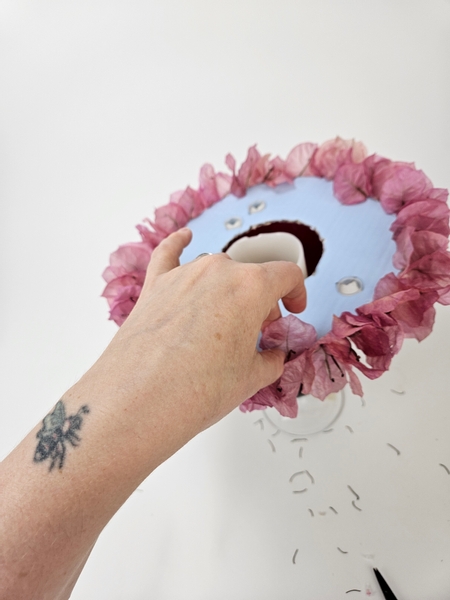
Start a second row inside the edge once you are done.
Book readers turn to page 202 to see more petaling and leaf-work examples. For more information about my book: The Effortless Floral Craftsman

Secure the flowers so that the bracts fall open to form cups for the rest of the floral details.
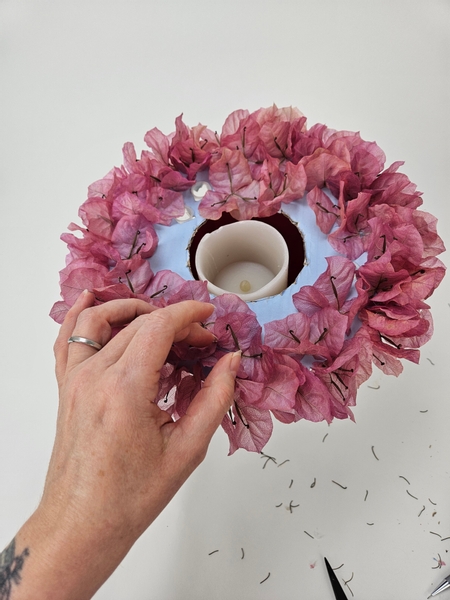
Once you have the inside circle done continue to cover the inside of the disk with bracts.
Slip bracts between into all the empty spots but keep the water tubes open.
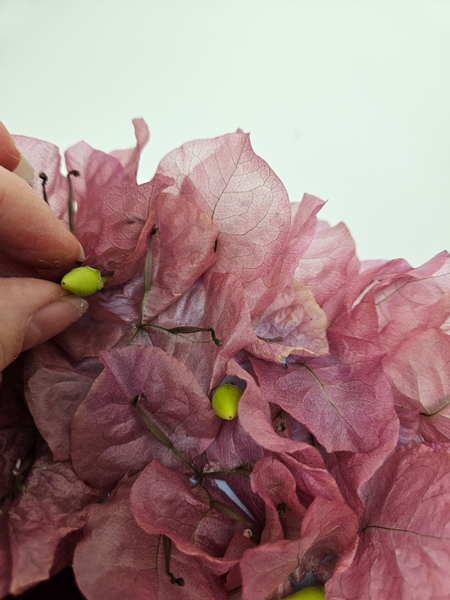
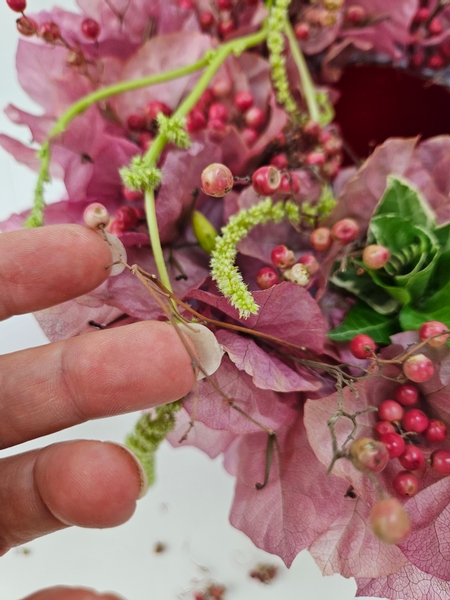
Add in a few green chillies.
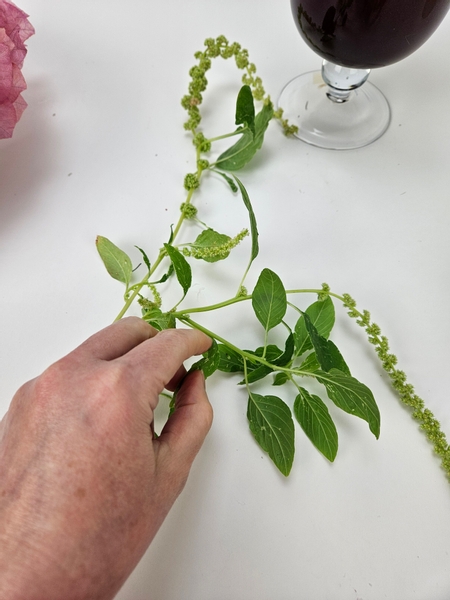
Remove the foliage from a green Amaranth stem.
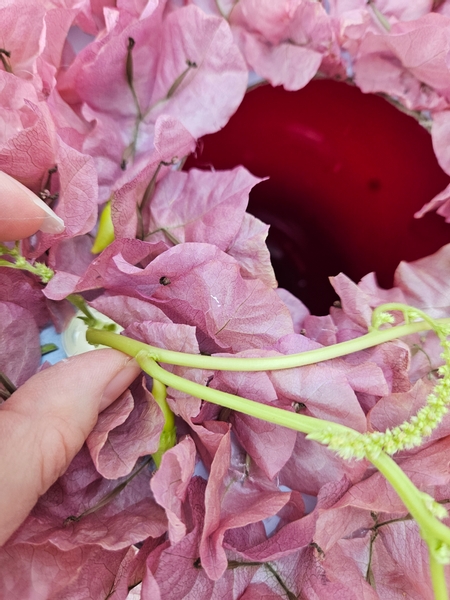
Slip the amaranth stems into the water filled water tubes so that they remain hydrated.
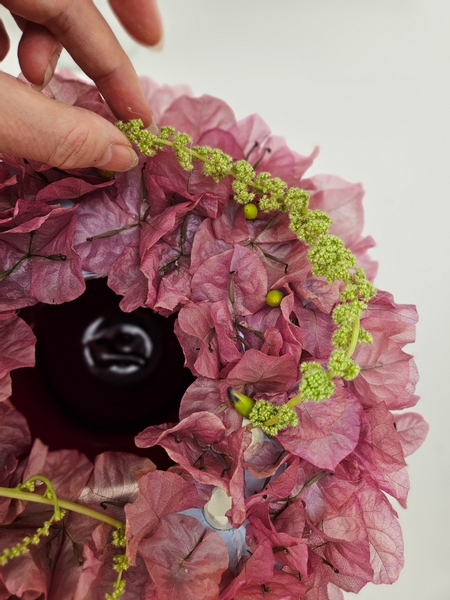
Drape the amaranth over and around the design.
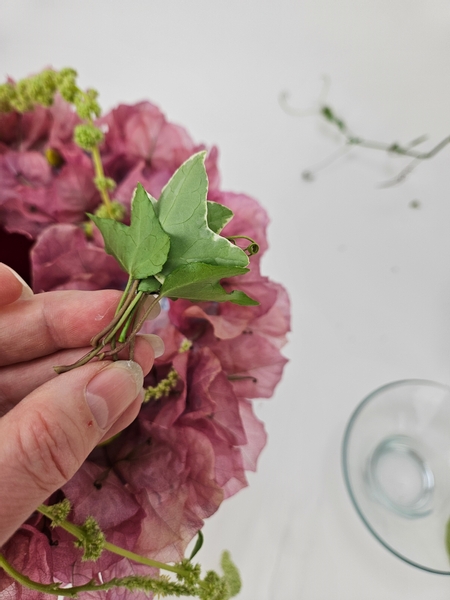
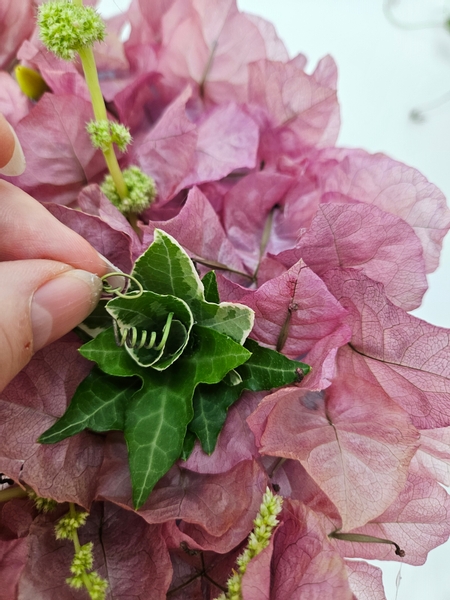
Gather the ivy leaf and vine flowers by the stems...
See the Tutorial below for detailed instructions on how to make the ivy and vine flowers.
And place all the stems into the water tubes so that they can continue to hydrate.
Vines can be tricky at times. The tendrils on the part that you want to cut is usually straight... and the pretty curly part is usually so tightly coiled that it is difficult to remove it without breaking. This week in our email lesson I share with you my trick for always having supply of perfectly coiled tendrils in my design room. I send out an email every Wednesday morning (Vancouver time) to let you know the new design is ready. You will also find a bit of "insider" information so that you can learn even before you go look. The sign up is below this post for you to join in.
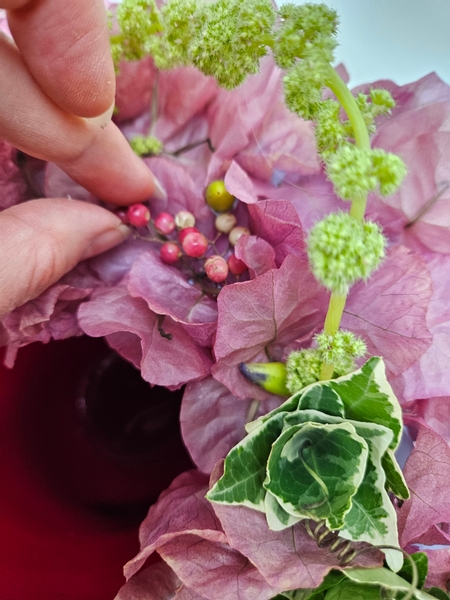
Fill in all the gaps with clusters of dried pink pepper berries.
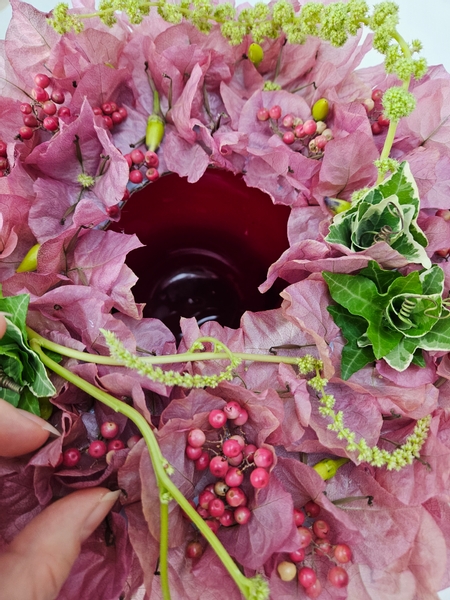
For my design I filled the gaps with large and full clusters deep between the bracts...
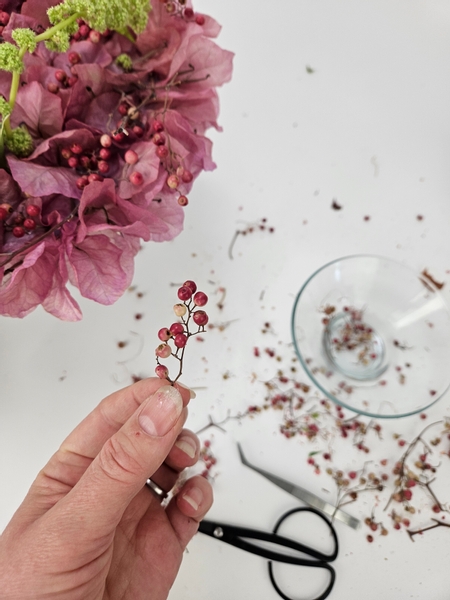
I then went around and added a second layer of berries (this time thinned out) on longer stems to hover above all the other design details...
I added these where I normally would add my dew drop crystals... just in case you were wondering.
And a final layer to hover above that with light and airy stems and twigs without any berries.
The entire design lifts off so that you can switch the candle on and off.
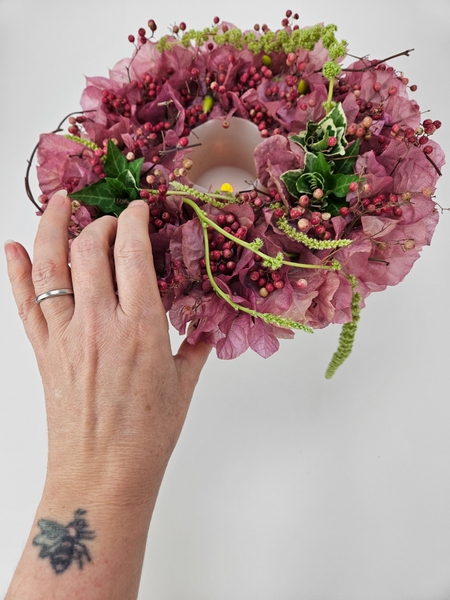
And relace the disk without disturbing the design.
Sign up for my weekly newsletter
Every week I add a new design with related tutorials. Be sure to subscribe to receive an email notification with design inspiration.


