Christine de Beer - effortless floral craftsman
Picked up some proper Pruning
- 24 February 2021
- click to send Christine a smile
- and more
Go slow! Time it right and cut so that a healthy callus forms to protect the tree and help it heal properly.
First we trim away those low on the trunk suckers- they never become branches and are only there to steal energy.
Then it’s away with those dead and dying branches to see what we are really working with.
Gone with the unwanted or hazardous branches to raise the canopy.
Next snip away the damaged or weak branches (to cancel all invitations to pests and disasters) - inspect them to find the ones that put in an effort to become a healthy kind of interesting… those become character filled design treasures for the design room.
And finally we trim out overlapping branches that rub together. Cut both if they are damaged or else just the damaged branch or the one that came to rub away the peace (smallest one)
… and come proper Spring you and your snippy shears have encouraged flowers… and soon fruit, triggered new growth and snipped away disease by improving the airflow. An all round prettier tree.
Yay you!
Sign up for my weekly newsletter
Every week I add a new design with related tutorials. Be sure to subscribe to receive an email notification with design inspiration.
Tutorials
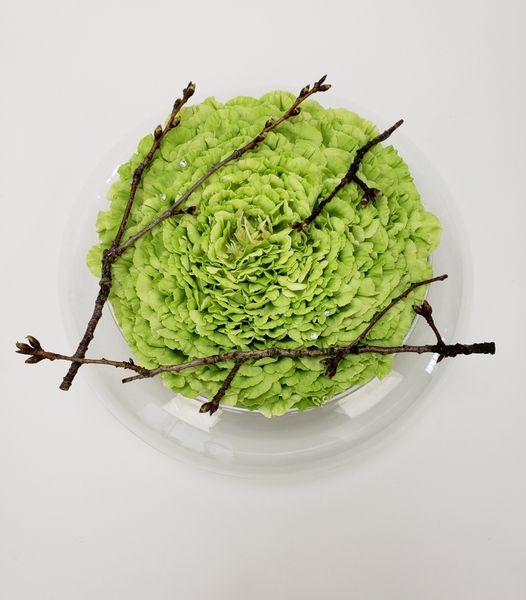
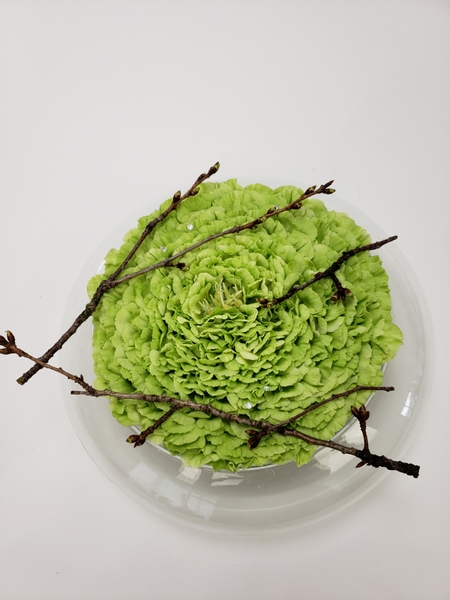
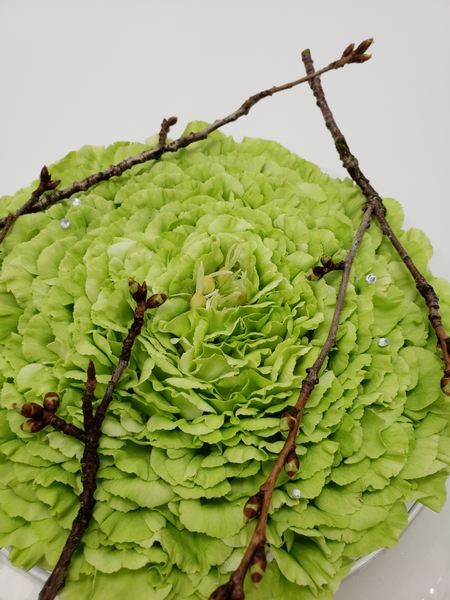
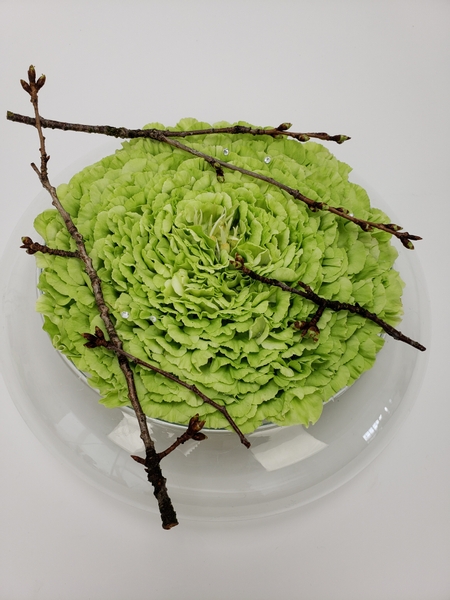
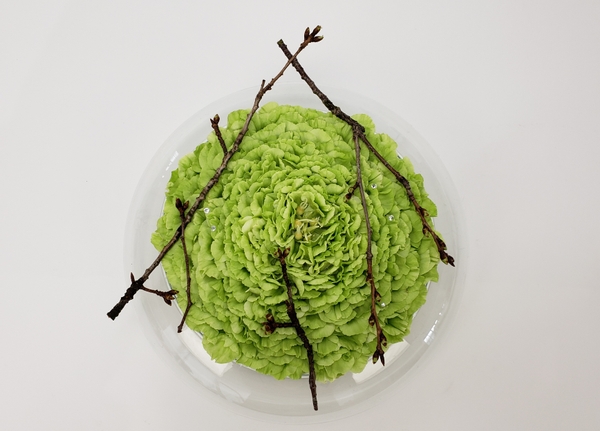
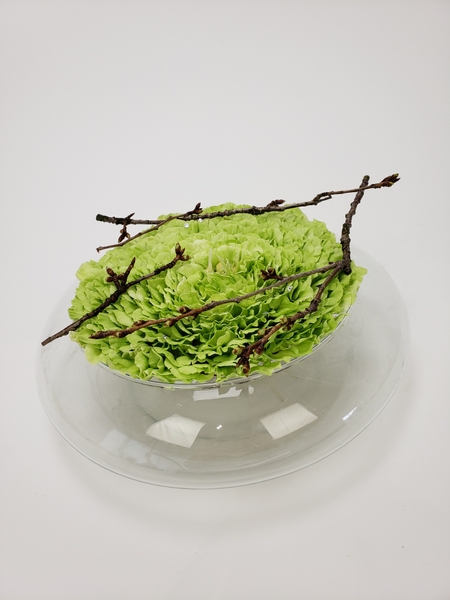
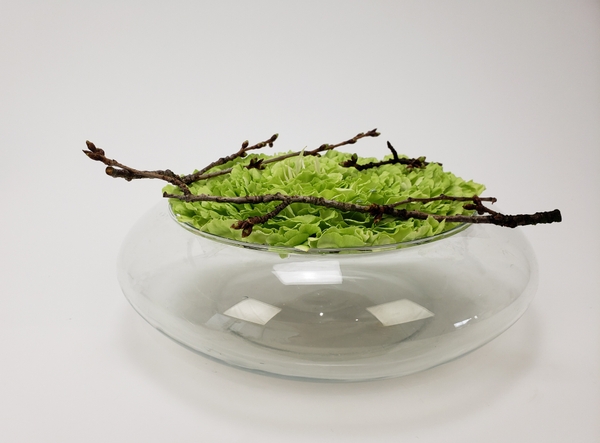
The trick of this Tutorial is to create a flat top platform to display Spring blossom twigs- the way it would look on moss in a forest.
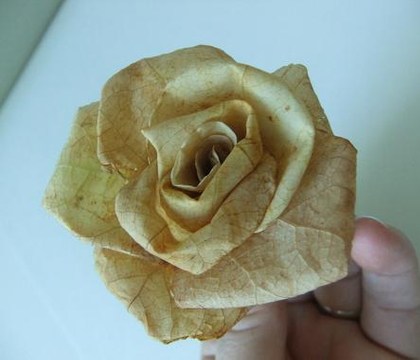
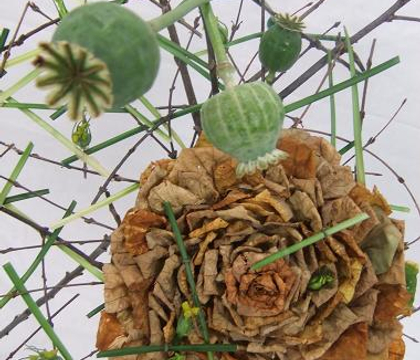
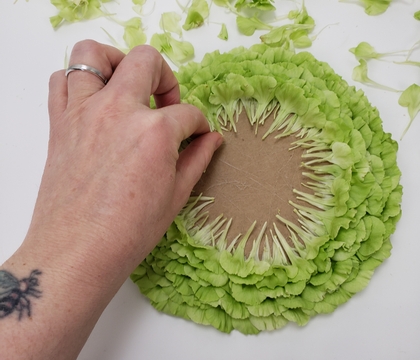
This looks spectacular but it is the easiest composite flower to make
I used to make baskets full of these when I was a little girl. We had a big Acasia thorn tree and I used to spear my “roses” onto the tree pretending I was the fairy responsible...
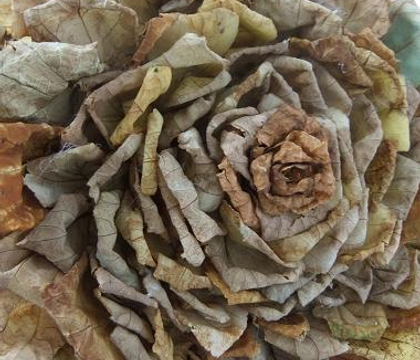
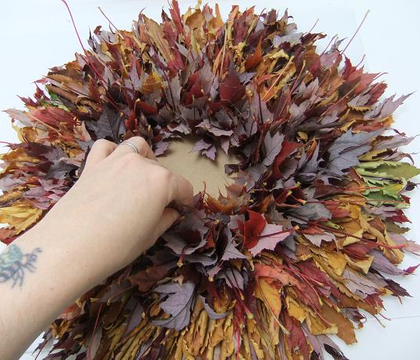
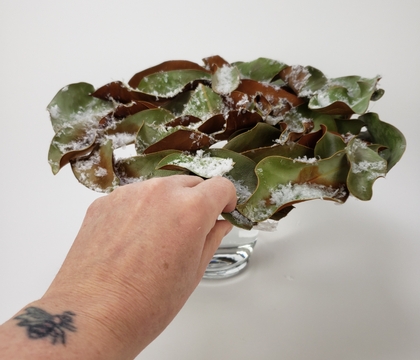
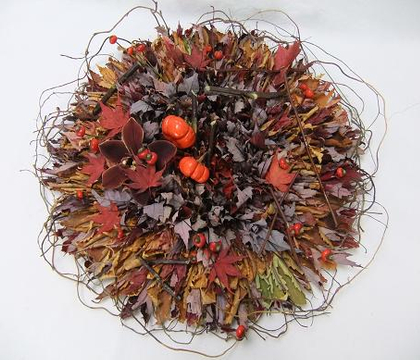
Great way to use all the autumn leaves you collect on walks during the season. Slowly build up the leaf rosette and let the leaves dry before adding a few more.
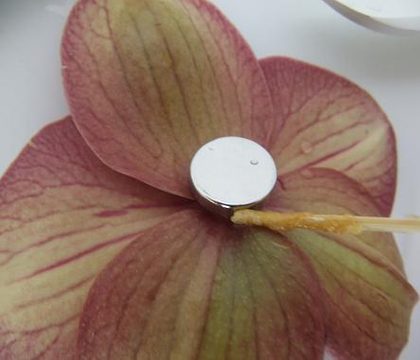
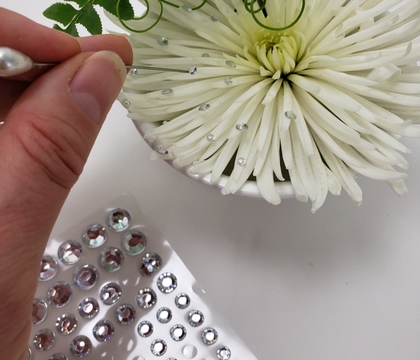
It's sometimes difficult to place a tiny crystal or bead exactly where you want it.
The finish of every design should be flawless. Make sure there are no bits of glue visible in your design by carefully removing all traces of spills.
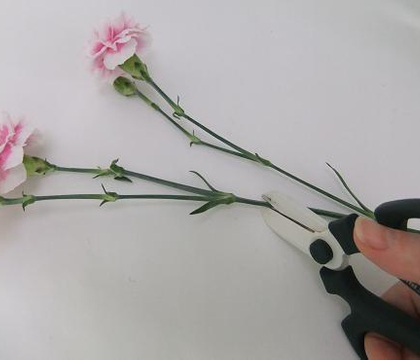
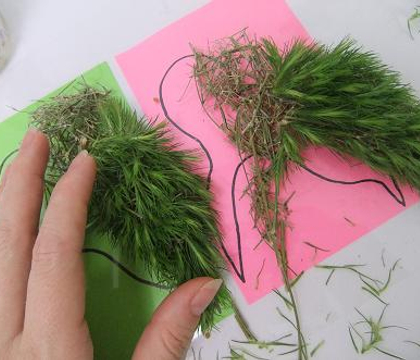
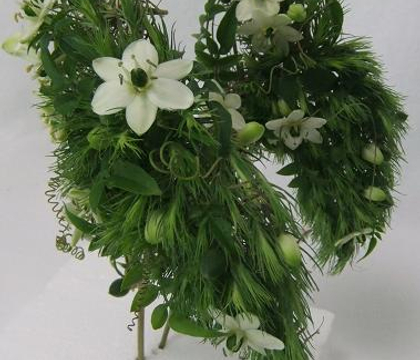
Glue gypsophila sticks, green trick carnations, Star of Bethlehem, passion fruit tendrils, jasmine foliage and string of pearls succulents to create floral wings
Favourite Flowers
Pink, Carnation, Clove Pink, Chinese Pink
Related Designs
Use the petals of your flower to cleverly keep all the other floral details of your design firmly in place.
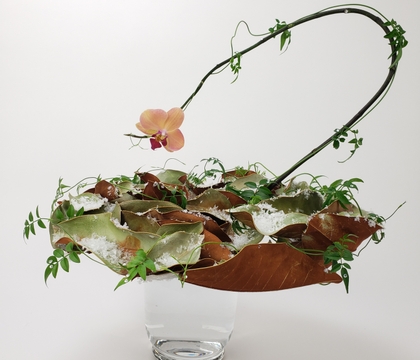
This orchid developed at the very end of a long stem... right as the rest of the flowers started to die back so I made a special armature to display the cut stem.
My Spring/Easter design and the introduction article about my floral journey written by the editor, Nina Tucknott in the latest issue of Flora Magazine.
A dried flower and foliage... flower... disk to help me pretend it is autumn
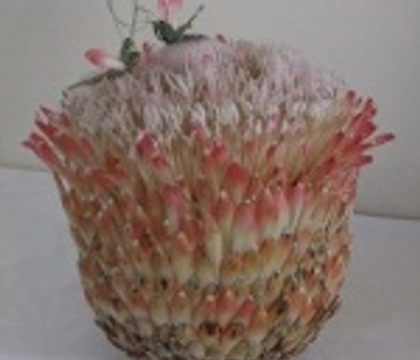
To create this huge Protea I took apart nine Protea flower heads and glued the tepals and bracts back on to a polystyrene ball to create a large Protea composite flower that is...
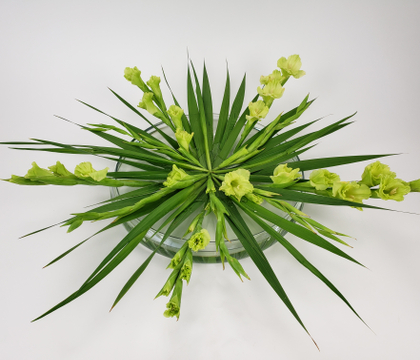
Cut stems of Gladiolus to place in a radiating summer design.
Glue snippets of dried green stems and Green Trick Carnation to make tiny floral wings for Christmas
Create a grid to rest some plant material so that it floats and some with their stems to rest in the water below