Christine de Beer - effortless floral craftsman
Sink a carnation composite flower flat top platform into a vase
- 24 February 2021
- and more
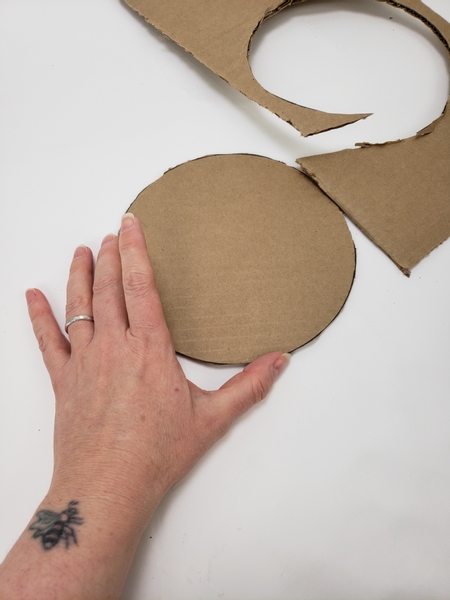
Cut a small circle out of cardboard.
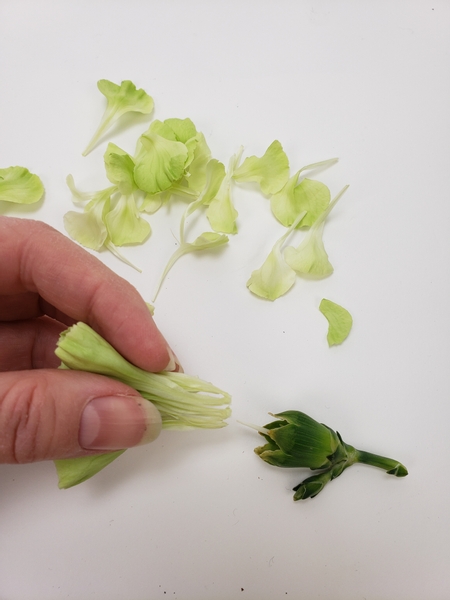
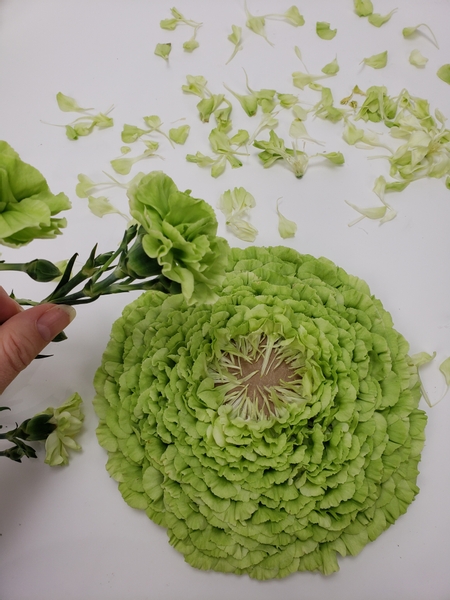
Pull the petals from a carnation stem.
Design note: I pull the petals (taking care not to rip or bruise them) because I just love the inside pistil, so I set that aside to design with.
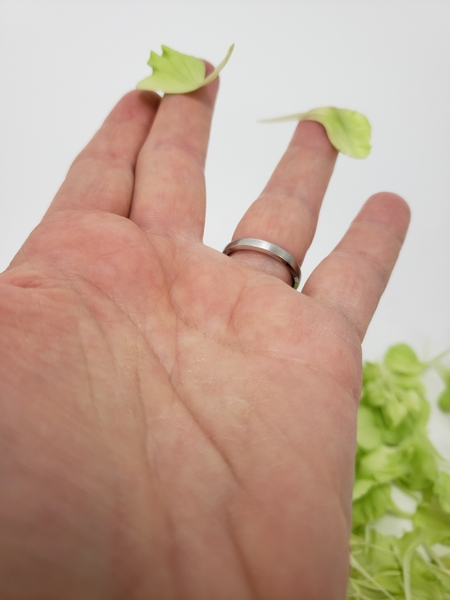
Decide on the effect you want to achieve. Have a look at the petal- would you like your petal to curve this way or that? Or this way and then that way? Or Book readers turn to page 202 for a different take. The petal placement makes a big difference!
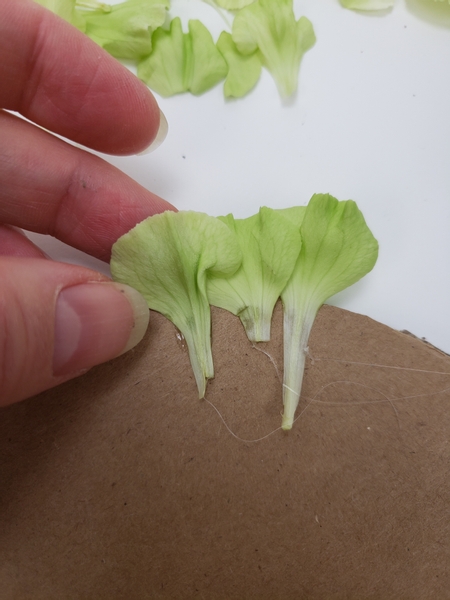
Start to glue the petals to the cardboard.
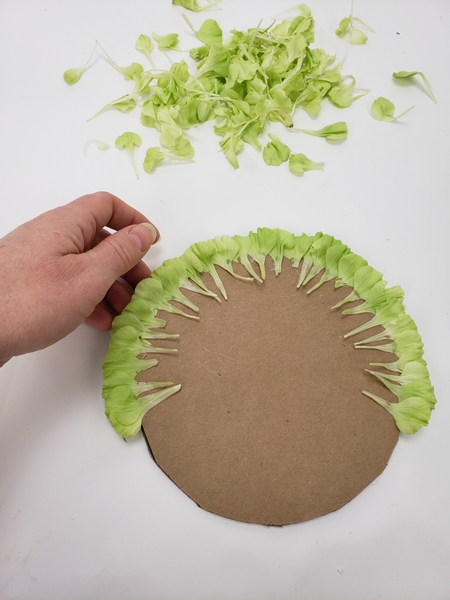
Glue petal by petal moving around the edge...
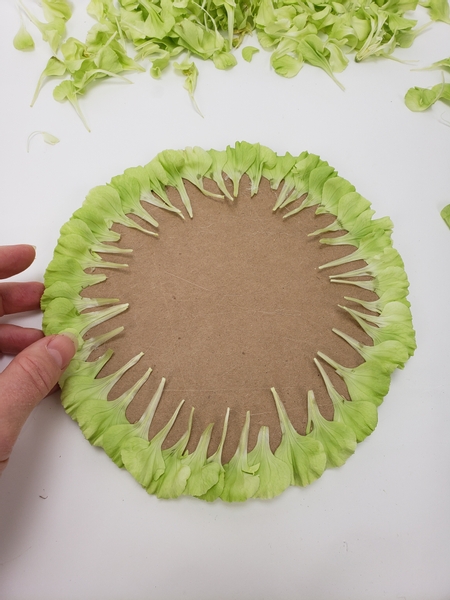
Creating a neat collar with the largest petals in your heap.
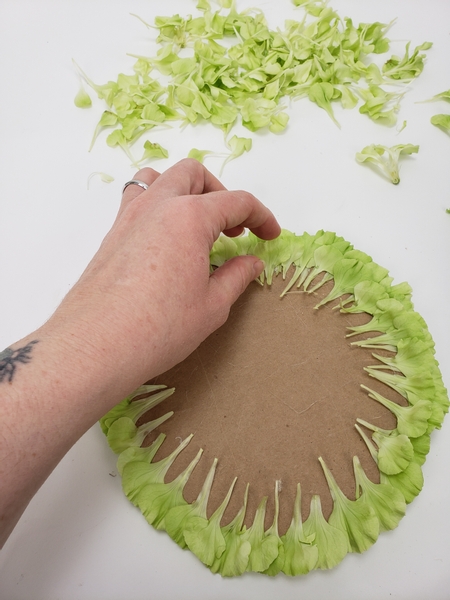
Glue in the next row just inside the first.

Continue to fill in the circle with carnation petals row after row...
Until almost the entire surface is covered with petals.
Design note: Now... here we usually fill the flower until we have a space (about the size of a carnation flower head) in the middle of the composite flower. Punch a hole through the cardboard and slip the flower into the space to finish the design.

But I wanted to create something special with those pretty pistils... so...
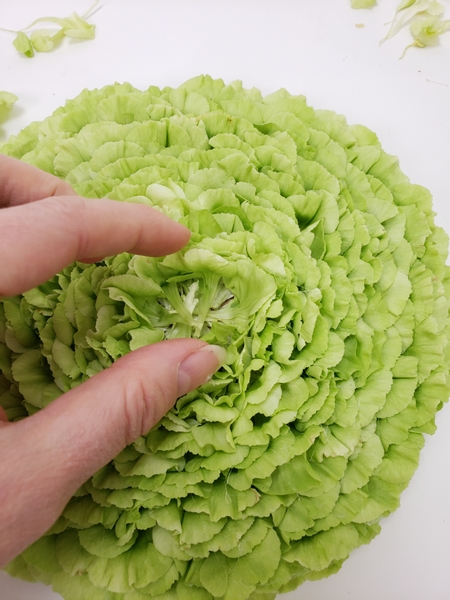
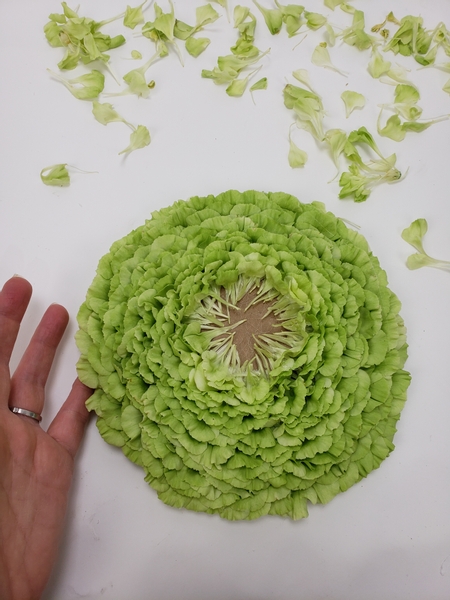
Continue adding carnation petals so that they overlap in the inside of the flower.
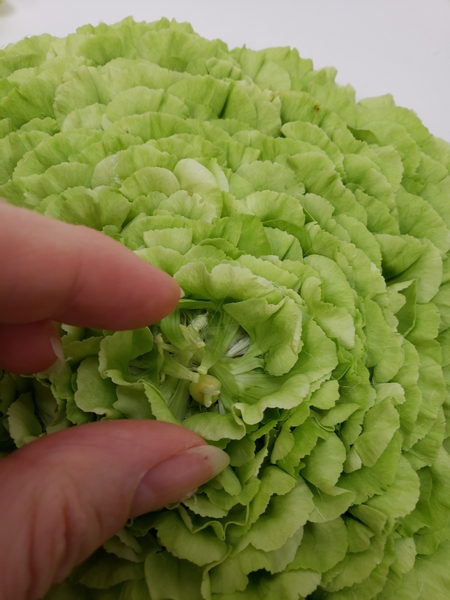
Carefully lift up a petal and glue in a pistil.

Creating an interesting heart for the fantasy flower. Settle the petals back over the pistil so that is looks like it just grew that way.
Now for the interesting part: I wanted my composite to be low... but not inside a glass container. To look almost like a floating moss ball on a dew drop for the blossom twigs to fall on. To achieve this I created a support with sellotape. I discuss the reasoning and how to make it stronger if need be in this week's notification email (with a tip on how this can be a design solution in a pinch) so that you can ask questions or comment directly to me. Make sure you are signed up to receive the email. The button is below this post.

Place a sellotape strip (sticky side up) just inside the edge of the container.
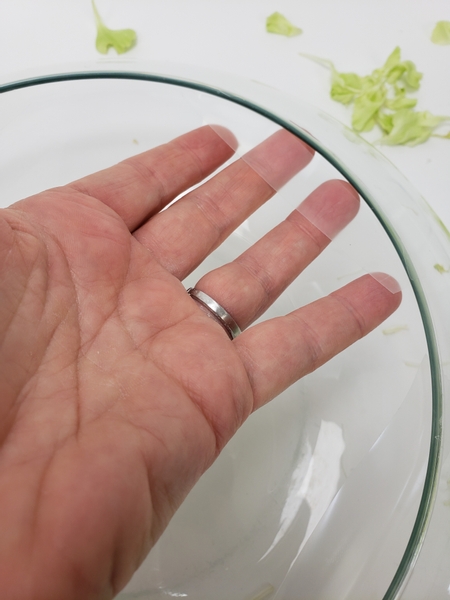
Turning the circular opening into a square support with four bits of tape.
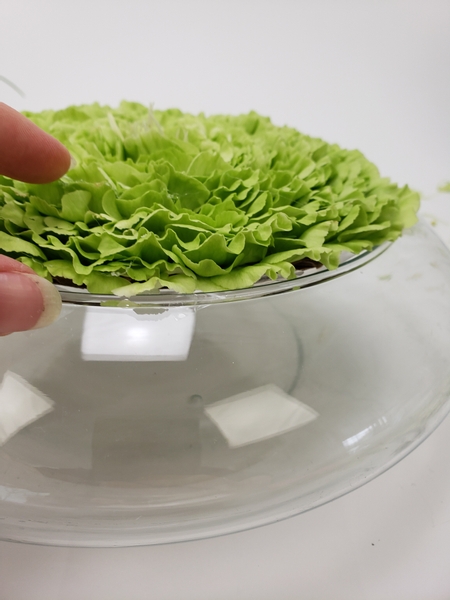
The idea is that the petals should not be high above the container but instead be just inside.
Settle the composite platform so that it sticks to the tape just inside the rim of the container- allow the flower to sink in slightly without ripping the tape from the glass.
Design note: if you want to add a heavier composite you have to create additional support. See this week's email for tips.
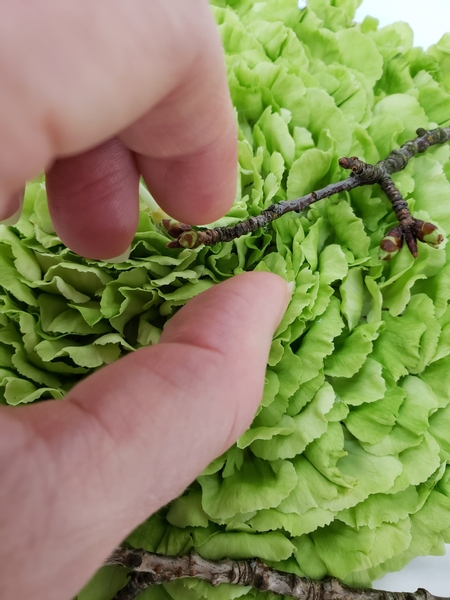
Add a few green blossoming branches to the flower design
Design note: I wanted the blossoms to not yet show colour to represent early Spring... pruning season so I kept them out of water.
happy to report that the leftover blossom twigs that were in water is starting to pop open. Spring is not far away now.
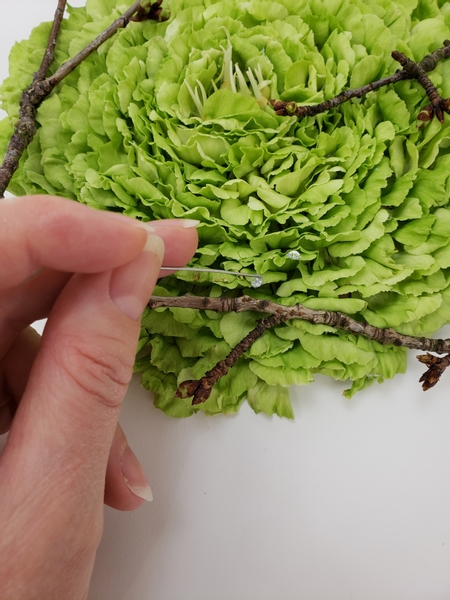
And finish the design with a few dew drop crystals. See the Tutorial in the links below for detailed instructions on how and why I add the crystals using a pin.
Sign up for my weekly newsletter
Every week I add a new design with related tutorials. Be sure to subscribe to receive an email notification with design inspiration.


