Christine de Beer - effortless floral craftsman
Starlight Garland
- 20 December 2023
The strand of fairy lights was inspired by the age old way we draw a star...
Horizontal then down, up, down and to the side to close the shape. I was wondering what I can add to the design to make it Christmas star-like and thought it is a continuous line...
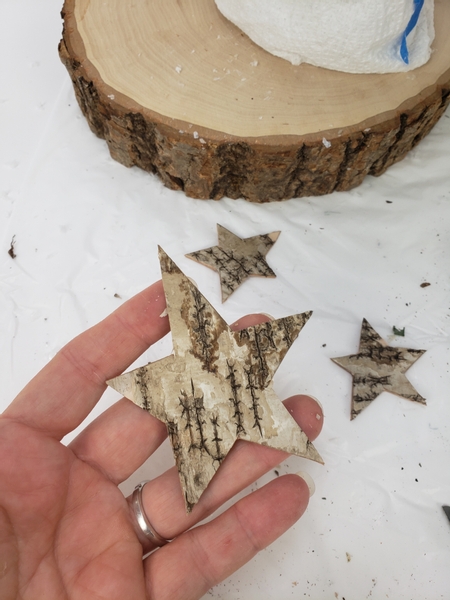
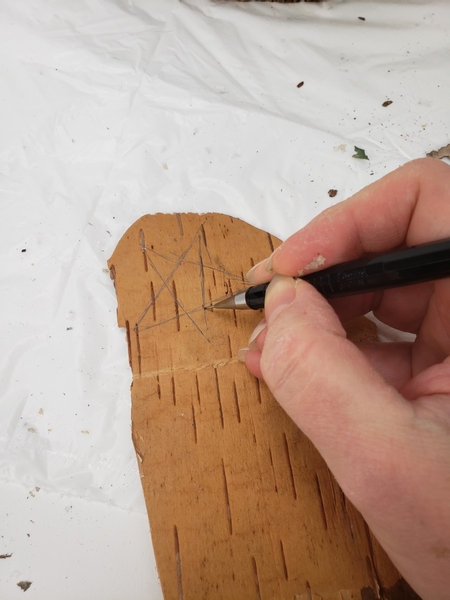
So I cut out the shapes and glued in the stars to the base of the design and let me show you how to make the star garland...
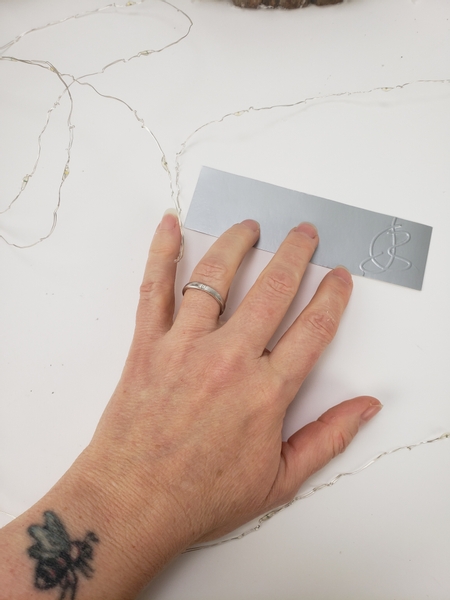
Cut a thin strip of cardboard...
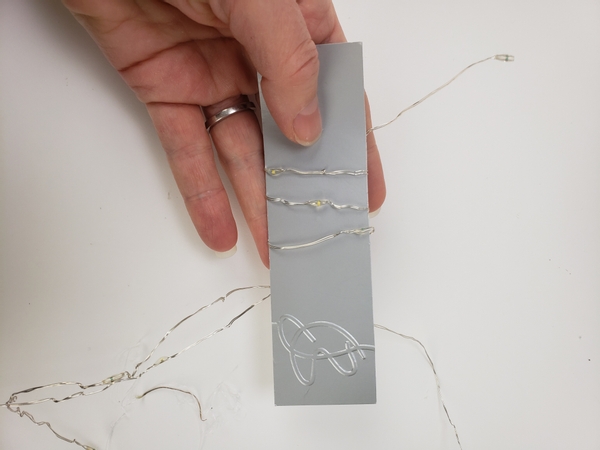
Leave a tail of wire and then wrap the wire around the cardboard...
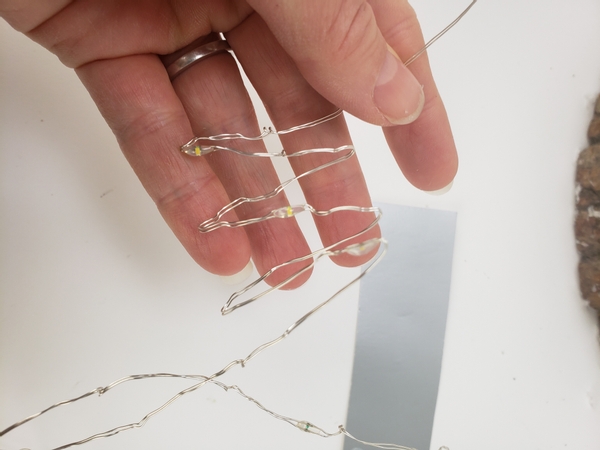
Slip the wire from the cardboard... Hold the first bend horizontal to start to shape the star...

Horizontal then down, up, down and to the side to close the shape...
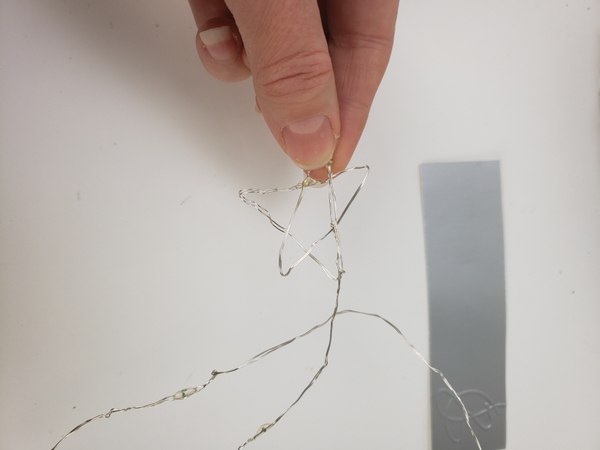
Press the wires flat to create a neat star shape.

Bend the wires around the corners to secure the shape.

Skip a few lights to leave a gap between the stars and wrap and bend the next star.

To create a puffy star:
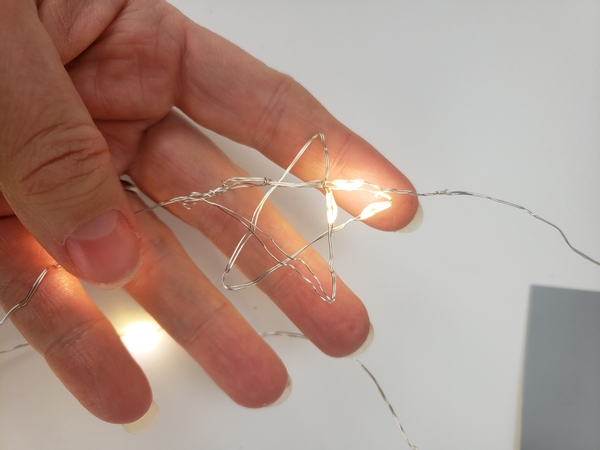
Make a star at the end of the fairy lights...
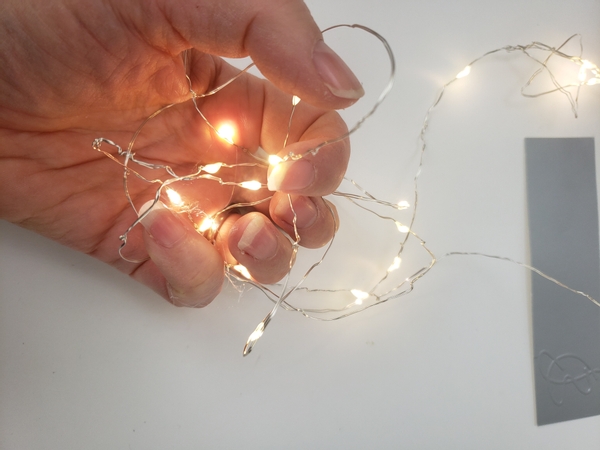
Gather and bundle the rest of the wire lights...
Roll the wire light bundle into a tight ball between your hands.
Book readers turn to page 36 to read more about using wire for design work. For more information about my book: The Effortless Floral Craftsman

Tight enough to fit inside the star...

Place the bauble behind the star...

Wrap the leftover wire around the star shape to secure it...
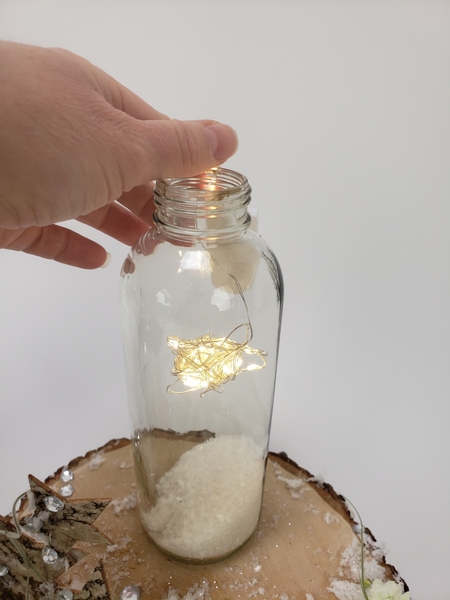
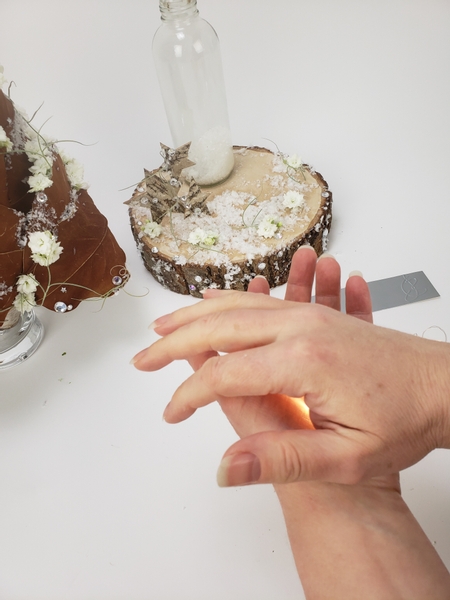
Pour some Epson salt into the display container and slip the star in to dangle above the snow.
I use Epson salt inside the container because it has a natural sparkle to it. It is easier to pour in... and out... because it is not static like artificial snow.

Place the Magnolia tree on the display container to keep the puffy star in place...
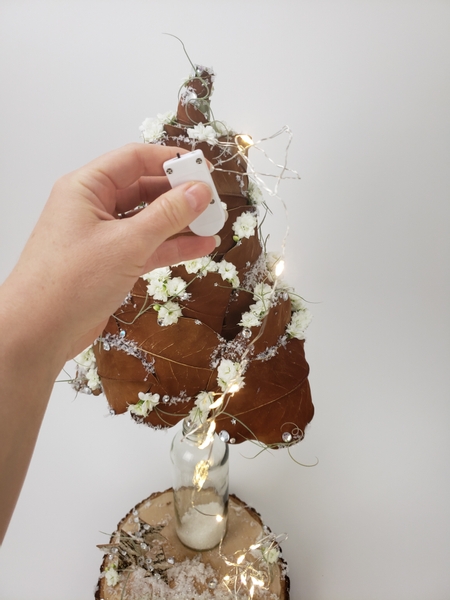
Tuck the on off switch of the star garlands into the leaf tree and dangle it down the sides where you added the star crystals.
See the Tutorial below for more detail instructions on how to make the tall Magnolia leaf tree. Also this week in our email I show you how I created the little pockets between the leaves so that you can fit the flowers and the light switch. If you are not yet receiving my Wednesday morning (Vancouver time) email you can sign up below this post. I send out the email to you the moment the design is ready to view. Each week with a bit of a closer look at something that I found interesting about the design. This is also a great way for us to connect. Oh yes... I answer all the emails. So if you have a question or a comment or want to say hi, I would love to hear from you.
Sign up for my weekly newsletter
Every week I add a new design with related tutorials. Be sure to subscribe to receive an email notification with design inspiration.


 Cotton Christmas")


