Christine de Beer - effortless floral craftsman
Foam free and flameless cardboard and bark yule log
- 18 November 2020
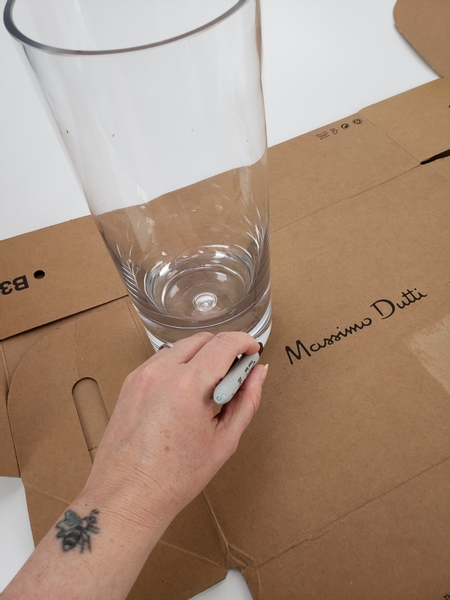
Place a large cardboard box on a flat working surface. Trace the bottom of a round vase (as big as you want the log to be) on the cardboard.
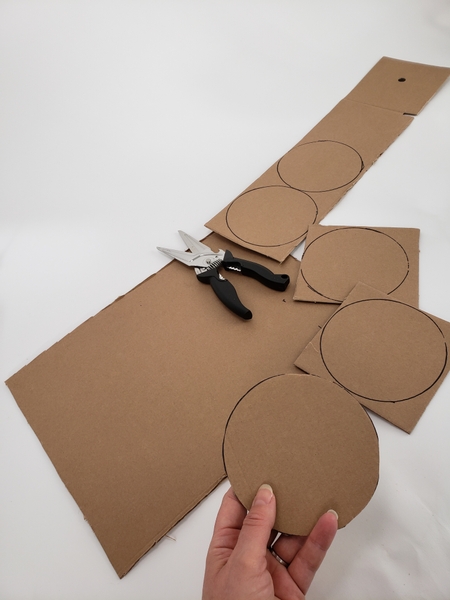
Cut out the cardboard shapes. You will need a few round disks for the log ends and inside supports and a block shape as big as you long as you want the log to be.
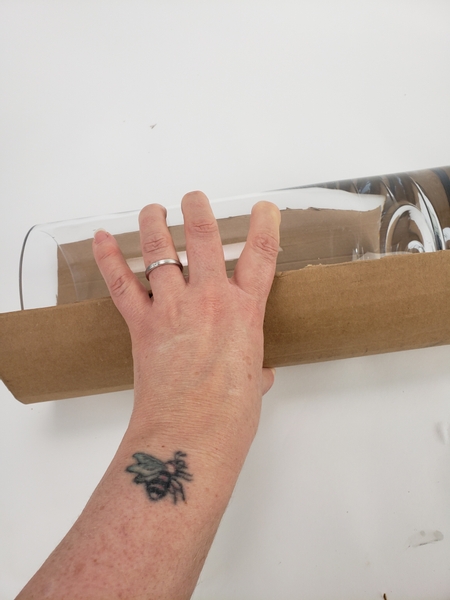
Place the vase on the flat cardboard...
Start to roll the vase and the cardboard...
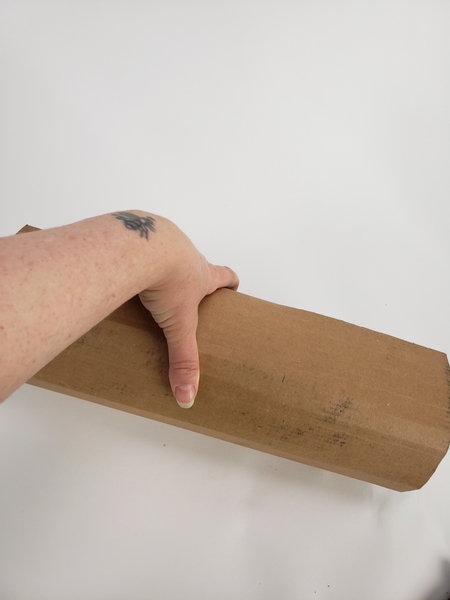
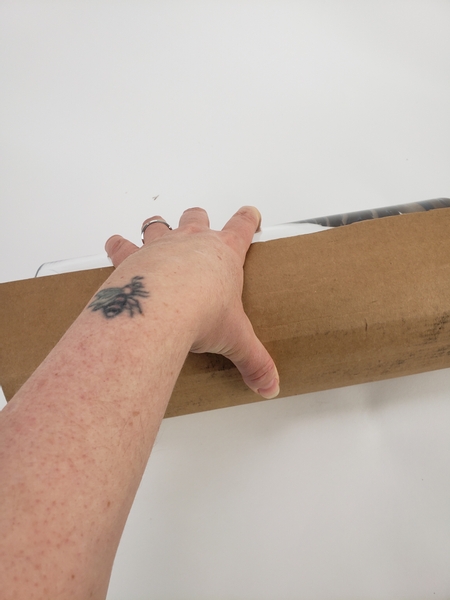
Rock the cardboard and vase back and forth to bend it into a round shape.
You will see horizontal folds in the cardboard- the more folds the nicer the curve shape.
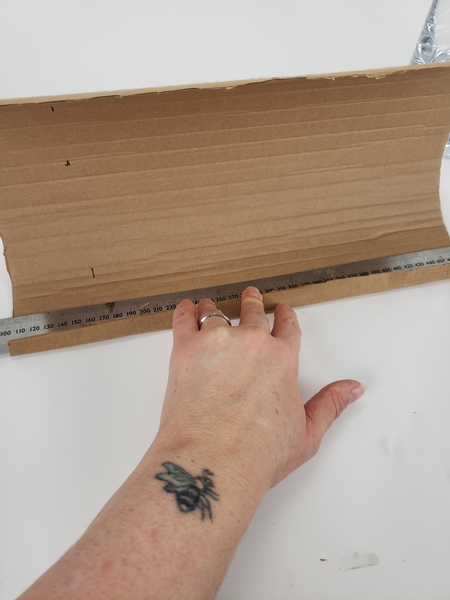
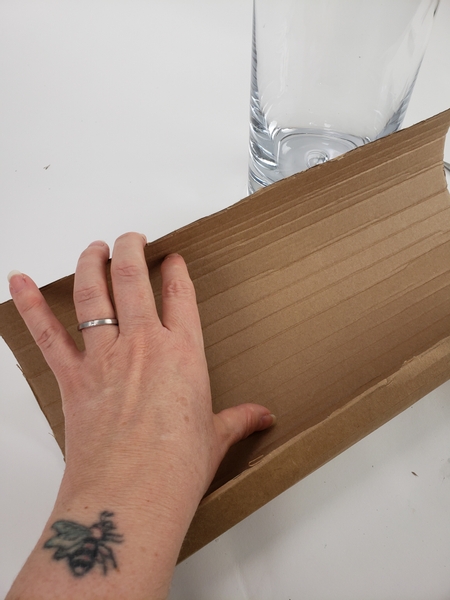
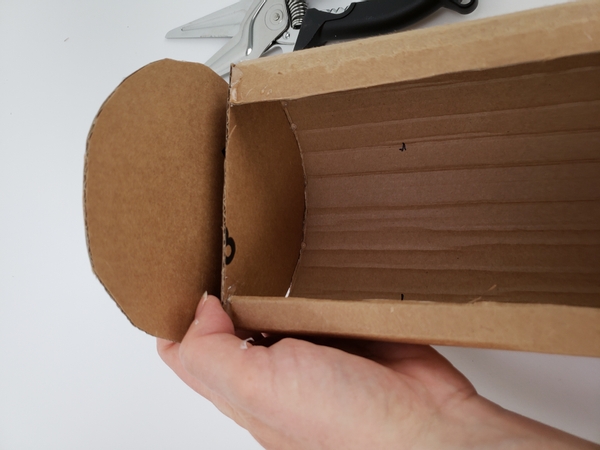
Use a steel ruler to fold an edge on the one side of the cardboard...
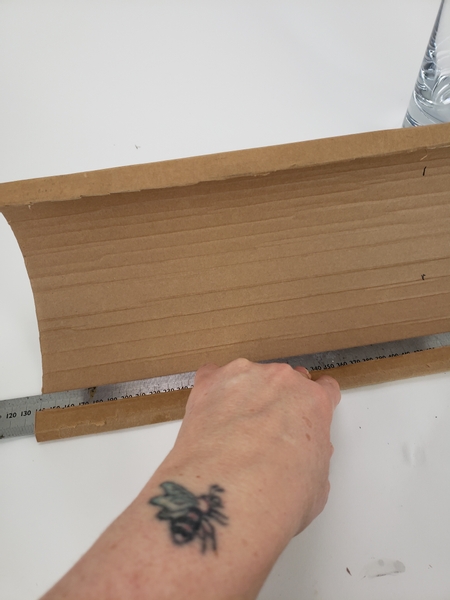
Make another edge on the other side.
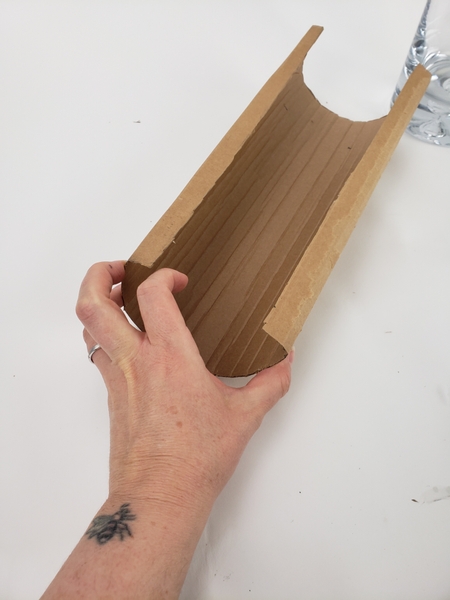
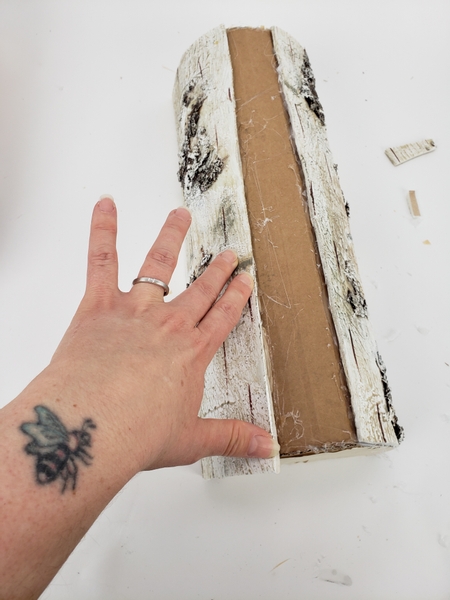
Giving you the basic split open log shape.
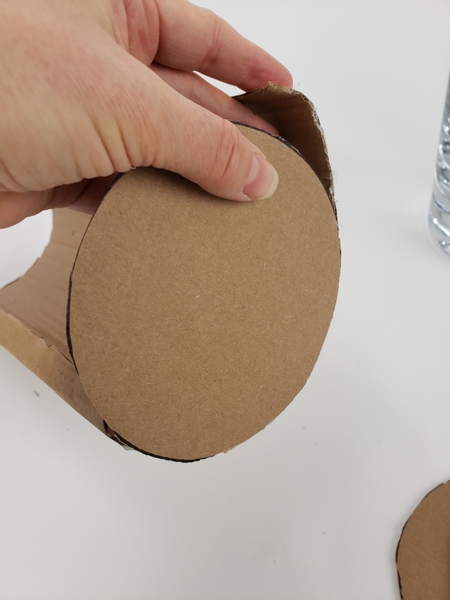
Use hot glue to glue one cardboard disk to one end...
... and another disk on the other end
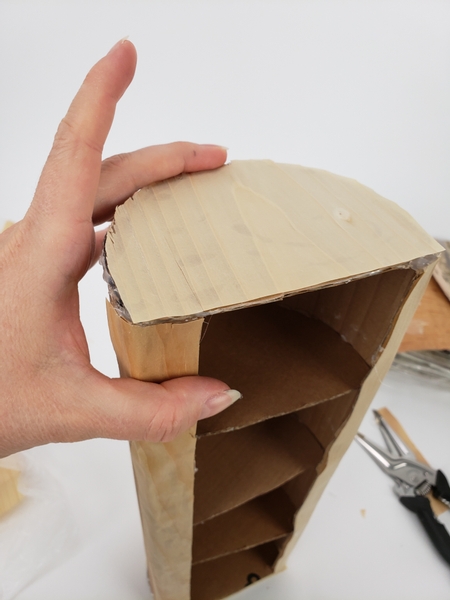
Cut the disks on both ends so that they are level with the folded edge.
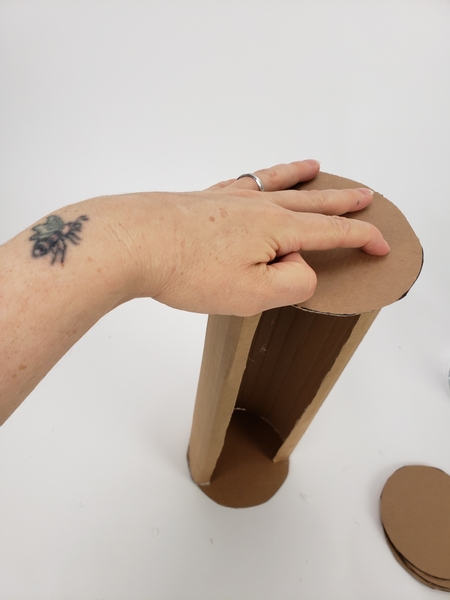
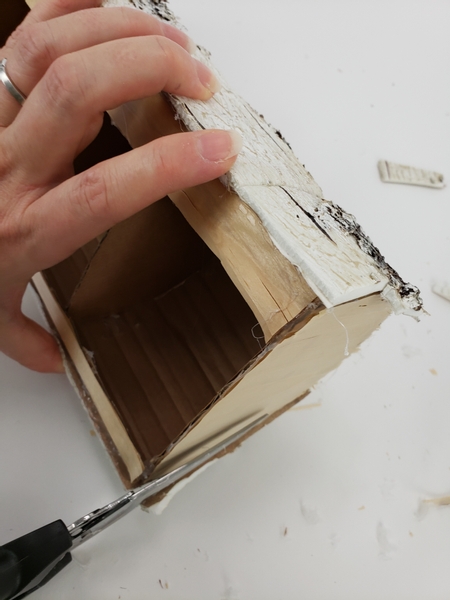
Measure the leftover disks to match the size of the end disks to add into the log for support.
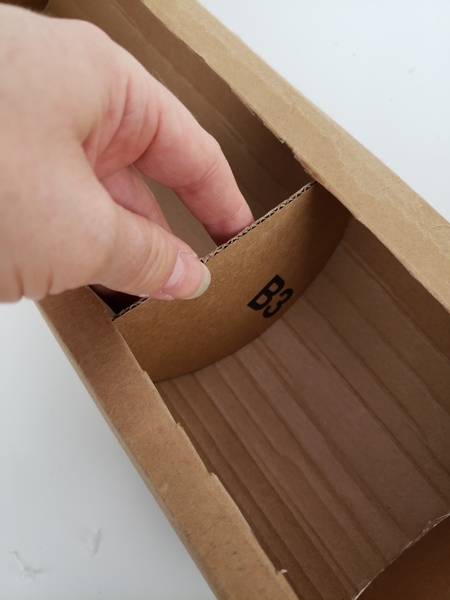
Lift the edge and fit the disk support pieces.
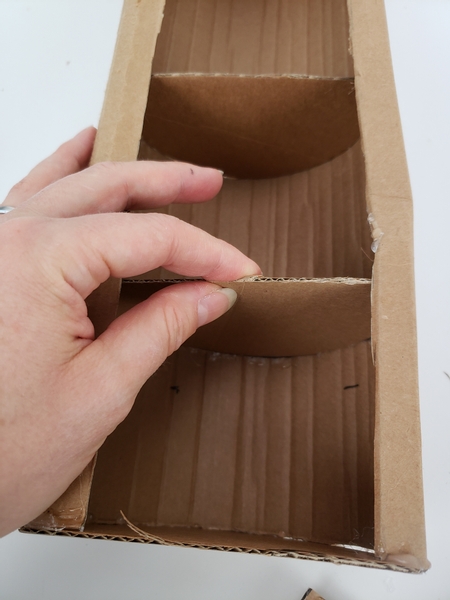
Keep adding support disks to make sure the log is sturdy...
These support disks also act as dividers making it easier to design inside the log
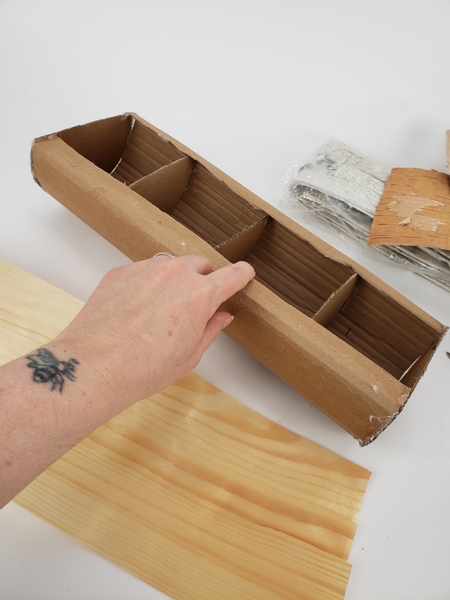
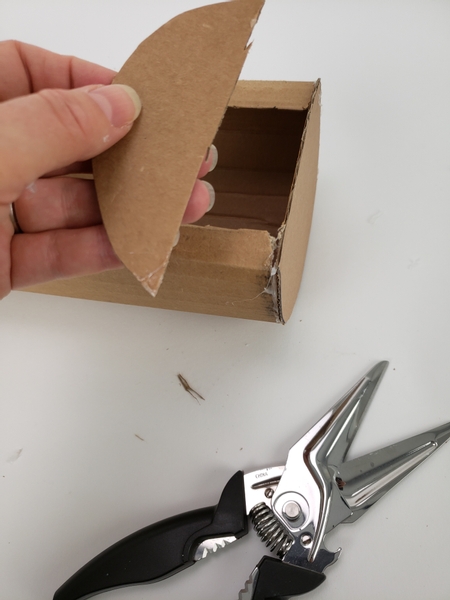
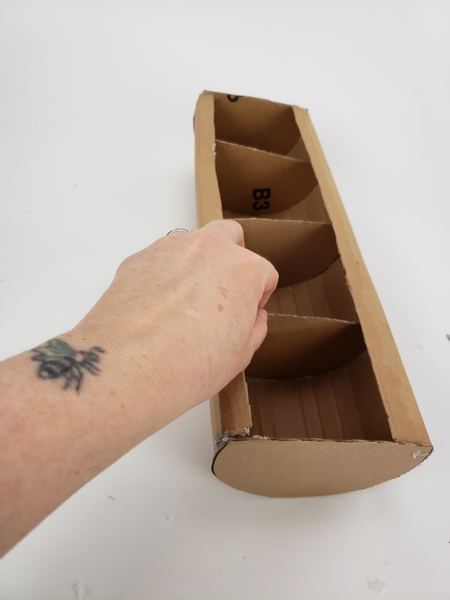
Go back over the cardboard shape and make sure it is firmly glued in place before designing with it.
Next step is to cover the cardboard to look like wood. I used Kyogi paper (a Japanese shaved wood) and bark sheets. You can also remove bark from wood (see the tutorial below) or use ribbon or wrapping paper that looks like bark or even use the wood chips you buy in bags as growth medium for orchids.
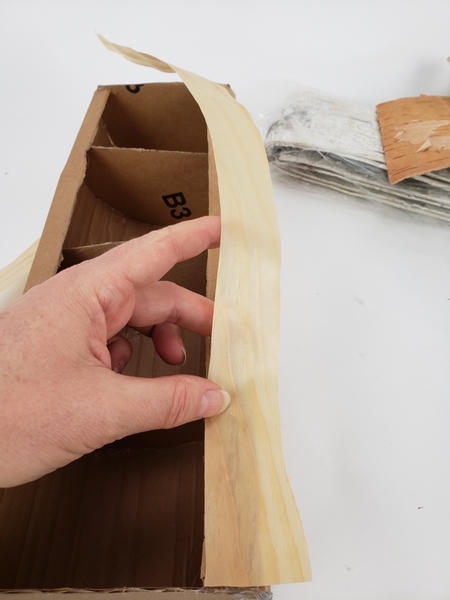
Cover the edge with Kyogi paper to create a wood veneer
Again see the Tutorial below if you want more detailed instructions on how to cover something to look like wood.
Glue the paper over and around the edge.
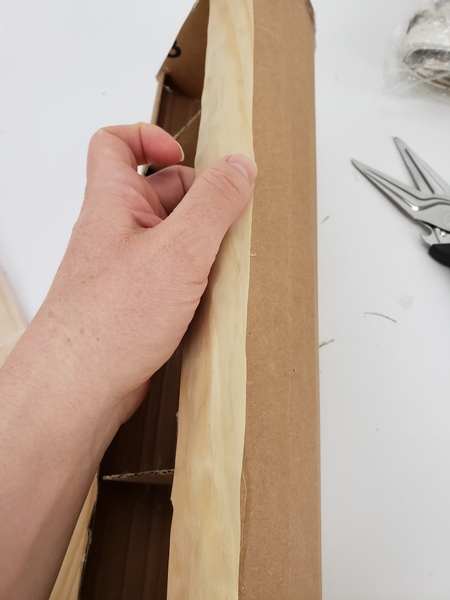
Do the same with the other side edge.
Cover the disk on the end with Kyogi paper...
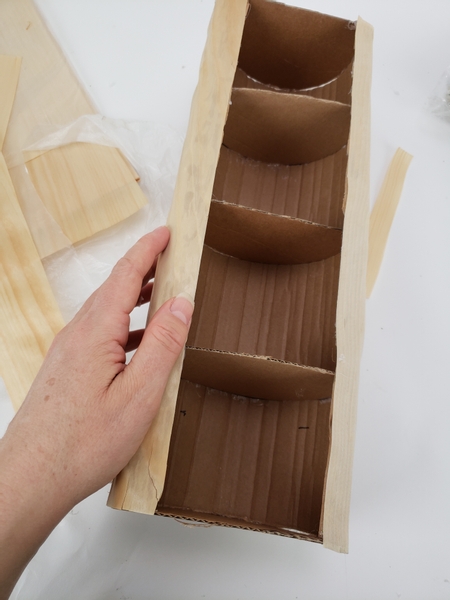
Do the same with the other side and cut away the paper that sticks over the side.
Design note: if you are going to add snow to the edges of the design you can cover up any perfections later.
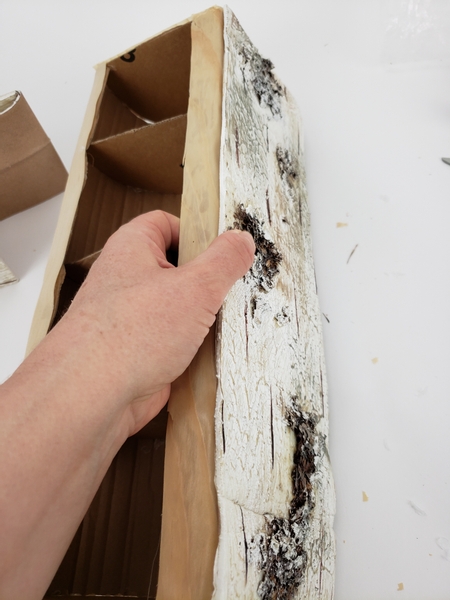
Fit the bark to the side of the paper log and glue down with a generous amount of hot glue.
Fold the bark under the log shape and secure with glue.

Glue another sheet of bark to the other side to cover it.
And secure the bottom curve.
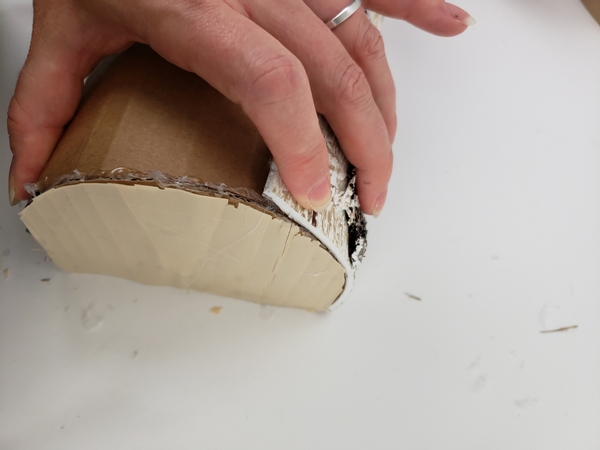
You can cover the strip that is now exposed as well but I found it a convenient base to prevent my design from rolling and it is not going to be seen so I left it as is.
Tidy up the edges by cutting the bark to size.

Flood any gaps with hot glue to catch all those snow flakes.
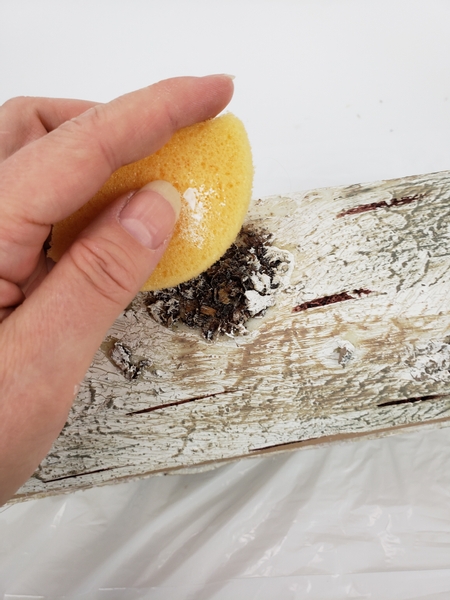
Dab a bit of white paint on to the log for a snow covered effect before adding the artificial snow flakes...

Pour wood glue out into a small container.
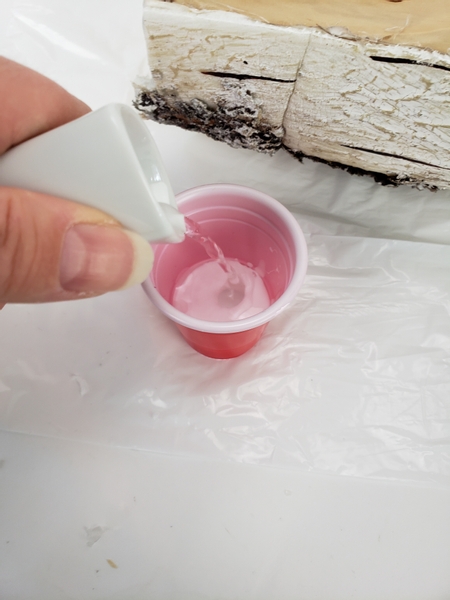
Thin the glue with hot water.
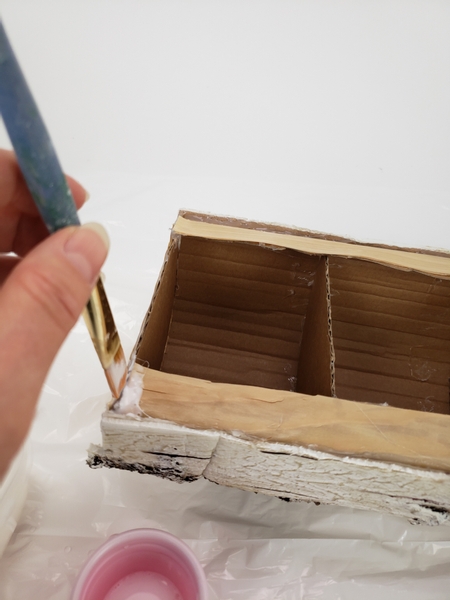
Paint the glue around the edges...
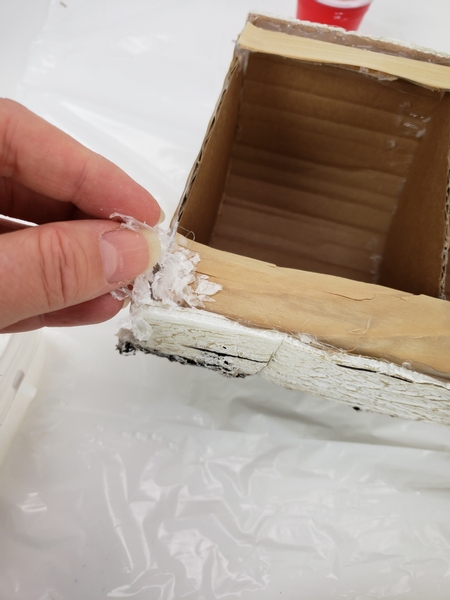
And sprinkle with artificial snow.
Once done set the log aside for the glue to dry completely.
Shake off any snowflakes and go over all the places that are still open and add more snow.
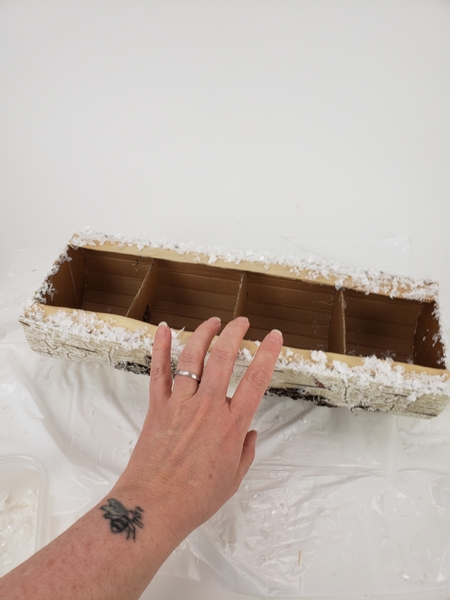
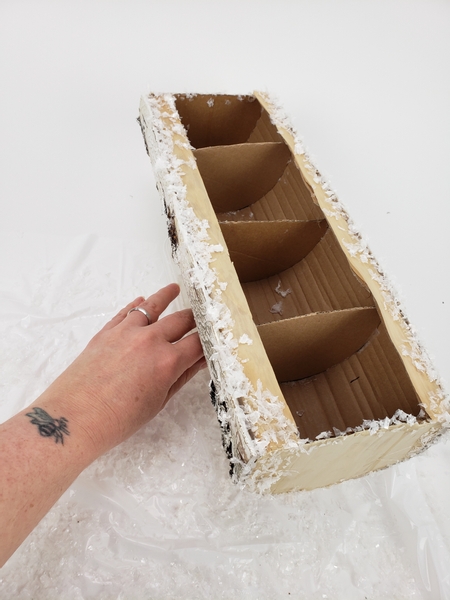
Once dry the cardboard log is ready to design with.
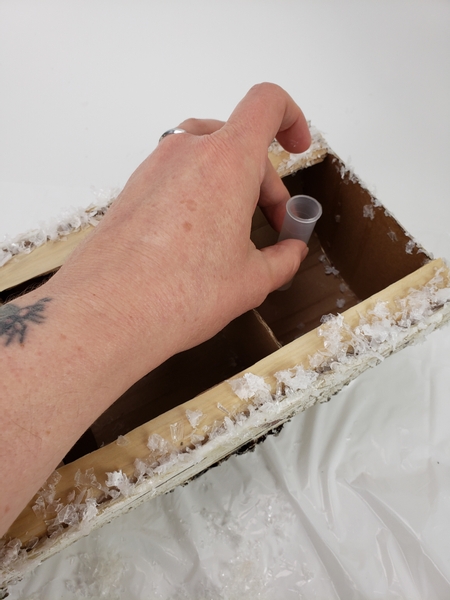
Of course I am not using floral foam! But I have yet another reason as to why I am using water tubes, and how I place these tubes to create levels in my design. It is a rather in-depth explanation and I want you to be able to ask questions or comment if you want to, so I moved the conversation over to my newsletter notification email. If you are not yet signed up the button is below this post. I send out one email per week, always on a Wednesday morning so that you have advance access the moment the design is up with exclusive tips for you to read relevant to the design.
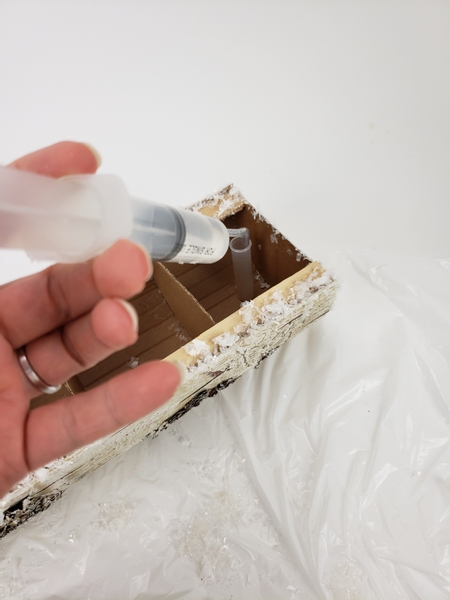
Fill the water tube with water. See the Tutorial below for more details on how I make these syringe with tubes to make it easier to fill tubes in awkward positions.
If you want to read more about how I adjust water levels in tubes according to how I intend to place them so that the flowers remain hydrated for as long as possible see my book page: 188 onwards.
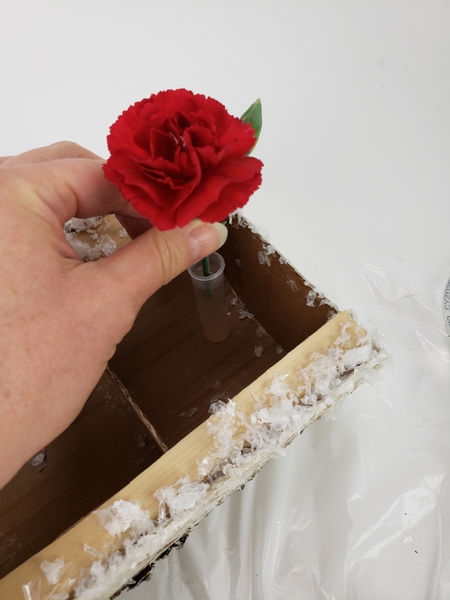
Measure, cut and place the flowers in the tubes. Again, I explain in detail how and why I did this in this way in my newsletter email.
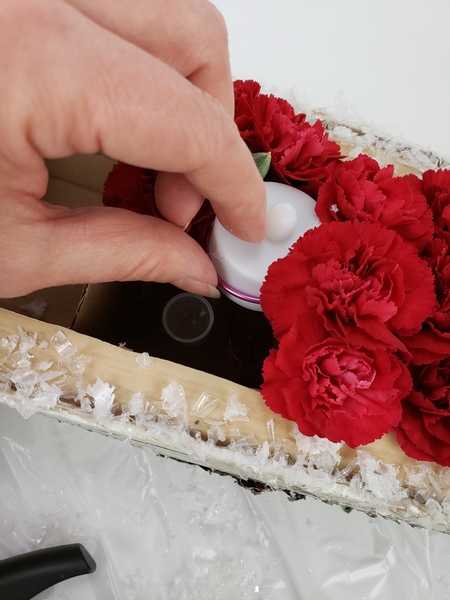
Place the battery operated candles to nestle between the flowers.
For more detailed instructions on how I crafted the wire support for the candles so that you can lift it out and switch it on and off easily see the Tutorial below.
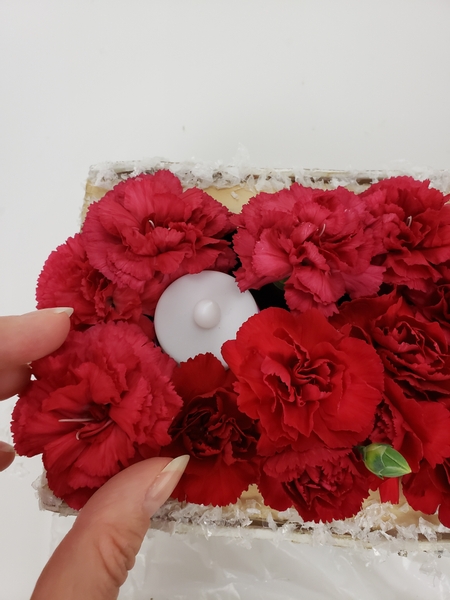
And add more water filled tubes and fresh carnations to fill the inside space of the log.
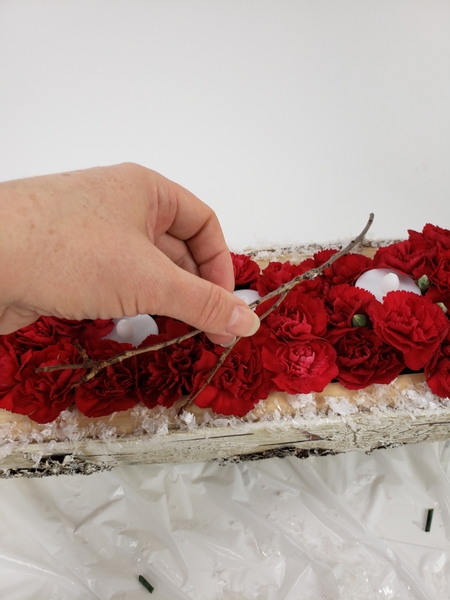
Place a few twigs to cross over the design...
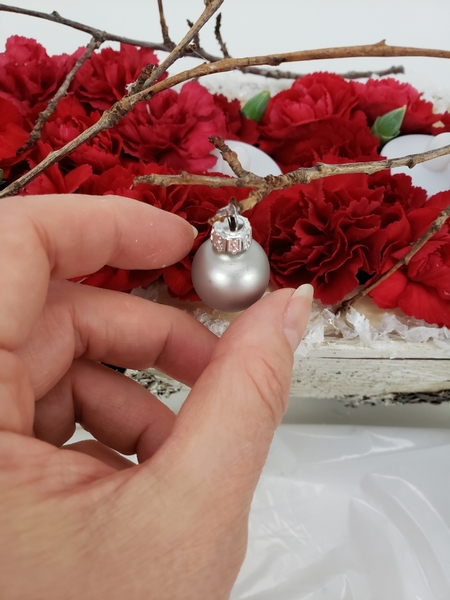
Hang a few baubles from the twigs...

Making sure to secure it with the tiniest bit of glue.
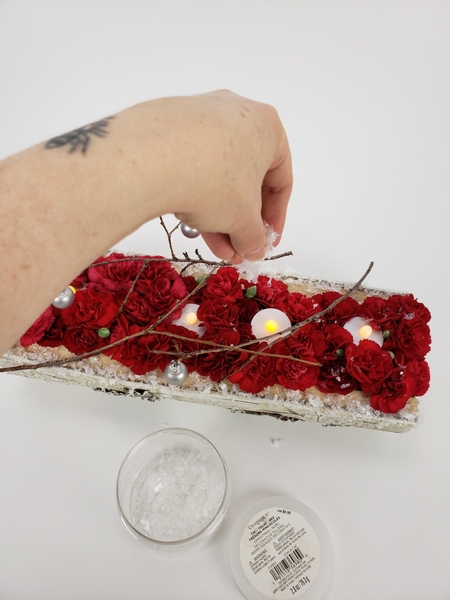
And sprinkle a light dusting of snow over the design.
Sign up for my weekly newsletter
Every week I add a new design with related tutorials. Be sure to subscribe to receive an email notification with design inspiration.


 Cotton Christmas")


