Christine de Beer - effortless floral craftsman
Potted bark pod for a flowering plant
- 11 January 2017
- and more
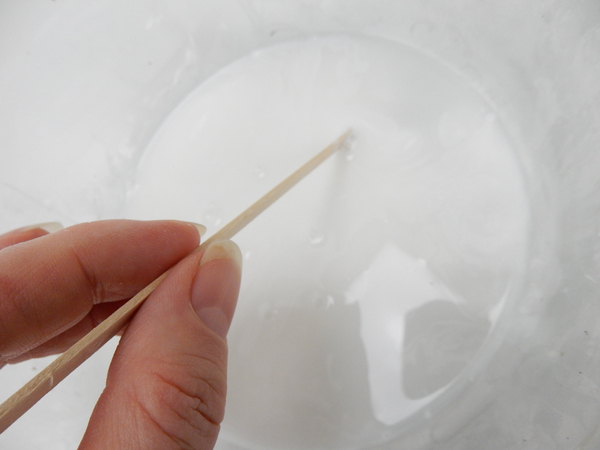
Thin wood glue with warm water.
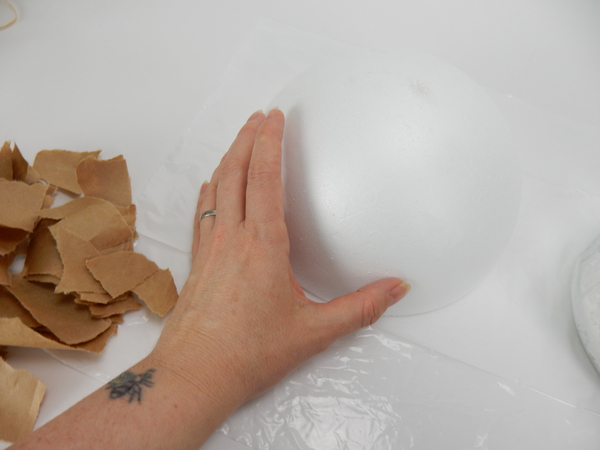
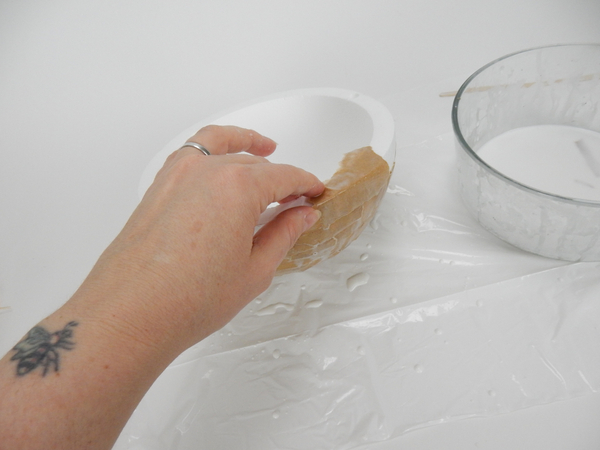
Rip up some brown paper in irregular shapes and place the shape on a flat working surface
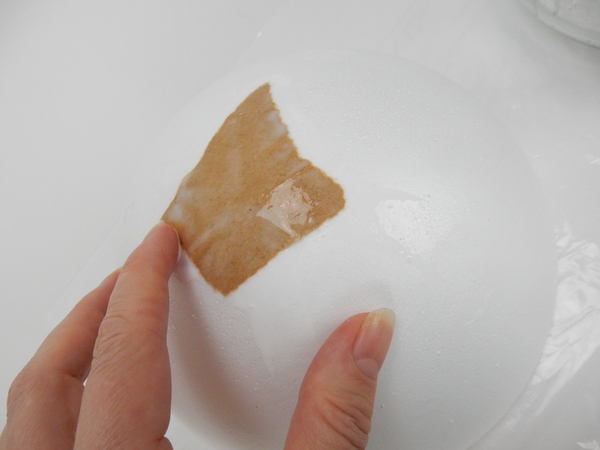
Soak the brown paper in the thinned glue and smooth it to cover the shape
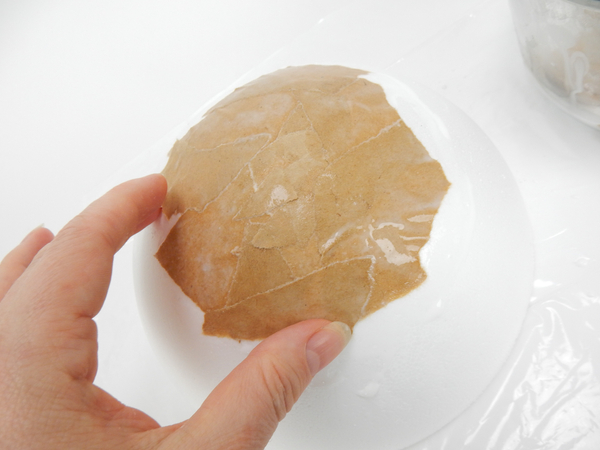
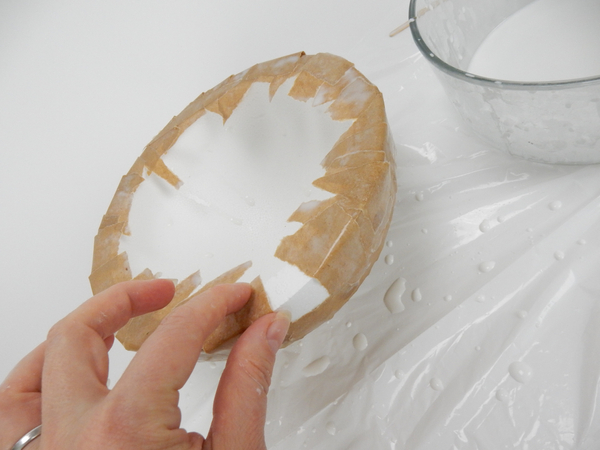
Overlap the brown paper to fully cover the white shape with brown paper. The brown paper covering will harden as it dries and form a protective layer between the foam and the bark. It also makes it easier to remove the bark and re-use the Styrofoam sphere

Smooth down all the brown paper pieces to closely follow the shape
Flip the shape over and cover the sides and top
Follow the curves of the shape
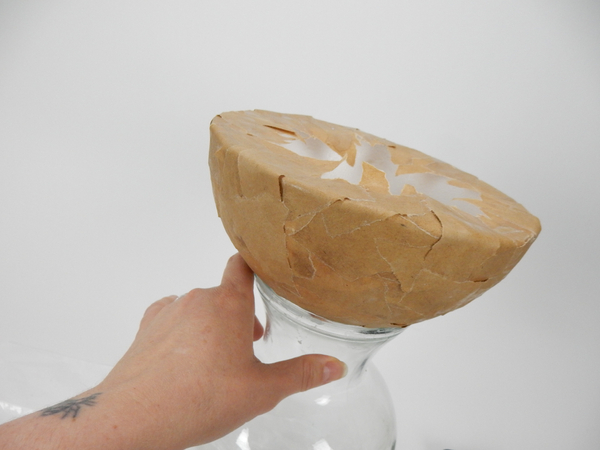
Set the shape on a vase to dry overnight
For more information on using Papier Mache see the Tutorial below
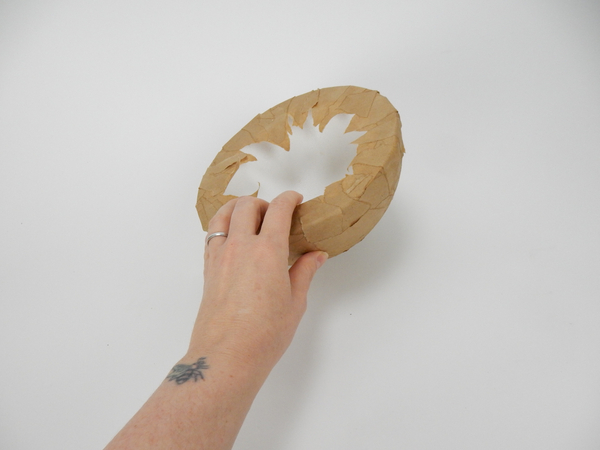
The paper covered bowl is now ready to design with
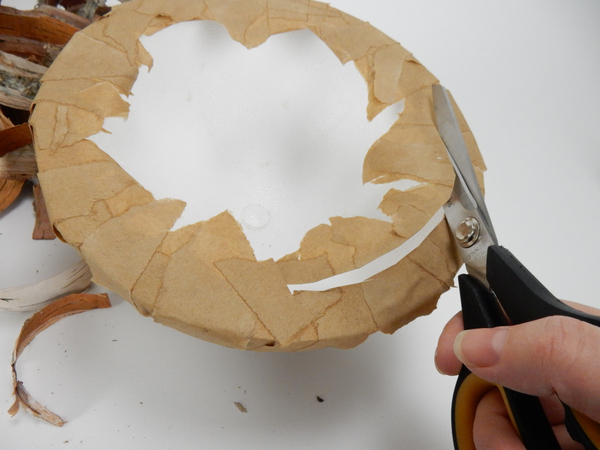
Cut away any extra bits of paper
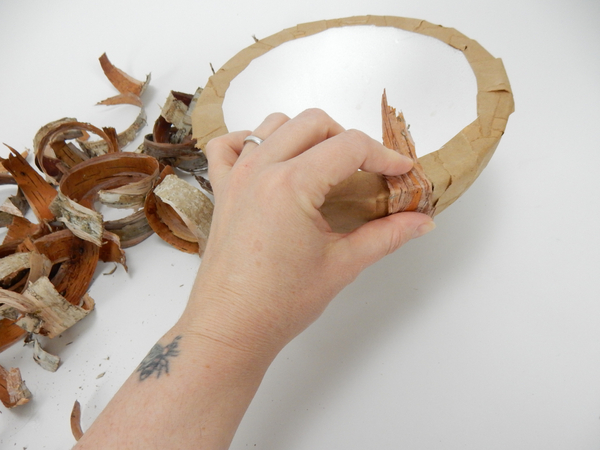
Rip bark into long strips and glue it to the paper covered shape

Work your way outwards leaving long strips pointing into the shape. This will secure the plant and somewhat cover the growth medium around the orchid roots.
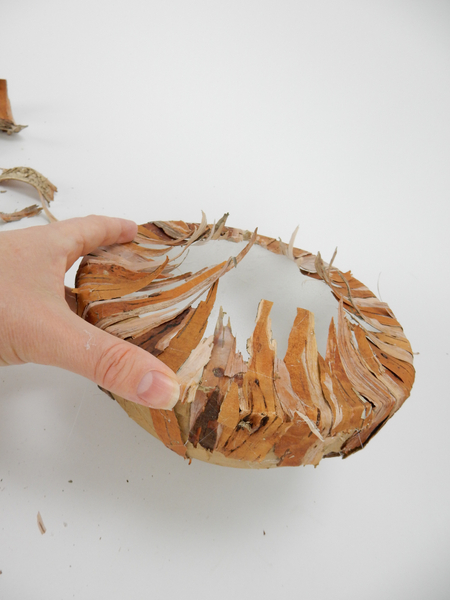
Glue in a second layer of bark
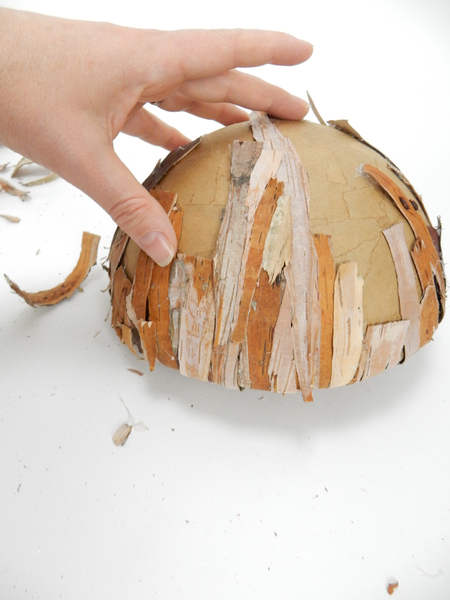
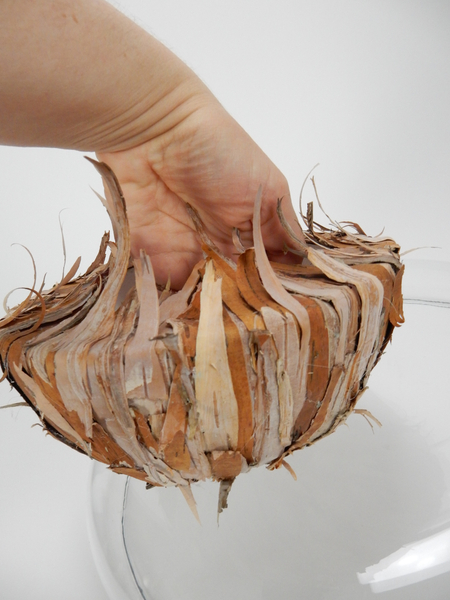
Turn the shape around and glue strips of bark to the underside
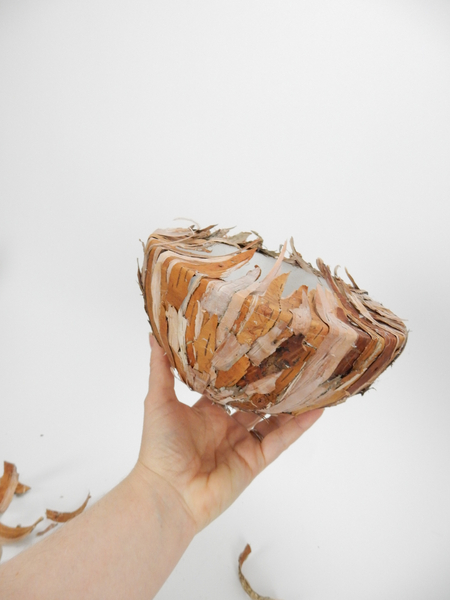
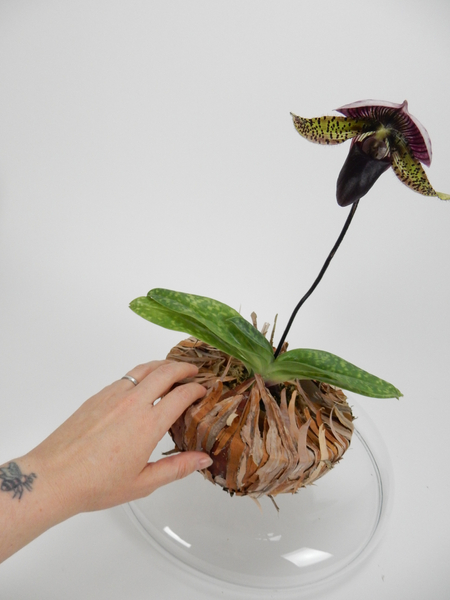
The bark shape is now done and ready for the potted plant
Design notes:
Make sure not to plant plants with different water and soil needs in the same design. For my design I added the rosary vine (a succulent) in it's own tiny containers with soil and the budding twigs in small test tubes (see the Tutorial below) and the orchid is in a growth medium making it easy to water each plant as it requires hydration.
Measure the depth of the plant with your fingers
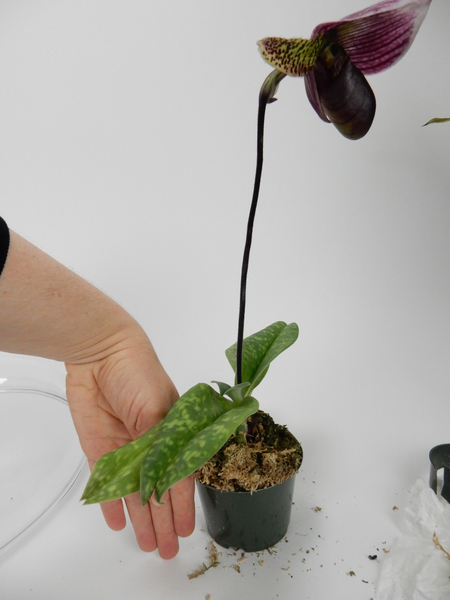
Measure the size of the plastic pot
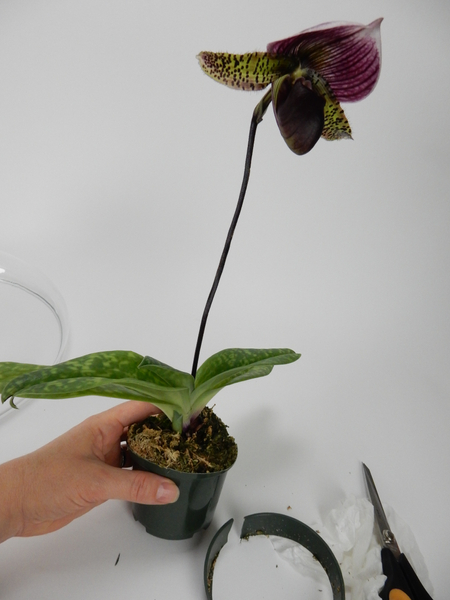
Cut the pot smaller if need be.
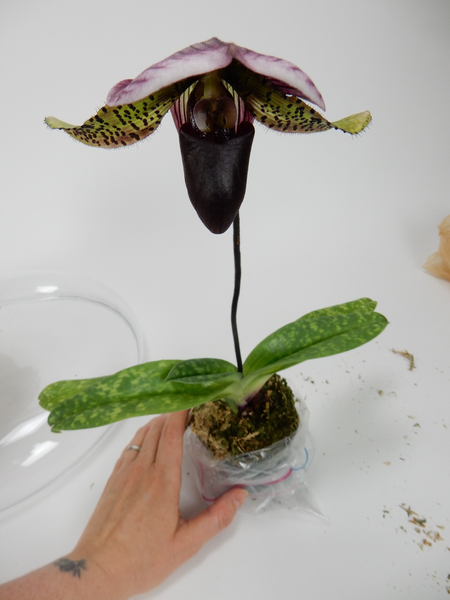
Slip a loose fitting bag over the pot to catch any water that drains out of the pot. You can also place a small bowl under the plant or let the water drain out into the Styrofoam but I added the plastic because I wanted to add more plant material into the potted design and required padding
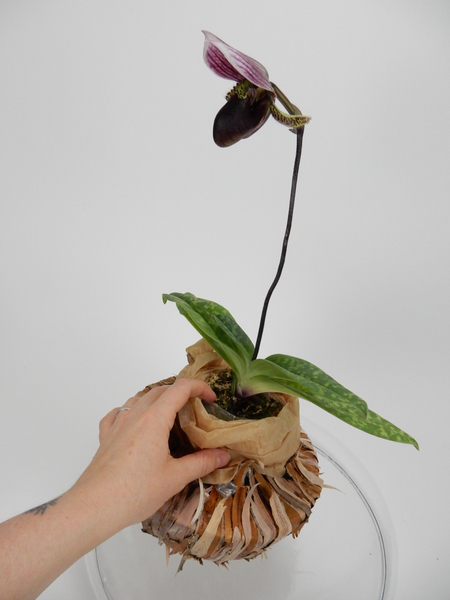
I also wrapped a sheet of tissue paper to conceal the bag and give the test tubes and plant containers something to nestle into. Place the plant in the bark covered shape
Lift the strips of bark to cover the pot, plastic and tissue paper. The entire design should be snug and secure.
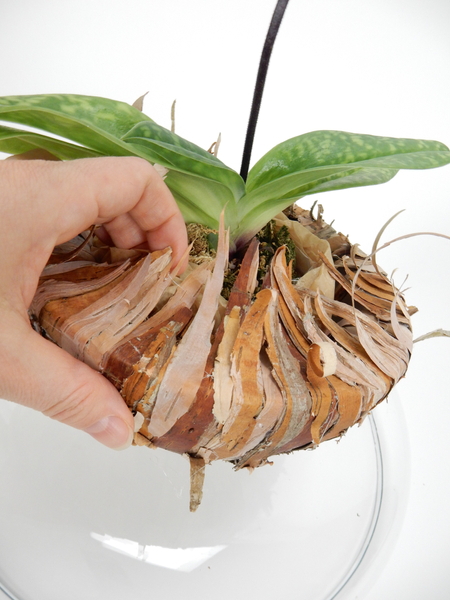
Special note: Orchid roots should not be completely covered. Make sure it can still get some light
Make sure it is easy to water the plant to keep it beautiful for as long as possible
Sign up for my weekly newsletter
Every week I add a new design with related tutorials. Be sure to subscribe to receive an email notification with design inspiration.


