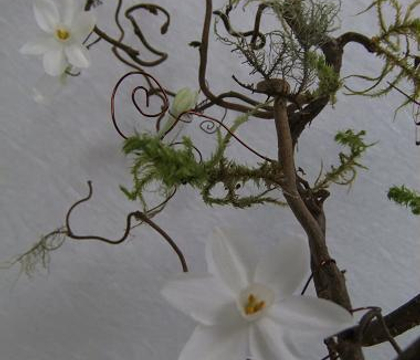
Christine de Beer - effortless floral craftsman
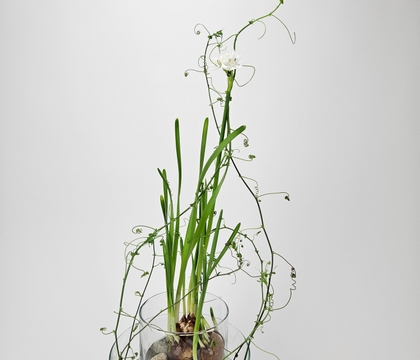
A growing Paperwhite paperweight to secure twirling passion fruit vines under water
- 8 January 2025
Now... this design will take a few weeks to make. We start the bulbs hydroponically and let it grow into a wonderful display.
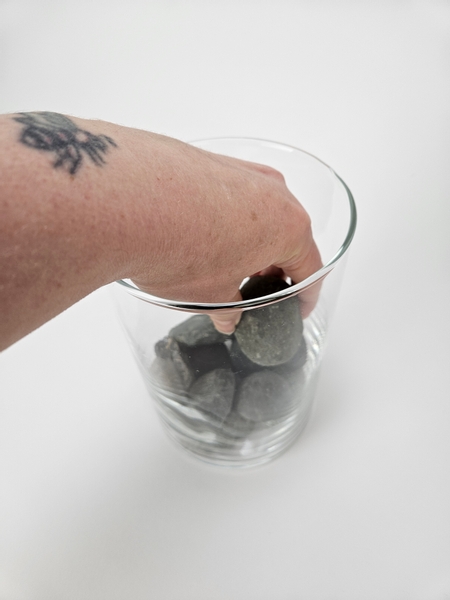
Place a few pebbles in the bottom of a glass container...
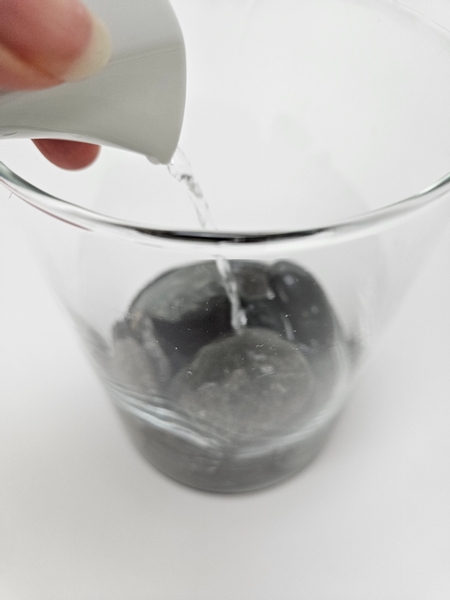
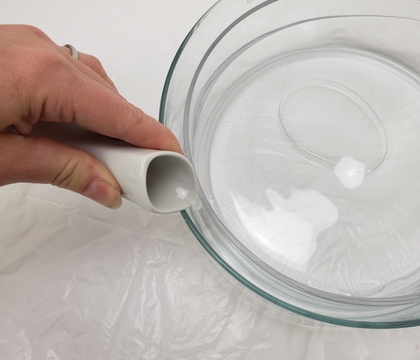
Pour water over the pebbles to just below the highest pebble.
I used distilled water. You can also use filtered water if you prefer.
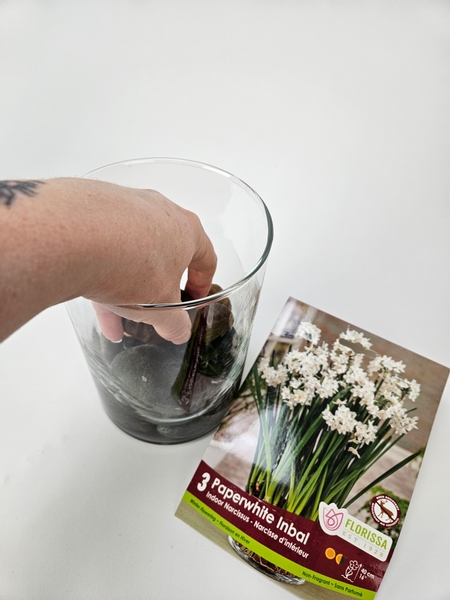
Place a few paperwhite bulbs (pointed tip pointing up) on the pebbles.
You might need to top up the water every now and again. Make sure only the very (basal plate, flat side of the bulb) bottom of the bulb is exposed to water to keep it from rotting.
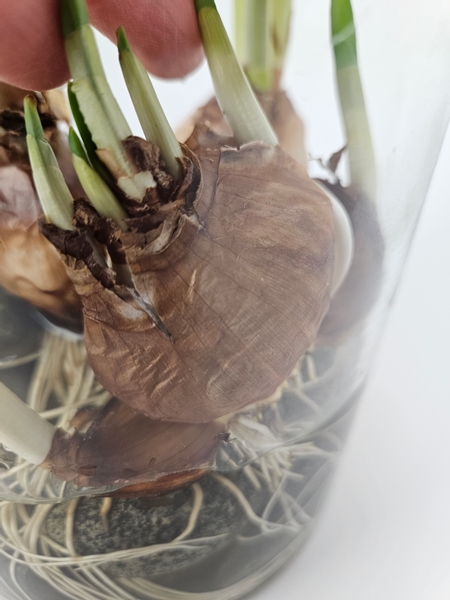
The paperwhite bulbs need a cool but bright place to stimulate root growth. And when you see healthy roots and shoots growing ...
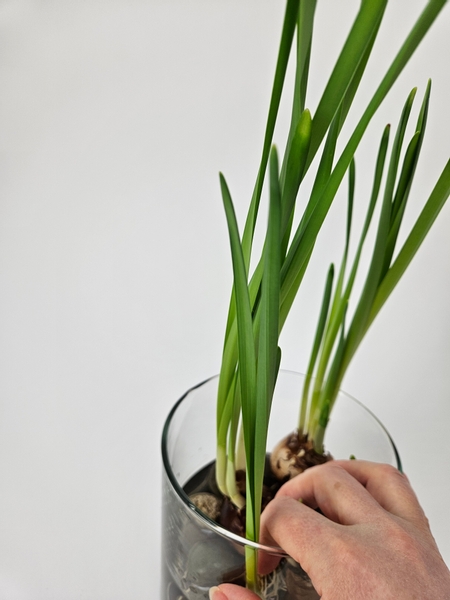
... Move the container to a brighter (indirect sunlight) warmer location so that the bulb can continue to grow...
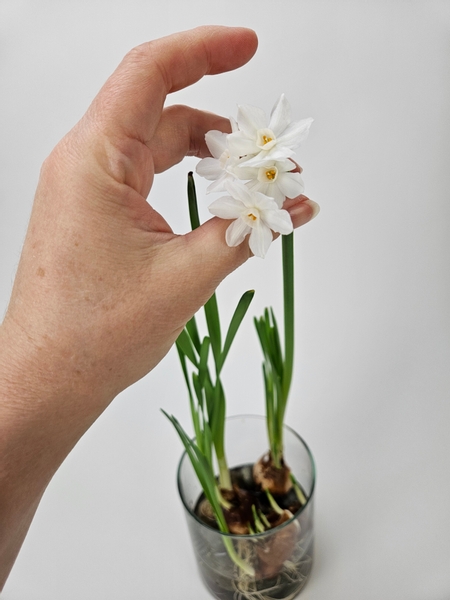
From about 5 weeks onwards you will have gorgeous little flowers to design with! Turn the design so that the bulbs still to flower are more exposed to light and the bulbs in flower are a bit more sheltered from the brightest light to prolong flowering.
Now... you might believe that surely 5 weeks is the longest I have designed on a design... no, no, no my flower buddy. You would be so very wrong. I once grew a bag. Yes an entire bag "knitted" from sweet pea vines. I grew the vines in tiny pots that were wired into the armature. And over the next 12 weeks I would go in and manipulate the tiny stems every few hours to cover the entire wire armature!
It was just before I started my website so unfortunately I do not have a Tutorial but here are the design images: In The Bag
Book readers turn to page 144 to see how I conceal the roots in a design if that is more suited to your style. For more information about my book: The Effortless Floral Craftsman
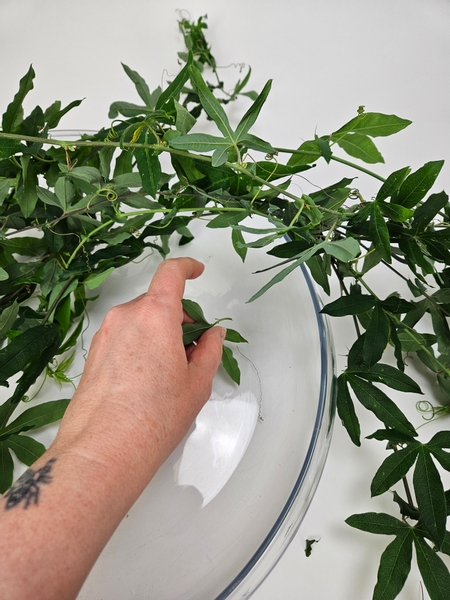
Remove the foliage from a few passion fruit vines.
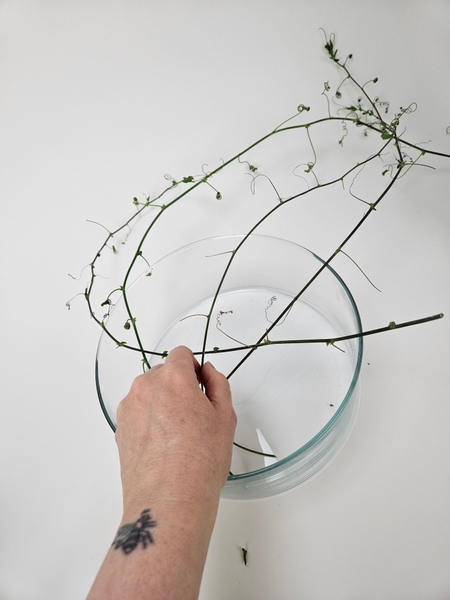
So that you have long vine stems with gorgeous fresh tendrils to design with
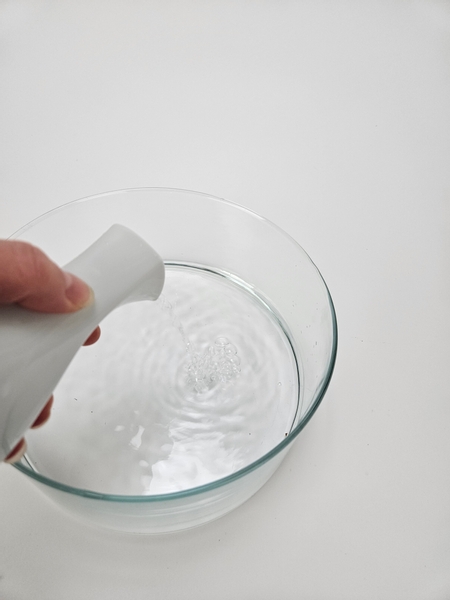
Pour water into a display container to just cover the base.
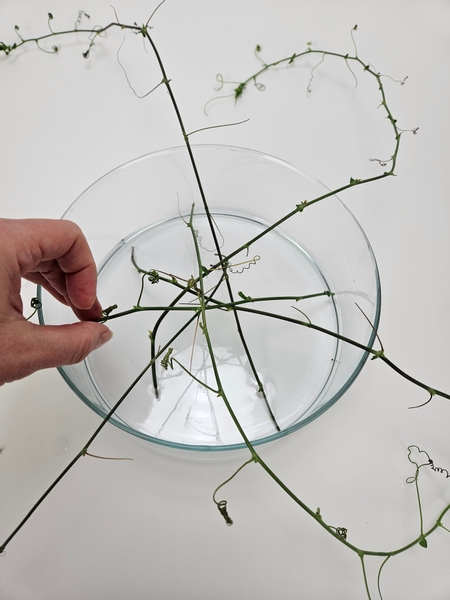
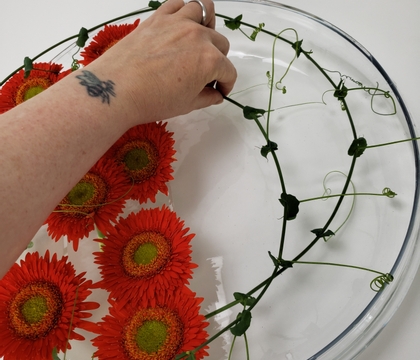
Arrange the vines to radiate out from the display container.
This week in our email I tell you a bit more about how I arrange the vines below in the container to make sure I have design options as I arrange the vines above through the paperwhites. I send out an email every Wednesday morning (Vancouver time) with a bit more information about a small (but important) design detail that I want to highlight each week. If you are not yet signed up you the subscribe button is below this post.
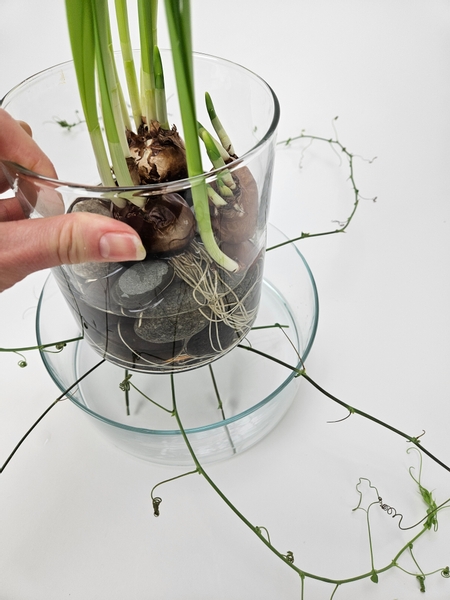
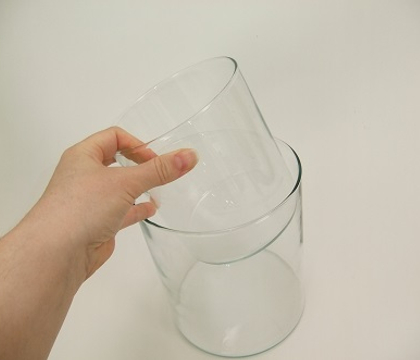
Place the pebble filled container right on top of the vines to weigh it down.
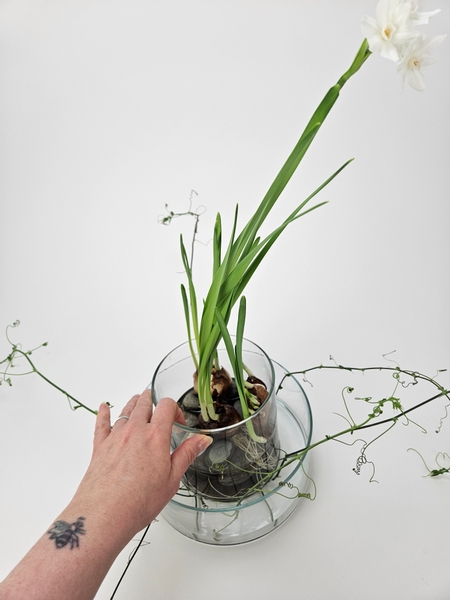
Make sure all the vine cut ends are under water so that they continue to be hydrated. You might have to top up the water slightly.
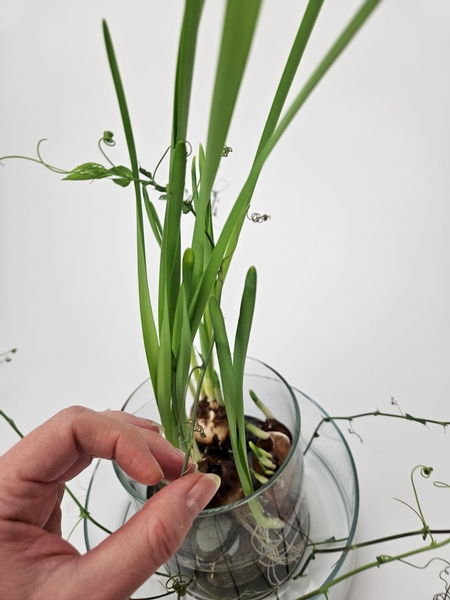
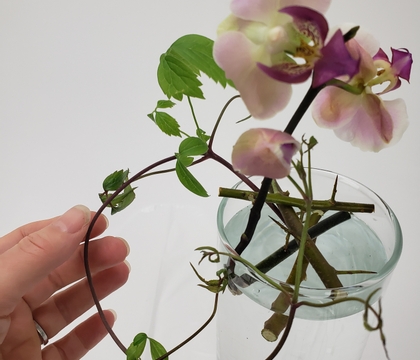
Lift the vines up one by one and start to twirl the stems through the paperwhite plants above
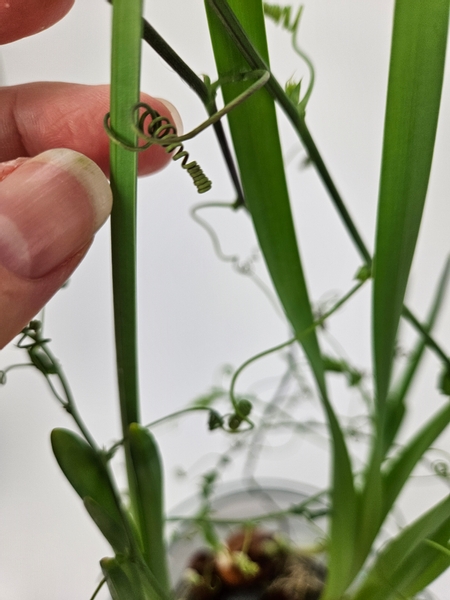
Give the vines a bit of support by guiding the tendrils so that it clings in the shape you want it to be...
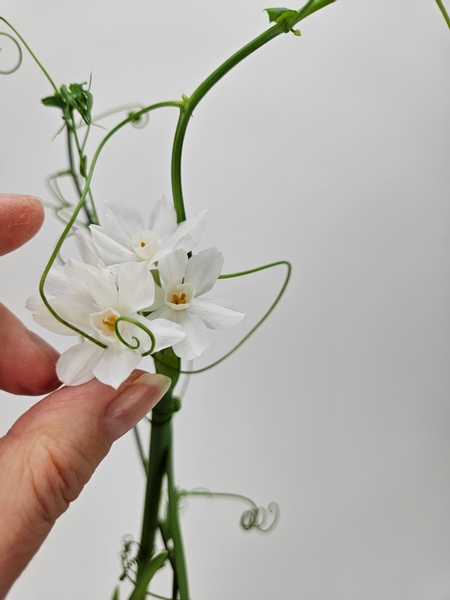
With the longest vines drawing our attention to the flowers. Create a bit of a frame...
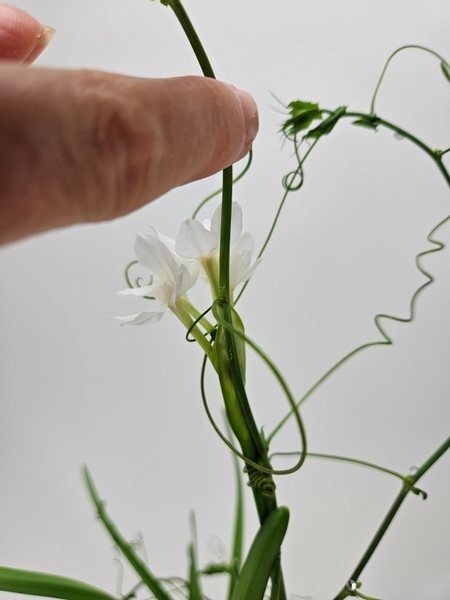
With tendrils twirling around the flowers.
Design tip: you can make sure the vine remains attached to the flower by securing it with the tiniest bit of flower glue.

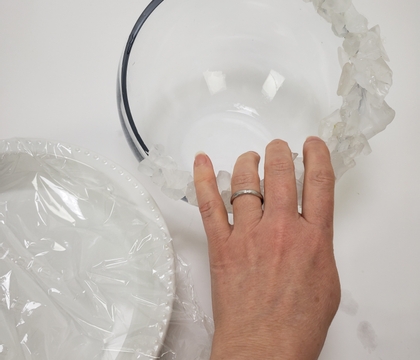
Add in a few dew drop crystals for sparkle...
For more detailed instructions how to... see the Tutorial below.
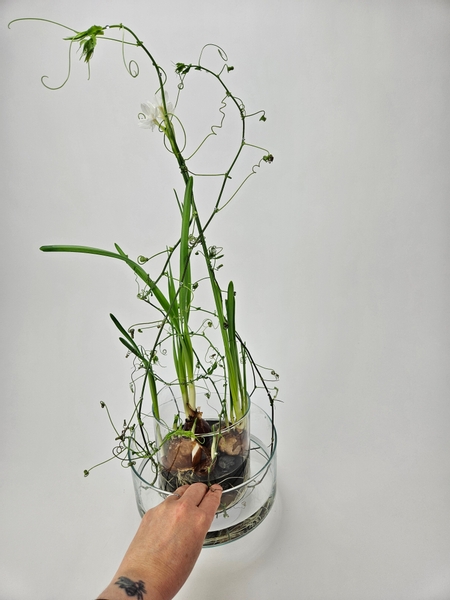
Design note: The vines will need to settle for a few hours so that the vine tips perk up into their new growing-up position (see the design images) and this design will continue to root and grow in the weeks to come.
Sign up for my weekly newsletter
Every week I add a new design with related tutorials. Be sure to subscribe to receive an email notification with design inspiration.
