Christine de Beer - effortless floral craftsman
Wood chip and sparkle mushroom cornucopia
- 11 October 2023
This was my design for this month's BC Floral Art Society club meeting. We were tasked with using something unusual to put our flowers in: "Harvest Festival" A cornucopia or design of choice.
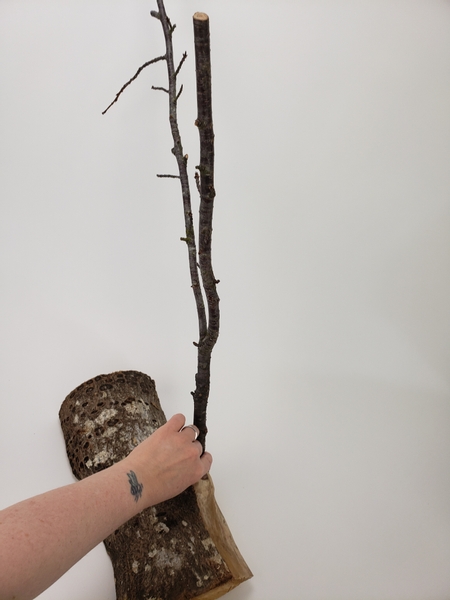
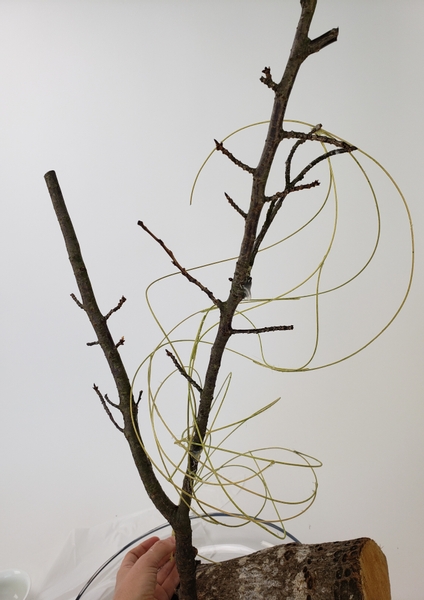
My base of the design is a cut branch... with a side twig left to stick out on one side.
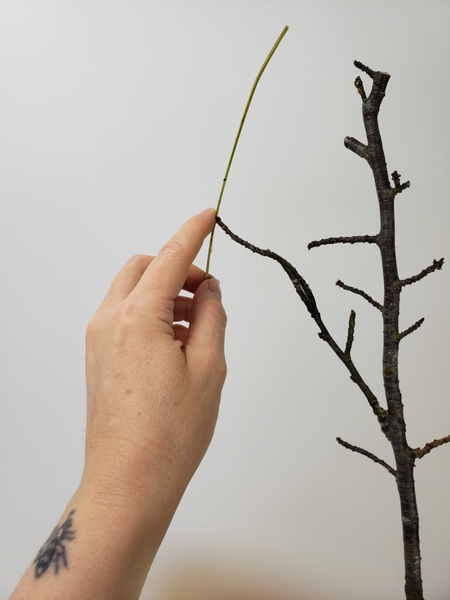
Create a grid for the branch by gluing in some stained rattan from the tip of the twig...
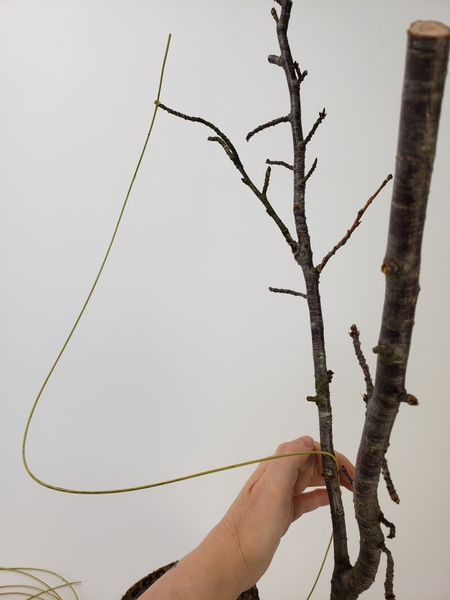
... twirling around the twig to the bottom branch.
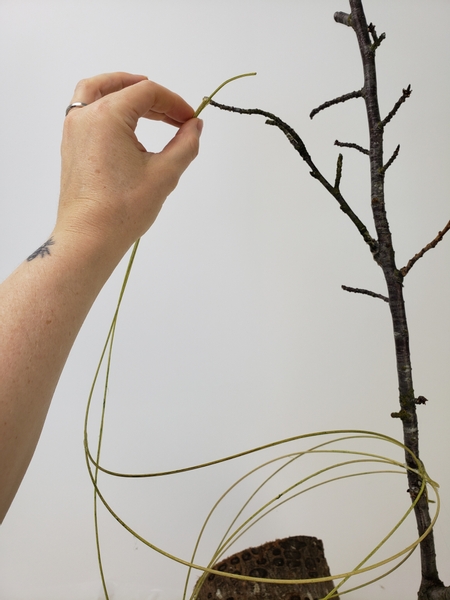
Add in more rattan to create and interesting cornucopia shape.... thin at the top and opening towards the bottom.
When you have an interesting cornucopia outline shape add some texture. I used vines, ripped fibers and even bark wire to give the armature that forest floor texture and make it stronger.
Whatever you have on hand. Maybe an old vine wreath? Unravel it and add it to the shape. I used bits of my Floral Hurricane design to give the tip part that twirl. I will link the design below for inspiration.
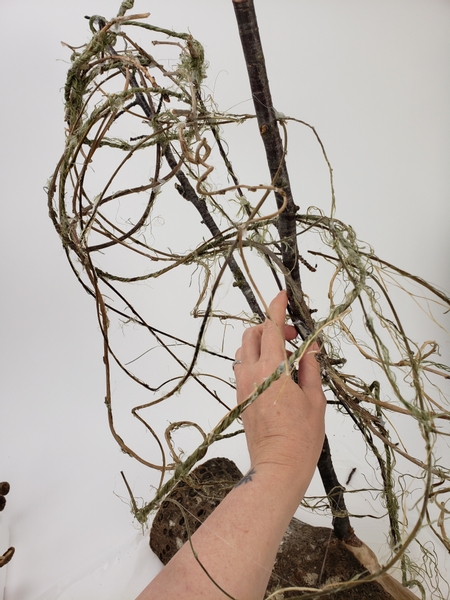
Allow the frame to dry out so that you can cover it with wood chips.
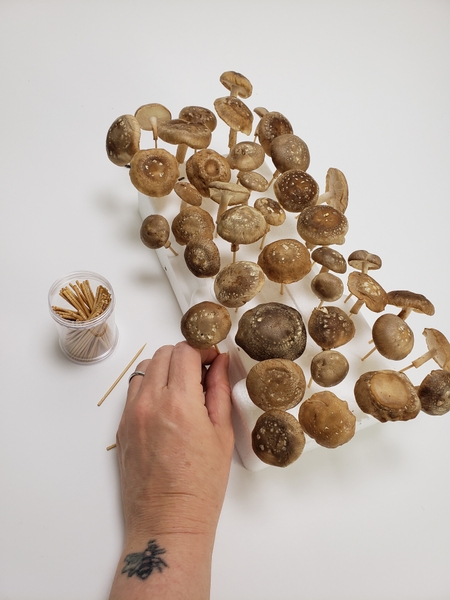
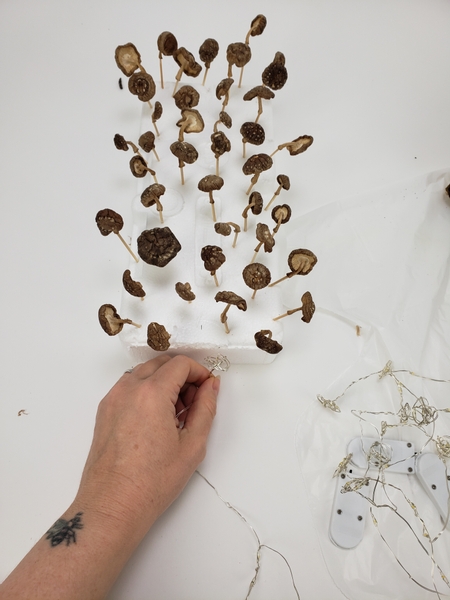
While the armature frame dry peg a few mushrooms to dry out as well. I find this to be the best way to get mushrooms with loads of character. Start with wonderful looking mushrooms. I use Shiitake because they already have a fairytale quality.
If you want more information on how to dry mushrooms for your designs see the Tutorial below.

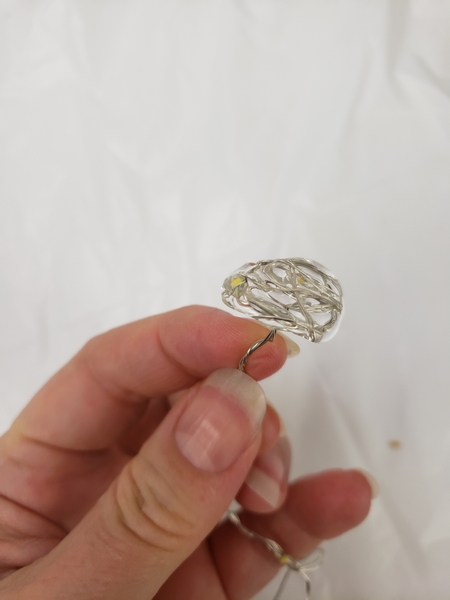
While waiting start to craft your glue glow mushroom lights. Fold the fairy light at a sharp angle.
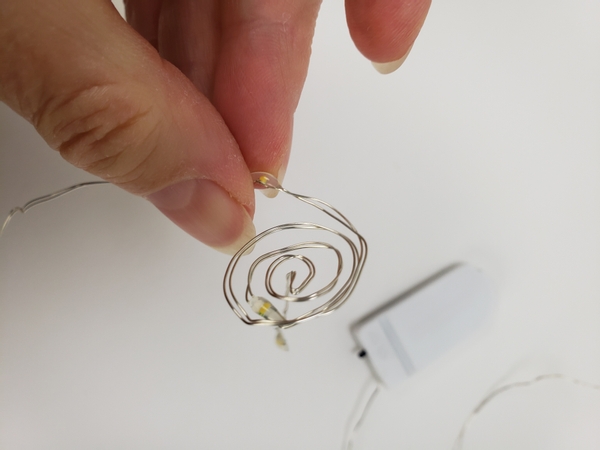
Let the angle bit dangle (it is the stem) and spiral roll the wire next to it to shape the cap.
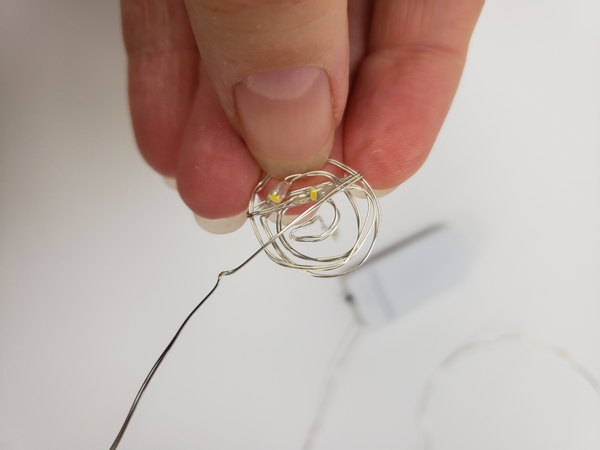
Wrap the wire around the spiral cap part to add more sparkle...
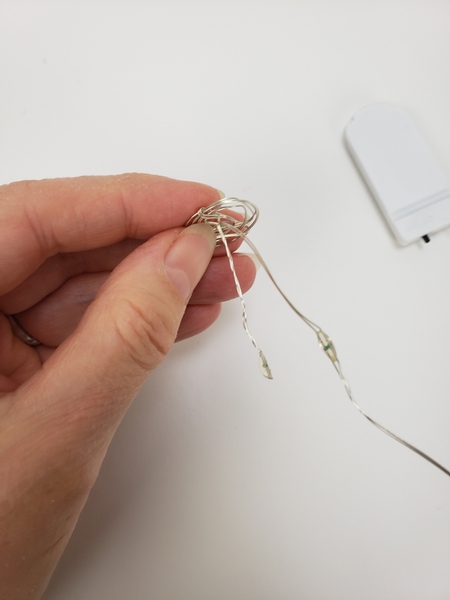
Combine the wire with the stem wire...

By twisting the stem wires together.
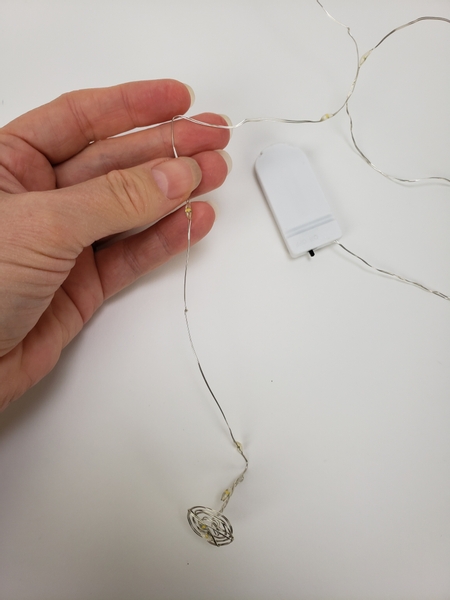
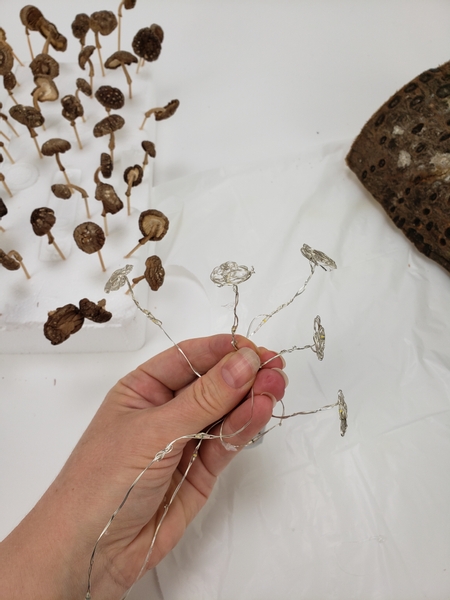
Extend the fairy light wire to where you want the next mushroom and again bend it at an angle.
Spiral roll to create the cap of the second wire mushroom... roll the wire around the cap again and extend it down to twist combine it into the stem of the mushroom.
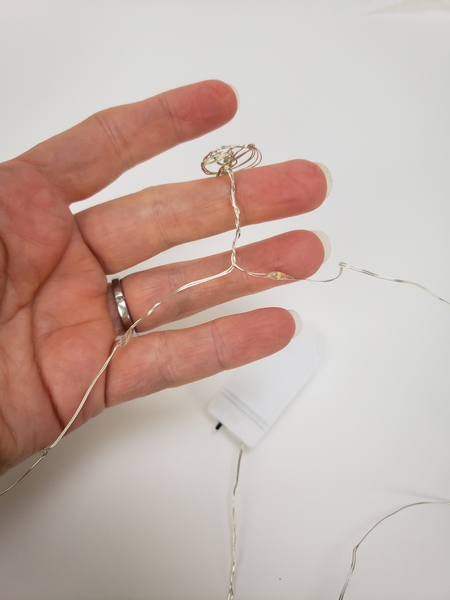
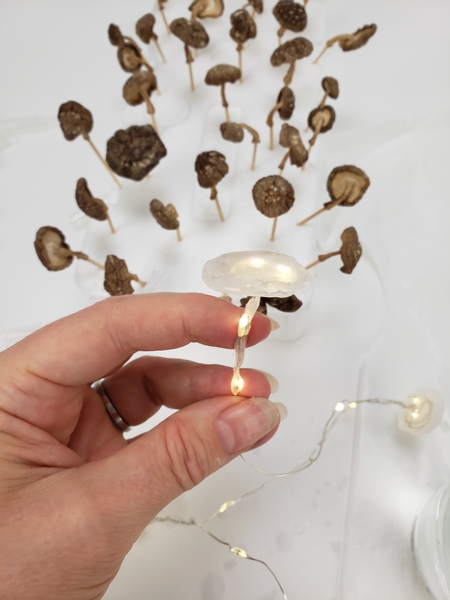
This is the basic way I make these mushrooms... OH!!! and don't forget... check the lights to make sure it works.
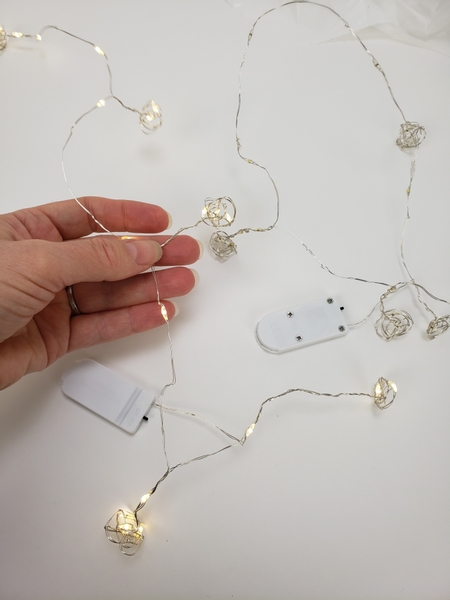
Roll all your wire light mushrooms. I made three garlands to add to my design.
And make sure the wire mushrooms are basically the same shape and size as your dried mushrooms.

For this design I used two glue guns... a clear one and a silver glitter glue.
I wanted to make my mushrooms with the glitter glue but it was just too much sparkle. So I used the glitter to create the spider webs... I will show you those later. Also, I used to make these with an epoxy glue when the fairy lights used to get warm. Test the lights to see. The epoxy takes so much longer to craft and it is harder to do. If you can find cool to the touch lights... use hot glue. It is quick to do and so easy to craft.
... but too much sparkle might be exactly your cup of tea... perfect! Go ahead and craft your mushrooms with it. Do what is in line with your own style. Or how about a coloured glue... or even a coloured glitter glue?
Press out glue to cover the cap.
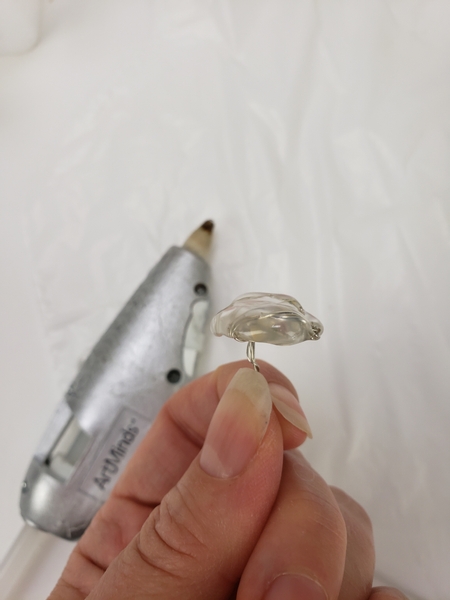
After a few seconds it will start to set.
Move on to the next mushroom and cover the cap with glue.
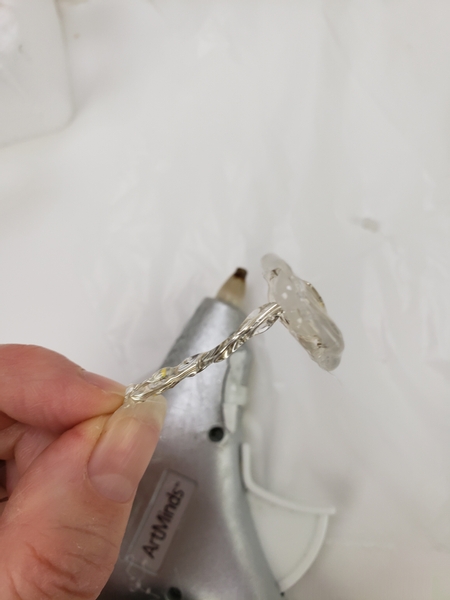
Cover the stem wires with glue.
Hold the mushroom for a few seconds to set.
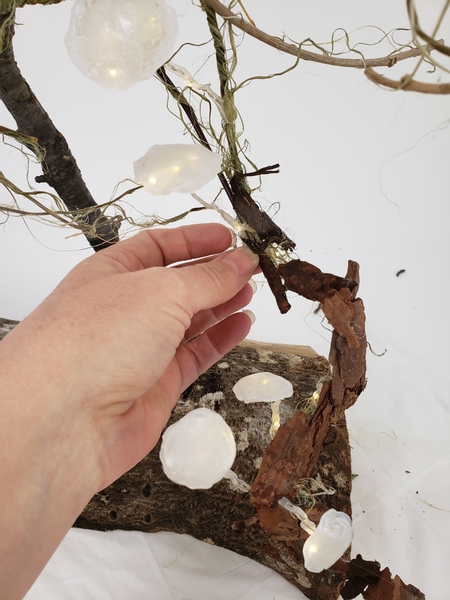
Wire the mushroom lights into the armature frame and make sure to glue in the switches to the back where it will be easy for you to switch the lights on or off.
My mushroom lights are on the inside of my cornucopia where the bark that I am adding to the outside will cast a shadow to make them glow.
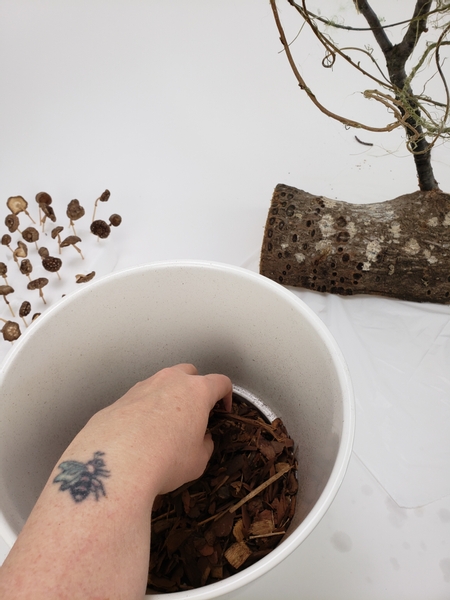
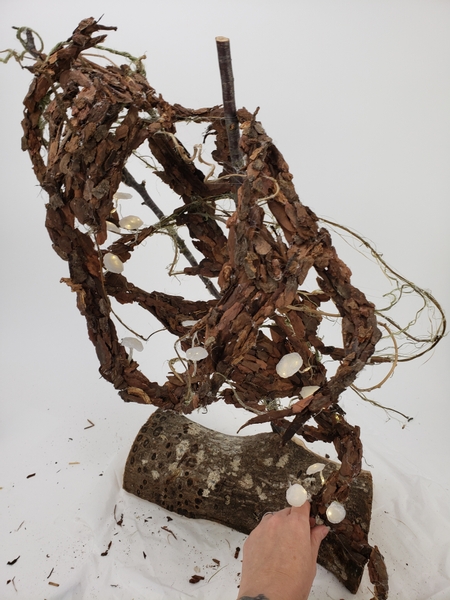
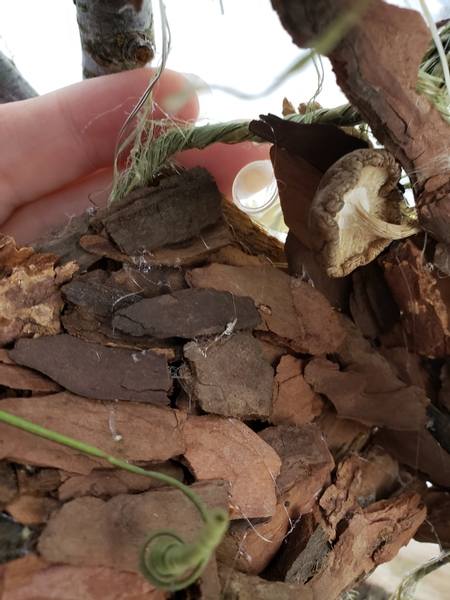
I am using wood chips to cover my armature to craft my mushroom filled forest floor inspired cornucopia.
Use hot glue to glue the chips over the armature to create a bark covered forest floor for you to design on.
Start to build up sections around the mushrooms.
Be mindful of how the branch would look in nature. Let the bark chips all face in a direction so that it looks more natural. If you want to learn more about creating a floral illusion turn to page 273 of my book. Book readers the design on page 276 is a good example of how you follow a wood grain.
For more information about my book: The Effortless Floral Craftsman
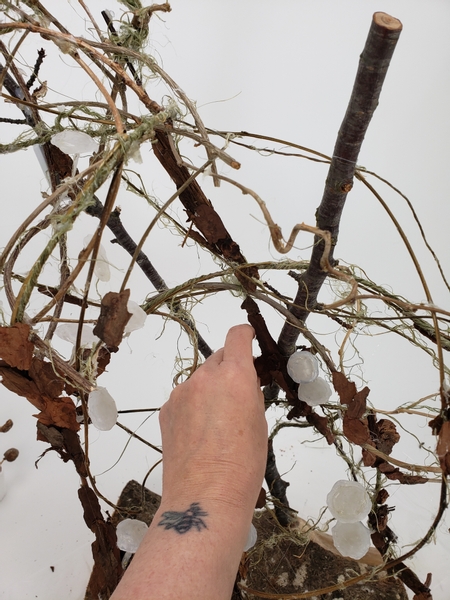
Follow the branches and allow them to overlap and combine and fill in some of the gaps between the armature frame.

Step back every now and again to have a look at your branch as it develops and fill in where you think you still need more bark.
Keep in mind this should still resemble a cornucopia. So be inspired by a branch that twist like a horn.
Once you have a full and sturdy frame you are ready to start designing...
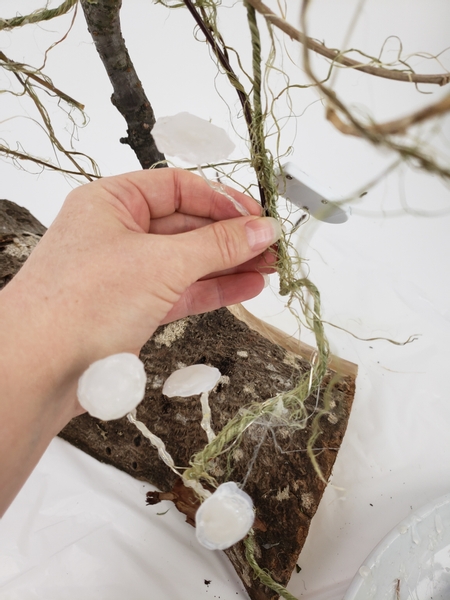
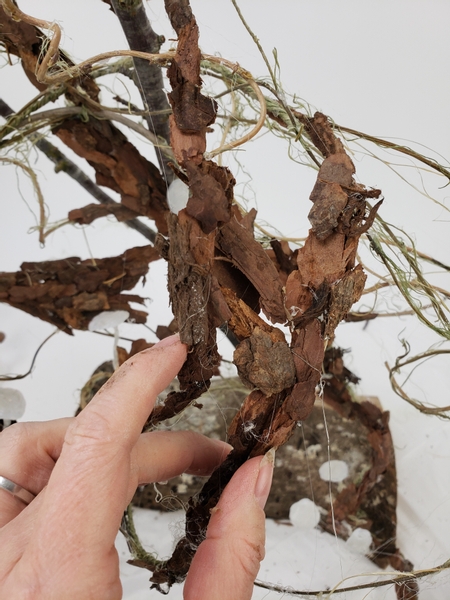
The first step is to soften up any spaces between the wood chips and the frame with some wood fibers. These ripped fibers create a more natural transition between the two textures.

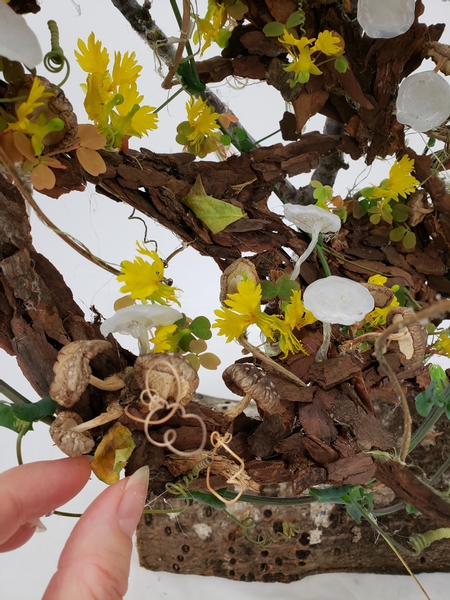
The next step is to glue in the dried mushrooms.
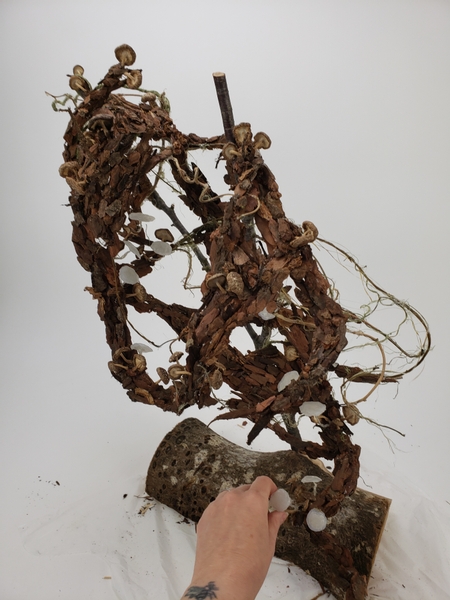
Add the mushrooms at all angles to make sure you can really appreciate their character. Take a good look at each mushroom. Which way is it curling? What is the prettiest part? Add in the mushroom so that it looks like it is having a fun conversation with the mushroom next to it.
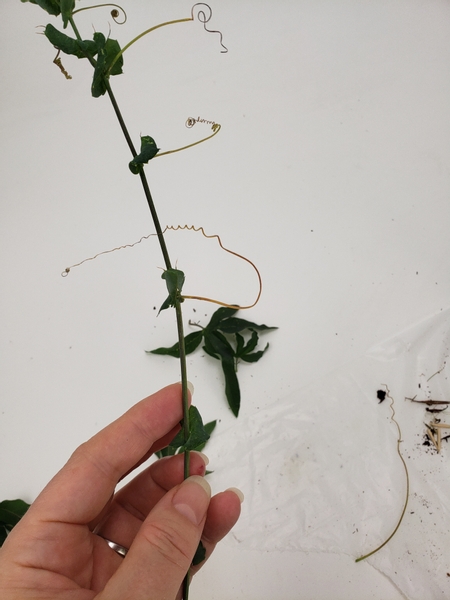
Strip the foliage from a few passion fruit vines and place them in water tubes.
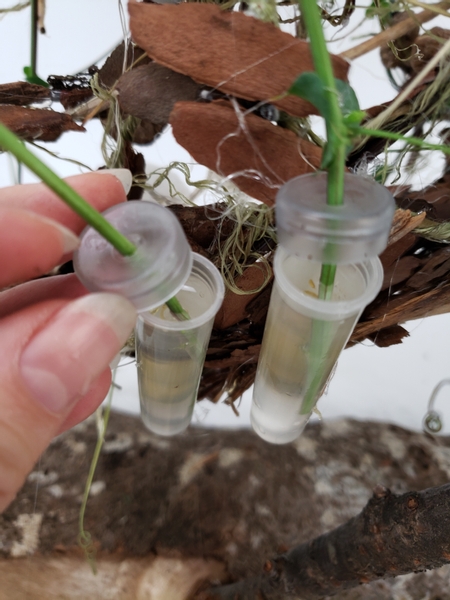
Glue the tubes to the back of the armature and wrap the vines in and around the bark.
This week I am giving you a few tips on how to adjust your design if you need to bring it in fully crafted in our email. Just a few adjustments make it easy for you to top up water and prevent tiny stems from tipping out of the water tubes while transporting the design. If you are not yet signed up to receive your email the button is below this post. I send out an email every Wednesday morning (Vancouver time) the moment the design is ready for you to view... with a tip or something that I discovered crafting the design for us to look at in more detail. If you have questions or comments... or want to say hi reply to the email. I would love to hear from you!
I wanted my flowers to grow inside the log (in the glow of the fairy light mushrooms) so I am gluing small water tubes at the back of the design.
Again I will show you more in our email this week.

Place the clover and the canary vine flowers in the water filled tubes.
I make my water tubes from pipe or drinking straws... perfect for small stems. See the Tutorial below for more details.

To connect the outside of the armature with the inside I am adding autumn leaves to look like it just dropped down to the log. I looked high and low for the perfect autumn leaves. Most were too bright and distracted from the "magic" happening inside the log. And then a breeze blew these Wisteria leaves into my design room! They are perfect. Slightly yellow... still slightly green and curled just enough.
Use a tiny drop of floral glue to secure the leaves so that it looks like it floated down and gently settled in.
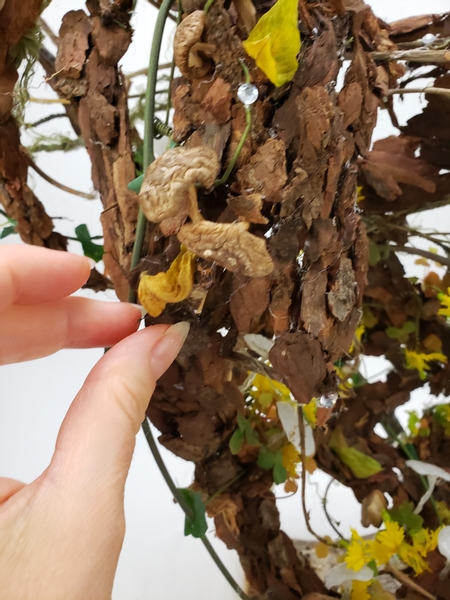
Then glue in a few autumn leaves all over the top of the armature to bring the yellow colour to the top and outside of the armature and add in a few dew drop crystals.
See the Tutorial below for more detailed instructions on how to add the crystals.
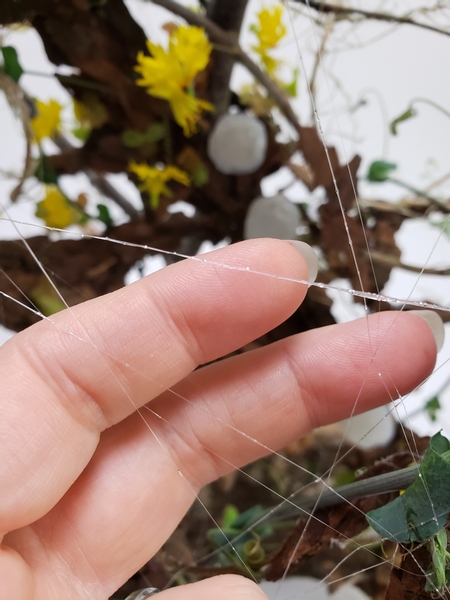
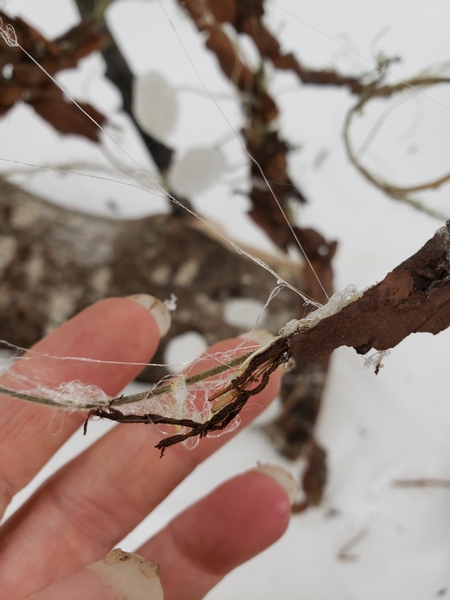
You can remove the glue strands... if you want. But I rather liked them and even added more. And then I added more that sparkle. Finish the design with a few delicate strands of the glitter hot glue to add the sparkling cobwebs
I am adding a Tutorial below for you on how to remove the hot glue strands. But I am also adding a Tutorial for how to spin more... if that is more to your taste. See the Links below.
Sign up for my weekly newsletter
Every week I add a new design with related tutorials. Be sure to subscribe to receive an email notification with design inspiration.


