Christine de Beer - effortless floral craftsman
Spaced birch bark strip basket
- 13 March 2024
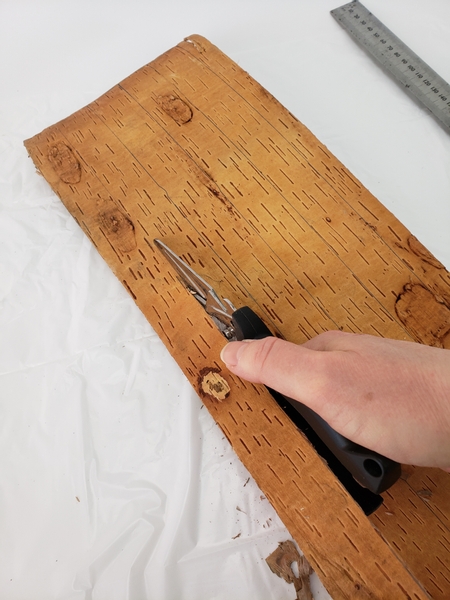
Cut a sheet of birch bark into strips.
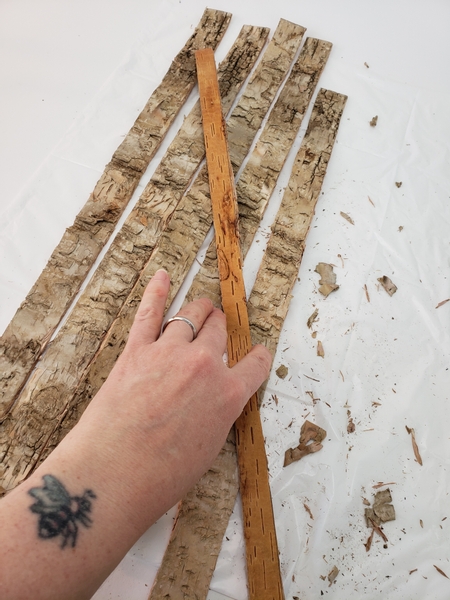
Next comes the hard part... You have to decide which side of the strips would you like to highlight in your design.
Yes, it influences how the design looks but there is also a hidden advantage to using the layered side. I show you a bit more in our email this week. This email is an add on to the design, a something extra to help you level up on the week's learning. If you are not yet receiving your notification email you can sign up below this post. I send out one email, on a Wednesday morning (Vancouver time) the moment the new design is ready for you to view. This is also a great way for us to connect so say hi... or ask a question or leave a comment. I would love to hear from you.
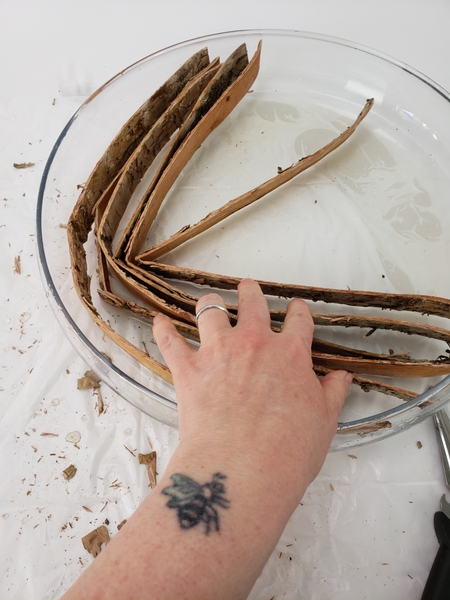
Soak the strips overnight in warm water
Place the soaked strips in a shallow bowl to dry into a curved shape.
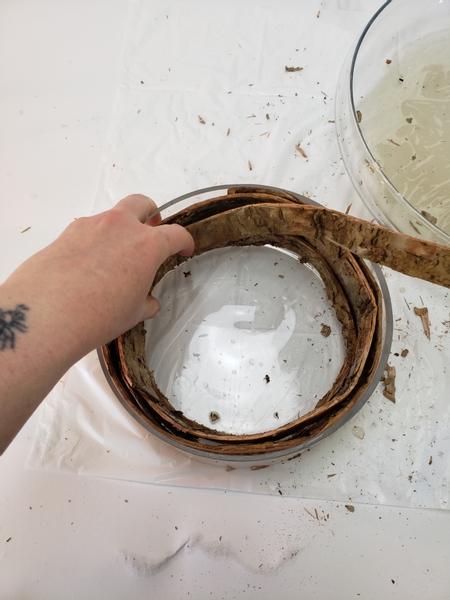
Be mindful of how you place the strips. The texture you chose to face inward should now face inward in the bowl.
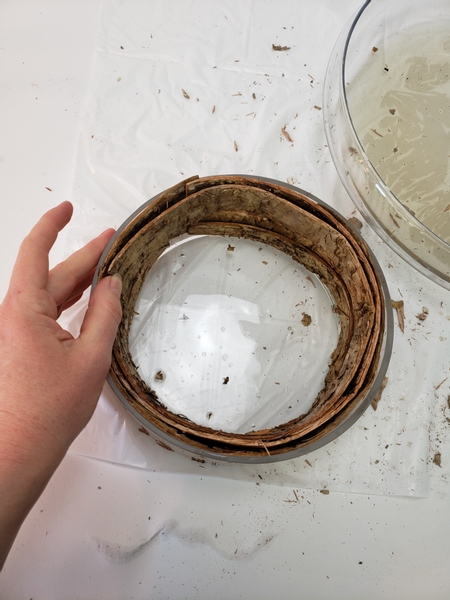
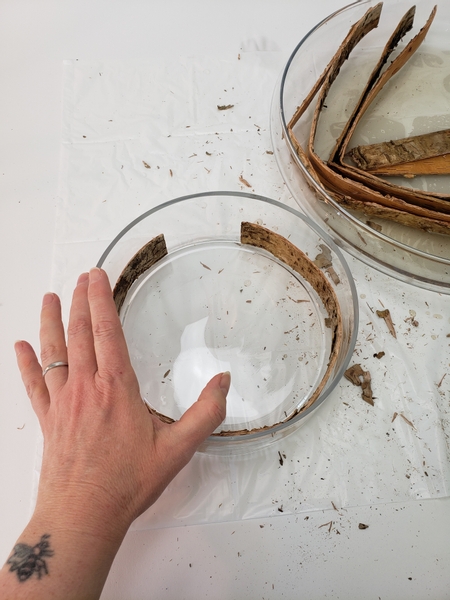
Set the strips aside to dry out completely.
Once dry the strips will now have a beautiful curve to them.
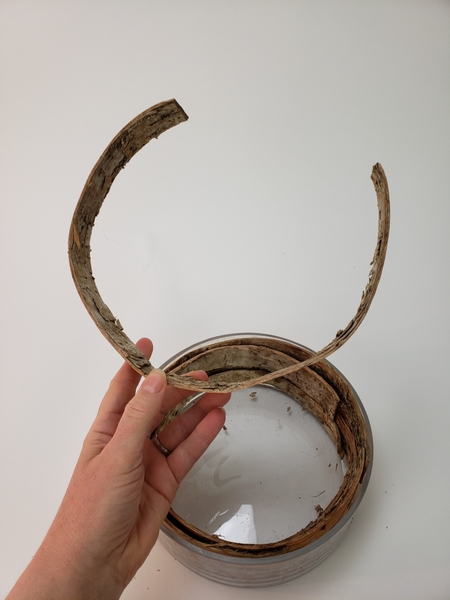
Set aside one strip for the basket handle.
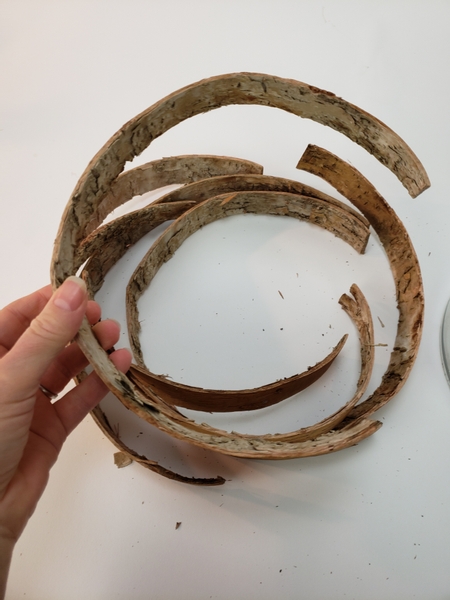
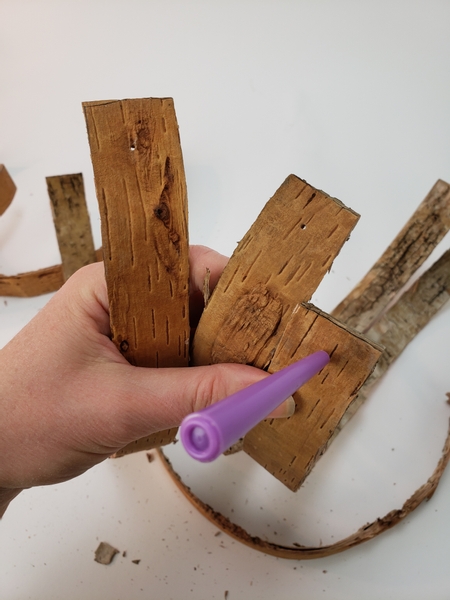
Remove all the strips from the container to make sure they are dry and set into the curved shape.
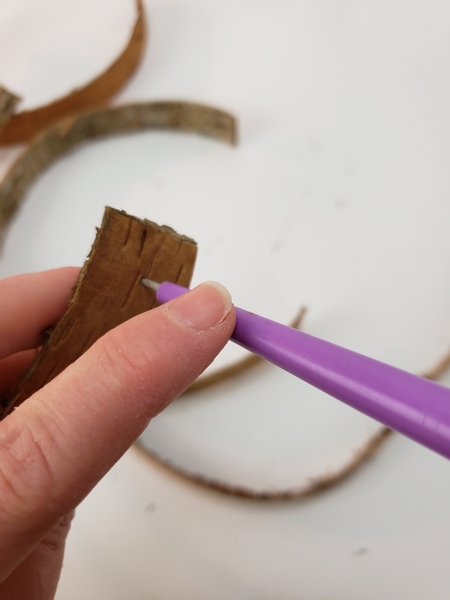
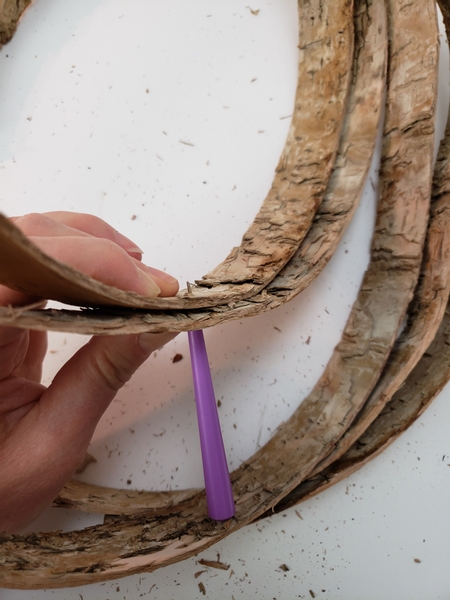
Pierce or drill a hole through the first strip at one end...
Continue piercing the holes into all the strips.
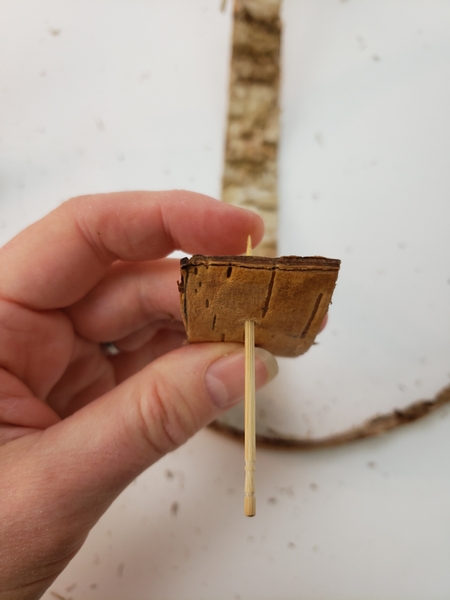
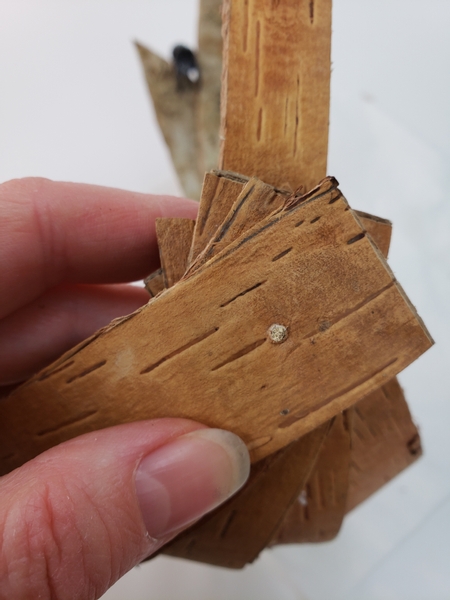
Push a cocktail skewer through the hole.
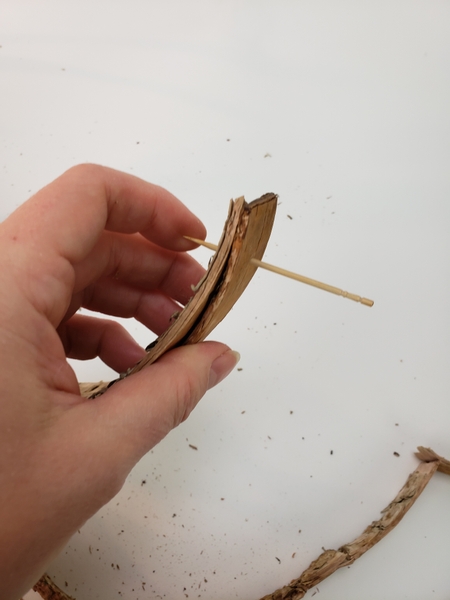
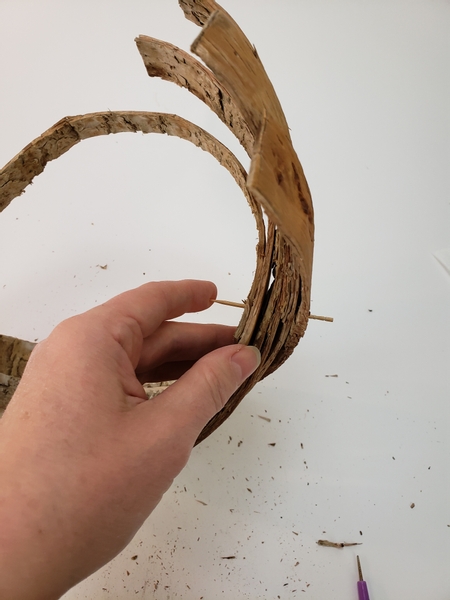
And stack the next strip in front of it...
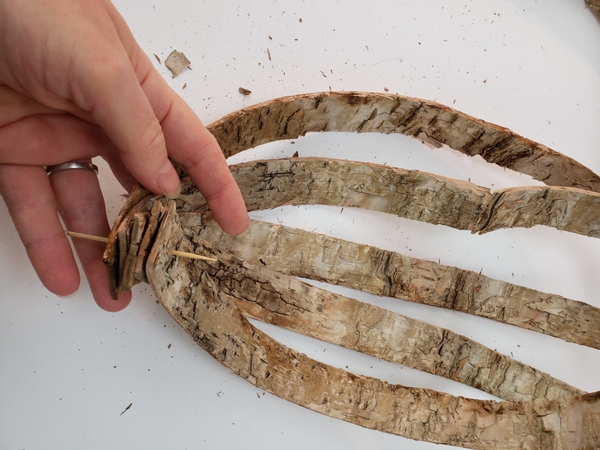
So that all the strips fan out and are being held in place by the cocktail skewer.
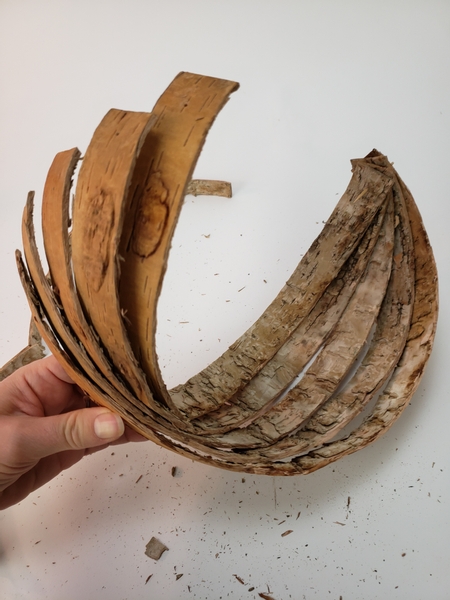
Gather the strips on the other side and continue your design... you can gather the strips at the end like the first ones you skewered. Or let them fan out dramatically like in this picture... or cut them shorter at an angle like I did.
Whatever looks the prettiest to you... definitely do that!
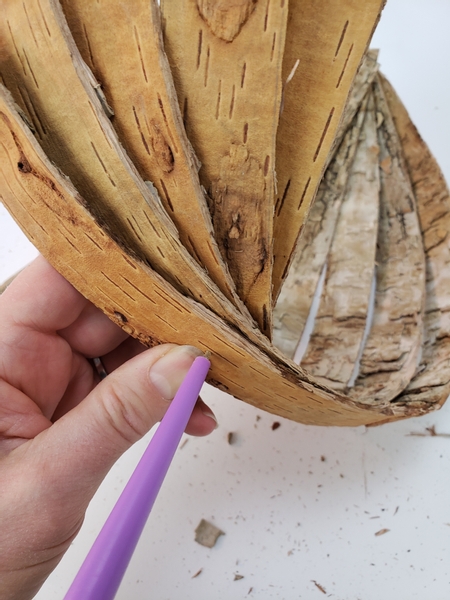
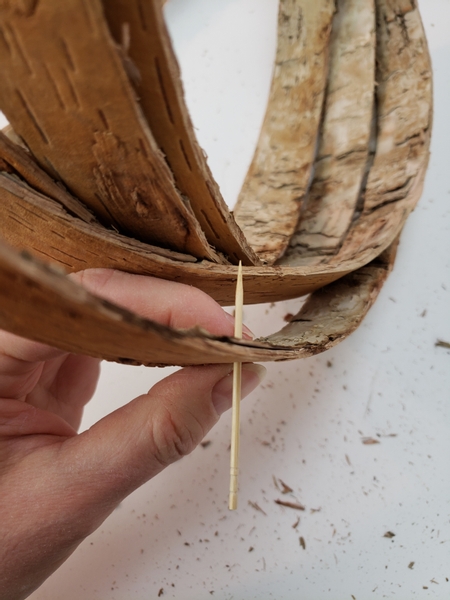
Push the holes through the stack of strips while holding it in place.
Design tip: pierce the first hole and into the next strip. Hold the stack tightly and remove the first strip that already has the hole in. Pierce the next hole through the stack and into the next strip. This marks the next strip for you.
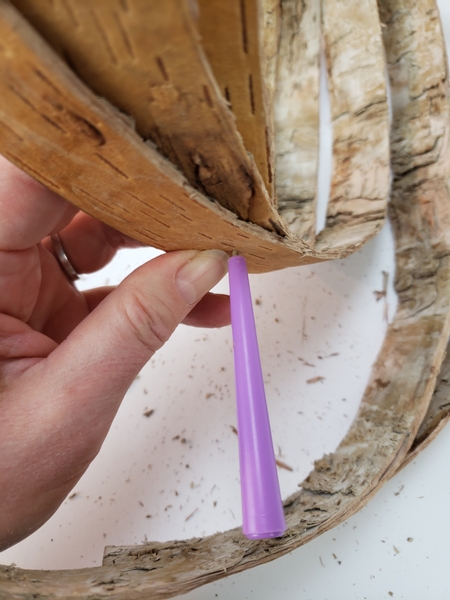
Remove the top strip and pierce the next strip where you made the mark.
Press the cocktail skewer through the stack of bark strips.
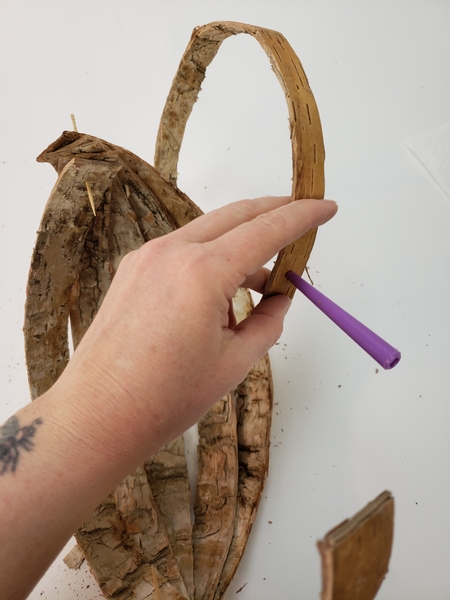
Press a hole into the last strip that you set aside for the handle exactly like you did for the rest of the basket.
And press the cocktail skewer through the hole, this time arching over the other strips...
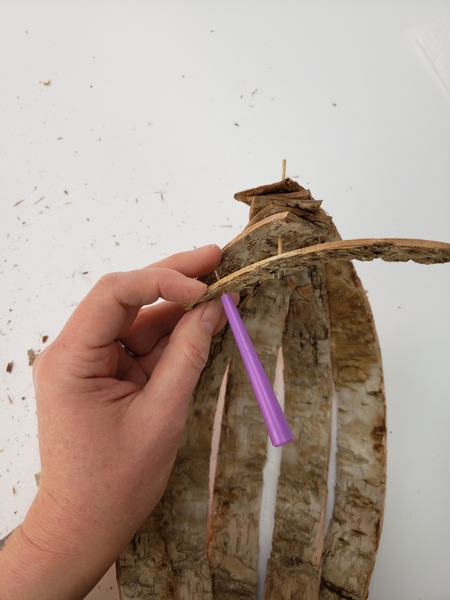
Press a hole into the other end of the handle strip and thread it through the cocktail skewer on the other side of the basket to secure.
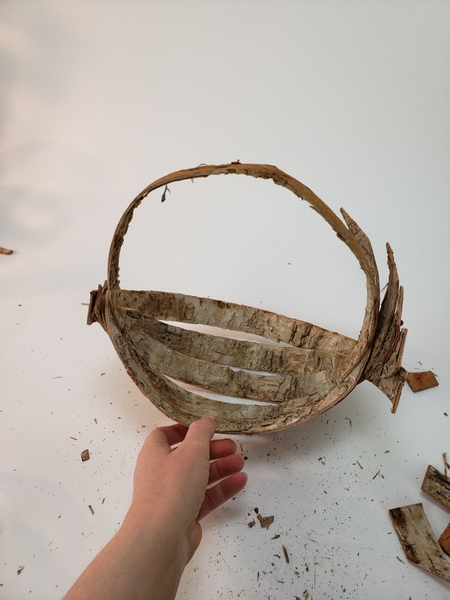
Your basket is now ready to be glued into place.
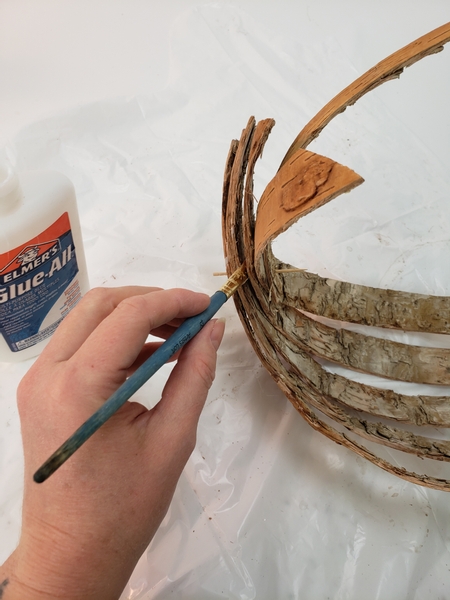
Use a brush to paint wood glue into all the layers to secure the strips into position.
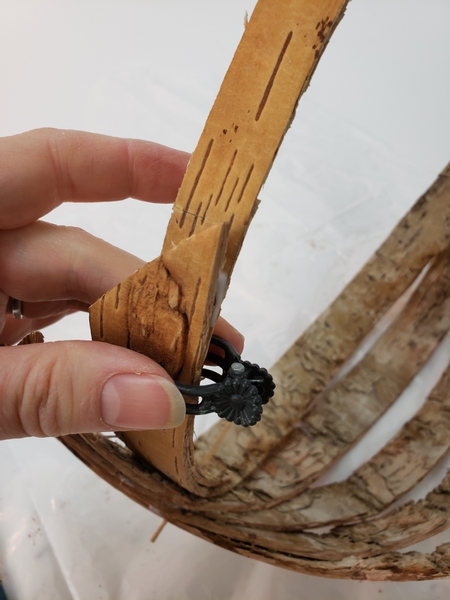
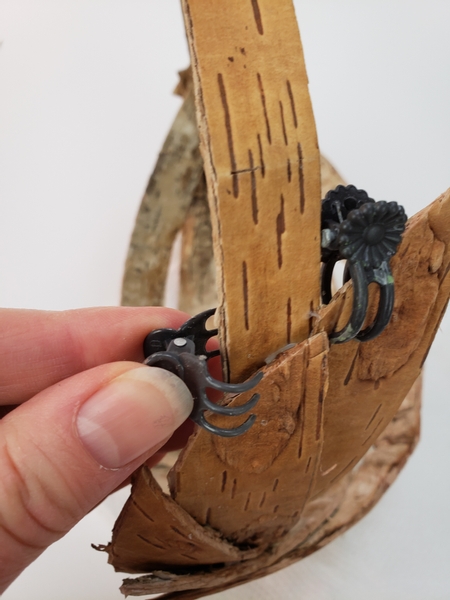
And hold the strips together with a butterfly clip while the glue sets.
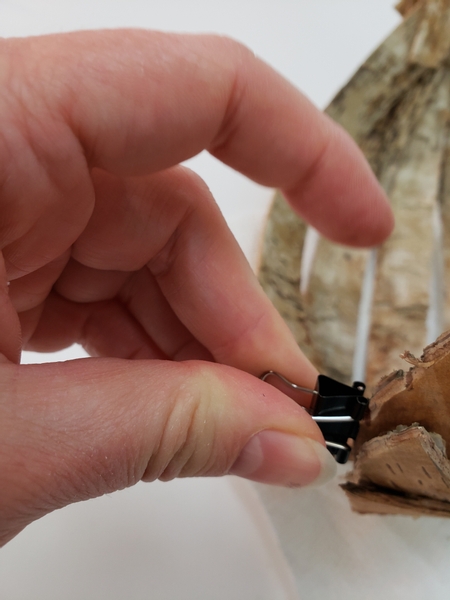
... or if you have places that needs a bit more pressure use a metal paper clip to hold the bark strips tightly together while the glue sets.

Glue the skewer ends to make sure the handle is fixed in place.
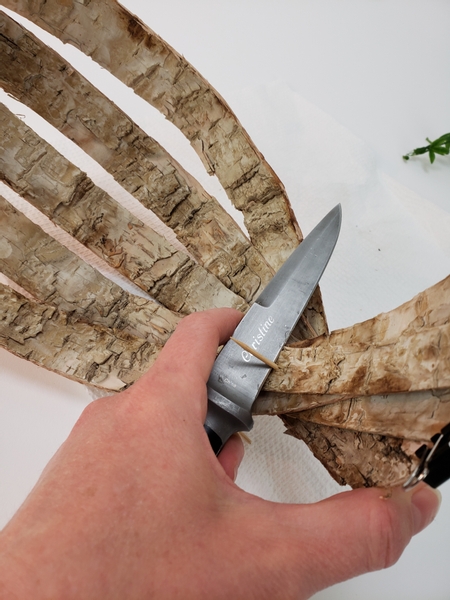
Cut away the skewer part that extends out with a sharp knife...
... Level with the bark
Remove all the clips.

Glue in tiny water tubes for help all the fresh plant material to remain hydrated.
See this week's email for more details... and also to get you started see the Tutorial below for more detailed instructions on how I make these tiny water tubes from pipe.

Add in your fresh flowers and vines.
A quick note on Helleborus. They are notoriously difficult to condition. There are tricks... and there are tricks. From boiling water to creating a wound to Epson salt. My way is to enjoy them in the garden for as long as possible and then cut them only once you can see the seedpods inside the mature sepals. And still... there is no guarantee that they will condition. But they sure are pretty!
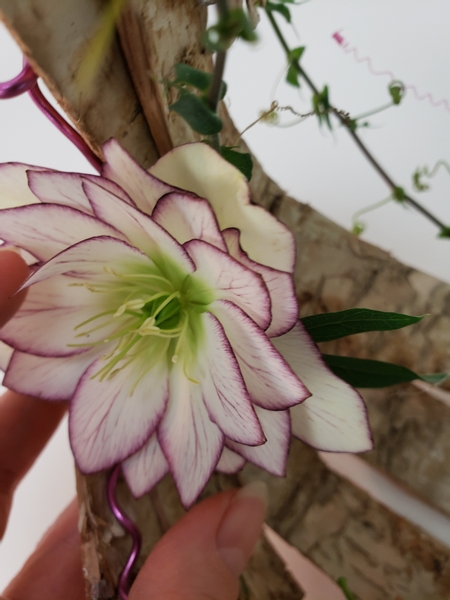
Harvest Helleborus no earlier than this stage...
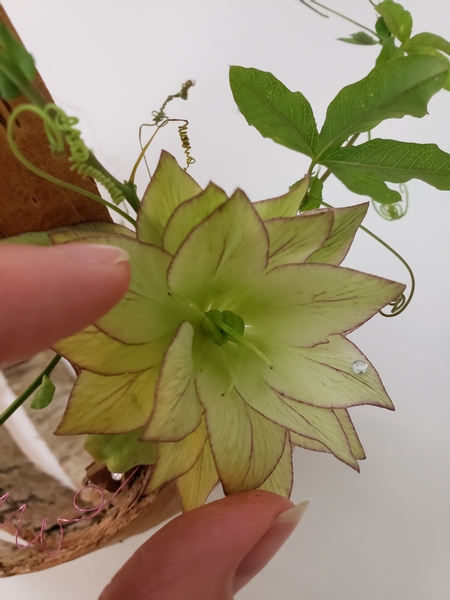
But preferably at this stage to increase your chances of the flowers lasting
Book readers turn to page 72 where I talk about "first aid for your flowers". It is such an important part of floral designing... and absolutely fascinating! Also page 77 where I talk about harvesting and sourcing flowers.
For more information about my book: The Effortless Floral Craftsman
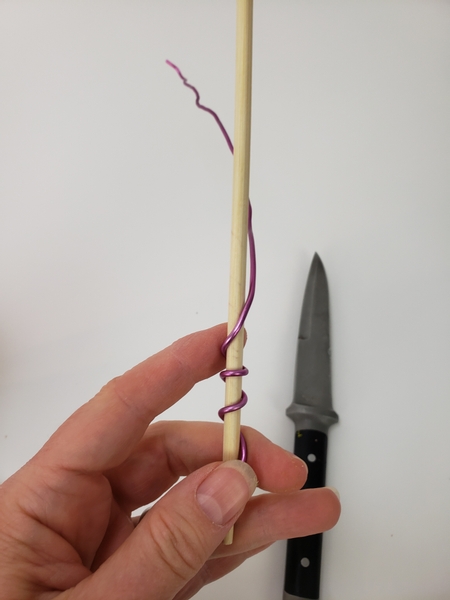
Twist wire around a bamboo skewer to curl it into tendrils...
See the Tutorial below for more detailed instructions.

Add in a few thinner wire tendrils...
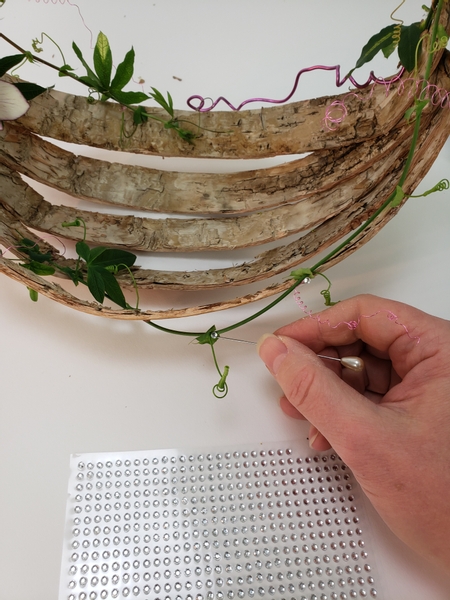
And finish the design with a few dew drop crystals all over the birch bark basket.
See the detailed Tutorial below for instructions on how and why i add the crystals with a pin.
Sign up for my weekly newsletter
Every week I add a new design with related tutorials. Be sure to subscribe to receive an email notification with design inspiration.


