Christine de Beer - effortless floral craftsman
Use dried roots from a re-potted Monstera to create a root lace-wreath
- 14 May 2025
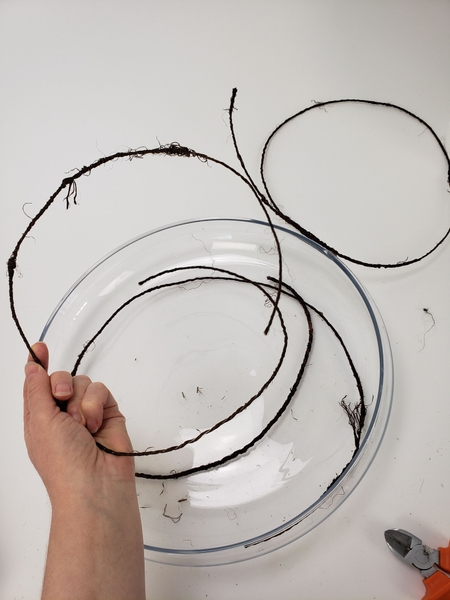
Cut three sections of bark wire.
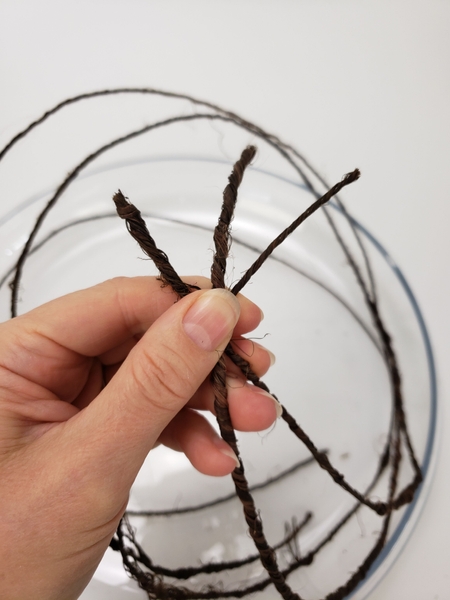
Gather the wire on one end.
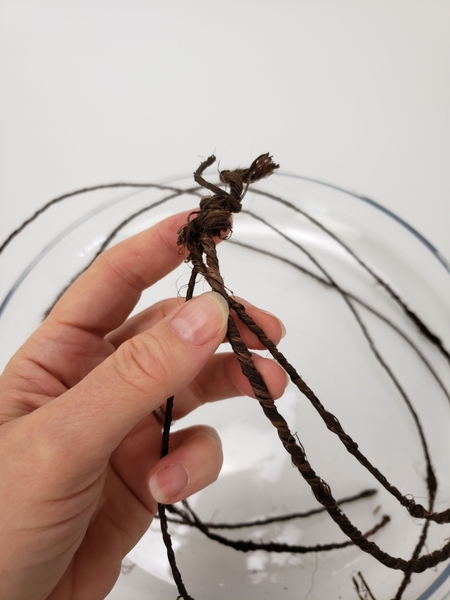
Twist it together to secure.
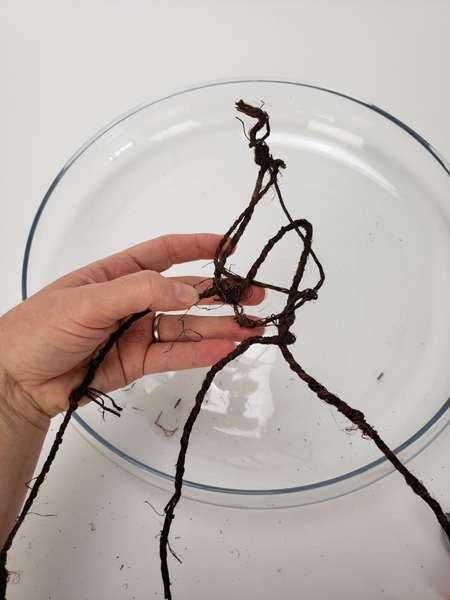
Bend and shape the wire into a tangle like you would see on a vine plant to shape the outline circle of your design.
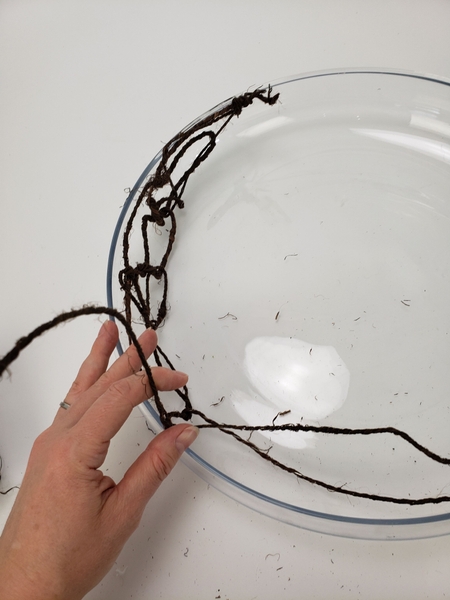
To create a perfect circle, tangle the wire inside a low round container. This way you can concentrate on crafting a perfect nature inspired wire tangle and the circle part takes care of itself.
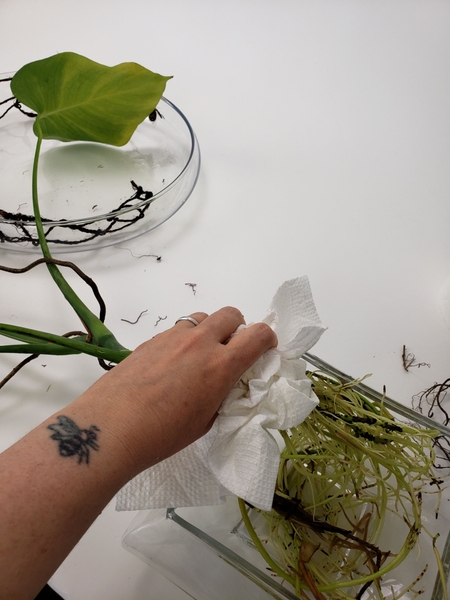
My Monstera plant is always one leaf away from taking over my entire design space. Don’t get me wrong… I am absolutely bragging and not complaining. But every now and again we need to have a serious talk about how to fit back into the pot. It is heartbreaking to just throw the weaker bits away (and most of my flower buddies got a bit of it already)… so… for my design I am using leftover bits of monstera that no longer fit into the pot.
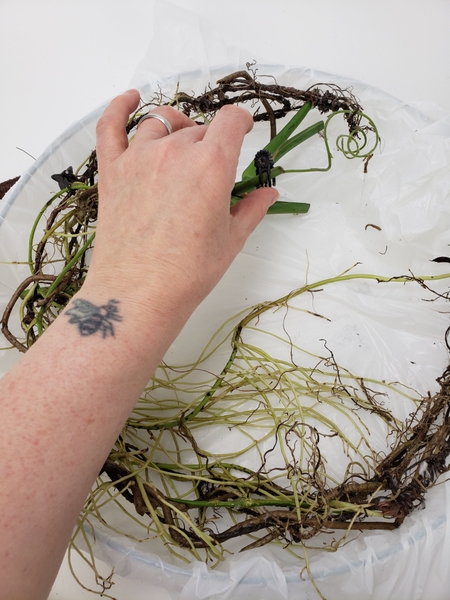
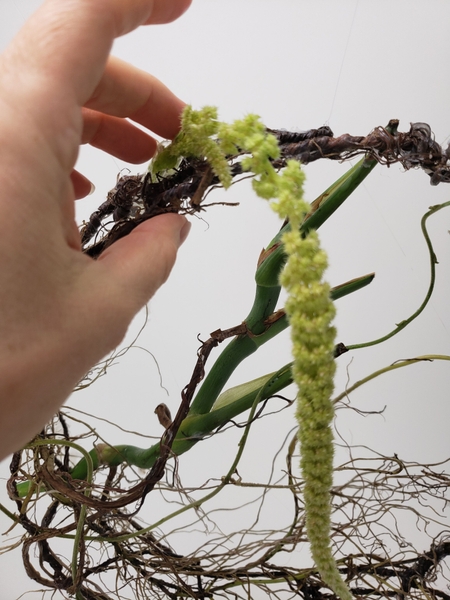
Cut away the foliage to create an interesting looking branchy and root bit.
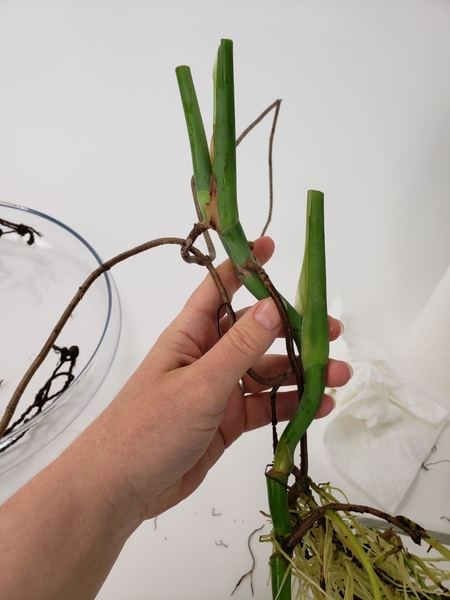
Fit the Monstera stem through the tangled wire to secure it.
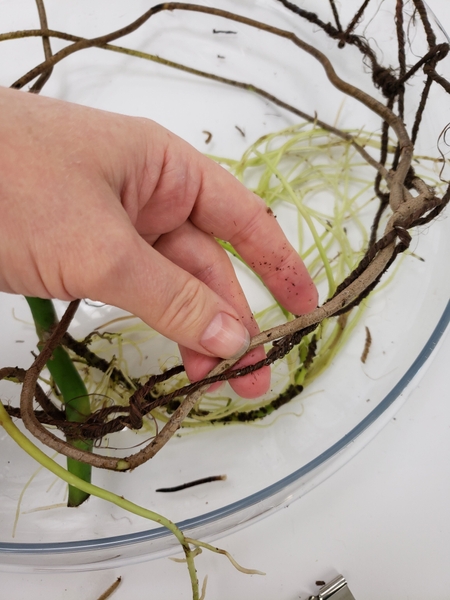
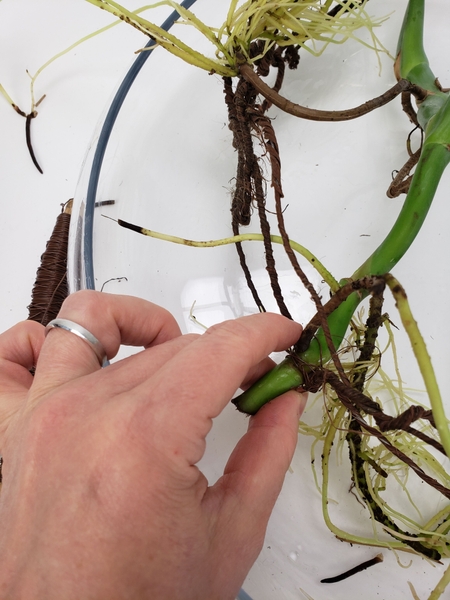
And tangle the rest of the roots through the wire to make sure the stem will stay in place. This week in our email I explain how I match the roots and add dimension to the armature. You can sign up for my weekly email below this post. I send out an email every Wednesday morning (Vancouver time) the moment the new design is ready for you to view. To help you make the most of each week’s inspiration designs I discuss a small but mighty detail for you to take note of when looking at the design.

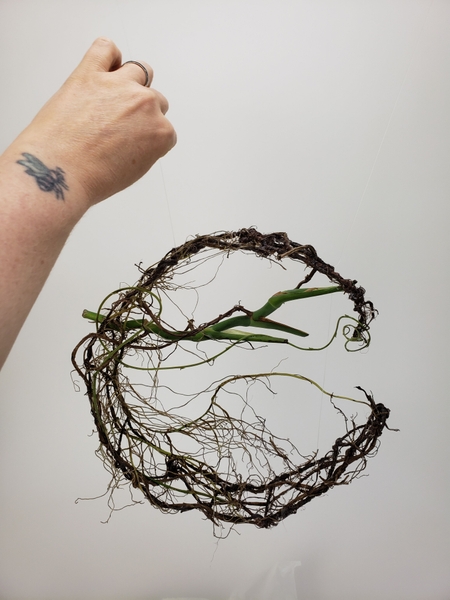
Lift the design out of the container to make sure it is secure and looks the way you want it to when you later hang it up.
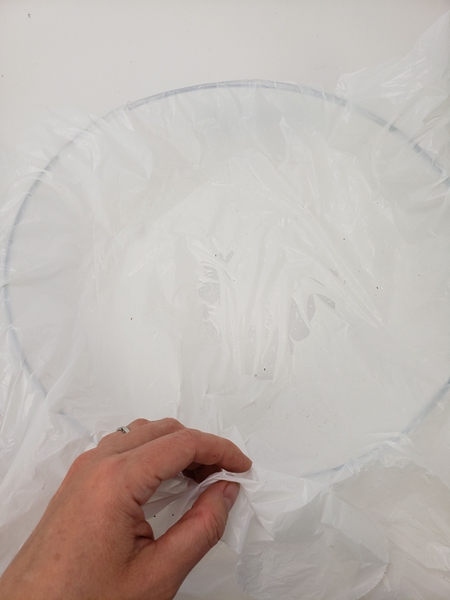
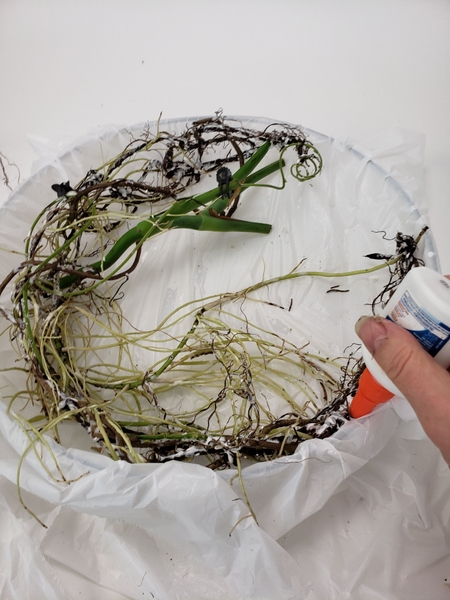
If you are happy with the basic shape of the design it is time to secure everything in place. Line the container with plastic to protect your vase.
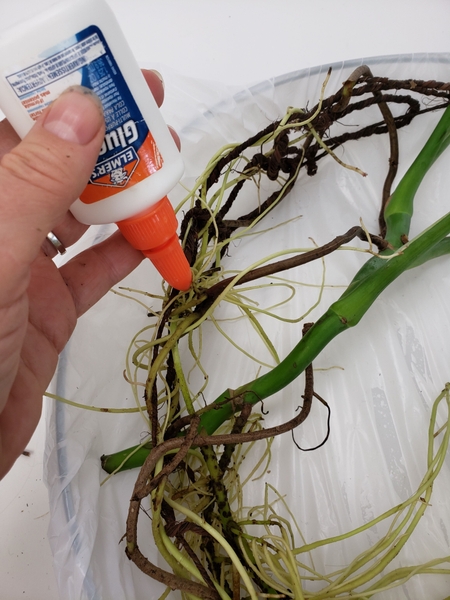
Place the root and wire armature back in the container and start to design with the roots and secure it with wood glue in places. Remember these green roots look robust now but will dry hair-fine. They are also easy to see now to place but will blend in perfectly once dry.
Book readers, if your roots do not dry to the same colour as the wire you are using turn to page 373 where I talk about adding finishing touches to a design for some natural dye ideas to adjust the colour.
For more information about my book: The Effortless Floral Craftsman
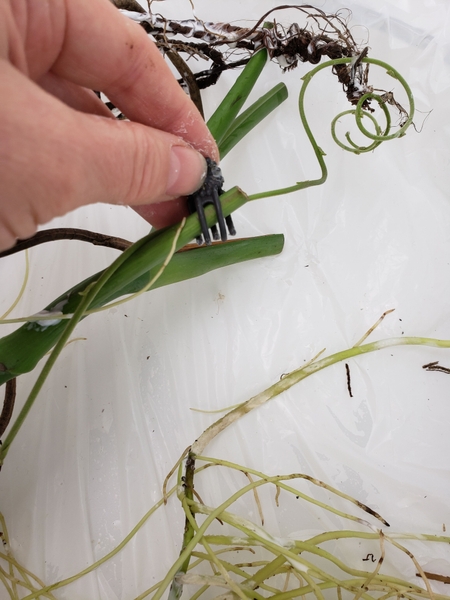
I use butterfly clips to make sure the roots and any other floral material that I am adding fall exactly like I want it to. The idea is to create a gravity defying armature that is impossible thin and delicate.
Add glue to all the fine roots so that it dries exactly how you want it to. And remember to add some dimension to make it look more interesting. You can even extend a few roots outside the circle.
Set the armature aside for the glue to cure and some of the roots to dry.
String up the armature with clear fishing line to hang.
Make sure the design is secure. Even though the roots are strengthened by the glue the entire design is still pretty fragile and can easily break when dropped.
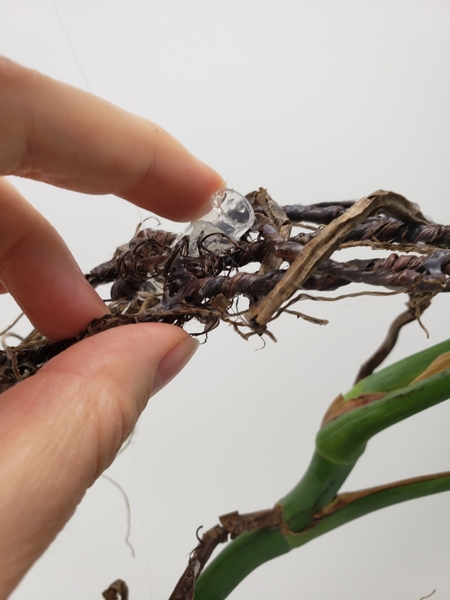
Glue in a few water tubes with hot glue. See the Tutorials below for detailed instructions on how I make these water tubes using clear pipe.
Add the fresh plant material into the water filled tubes to make sure it remains hydrated.
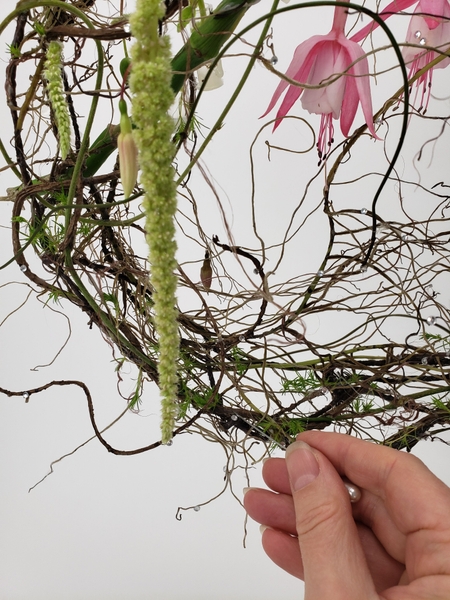
And I finish my design with a few sparkling dew drop crystals. The design is so delicate that I want more control of where I place the crystals… so I use a pin. See the Tutorial below for more detailed instructions on how to use a pin to place the crystals.
Sign up for my weekly newsletter
Every week I add a new design with related tutorials. Be sure to subscribe to receive an email notification with design inspiration.


