Christine de Beer - effortless floral craftsman
Weaving a pod shape from ripped foliage
- 16 May 2013
- and more
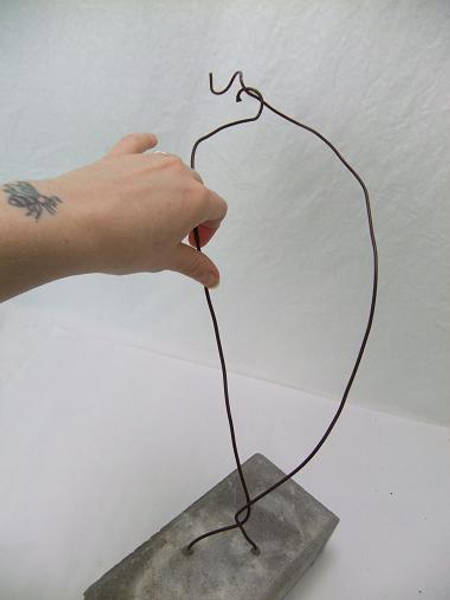
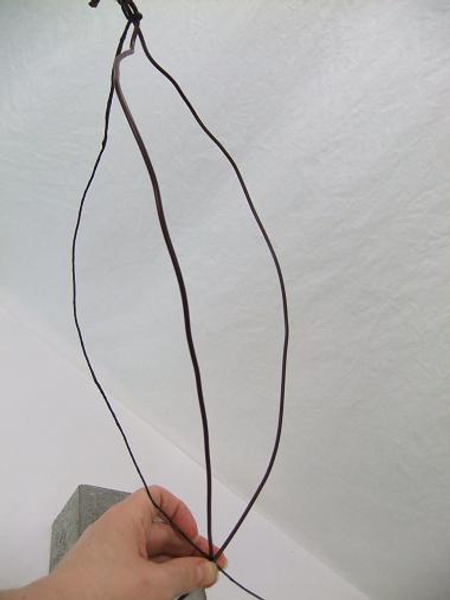
Drill two holes in a heavy brick and two sturdy wires into the holes (See Tutorial below for detail photographs) Shape the wires in a pod shape.
Add a third wire and let it follow the curve
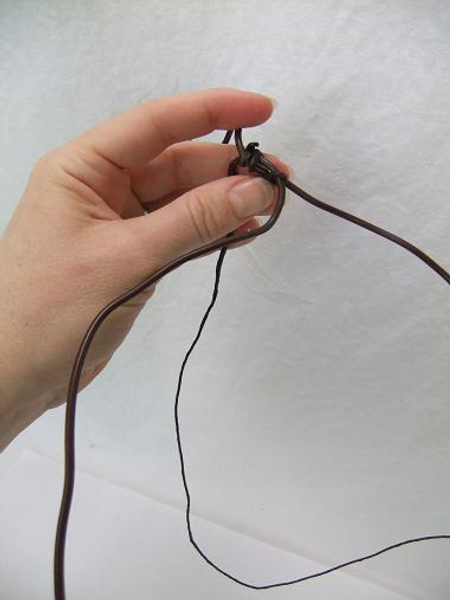
Secure the wire at the bottom
Make a small wire tip and secure it to extend from the bottom
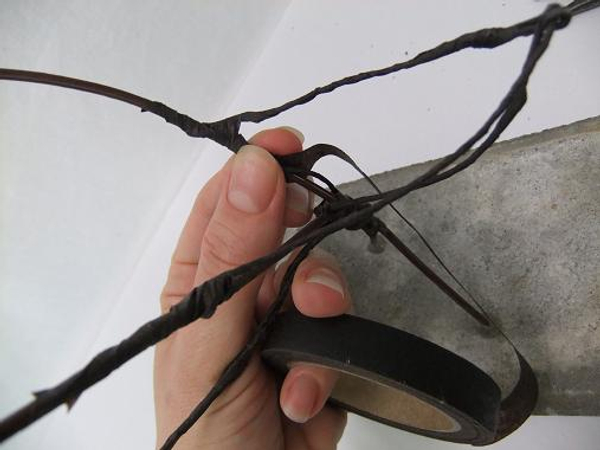
Cover the wire with florist tape. The tape will prevent the ripped foliage from slipping when you start to weave
See the Tutorial below for more details on how to rip foliage into strips

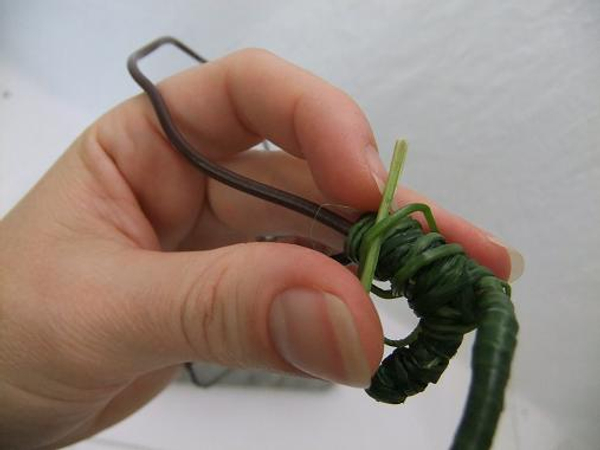
Fold the first strip over the wire end.
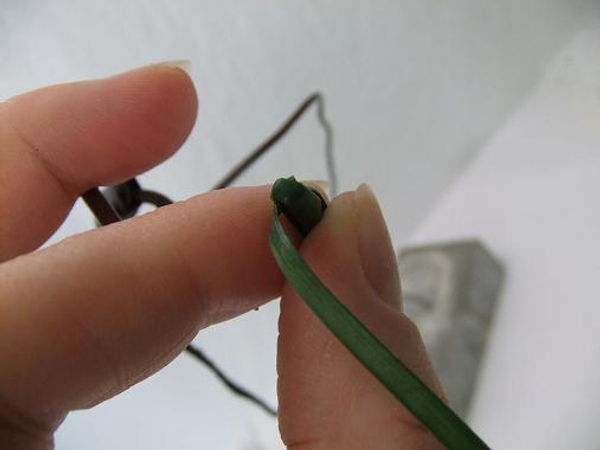
Fold the strip to the side to secure it and start to cover the wire by wrapping it around.
This is a similar technique to what I use to wrap bouquet stems and test tubes with ribbon. See Tutorial below
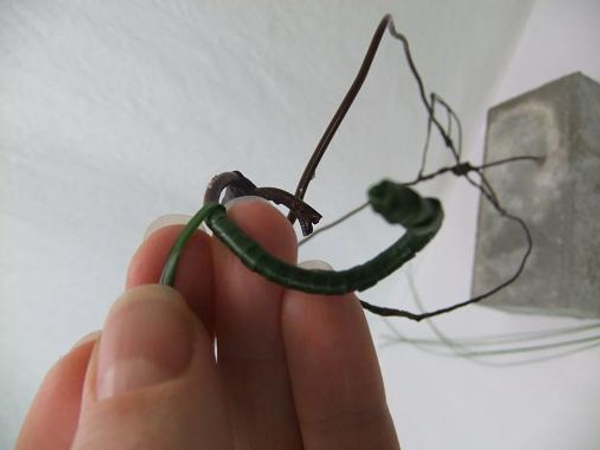
Continue wrapping down the wire
Wrap the next loose wire in the same way.
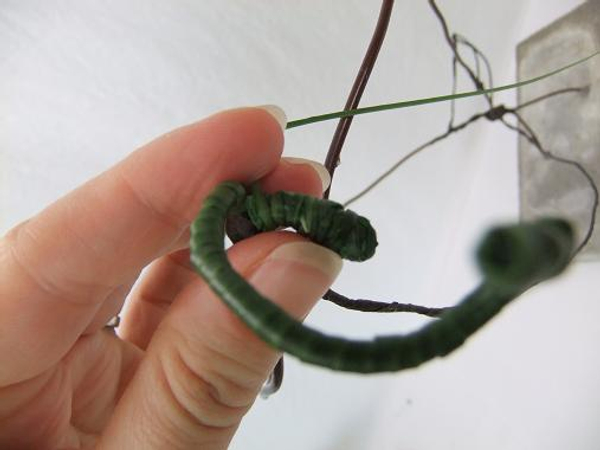
Secure the ends with a knot and knot in a new long strip
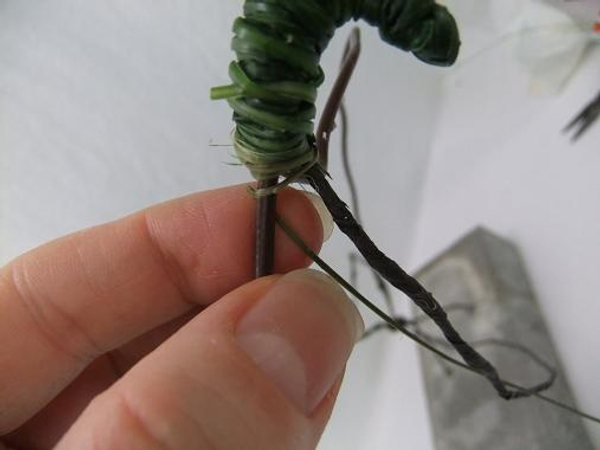
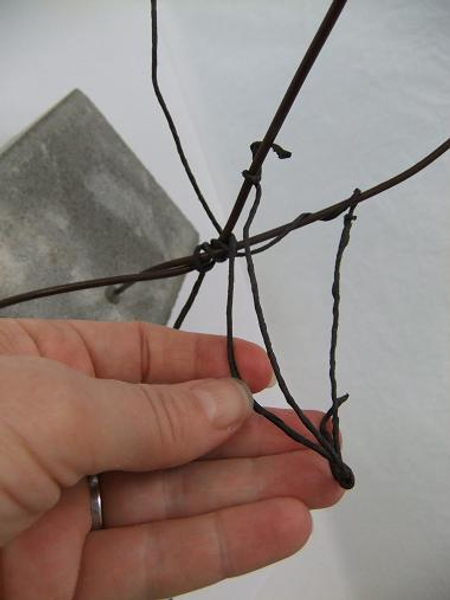
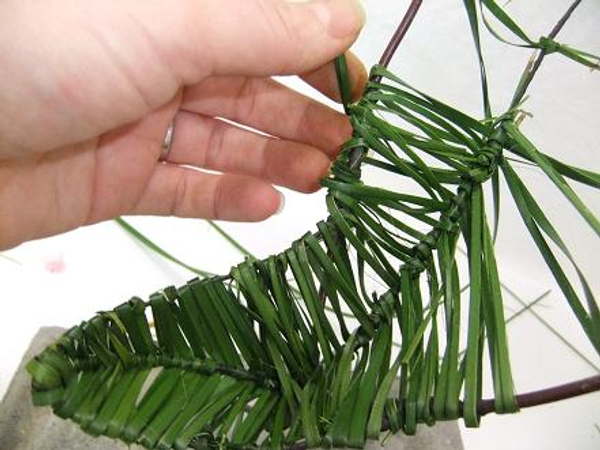
Where the wires split open start to weave the strand in a pattern
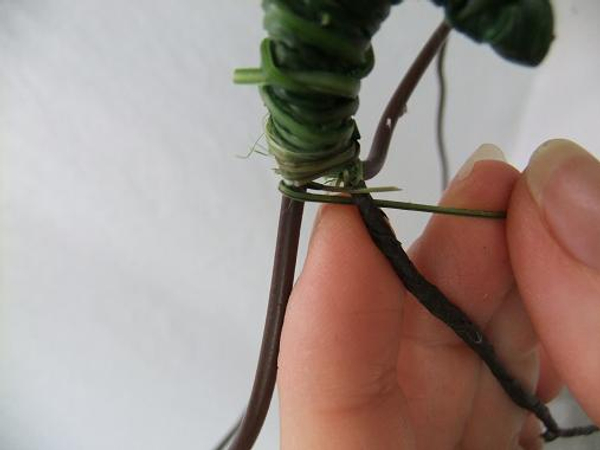
Weave the strand under the first wire and around the next wire and again under the last wire.
Fold the wire back and weave it again
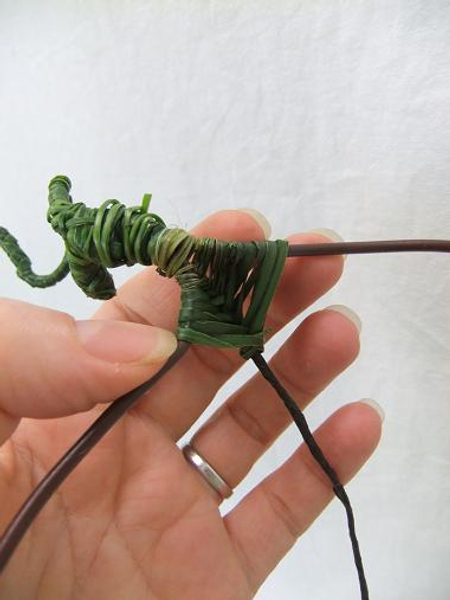
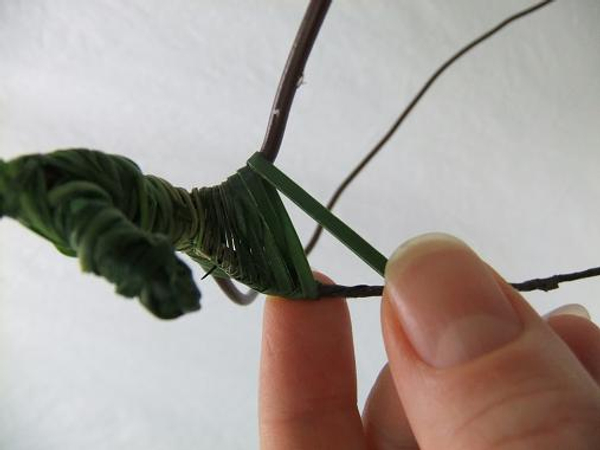
This is the basic weaving pattern for the pod
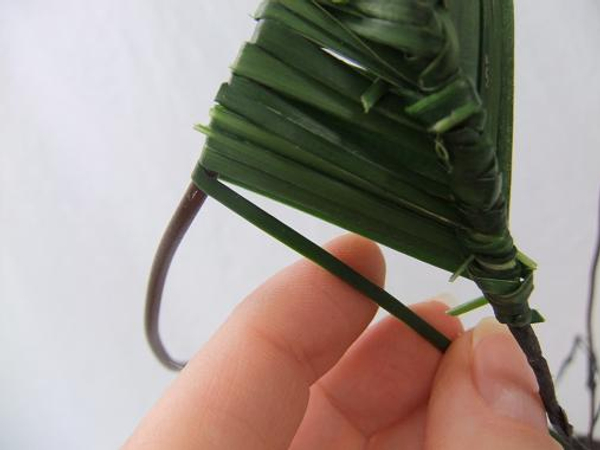
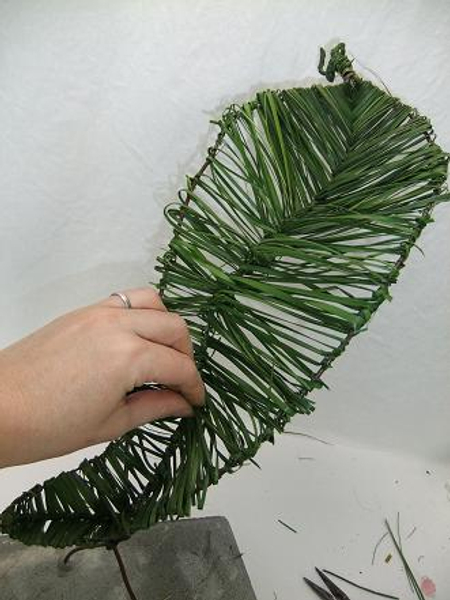
Weaving pattern seen from the back
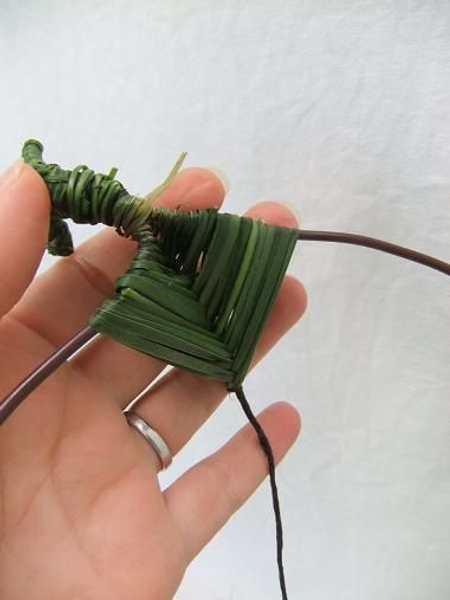
Continue to weave all the way down the wires
Occasionally reverse the pattern to create tension in the lines
Move on to the tip and weave it all the way up.
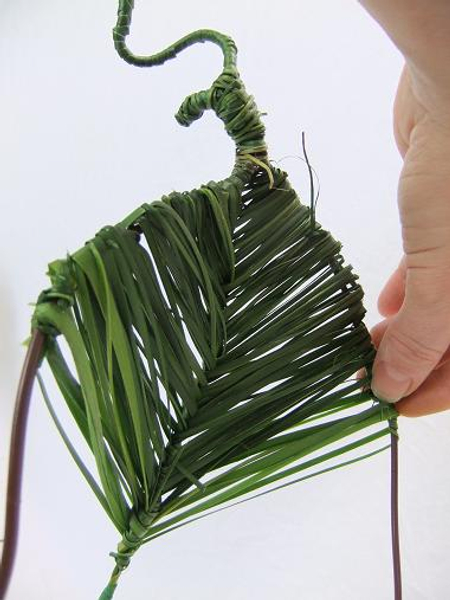
Work up from the tip and down from the curling wire "tendrils" to the middle
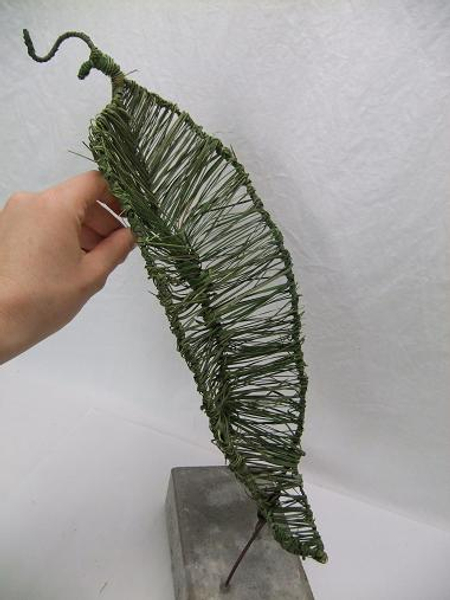
Pod shape done and ready to design with
Sign up for my weekly newsletter
Every week I add a new design with related tutorials. Be sure to subscribe to receive an email notification with design inspiration.


