Christine de Beer - effortless floral craftsman
Reed Cradle Armature
- 29 June 2016
- and more
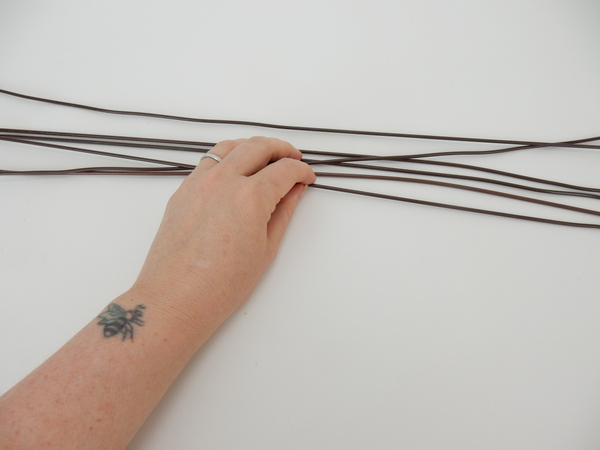
Find the middle point of the wires
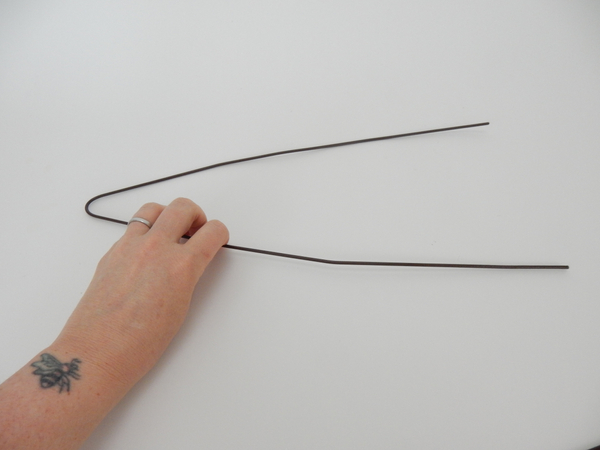
Bend the wire in half
Use this first wire as a template so that the other wires follow the same angle

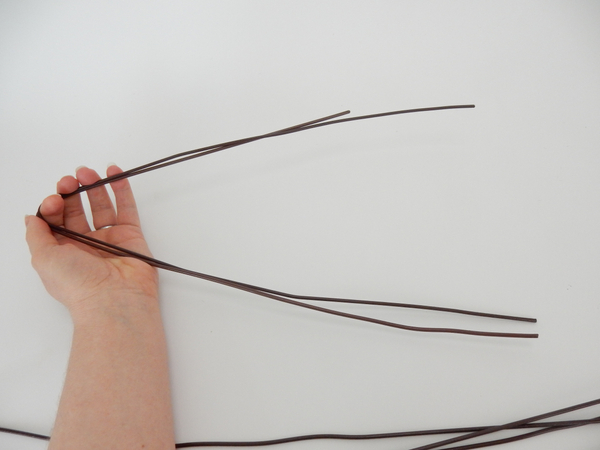
Bend all the wires before assembling the armature
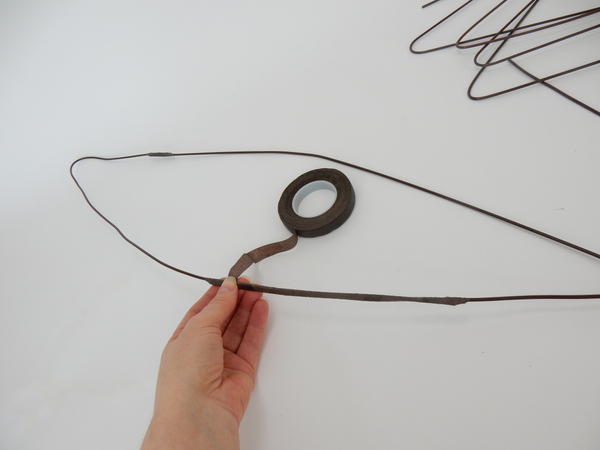
Match two of the bended wires and cover with brown florist tape to secure
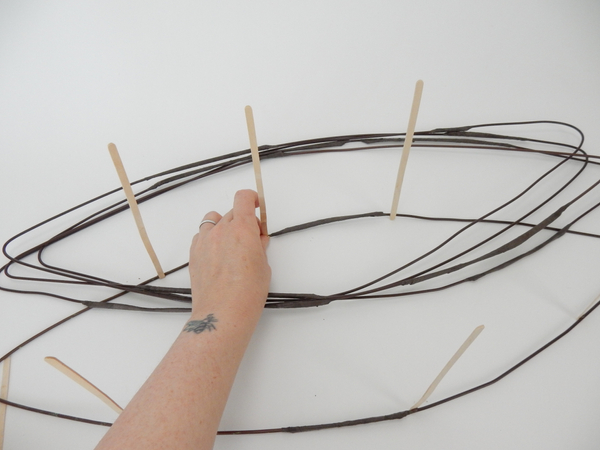
Glue in bamboo sticks to separate the wire into levels.

Secure the bamboo sticks with brown florist tape
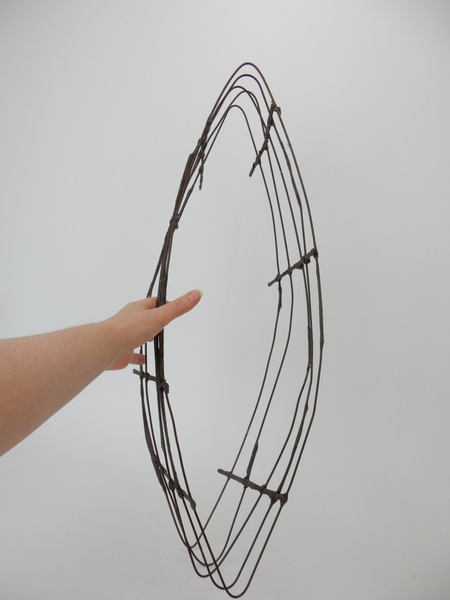
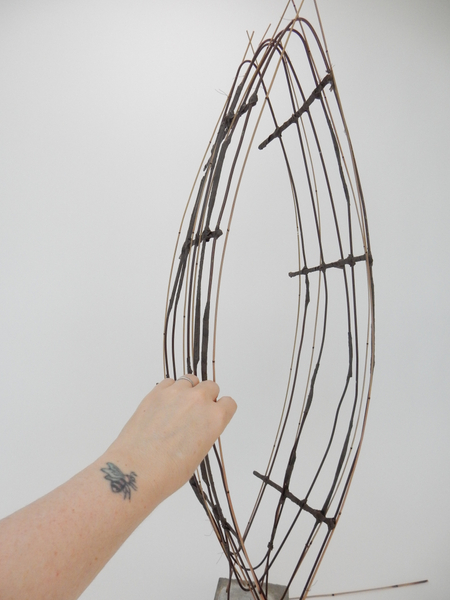
This creates the basic structure for the reed armature.
For my design I used a heavy brick foundation. See my Brick on a Stick Tutorial for detailed instructions
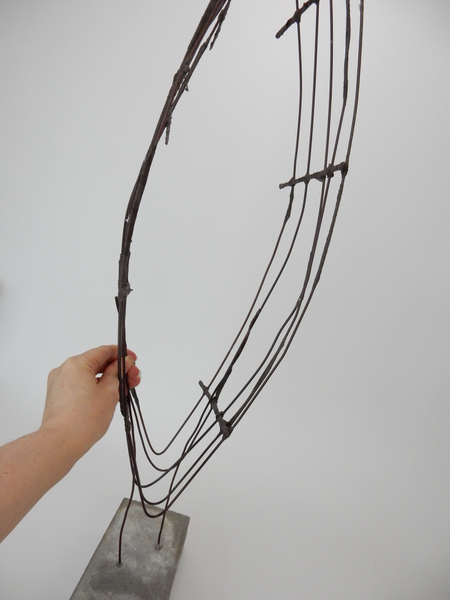
Place the wire armature on the wires attached to the brick.

Secure with brown florist tape
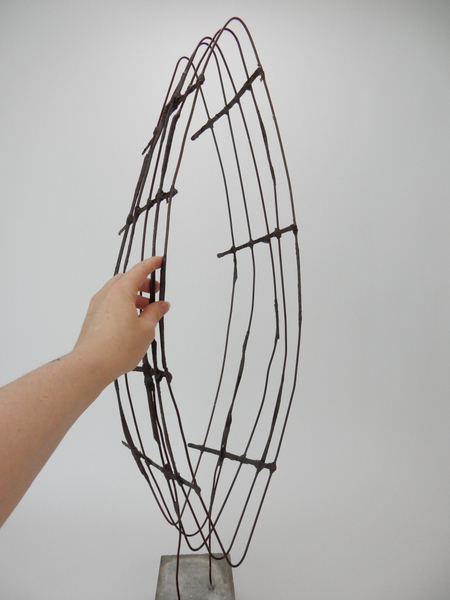
The basic wire armature is now ready to design with
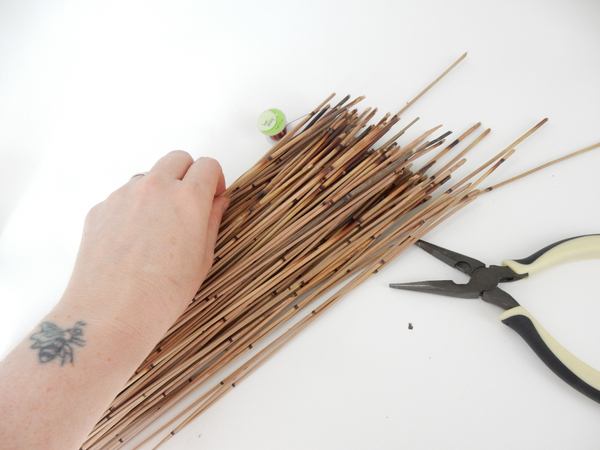
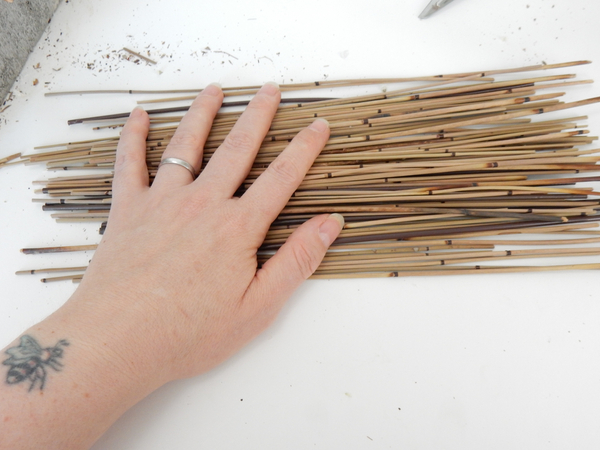
Cut the reeds to the same length

Secure the reed to the armature with wire

And secure the other end at the bottom
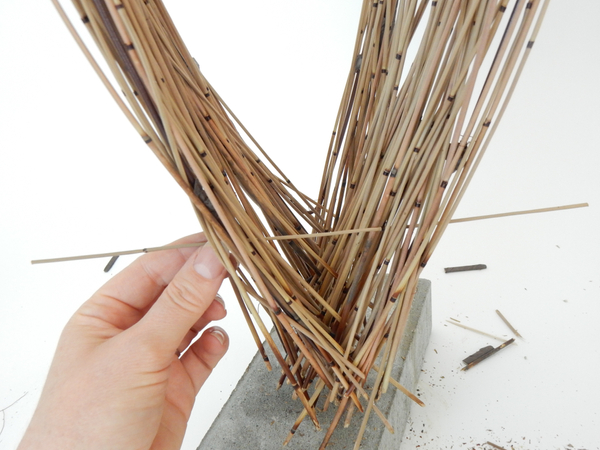
Keep adding reeds to follow the shape of the wire armature
Only the first few reeds needs to be secured with wire, once the basic shape is covered it is easy to insert the reeds to be kept in plce by the rest of the reeds
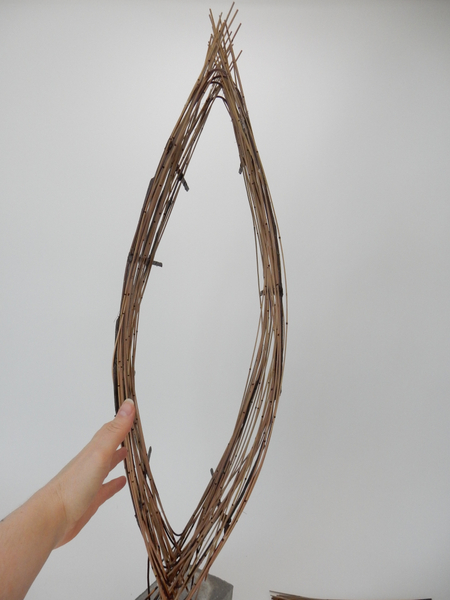
Guide the reeds to follow the shape of the wire armature
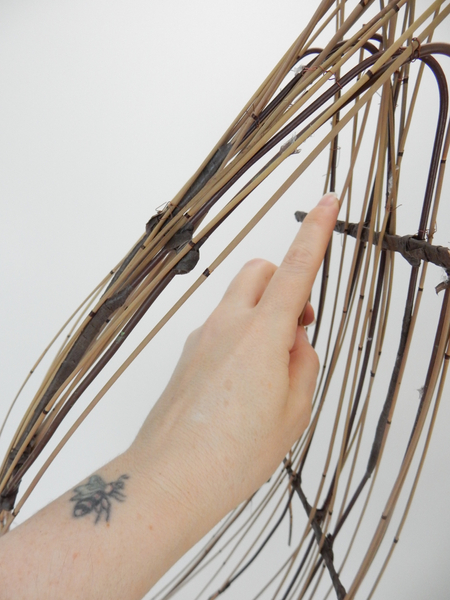
Cut a bundle of shorter reeds and wire sections to add as horizontal design elements
Simply spear the reeds through the armature
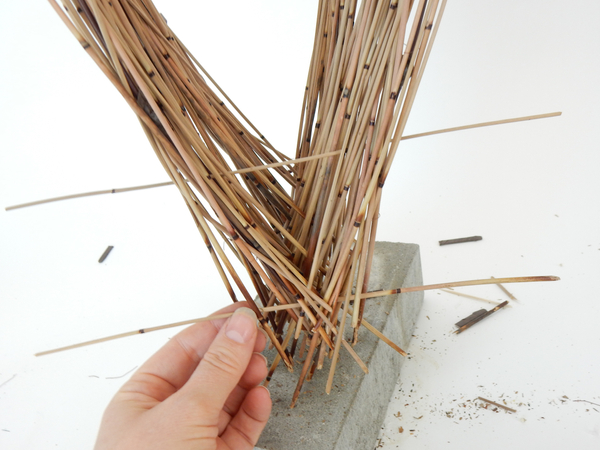
Add another reed...

... and a few wires at random intervals.
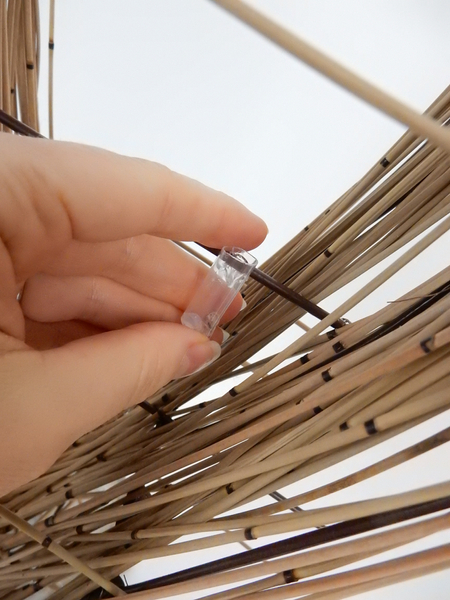
Glue in test tubes for the orchids
See the Tutorial below for detailed instructions on how I make test tubes from drinking straws
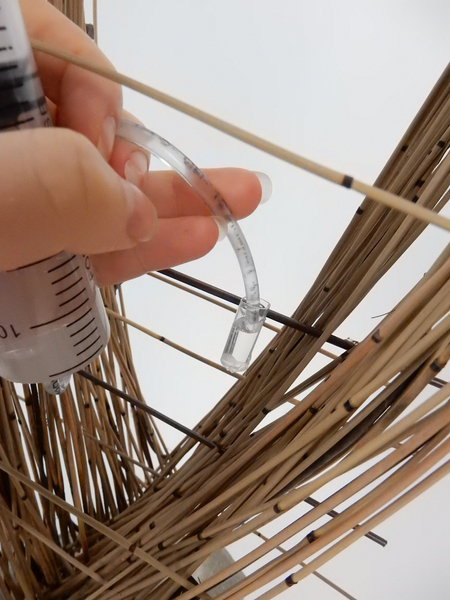
Fill it with water
See the Tutorial below for detailed instructions on how to modify a syringe to create an easy way to fill test tubes in awkward places
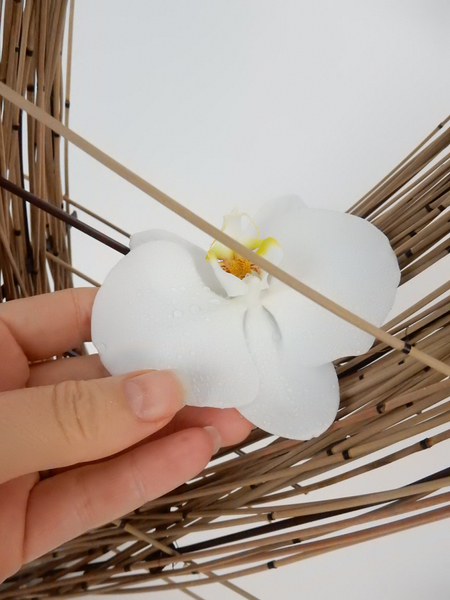
Add the orchids
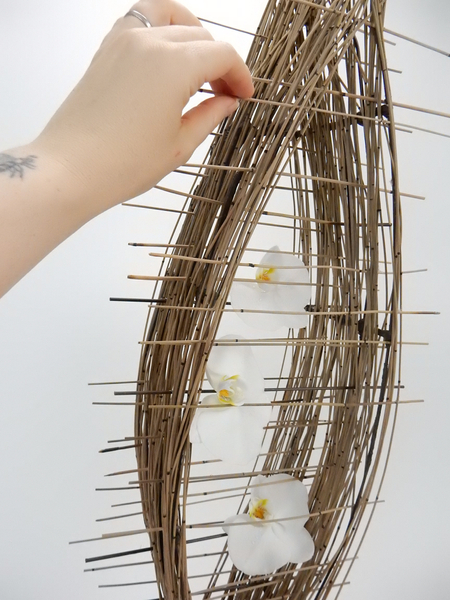
Spear in a few more reeds to complete the design.
Sign up for my weekly newsletter
Every week I add a new design with related tutorials. Be sure to subscribe to receive an email notification with design inspiration.


 then support the snap with a snap (squeezed open) to craft a straight grass shimmer line")


 so snap to it")


