Christine de Beer - effortless floral craftsman
Fluffy Washi Caterpillar Armature
- 22 July 2015
- and more
Washi: Wa means Japanese and shi means paper.
Rakusui Washi is made by dripping water on the paper while it's being made. These sheets were made by hand in South of Japan on Shikoku Island
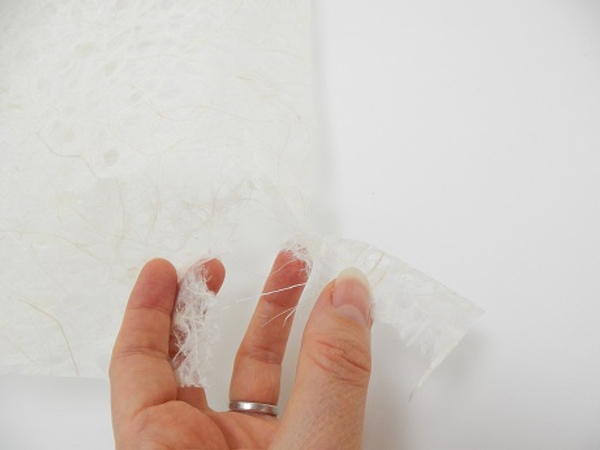
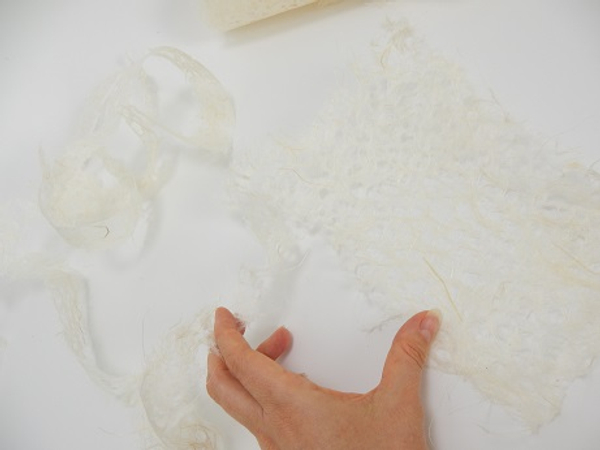
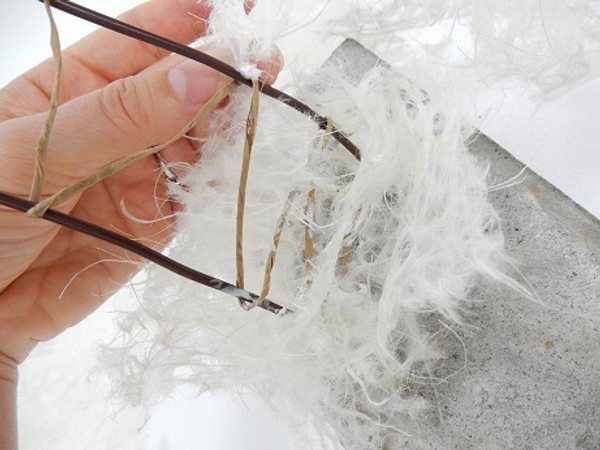
Rip Washi paper into a long continuos strip
To create a long Washi garland
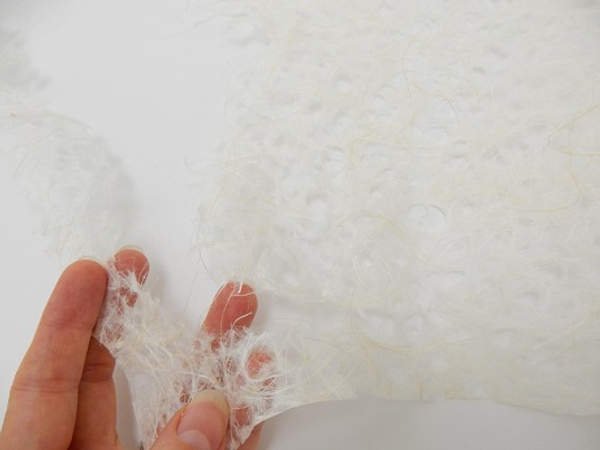
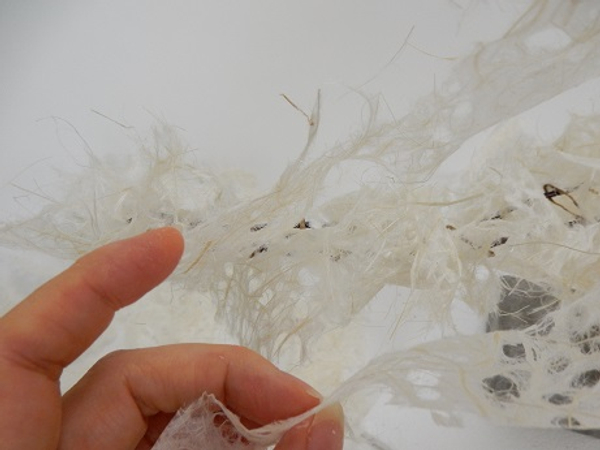
Rip the strip going around the washy paper edge, moving inward.
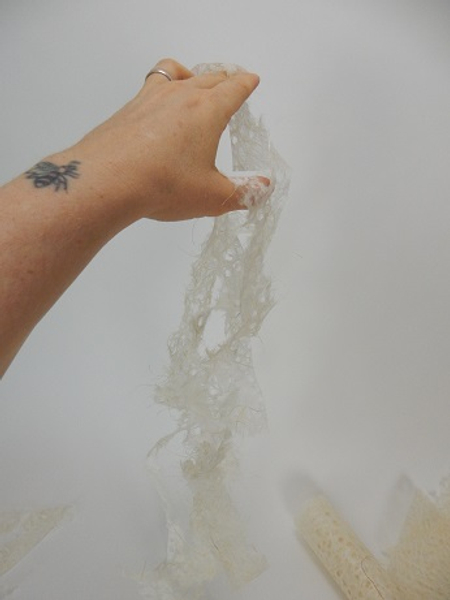
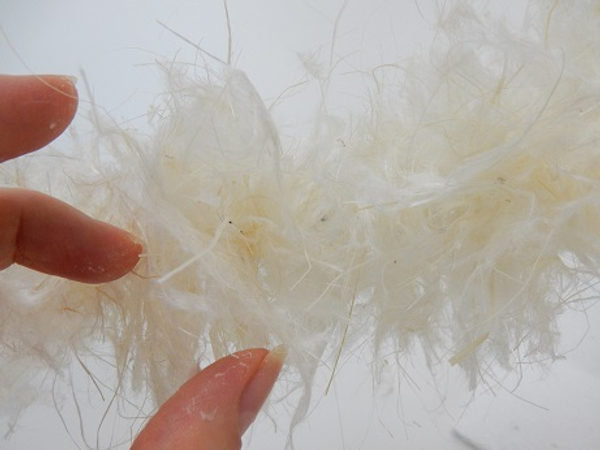
Creating a fluffed edge garland
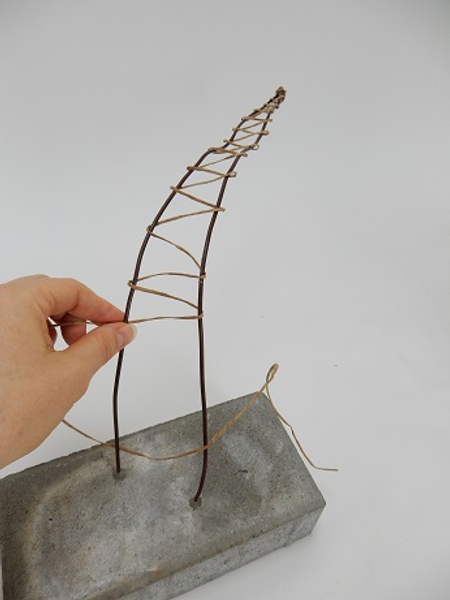
For the base of my armature I glued wires into a brick. See the Tutorial below for detailed instructions
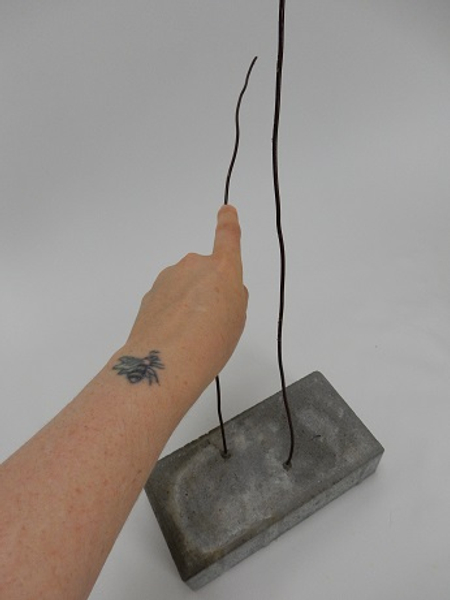
Shape the wires to curve back
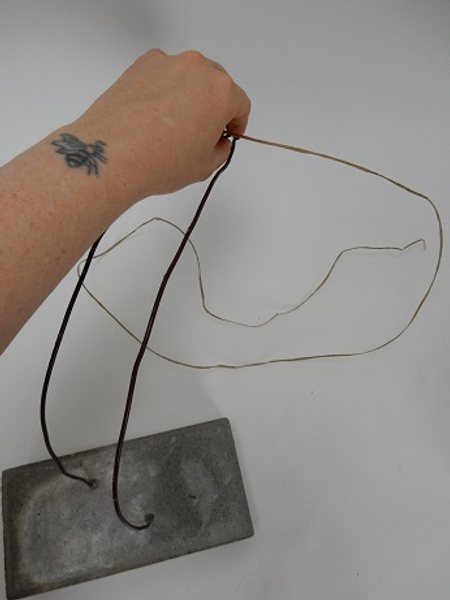
Tie the ends together with bind wire
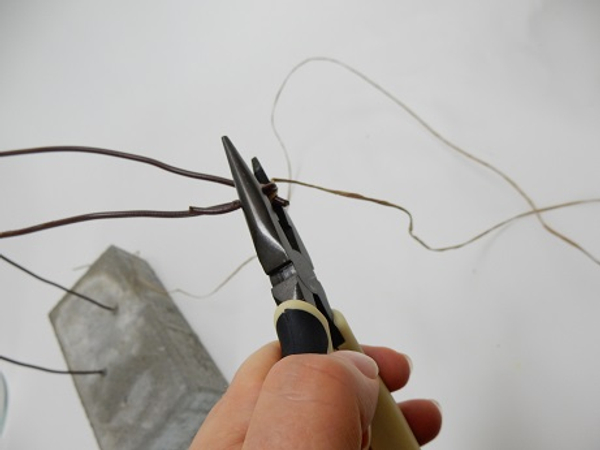
Bend the wire over the bind wire with pliers to secure it in place
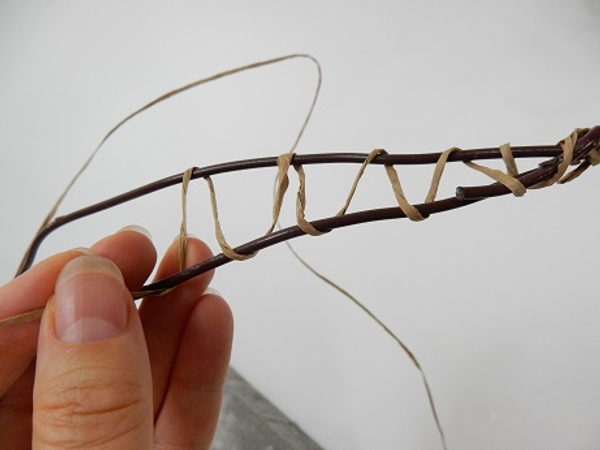
Loosely wrap the bind wire around the wire to connect it
Follow the curve
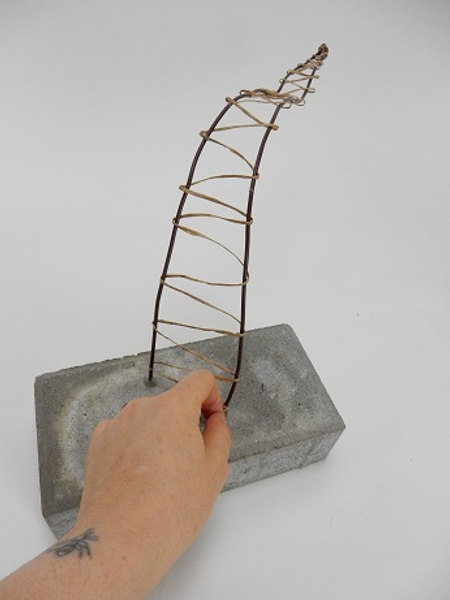
Secure the wire at the brick base with a twist
Glue the paper end to this twist with a few drops of clear drying wood glue
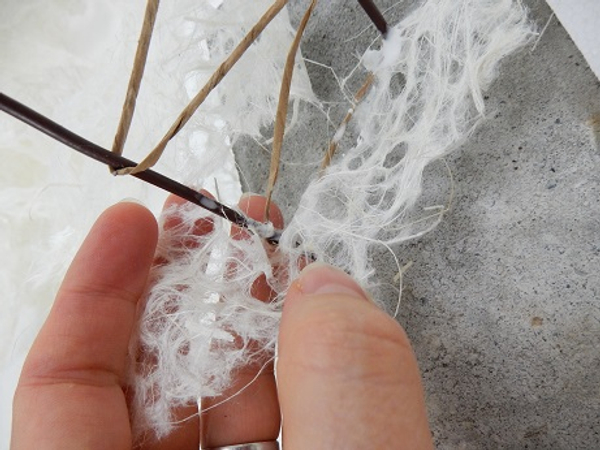
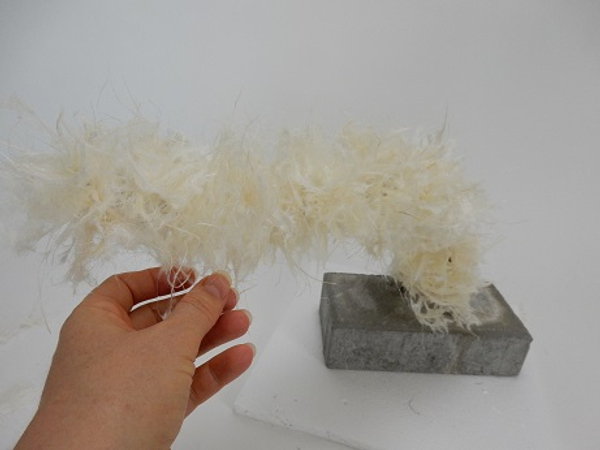
Start to wrap the paper garland following the wire shape. Secure with small drops of glue
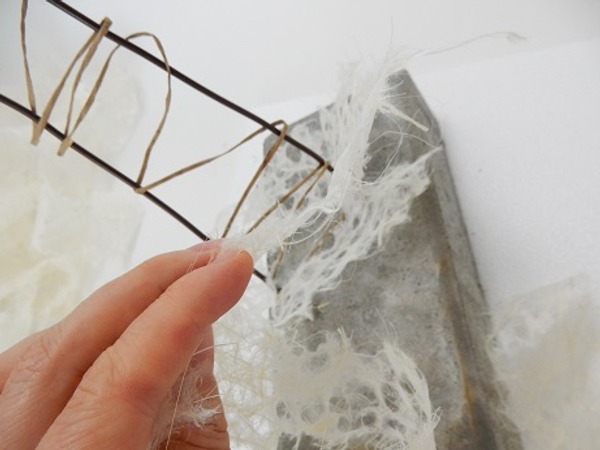
As you wrap the garland make sure it fluffs out. Simply fold the paper out if it starts to fall flat
Secure the paper with glue as you go along

Follow the basic curve of the wire
Wrap the paper all the way down the wire.
Fluff out the paper in places to completely cover the wire. Add small drops of glue to set it in place. This also creates perfect little pockets for the water tubes for the fresh flowers
Carefully tear out any paper fibers that are not following the shape
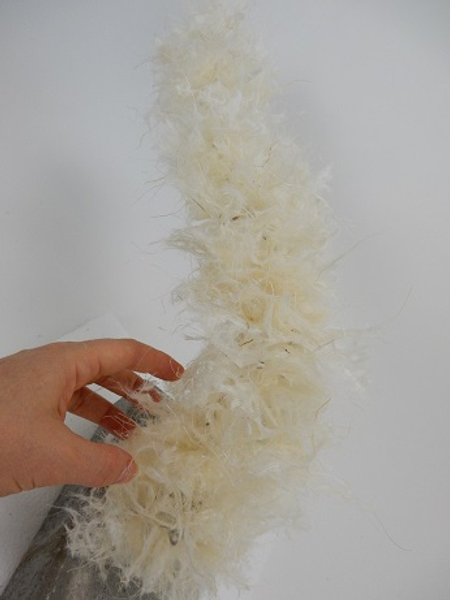
Shape the wire to make sure the armature curves
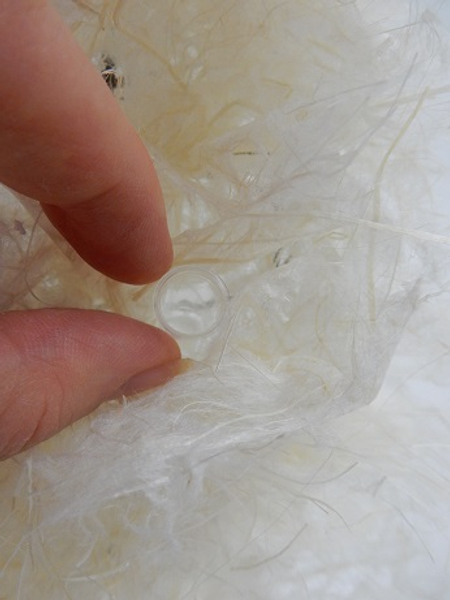
Slip the tiny tubes into the paper pockets and add water. Make sure not to over fill or to spill water on the paper.
See the Tutorial below for detailed instructions on how to make these small tubes
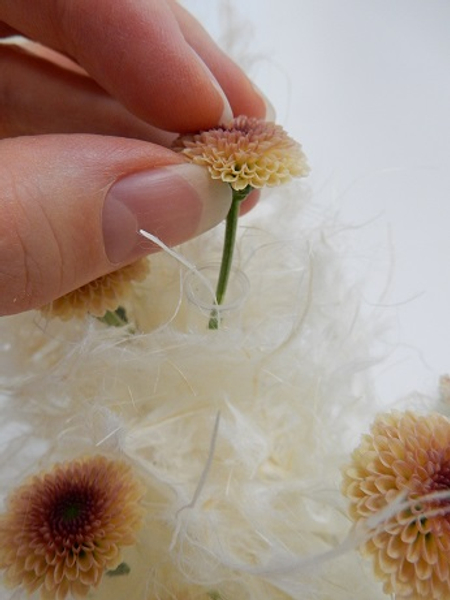
Place the flowers in the water filled tubes
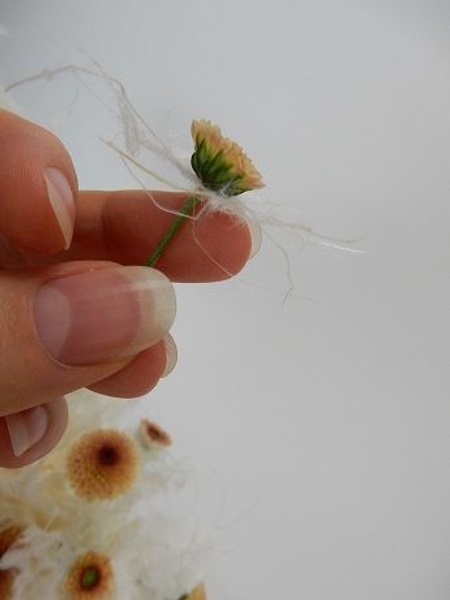
Make a fluffy collar for some of the taller, smaller flowers by tearing a tiny piece of paper and slipping the stem through a gap in the fibers
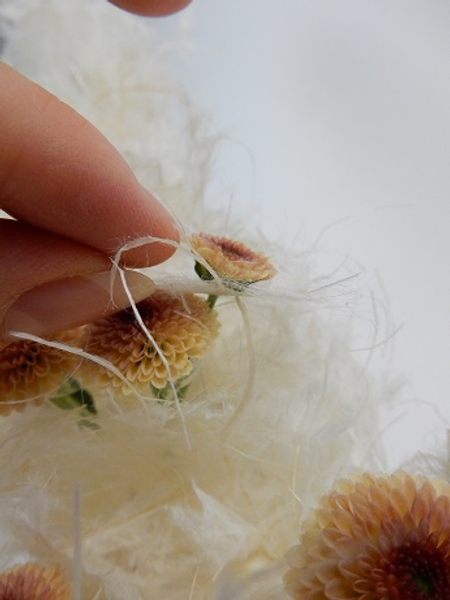
Creating a soft veil over the design and concealing the plastic tubes
Sign up for my weekly newsletter
Every week I add a new design with related tutorials. Be sure to subscribe to receive an email notification with design inspiration.


 to create a frilly design gap in bud vases")


