Christine de Beer - effortless floral craftsman
Vase topped with a Hollow Wreath for Halloween
- 28 October 2020
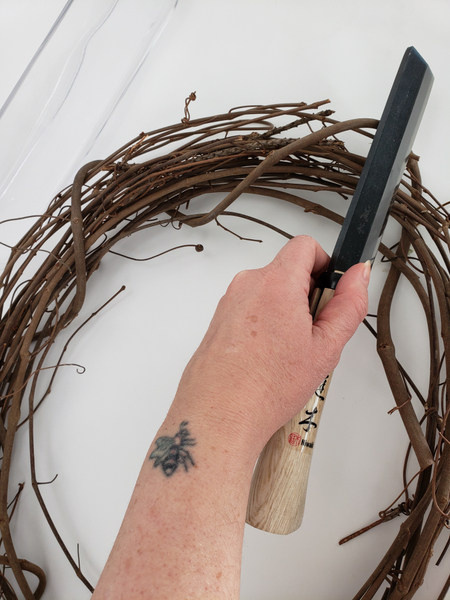
Chop a dried vine wreath open at one side.
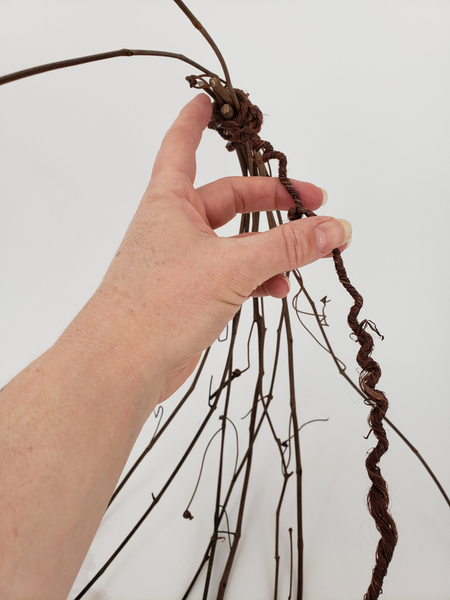
Gather a few of the vines and bind it together with bark wire.
Design note: In the spirit of my " 5 design rules" that I have set for myself for all the designs that I share here on the My Creative Workbook website (one being that I only use items in my Tutorials that are easy for you to find) and because I have heard that it is sometimes difficult to find bark wire everywhere in the world I have a Tutorial for you on how to make it yourself. See the Tutorial section below. But I will also share my Design Rules for my website next week make sure you are subscribed to my weekly email for advance notice for when the design is ready.
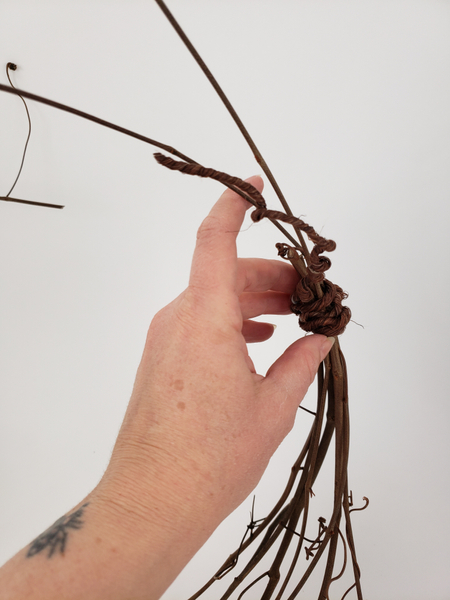
See the tendril curls in the bark wire? I have included the detailed instructions on how to add that in the Tutorial section below.
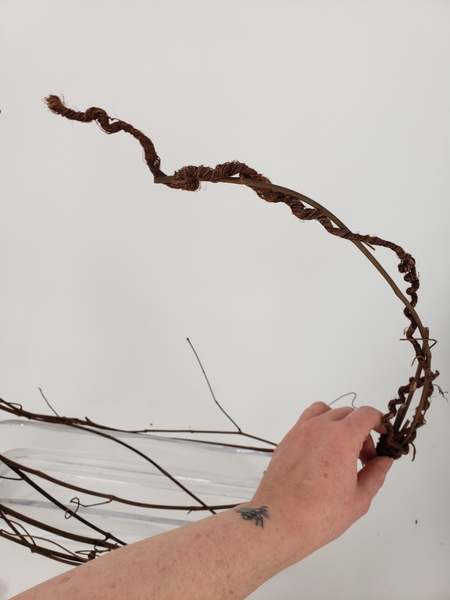
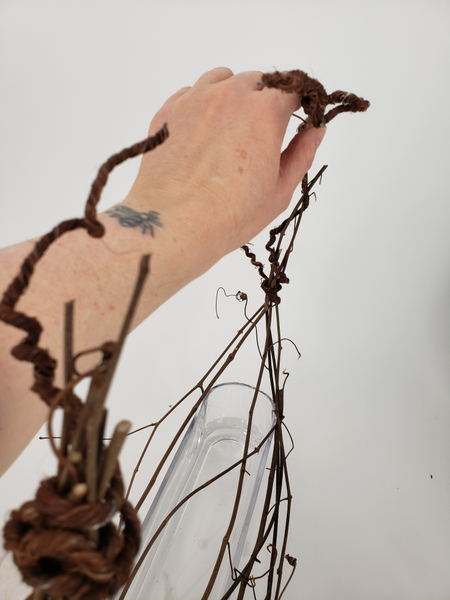
Split the vine open and place it around an oblong shaped container. Secure the opposite vine ends with curled bark wire.

Fill the container with water.
Once the opened up wreath is secure it is ready to design with...
Weave in more vines from the one end to the other.
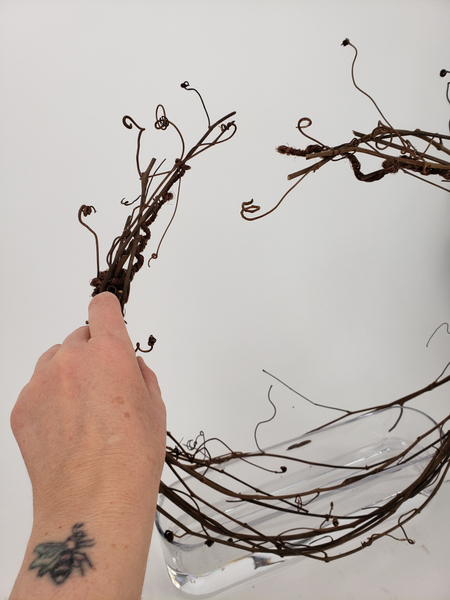
Adding in tendrils to extend in all directions from the opened up wreath.
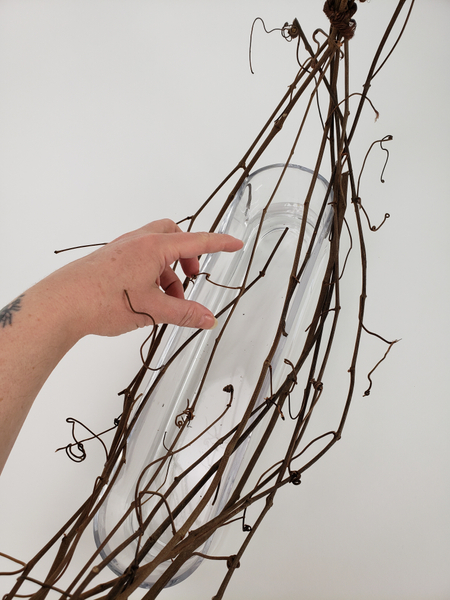
Make sure the vine is pinched securely in place over the container before adding flowers.
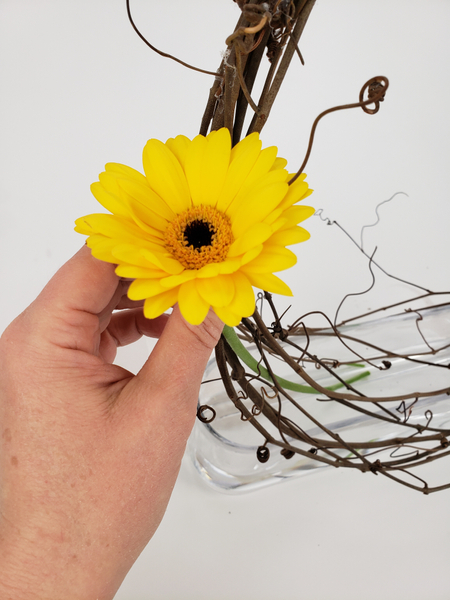
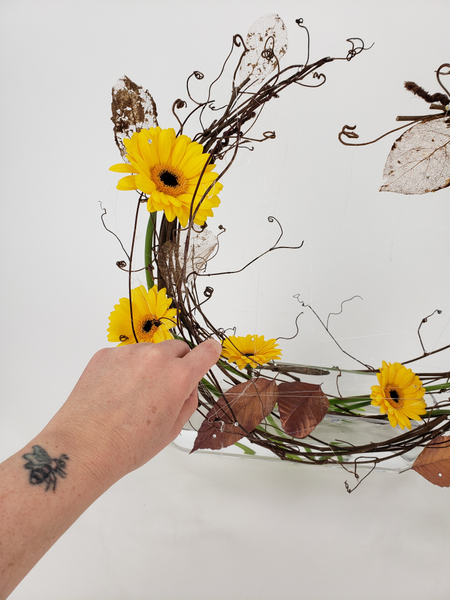
Thread the flowers through the wreath so that the long stems curve around the wreath frame and into the water filled container...

Creating an elegant stem line that adds, rather than distract from the wreath shape.

Continue adding flowers using the wreath to keep the flower heads suspended in position and the stems firmly in the water so that they remain hydrated.
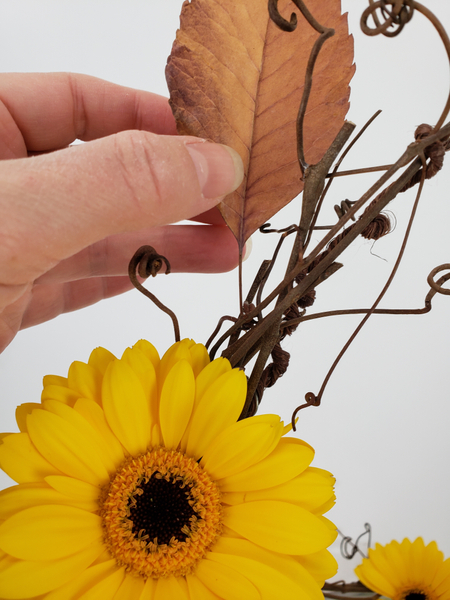
Glue in dried autumn leaves. Using the trick I showed you last week in my email to make the top ones stand up...

... And the bottom leaves to look like they softly fell into place.

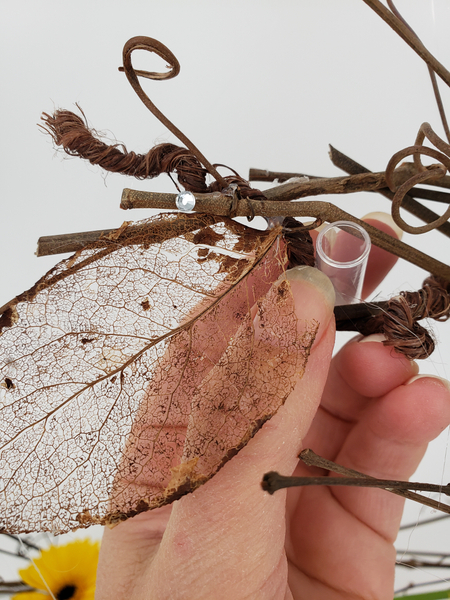
Add a few skeleton leaves.
See the Tutorial below for more detailed instructions on how to make skeleton leaves.. and if you would like to learn more page to Page 113 of my book.
Glue in a few water tubes... for the daisy spiders ( of course!)
See the Tutorials below for more details on how I made the Gerbera daisy spiders... and the water tubes.
And spin a thin glue spider web all over the design...
For more detailed instructions on how to spin the glue web see the Tutorial below... but before you start spinning the web have a look at the tip I have for you in this week's newsletter to protect the more delicate design details so that you don't ruin all your hard work right at the end! Make sure you are signed up so that you do not miss out on these once-a-week discussions on the finer details of each design.
Sign up for my weekly newsletter
Every week I add a new design with related tutorials. Be sure to subscribe to receive an email notification with design inspiration.


