Christine de Beer - effortless floral craftsman
A quick and easy way to Craft a Twig Basket Using Wire Tendrils
- 6 October 2021
- and more
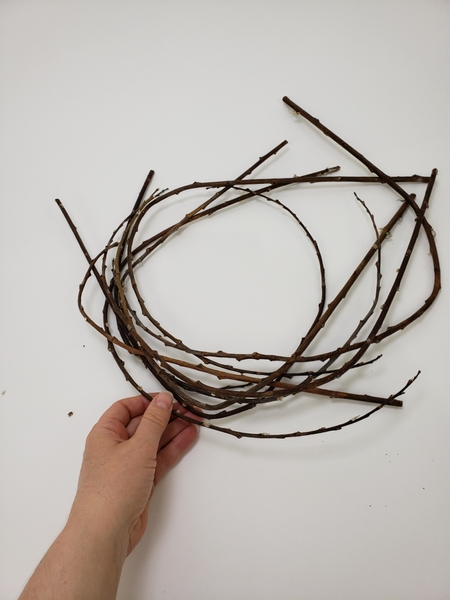
Cut a few curved dry twigs from an old wreath.
If you don't have a wreath at hand but want to make a wreath first to dry there is a Tutorial for you below this post.
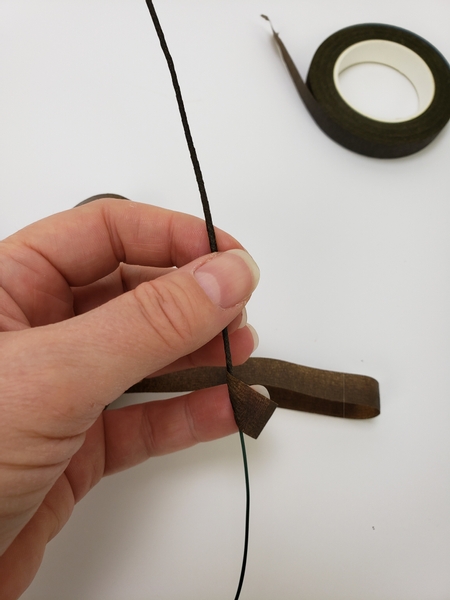
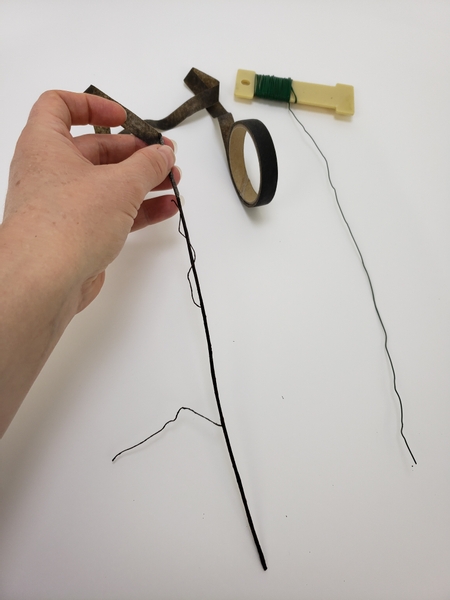
Cover wire with florist tape.
This is perfect for perfecting or practicing your taping skills. You will need quite a few wires!
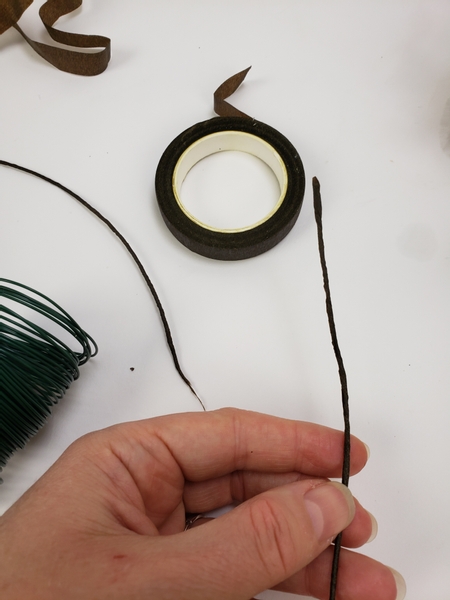
Cover the one end...
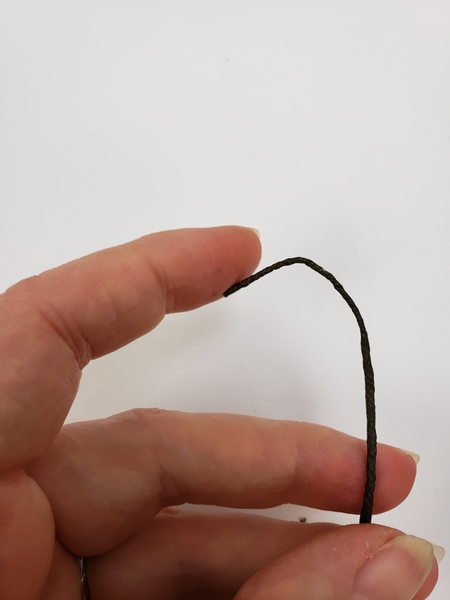
And dry tape the other end by simply twisting the tape on itself to craft a flexible end.
This is just so that the tendril flops over slightly to give it a more natural look.
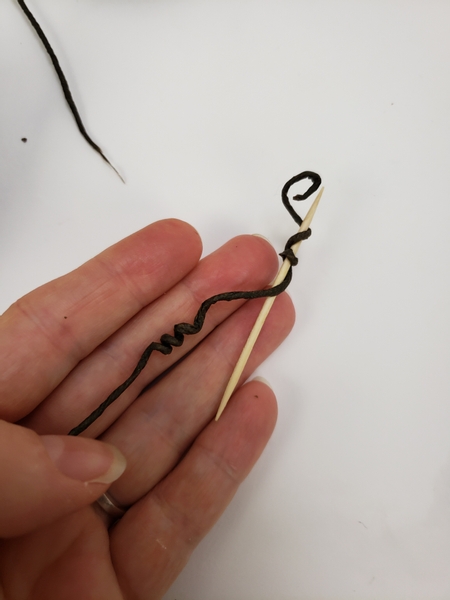
Wind the wire around a bamboo skewer to craft a tendril.
See the Tutorial below for more detailed instructions.
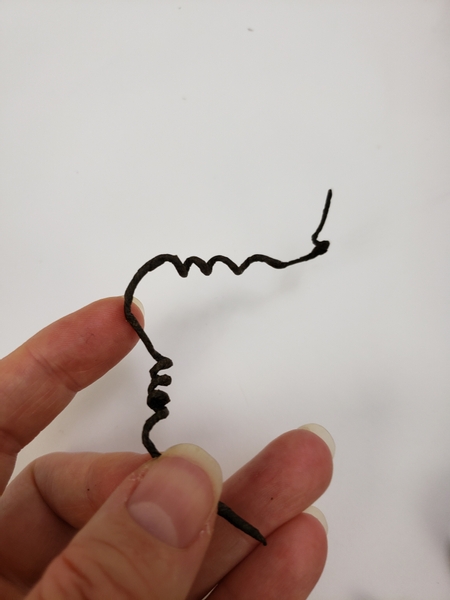
Wind the tape end to also set it into a curl.
Combine a few tendrils...
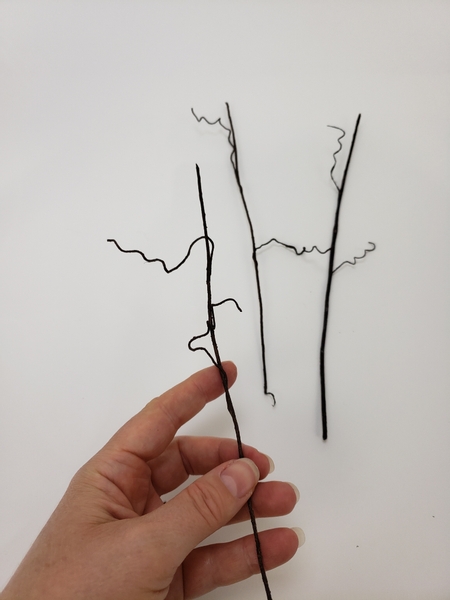
... on to a longer taped wire to create a tendril vine.
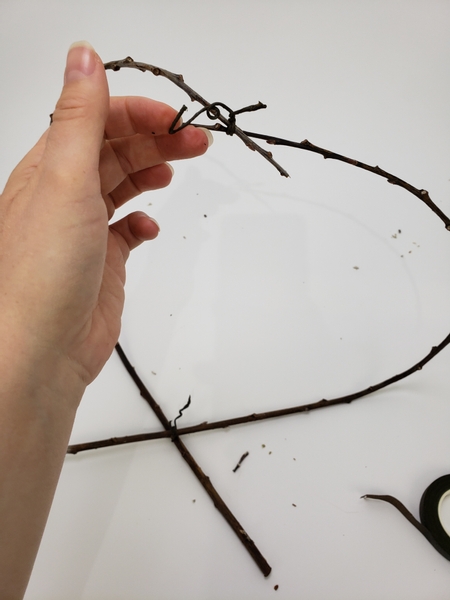
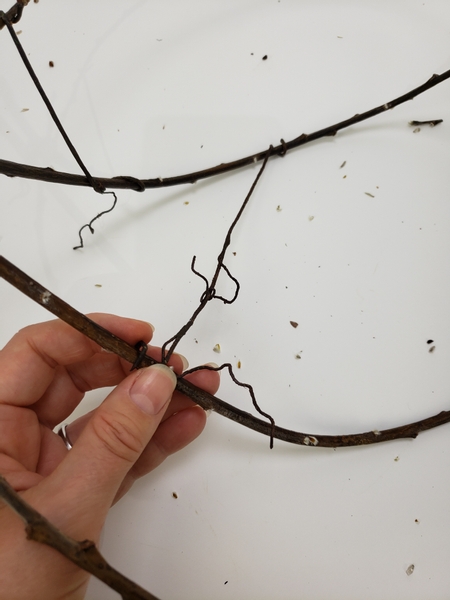
Secure the ends at both sides with the wire vine.
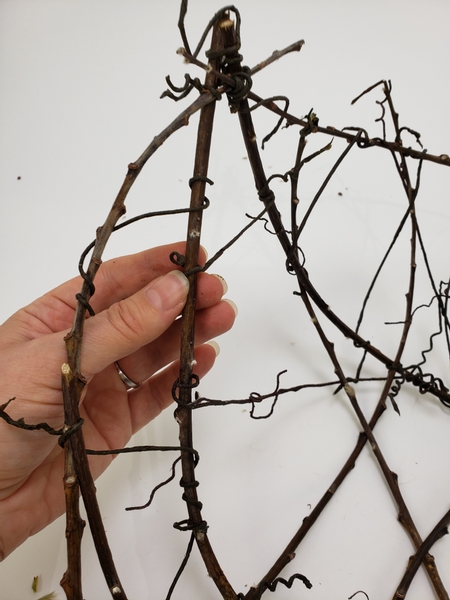
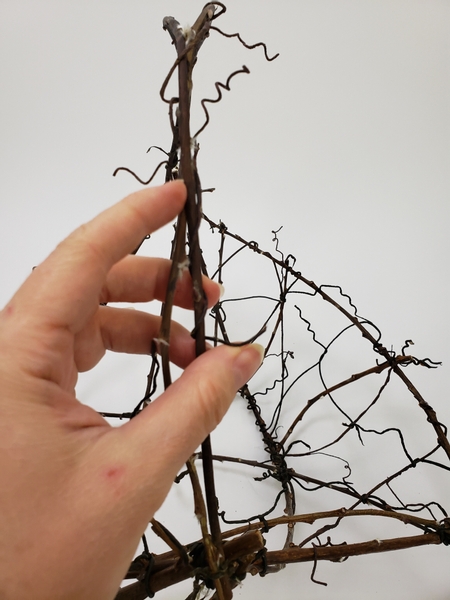
Secure the next curved twig to run down the middle of the first two.
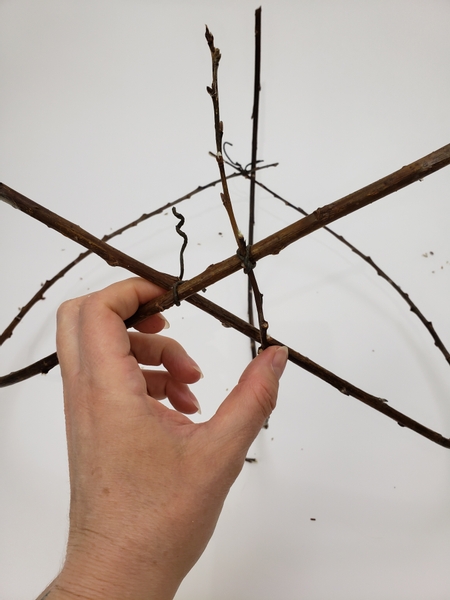
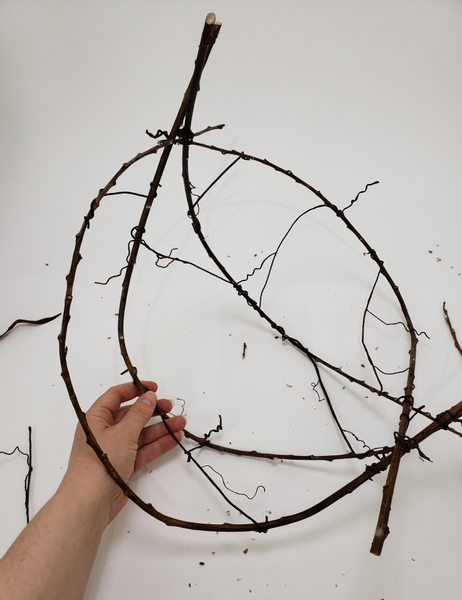
Add the next curved twig just to the side of the previous one.

This is the basic basket shape. The next step is to fill in the open areas as much as you need.

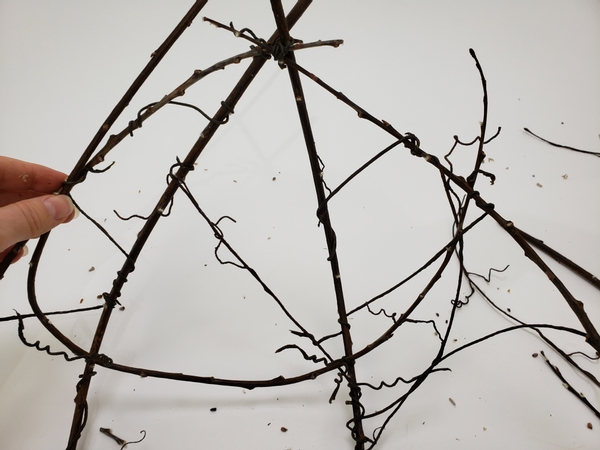
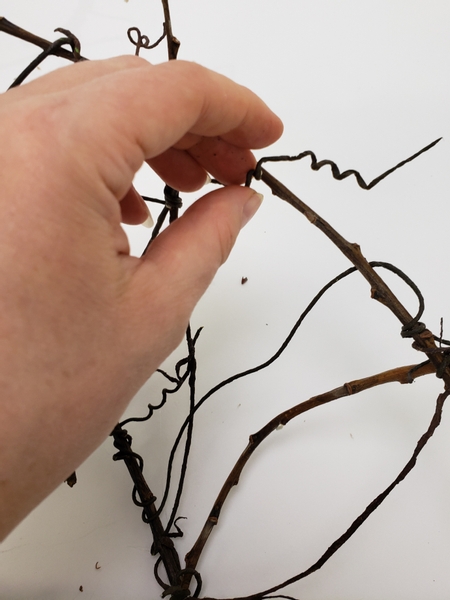
Twist a wire vine around the twig.
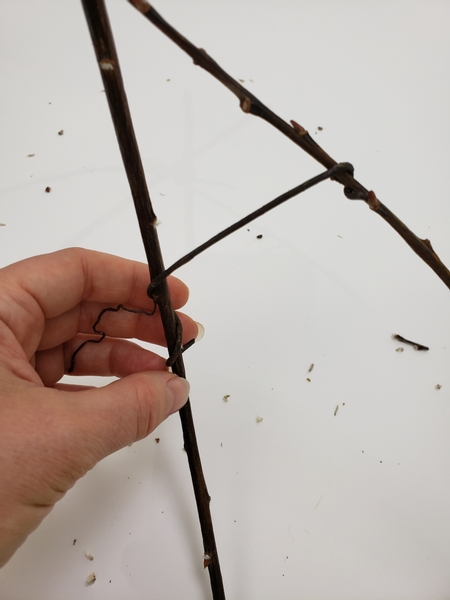
Extend the wire to the next twig and secure
Move on to the next section and connect it with wire vines.
Continue adding vines to create a stable base.
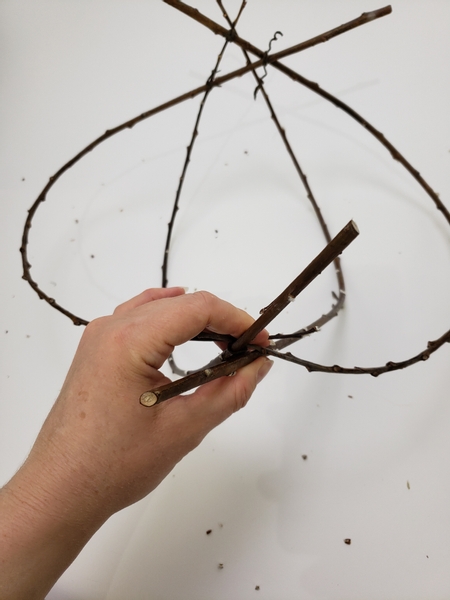
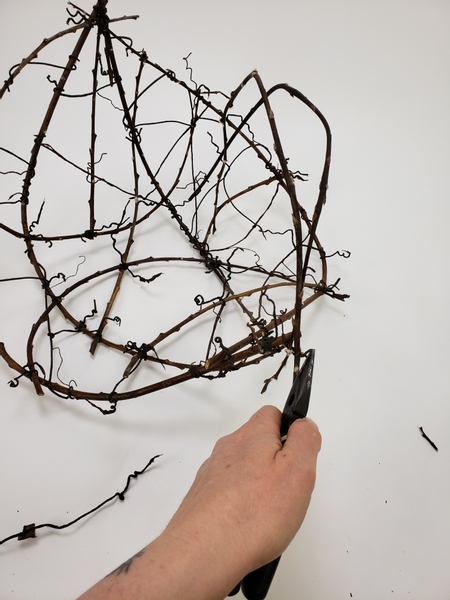
Cross a few curved twigs using the wire vines to secure them to the basket base.
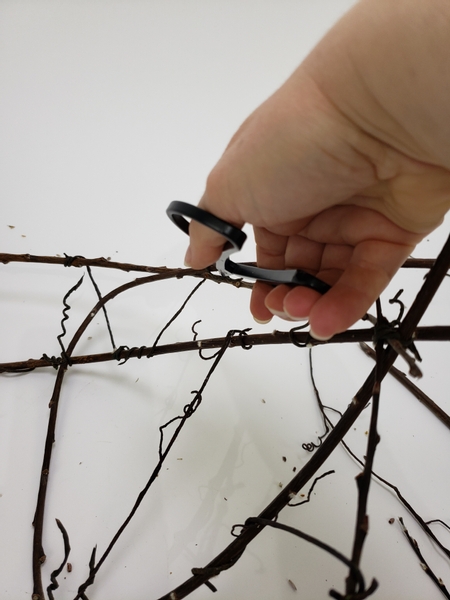
Cut the twigs that extends too far shorter so that it remains in the framework of the basic shape of the basket you crafted.
Add in a few more wire vines between the twigs to make the gaps even smaller.
Set the wire tendrils again so that they look pretty all around the basket.
Next we add a handle:
Secure two longer curved twigs to the one end.
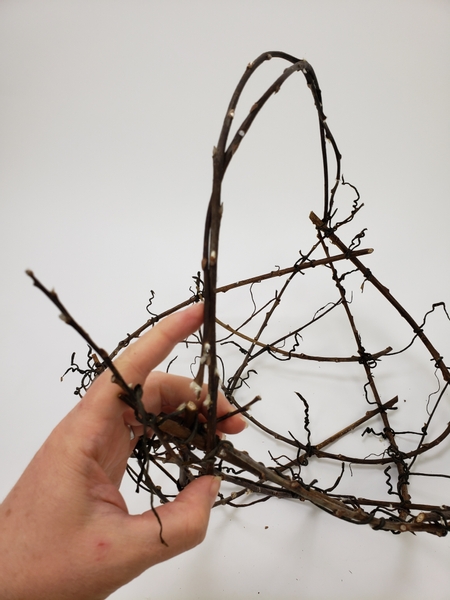
Extend the curved twigs over the basket to the other side. Secure the twigs with a wire tendril.
Add in another wire vine to follow over the basket to finish off the handle.
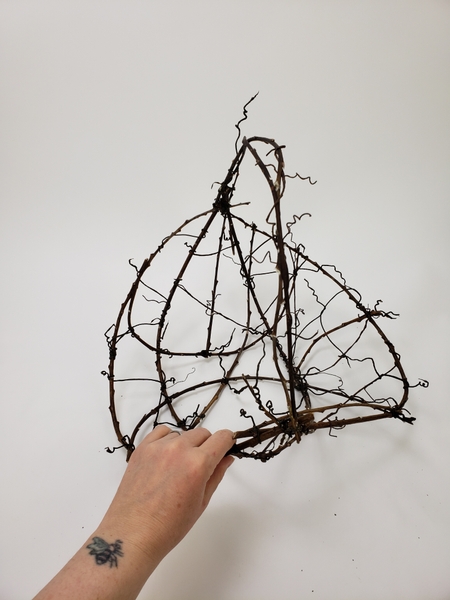
Your basket is ready to decorate.
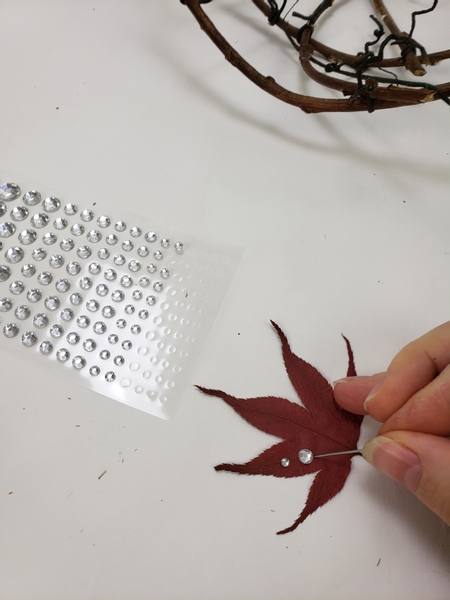
To contrast the curvy... everything I am using leaves dried flat in a book. These leaves can be so brittle to work with! I add the crystals on a flat surface and then do a bit of preparation work to make the leaves easier to work with.
My tip for you this week is all about using dried material in a design like this. I send out a once a week email discussing a specific idea used in the design in more detail. If you are not yet receiving the email you can sign up below this post.

Glue the leaves into the basket with hot glue.
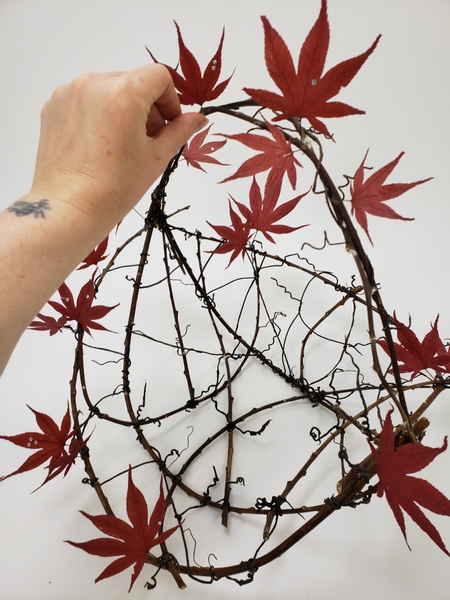
Make sure to position the leaves in a way that the design looks vibrant and healthy
Book readers turn to 276 of my book where I show you an example of how we craft a believable floral illusion by observing nature.
For more information about my book: The Effortless Floral Craftsman
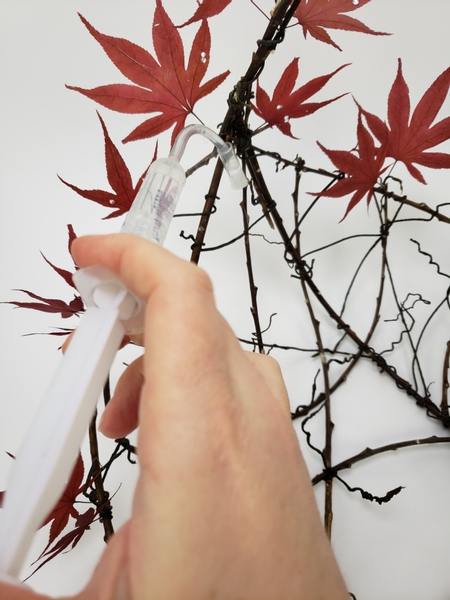
Glue in water tubes to keep the fresh flowers hydrated.
I make my own water tubes using tube or drinking straws. For more information see the Tutorial below. I also add a tube to a syringe for a flexible way to add water to the tube without disturbing the floral material You can also find a Tutorial for that below.
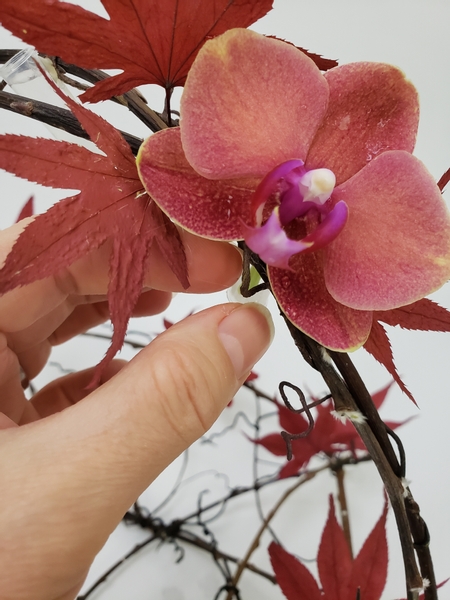
Slip the orchids into the water tube.
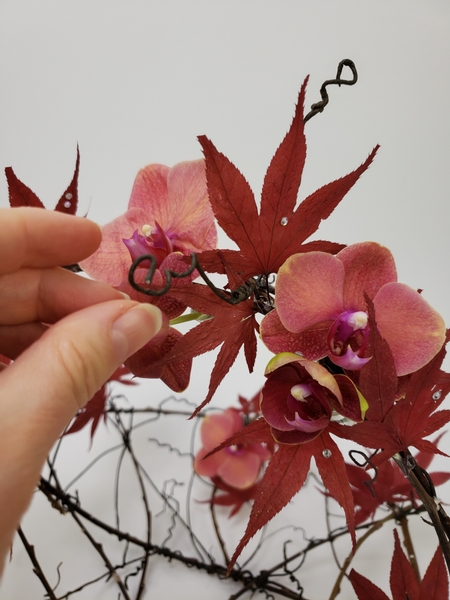
Add in a few more wire vines into the basket to finish it off.
Sign up for my weekly newsletter
Every week I add a new design with related tutorials. Be sure to subscribe to receive an email notification with design inspiration.


