Christine de Beer - effortless floral craftsman
Off-cut stem snippet and grass curl basket
- 26 January 2022
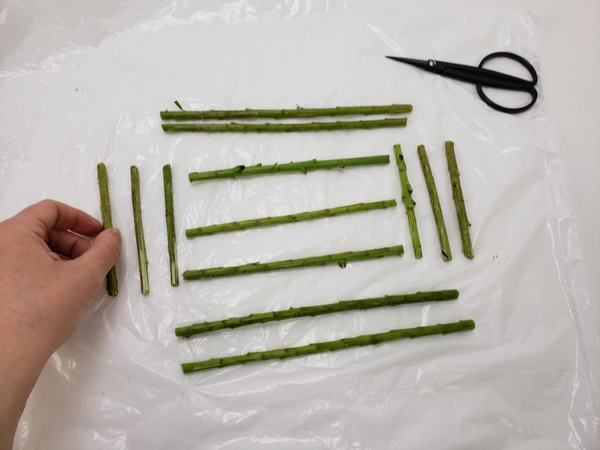
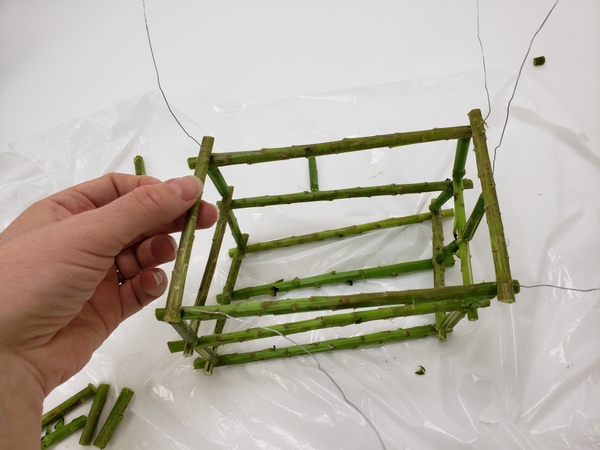
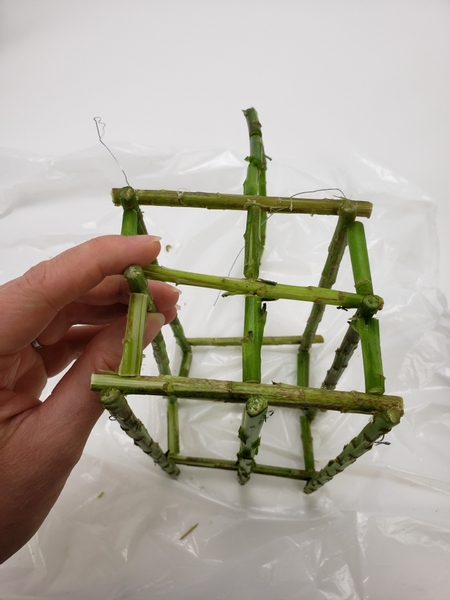
Cut a few stems to shape your basket. You will need 3 stems as long as you want your basket for the base. 6 Stems as wide as you want your basket, 3 for each side. And 4 stems as long as you want the basket plus as wide as the stems. Or basically the size I have in the picture if you want to copy it.
You will also need a few more stems as spacers and for the handle so keep your cut-off of the cut-offs.
Design note: I used off-cut lily stems to craft my basket.
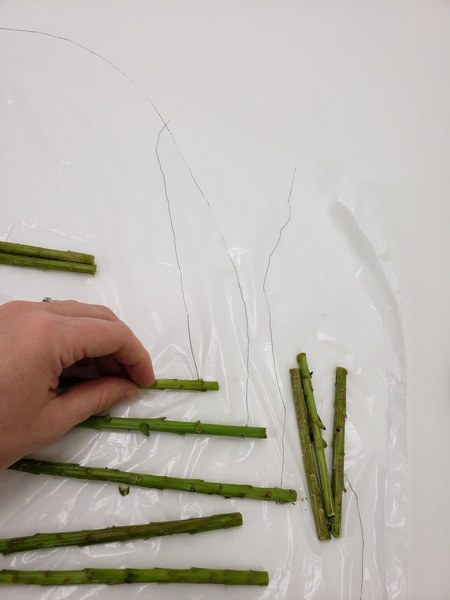
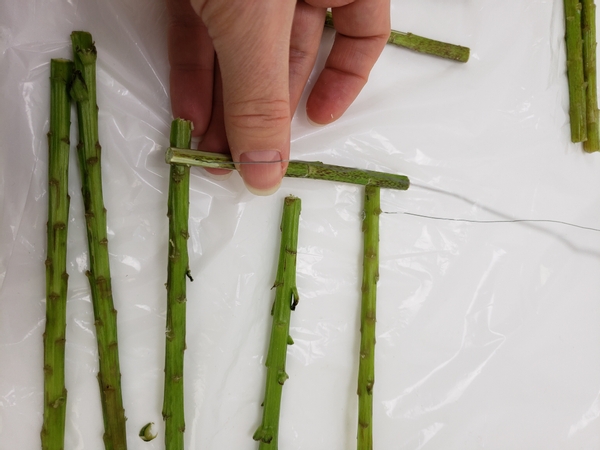
Place your twigs on a flat working surface. Starting with the base twigs pierce three wires through the one side. Be generous with the wire length so that you can adjust it as you go along. For reference the middle twig is getting a really long wire because we will also wire the handle on to this wire.
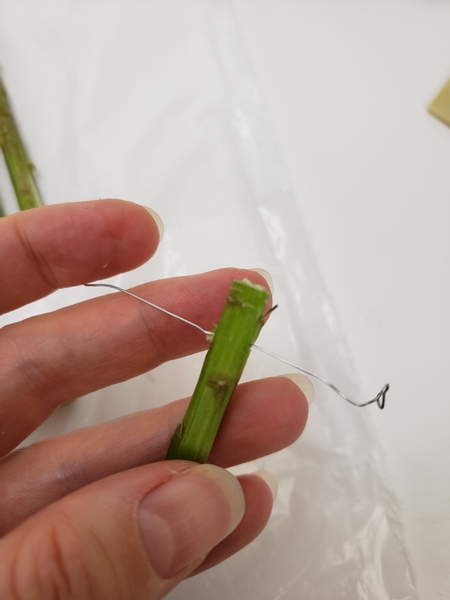
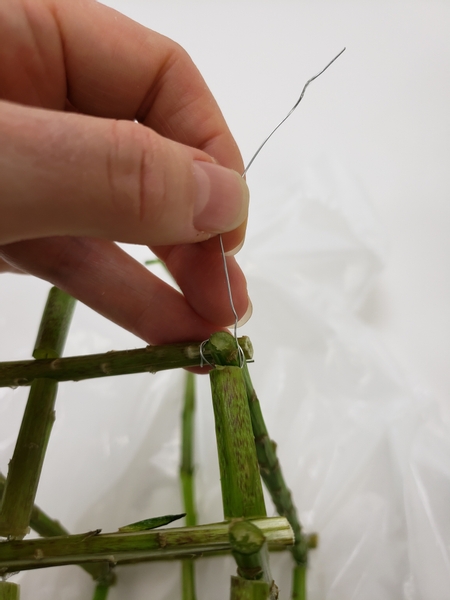
Twist the wire into a loop on one side to secure
Choosing the right wire for this basket is extremely important. It should be pliable enough to bend without damaging the stems but still hold up and not wobble so that you get a sturdy basket. I explain a bit more in our email this week. Make sure you receive this one email a week with your bonus design related tip by signing up below this post.
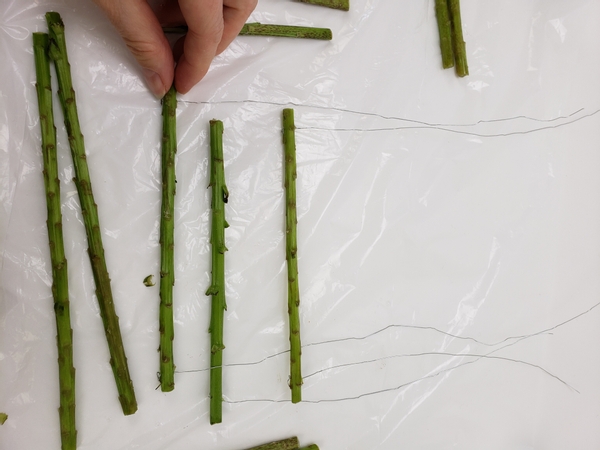
Do the same on the other side, but only the outside stems. The middle stem with the longer wire on the other side do not get a wire from this end. Again twist the wires with pliers to secure.
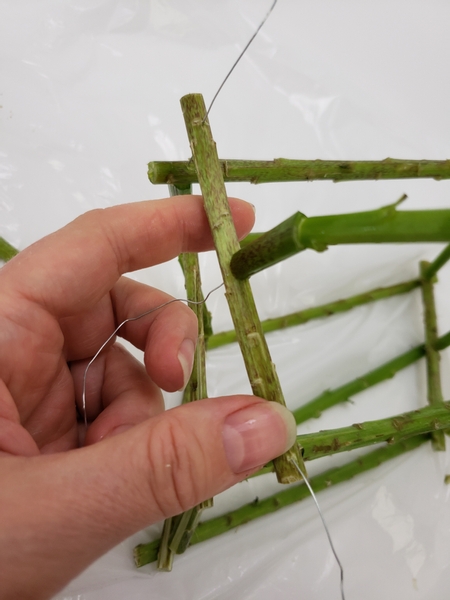
Pierce a side stem with wire to thread it to rest on the bottom stems.
So that you have three wires pointing through the one side and two on the other.
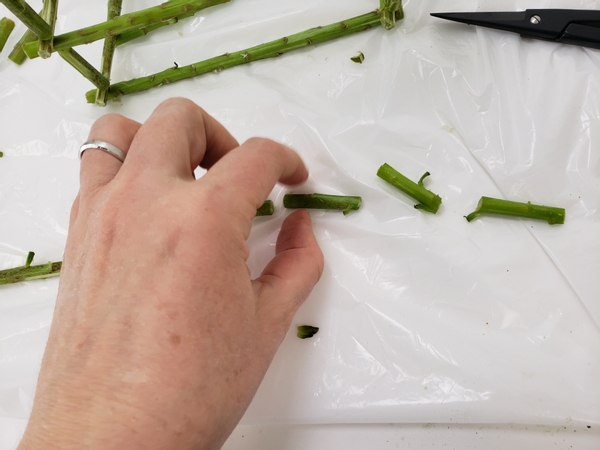
Cut a few spacer stems...
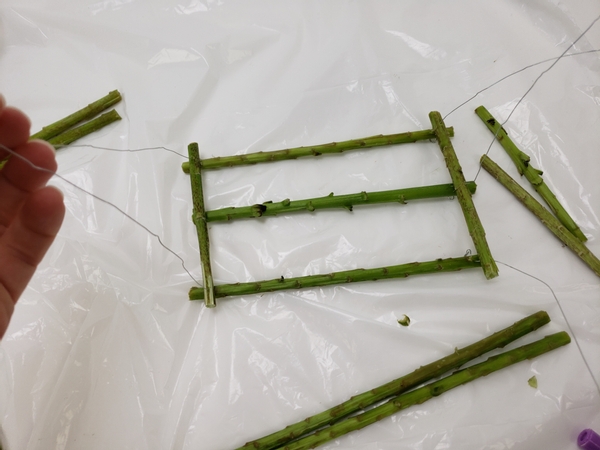
And thread the spacer stems through all the wires.
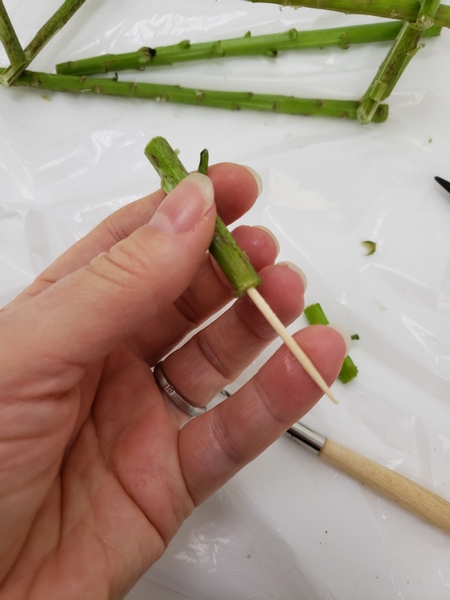
Design tip: If you are struggling to thread the wire through pierce a guide hole with a bamboo skewer.
Thread in a stem in front and one in the back on top of the spacer stems.

And two side stems on top of that.
And three spacer stems (at the side with three stems) on top of the side stems.
And again two spacer stems at the side with the two wires.
Thread in a front and back stem on top of the spacer stems.
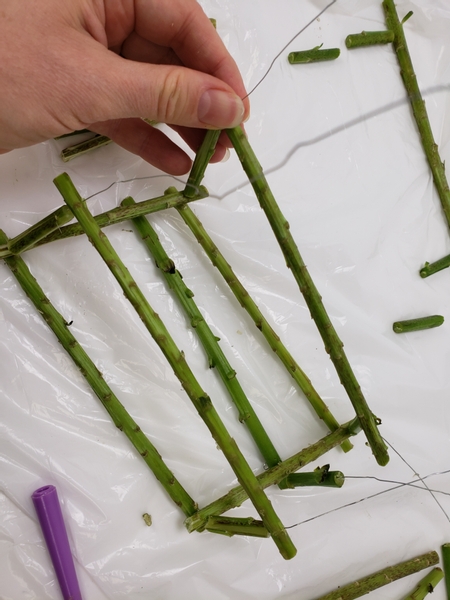
And the last of the side stems gets threaded on top of that. Again three holes on the one side and two on the other.
Cut a few short stems and line them up to measure out the handle length.
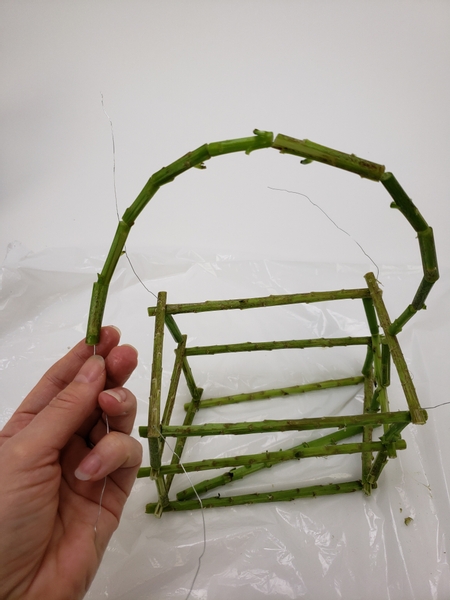
Thread the handle stems through the longest (middle) wire to extend from one side to the other.
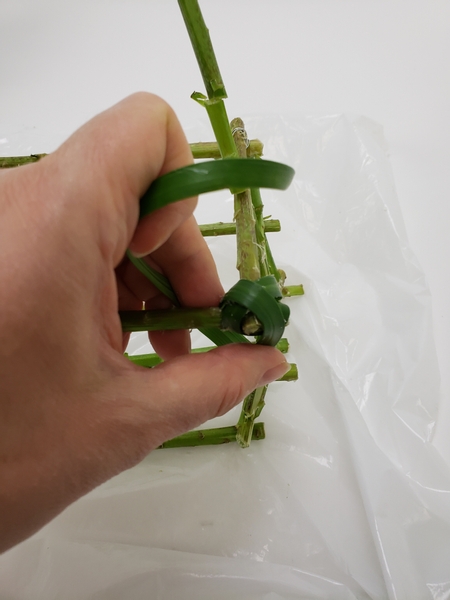
Thread the handle wire through the top side stem. We are now adding the third middle stems to mirror the other side and secure the handle.
Thread in a spacer stem between the two side stems as you did on the other side.
Thread in the last spacer stem on this side between the two side stems.
And twist the wire at the bottom to secure.
See our email for advice on the wires.
Secure the corners with wire to make sure it is sturdy.
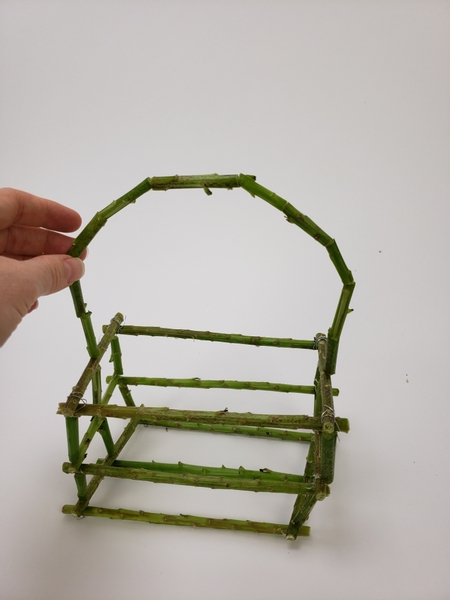
Curve the handle so that it suits your design look.
Add in the grass by first covering any exposed wires...
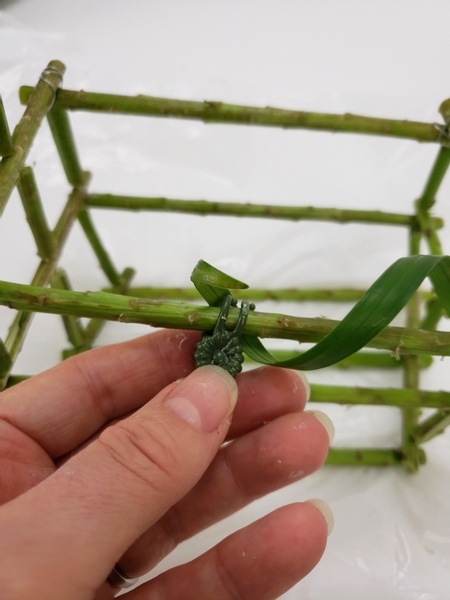
And then curl the grass ends and secure them to the basket.
If you need instructions on how to curl grass see the Tutorial below. You will also find more detailed information about the butterfly clip I use to keep glued things temporarily in place so that I can continue with my design while the glue sets.
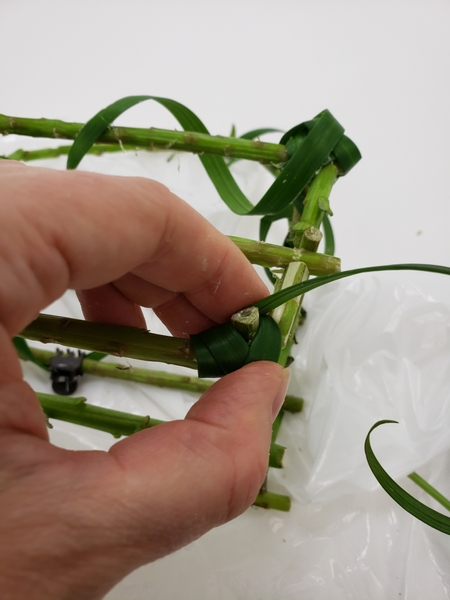
Turn the basket over and add grass from all the corners to inside the basket.
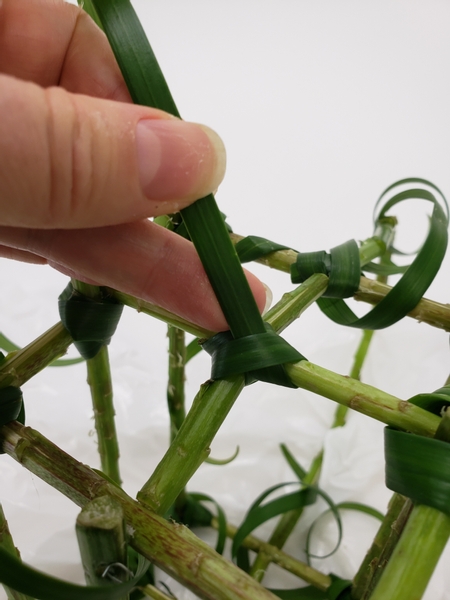
Simply knot the grass around the stems...
... and then curl the ends to twirl around the rest of the stems.
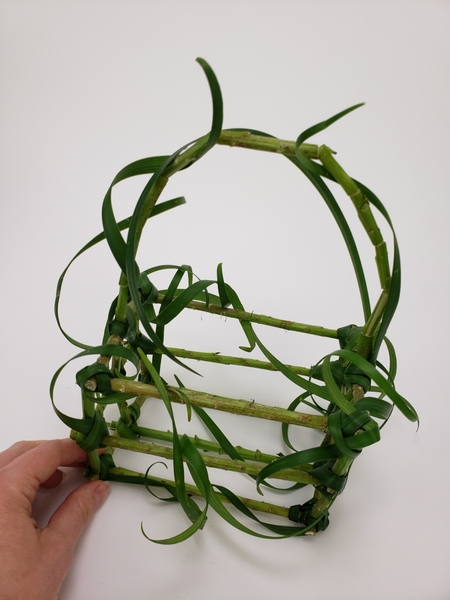
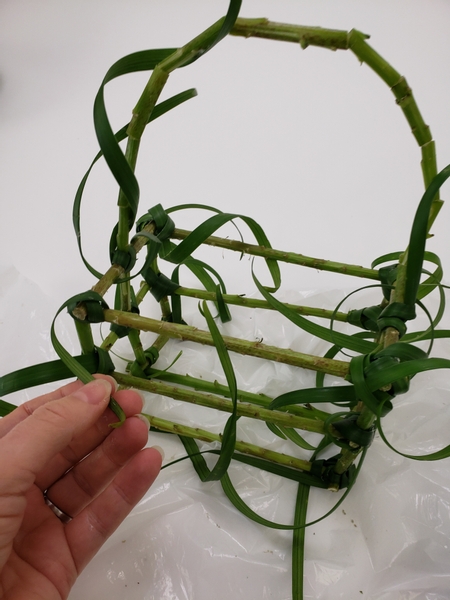
So that you get an overgrown basket ready for you to add flowers...
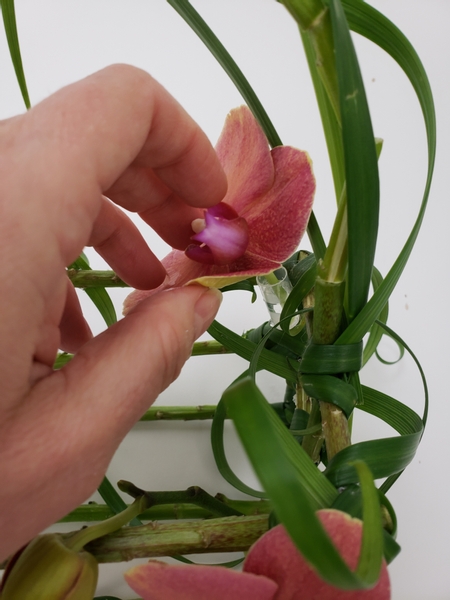
I wanted to display my basket so I added a tiny water source for all the flowers
... but if you want the basket to be carried, for instance by a flower girl, I would suggest you... well... still use a water source. To get you started I have shared my Tutorial for how I make these water tubes from drinking straws below. And then if you are ready to level up: Turn to page 303 of my book for my idea on how I tweak my drinking straw idea so that it is also suitable for body flowers that will not spill the water. I really suggest this technique. It works sooo well!
For more information about my book: The Effortless Floral Craftsman
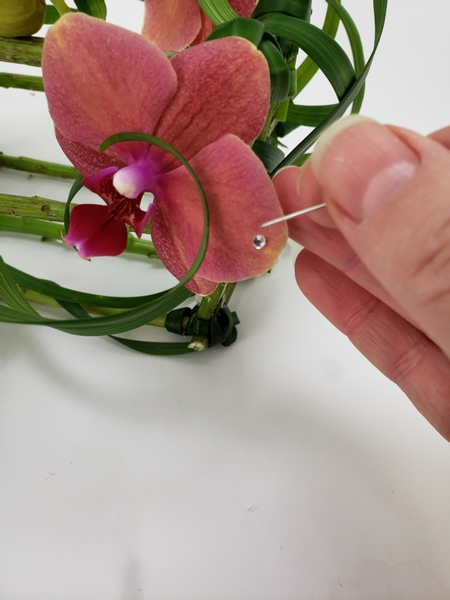
Finish the design with a few sparkling crystals.
See the Tutorial below for detailed instructions on how, and why, I use a pin to place these crystals.
Sign up for my weekly newsletter
Every week I add a new design with related tutorials. Be sure to subscribe to receive an email notification with design inspiration.


