Christine de Beer - effortless floral craftsman
Glued Twig Snippet Wreath
- 3 September 2014
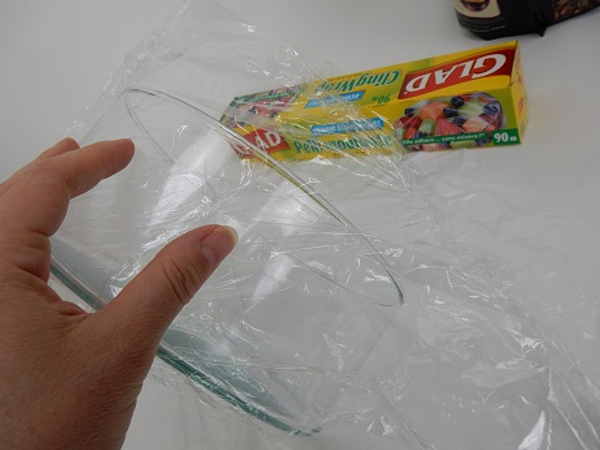
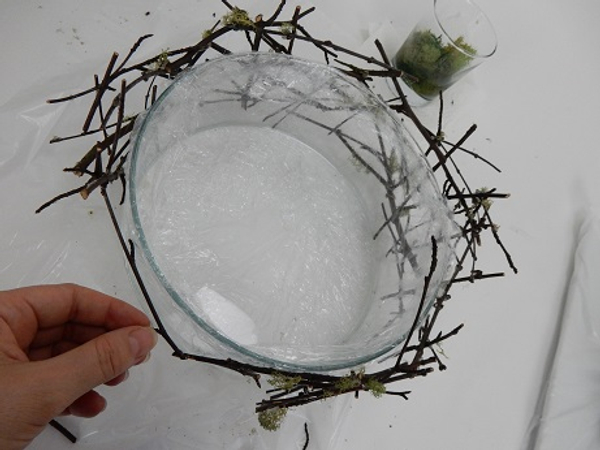
Cover the outside of the glass container with cling film. This makes it easy to remove the wreath and protects the glass from glue and scratches.
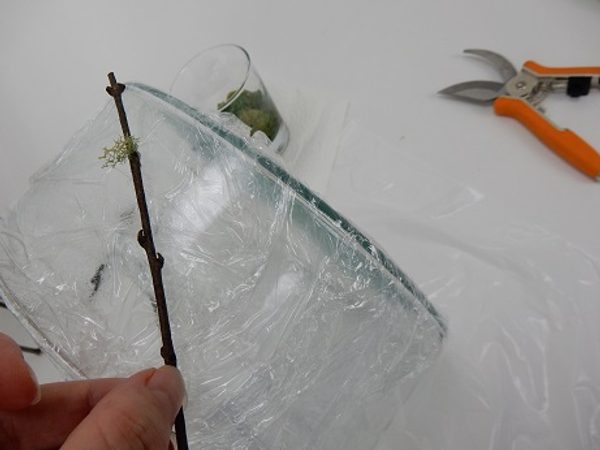
Lay your first twig on the glass container. Glue a small bit of moss to the twig.
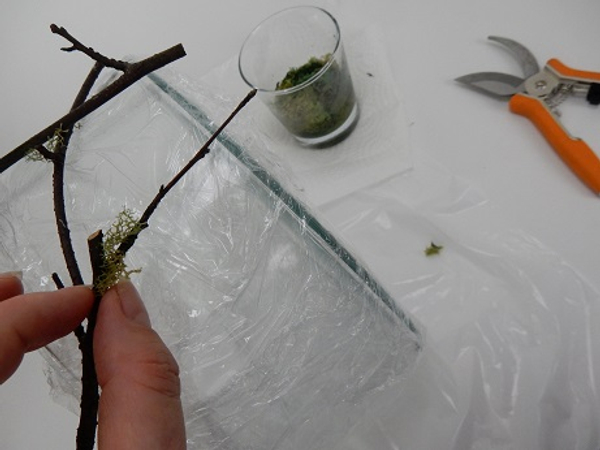
Glue a second twig to the first twig. Try to avoid gluing the twigs to the plastic. Add a small bit of moss.
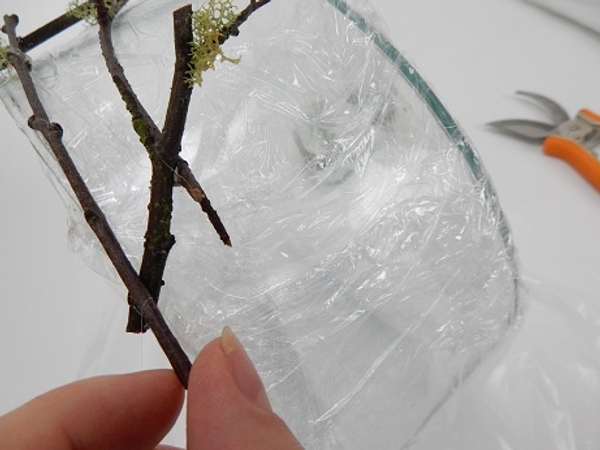
Add another twig. Now you have a stable foundation to build the wreath up. It is very important that each twig has at least 3 connection points. That means that every tiny twig should be attached to another twig at at least 3 places

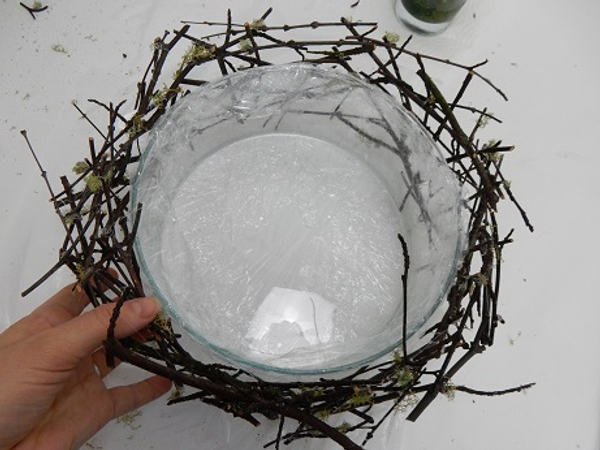
Work your way around the glass container and add twigs. Try to remain true to the circular shape as much as possible.

Add small bits of moss to cover any glue that might show
Connect the twigs all the way around
Once you have a stable glued snippet wreath inspect the connections by wiggling the twigs. Add another twig, again with at least 3 connection points anywhere where it is not completely stable.
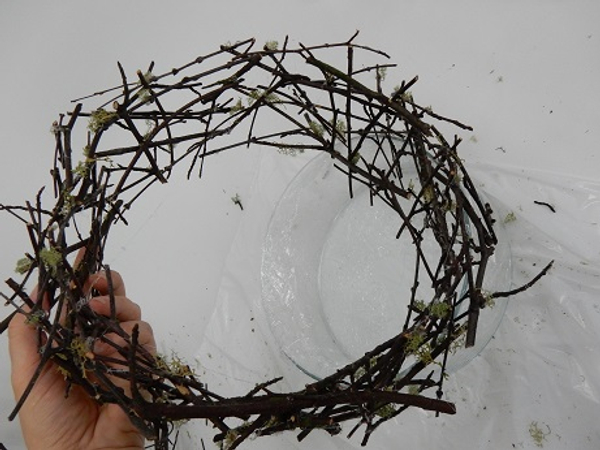
Slip the wreath from the container and inspect the inside for any loose twigs. Again add twigs where needed.

Your twig snippet wreath is now ready to decorate.
Sign up for my weekly newsletter
Every week I add a new design with related tutorials. Be sure to subscribe to receive an email notification with design inspiration.


