Christine de Beer - effortless floral craftsman
Bind Autumn design details and Christmas evergreens around an upturned vase to keep the stem ends hydrated... from Fall to Christmas!
- 29 November 2023
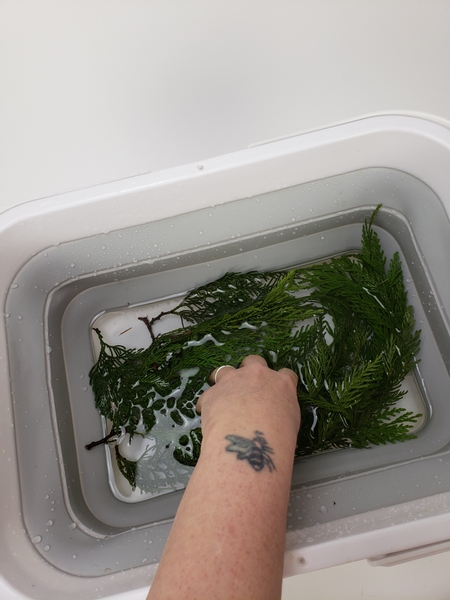
Pre soak your Christmas evergreens in water.
Before bringing your Christmas greenery inside soak them in water for about 24 hours. If it is a huge amount hose it down until it is soaked and set it aside to dry.
You can preserve the greenery by spraying it with pinolene for a non-toxic, non-flamable seal but I prefer to rather give it a small supply of water so that it remains hydrated... naturally.
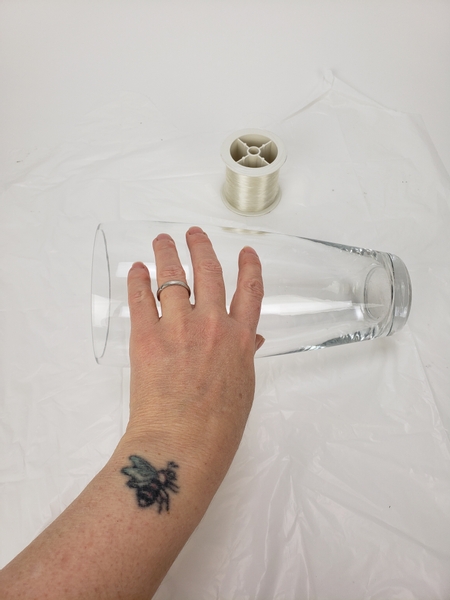
Set a tapered vase sideways on your working surface.
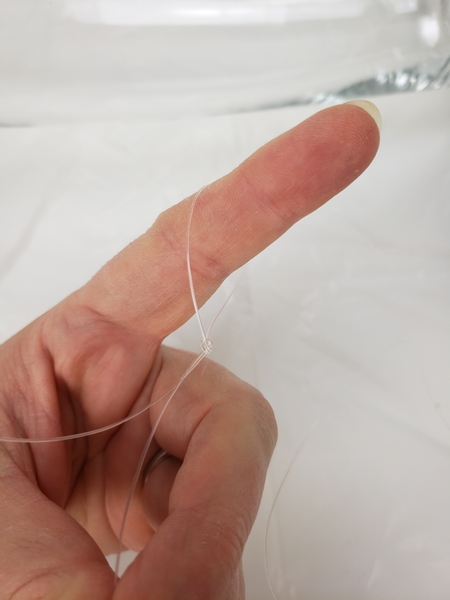
Fold fishing line and tie a overhand knot to make a loop.
If you would prefer not to use fishing line have a look at page 44 of my book where I show you how to make all natural rope yourself. Also I show you the knots that I use most often in my work. For more information about my book: The Effortless Floral Craftsman
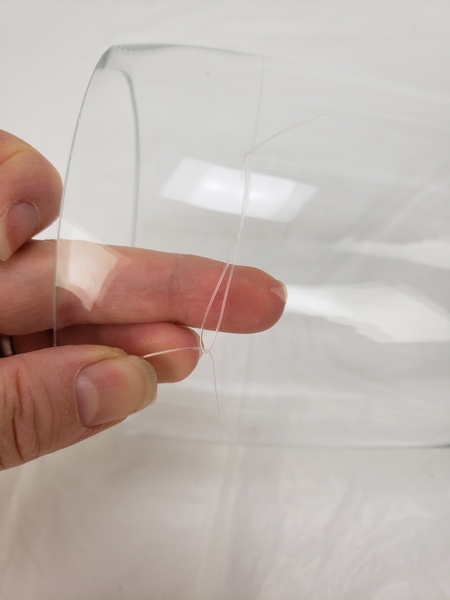
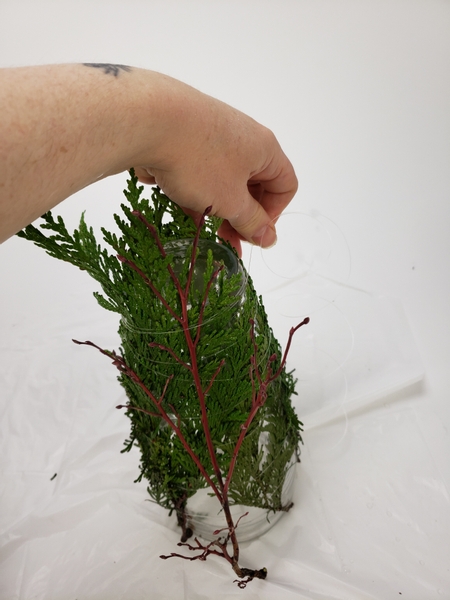
Wrap the line around your vase and through the loop so that you can start binding the greenery to the vase.
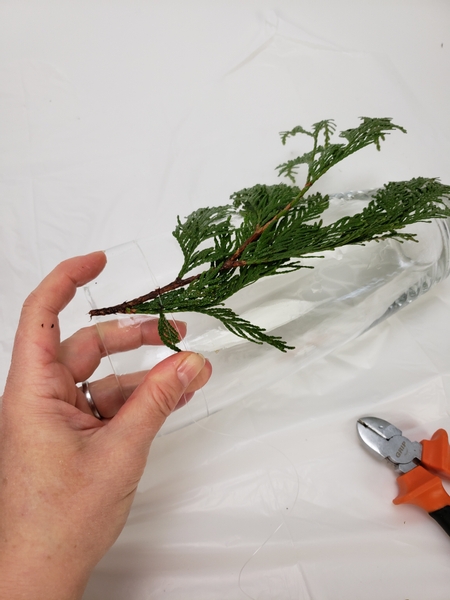
Place the greenery under the line, give the stem a fresh cut so that it is inline with the vase edge and pull the line tight.
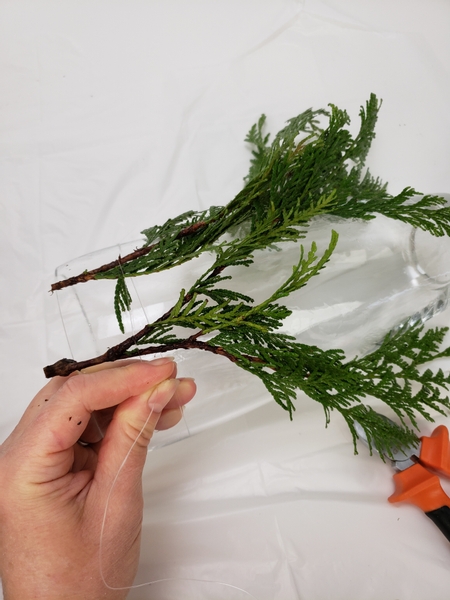
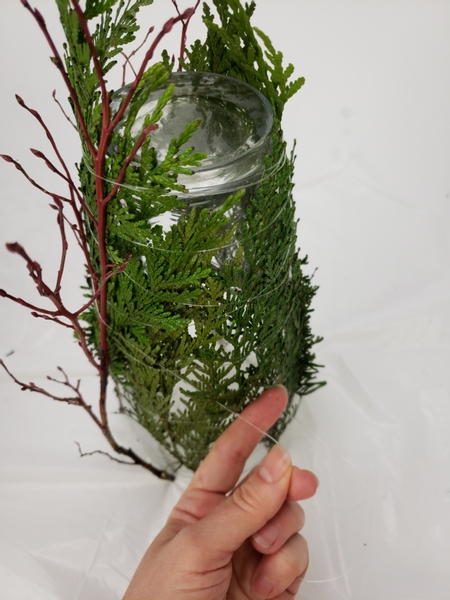
Roll the vase and add in the next garland of greenery.
Move all the way around the vase and add greenery and binding it with the line.
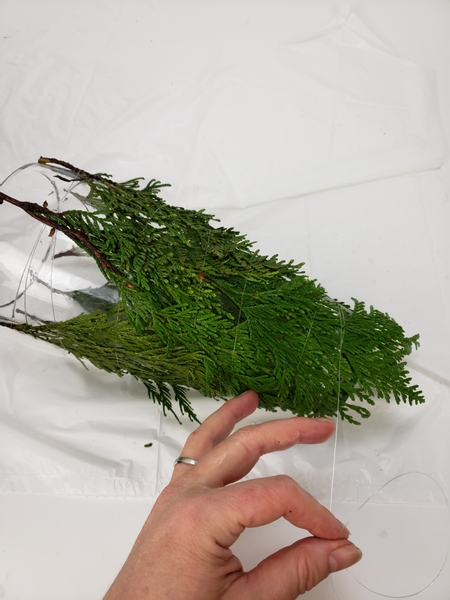
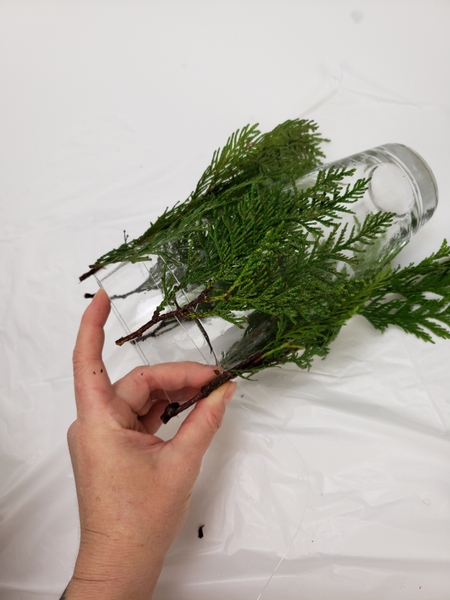
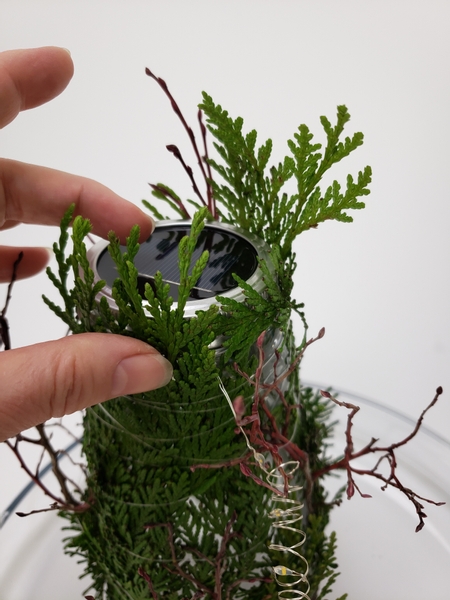
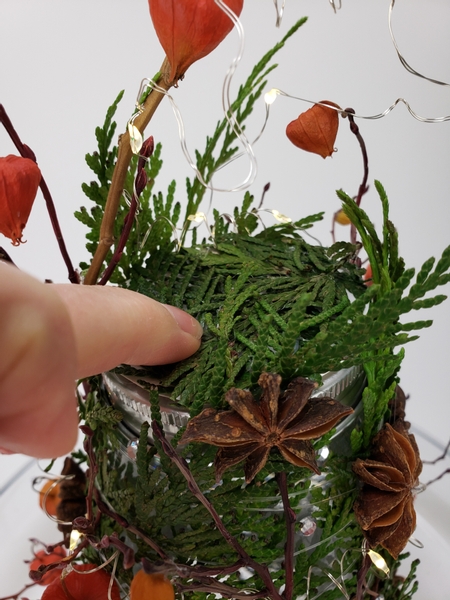
Work your way up to the tapered bottom of the vase and bind the greenery to sit tightly next to the glass.
Design note: leave gaps every here and there so that you still see the glass... or if you prefer add a few layers. Do whatever you like.
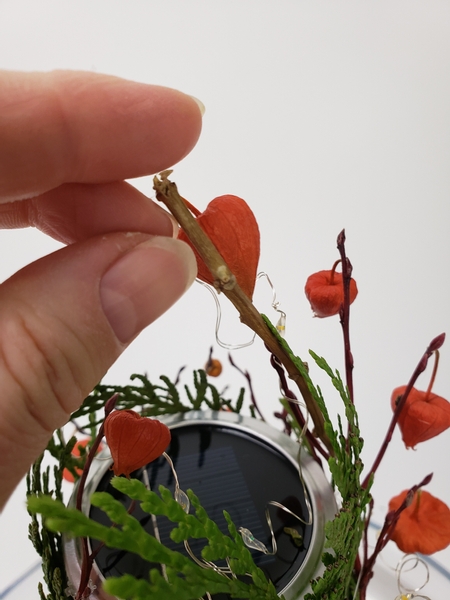
Bind in a few winter twigs...
... leaving a few twigs to extend away from the vase.
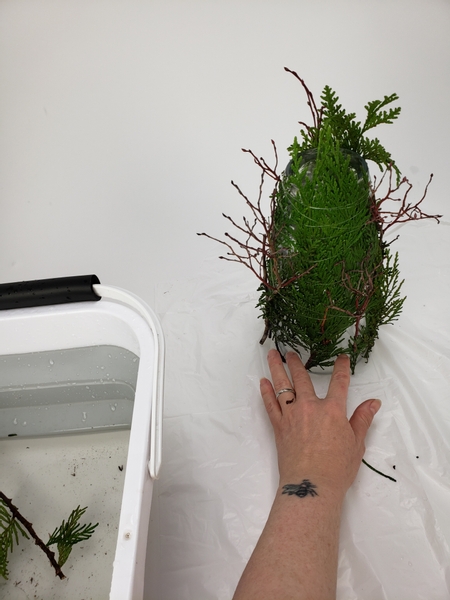
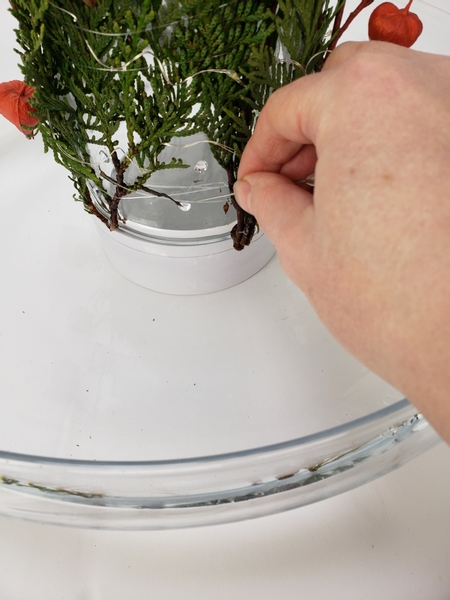
Set the vase opening down on your working surface and make sure all the stems are as long (or slightly longer) as the edge of the container. You can pull the stems down to adjust.
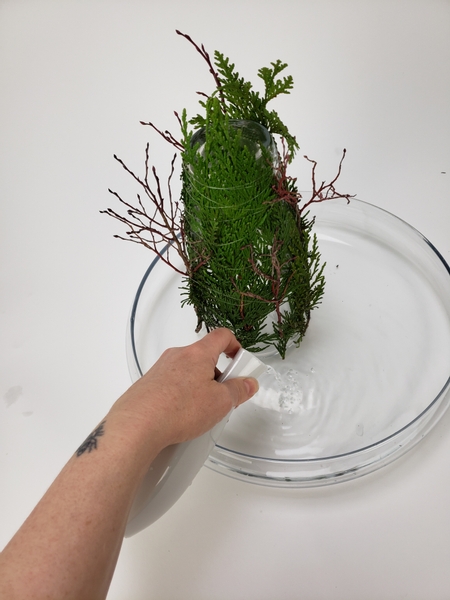
Place the tapered vase in a display container and fill it with water.
Design note: You can adjust the look of the water to make it more seasonal with every water change. Add twig snippets for autumn or artificial snowflakes or cracked ice cellophane as the temperature cools outside. You can also float some fresh flowers... I have Tutorial for those below to get you inspired.
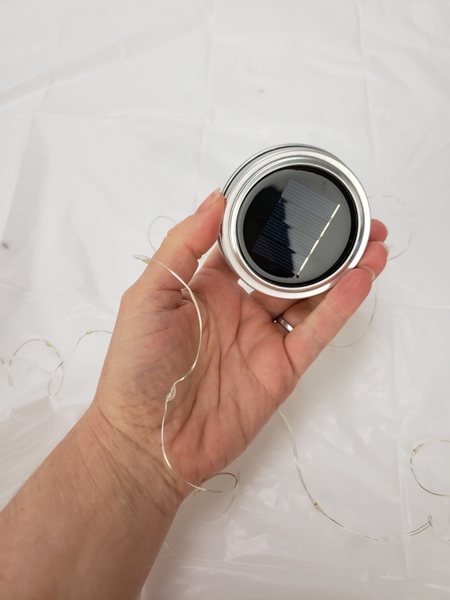
Test (and recharge) the solar lights before adding them in your design...
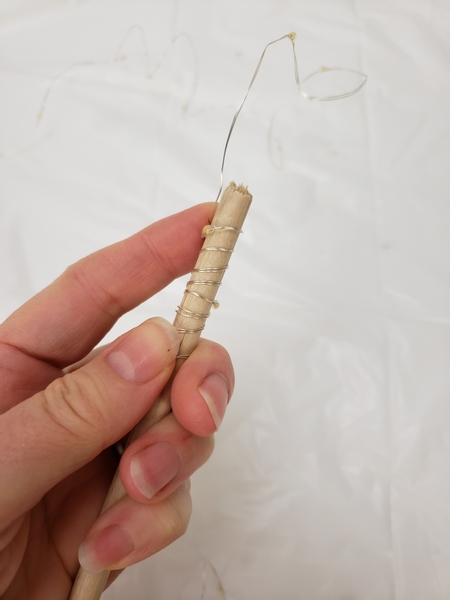
Roll the lights around a dowel stick to create fairy light tendrils.
See the Tutorial below for more detailed instructions.
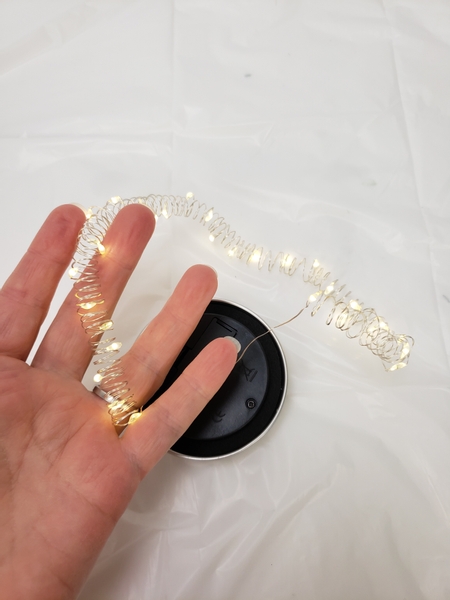
Slip the lights from the stick and open the tendril coils slightly at places before wrapping it around the vase...
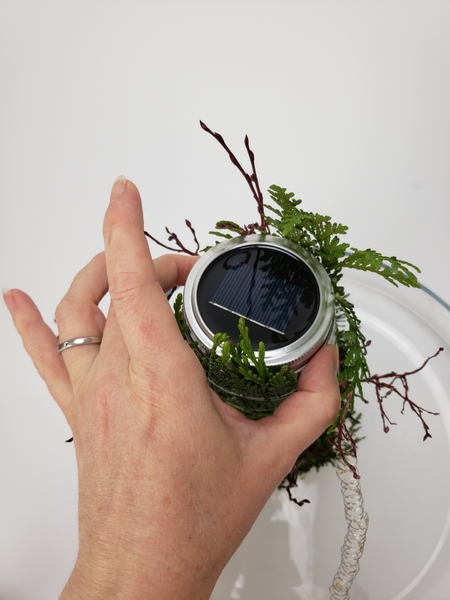
Place the solar panel on top of the bottom of the tapered vase.
So that the sides are mostly concealed by the evergreens.
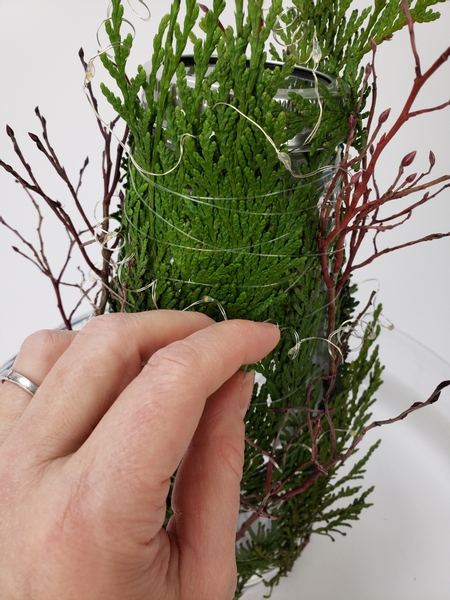
And wind the lights around the tapered vase from the top to the bottom.
Extend the coil every here and there depending on the look you want to create.
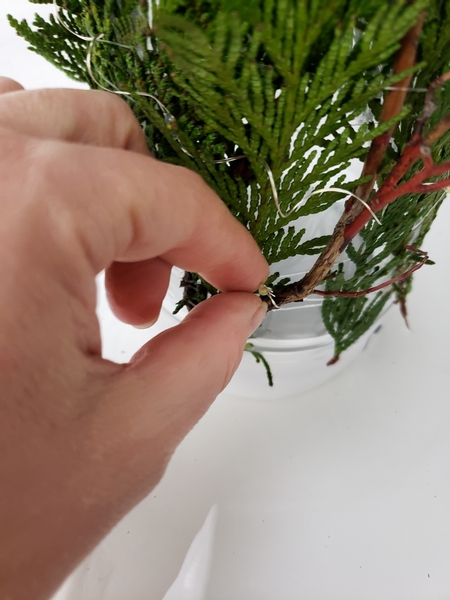
Twist the end of the solar light around a twig to secure it in place.
Design note: I love the idea of fairy light tendrils for transitional designs. It fits right in with the almost Christmas but with a Fall touch theme.
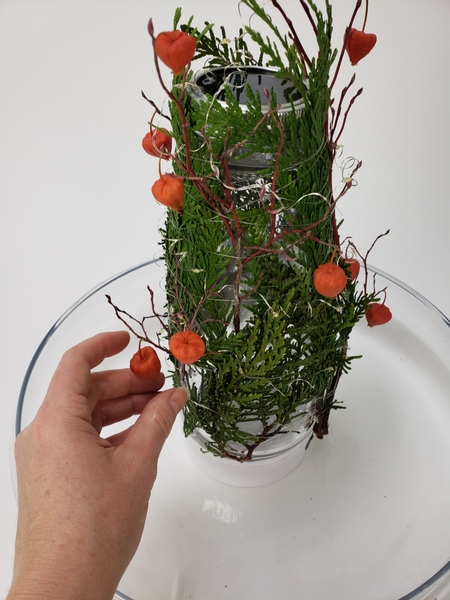
Glue in a few Chinese lanterns to dangle from the twigs.
You can even add a few lanterns on stems if you want to add height to the top.
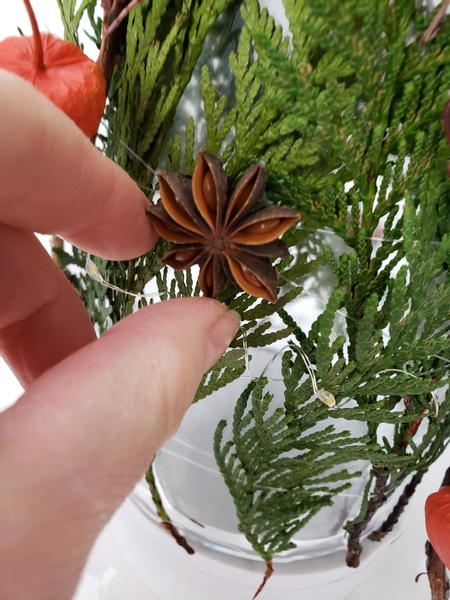
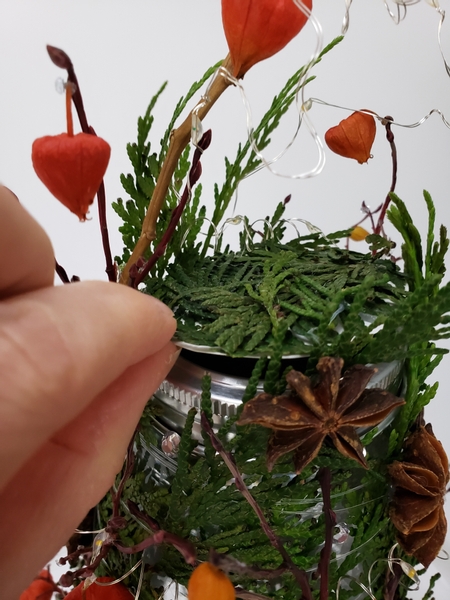
Glue in some star aniseeds to hide the lines at places...
I am also discussing how to conceal the lines somewhat in our email for this week. You can sign up below the post if you want to receive my notification email every Wednesday morning (Vancouver time) the moment the design is ready. Every week I give you a bit more information about something that I have discovered or find interesting about the design so that you can have the information before viewing the design. You are welcome to reply to the email if you have a question or comment... or to say Hi. I would love to hear from you. The sign up is below this post.
Add large dew drop crystals to sit on the glass in the gaps between the evergreens... looking like the sparkle is simply hovering between the branches.
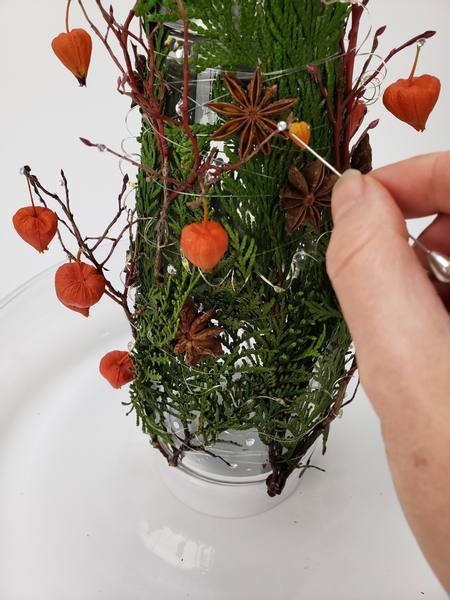
And tiny dew drop crystals to the winter twigs all around the tapered vase.
There is a more detailed Tutorial below if you want to see how and why I use a pin to add the crystals.
Oh!!! and before I forget. As a final touch I made a small lid to fit over the solar panel... so that you can switch the lights on in day time.
I have added a close up picture in our email.
Simply tap down the lid to make it dark and switch on the solar lights. Open it up again to recharge. I found it charges perfectly in a bright room. so no need for direct sunshine.
Replace the water when needed by lifting out the vase... and enjoy from Fall all the way to Christmas.
Sign up for my weekly newsletter
Every week I add a new design with related tutorials. Be sure to subscribe to receive an email notification with design inspiration.


 split tube")


