Christine de Beer - effortless floral craftsman
Bark pod for growing a Pearl Oyster mushroom mini farm
- 19 August 2015
I used a mini farm kit from Back To The Roots to grow my Pearl Oyster mushrooms.
Quite simply and conveniently you:
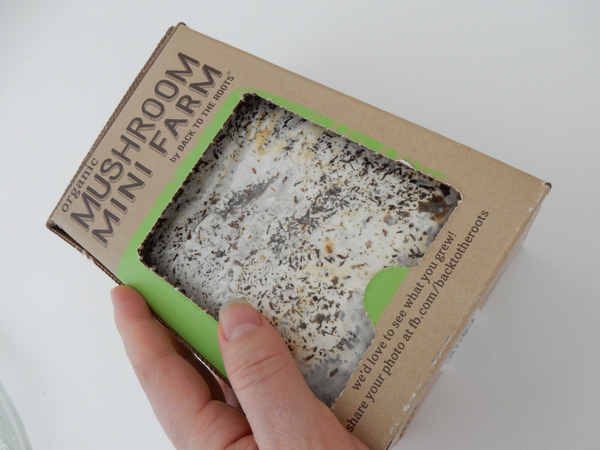
Remove the cardboard front
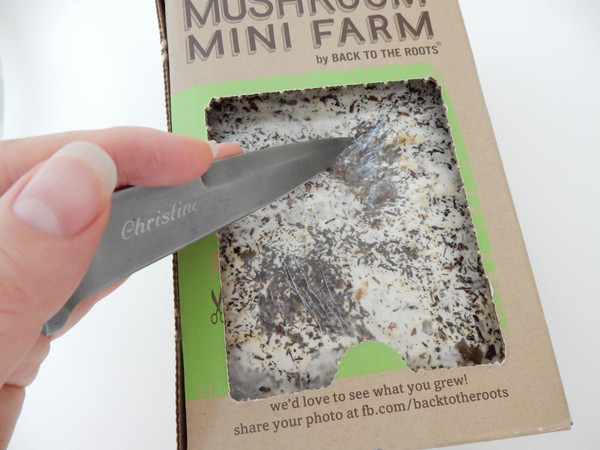
Cut a cross in the plastic, scraping the surface of the mycelium ( or white stuff) as you go
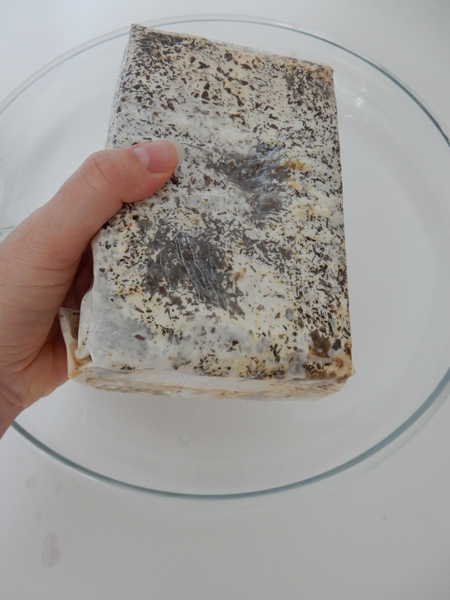
Remove the block from the cardboard and soak it in water
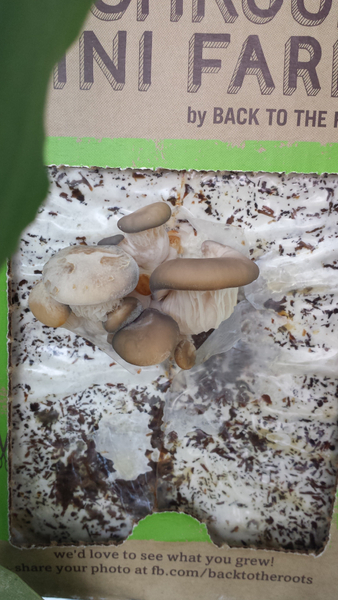
In just two weeks the small pinheads appear. Keep the mushrooms hydrated
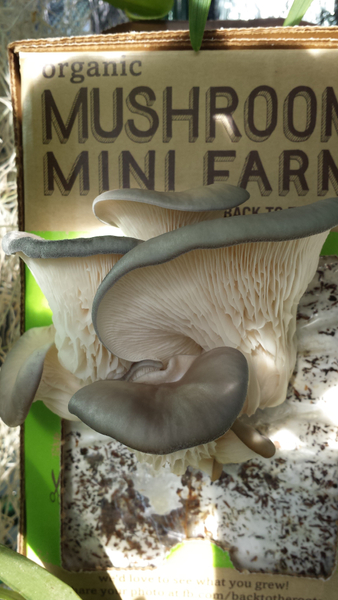
The Pearl Oyster Mushrooms double in size every day.
For the pod:
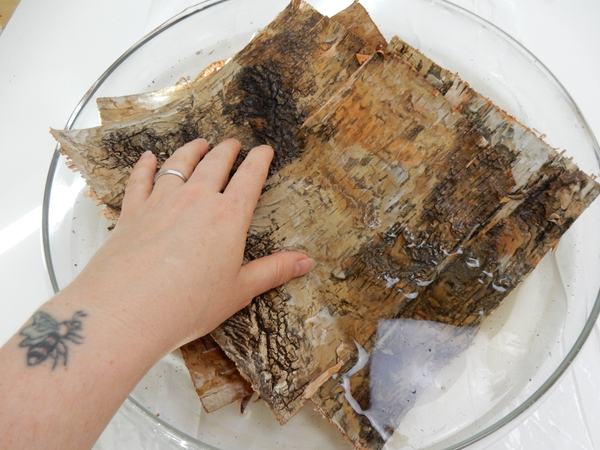
Soak bark in warm water
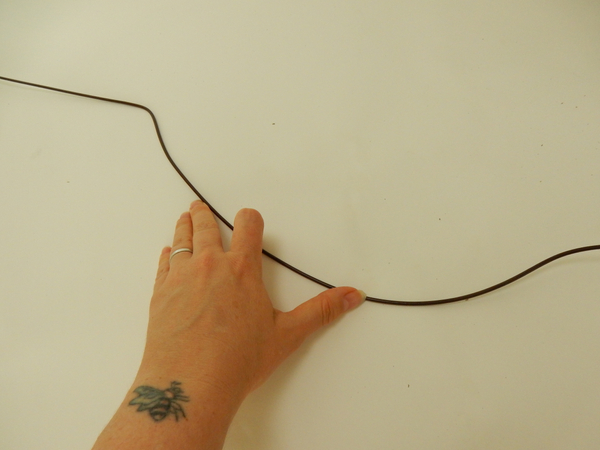
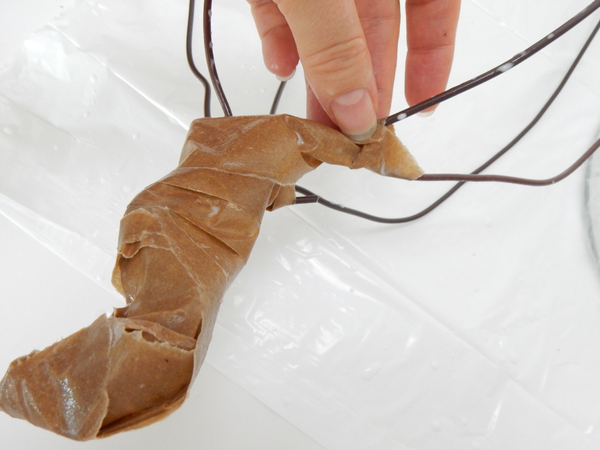
Start to shape the frame of the pod with sturdy wire.
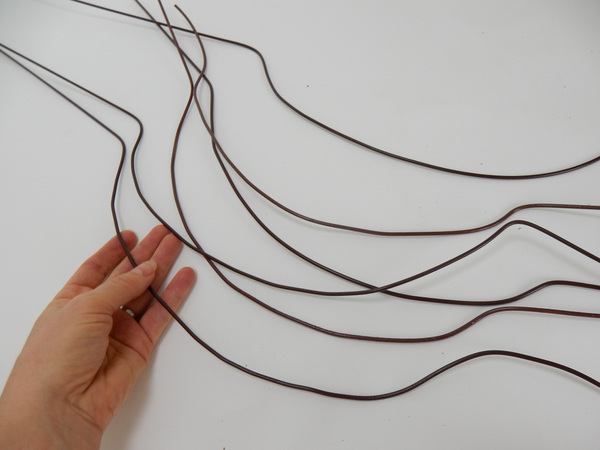
I shaped six wires to frame the pod
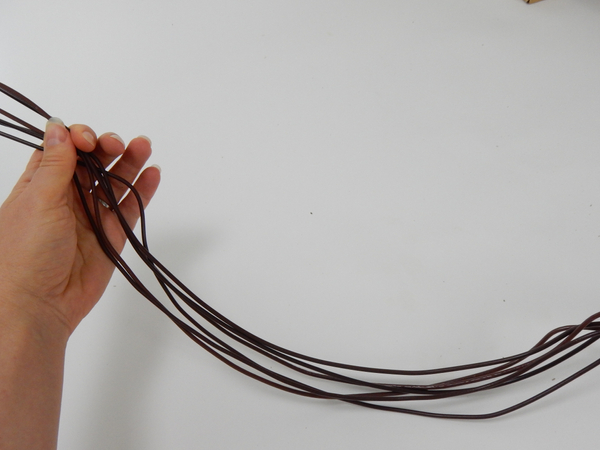
Bundle up the wires
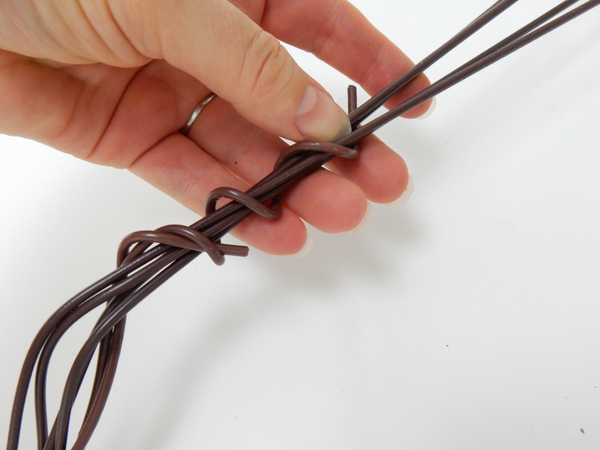
Twist the bottom ends together
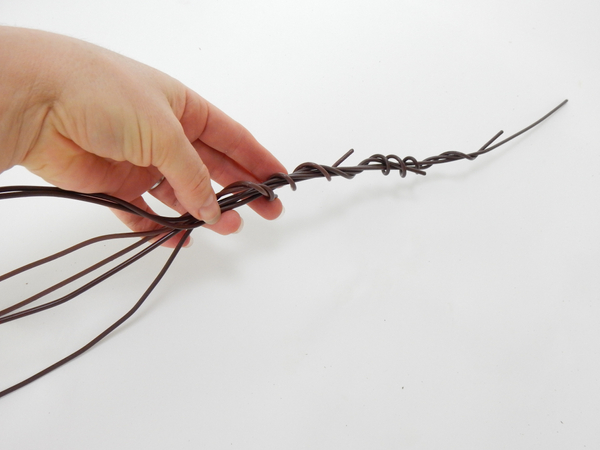
Twist the top ends together
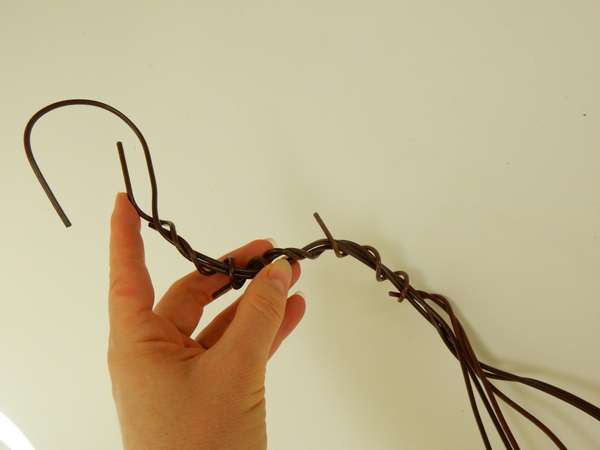
Curve the top wire to give it a hook
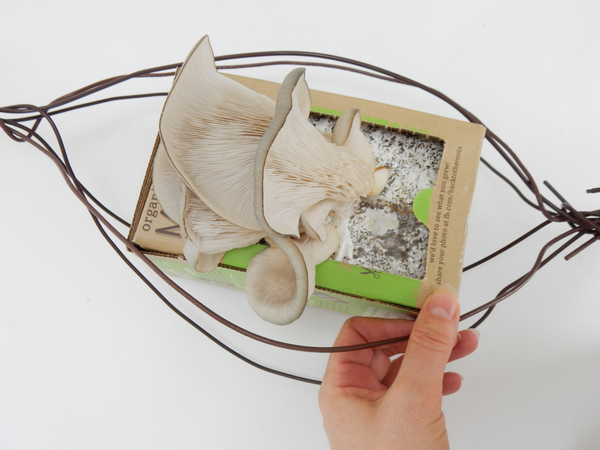
Shape the middle part of the wire so that the kit box fit snugly
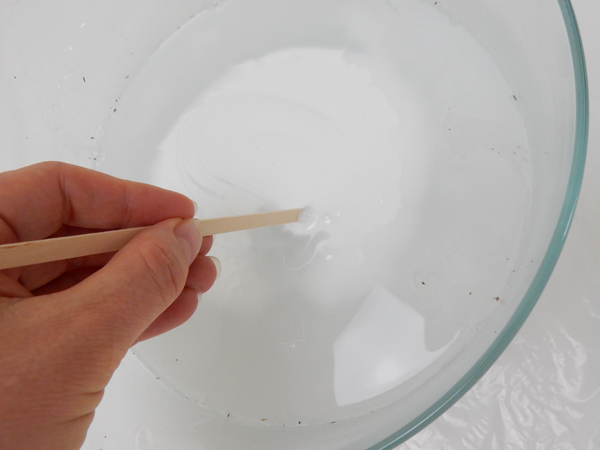
Thin wood glue with warm water
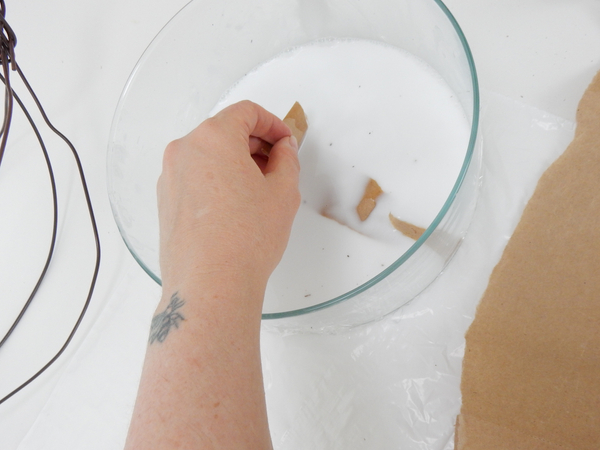
Soak some ripped up brown paper in the glue
For a more detailed look at Papier Mache there is a Tutorial below
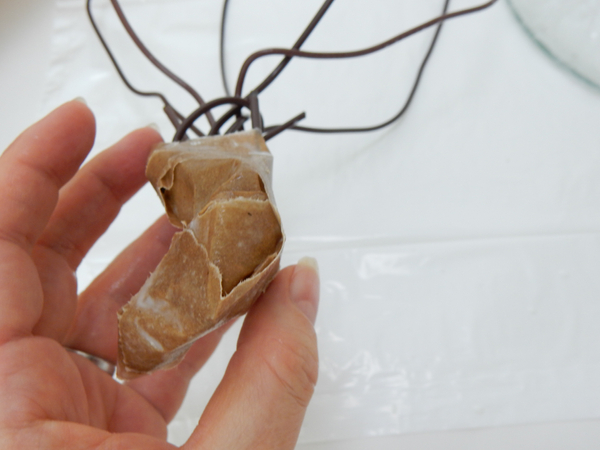
Cover the frame with glue soaked paper...
... following the wire shape...
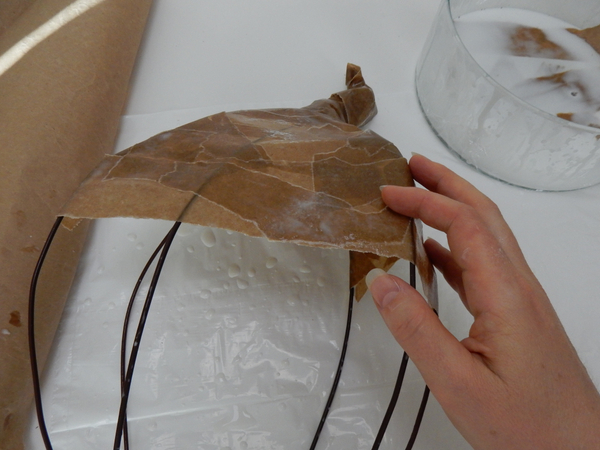
... aqnd smoothing the paste down as you go along
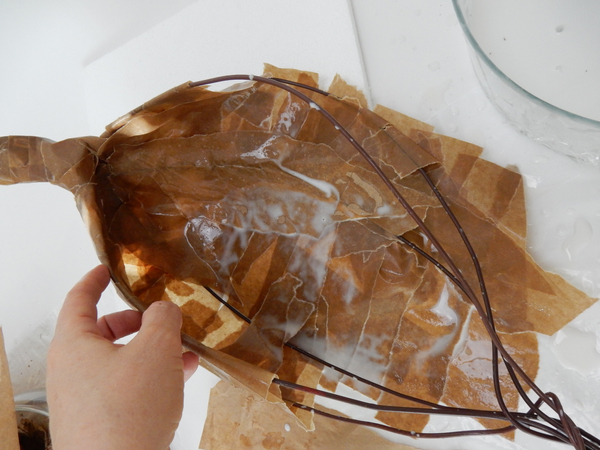
Add a second layer to cover the wire inside the frame
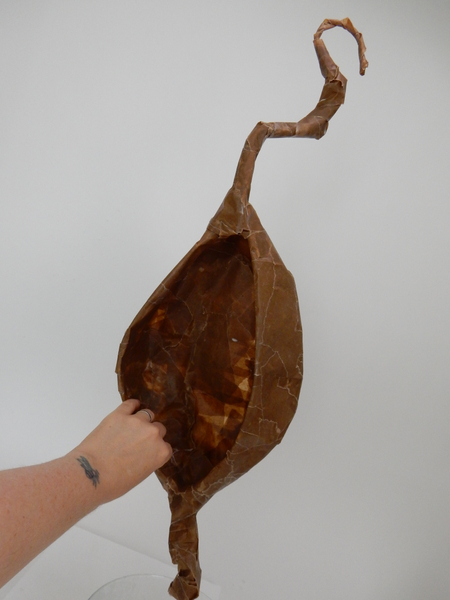
Hang the paper pod shape to dry
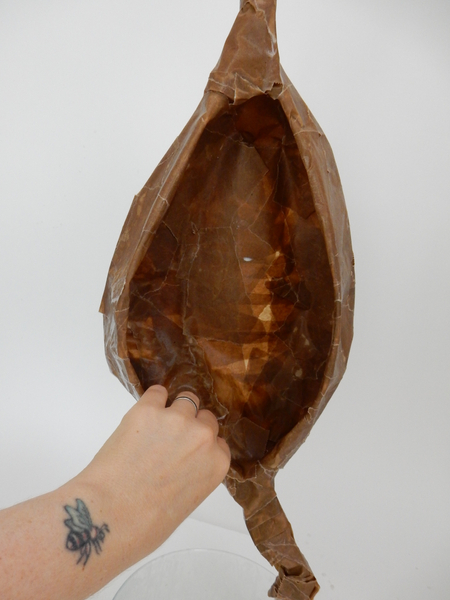
Smooth down the paper to make sure it dries flat.
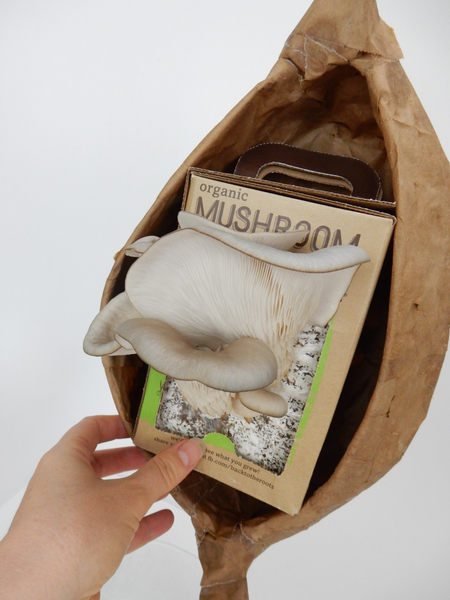
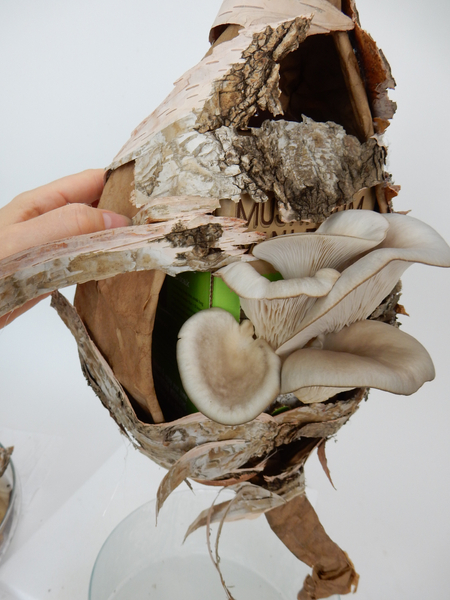
Fit the kit into the pod
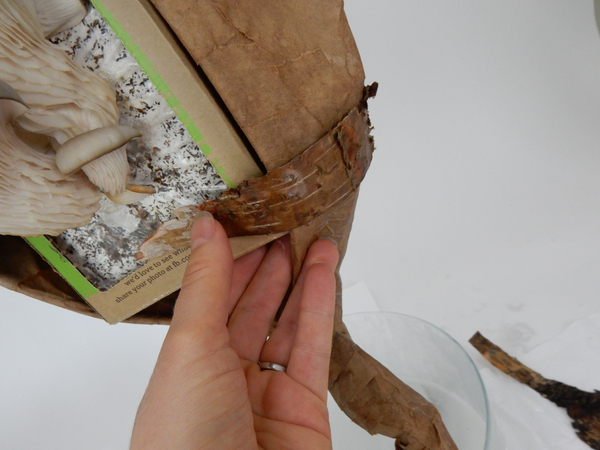
Cover the box and the paper with ripped pieces of bark
Carefully placing the bark close to the mushrooms
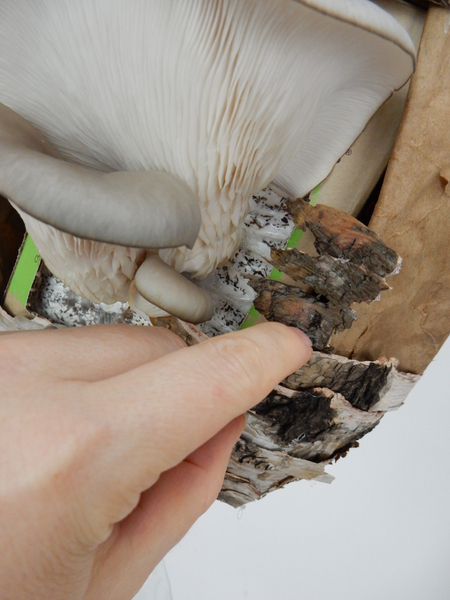
Adding smaller pieces to just below the mushrooms
And larger stripe to wrap all the way around.
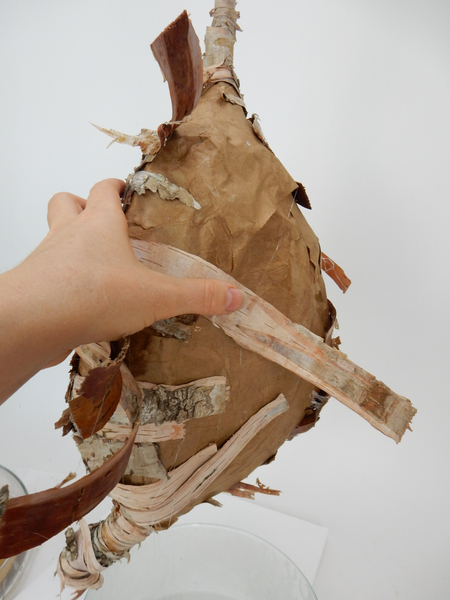
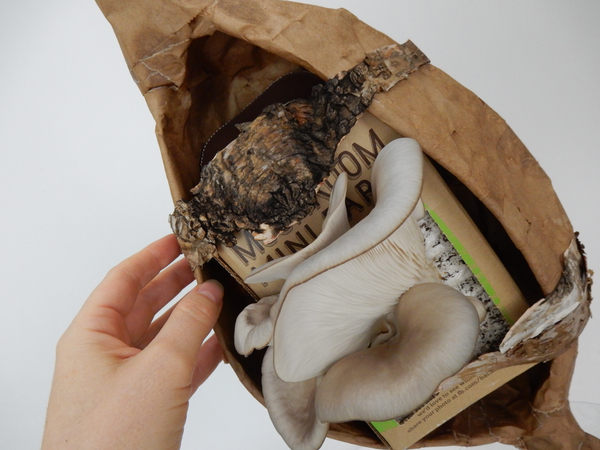
To cover the back of the pod
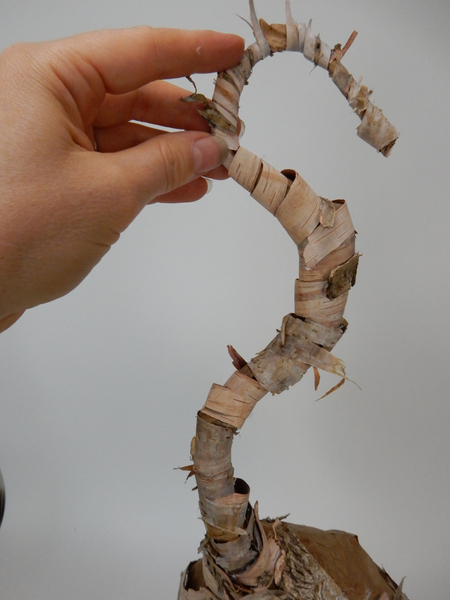
Wrap the hook part of the pod with thinner strips
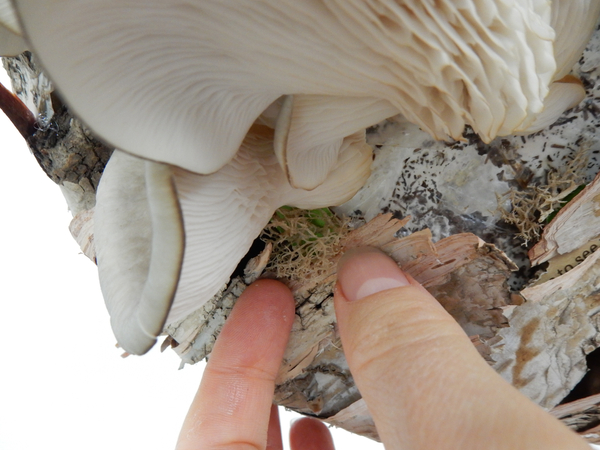
Do not cover the growth medium. The mushrooms need to remain hydrated. Glue in bits of moss that will soak up the water and cover the packaging of the kit so that the design looks natural
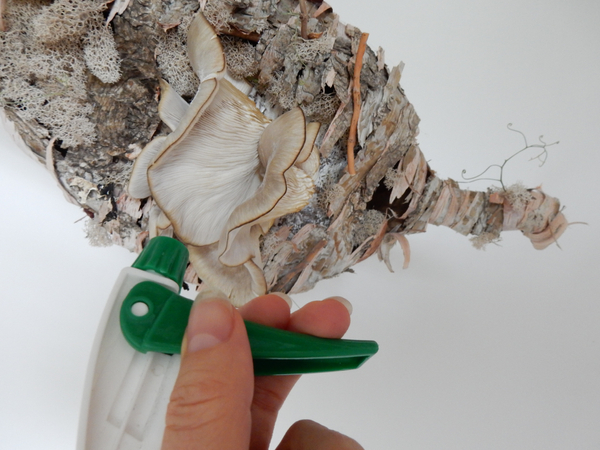
Spray the mushrooms daily with water to keep it hydrated.
Sign up for my weekly newsletter
Every week I add a new design with related tutorials. Be sure to subscribe to receive an email notification with design inspiration.


 Cotton Christmas")
