Christine de Beer - effortless floral craftsman
Crafting a Corny Corn Husk Corn Armature
- 22 September 2021
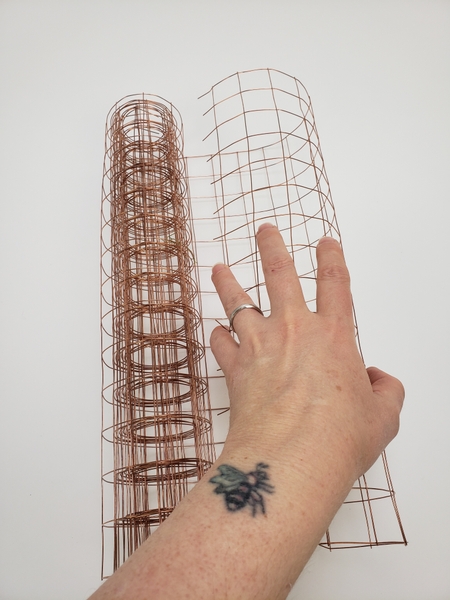
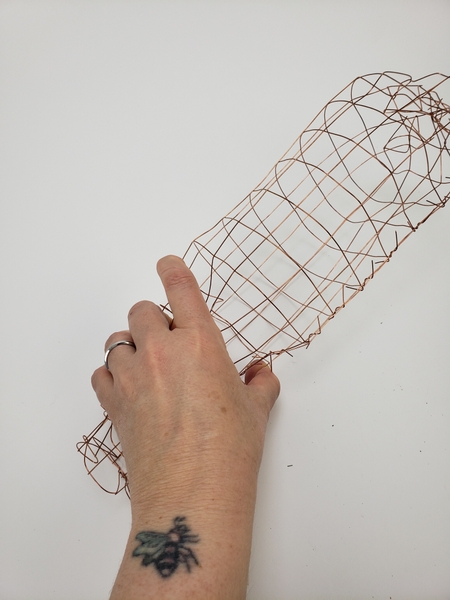
Measure out the wire mesh to the size of the corn armature you require.
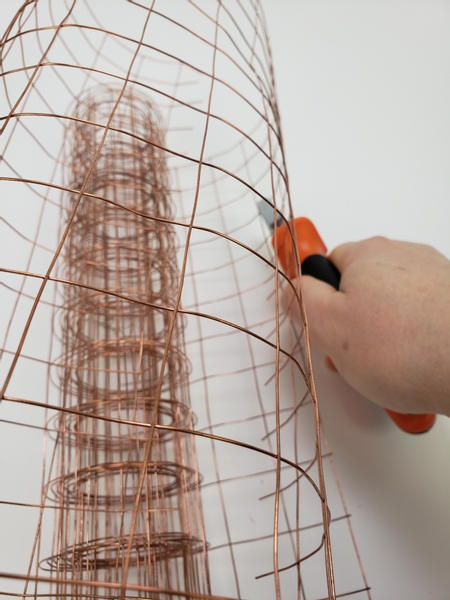
Cut the horizontal wire close to the vertical wires to give you a open wire edge to secure the armature with
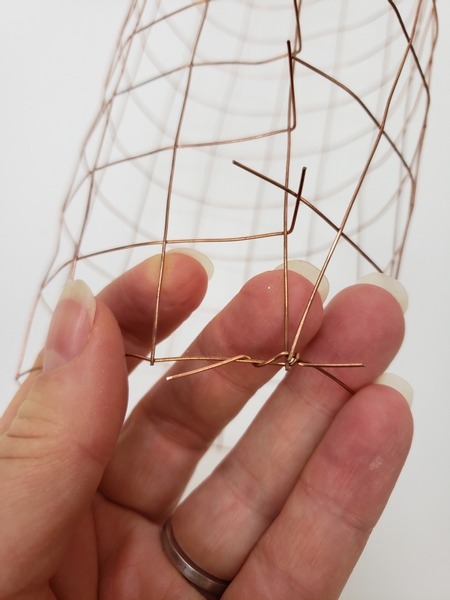
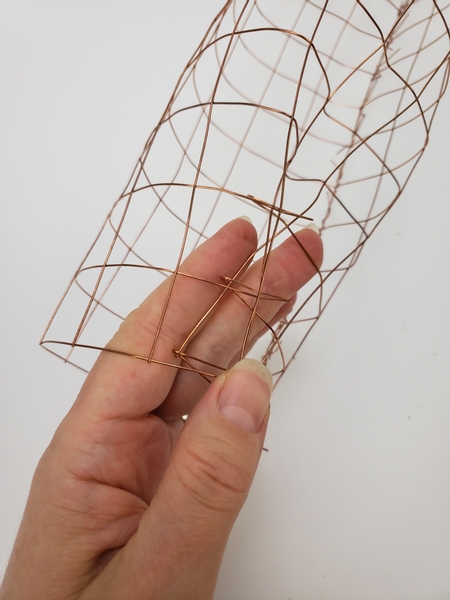
Twist the wires together to secure.
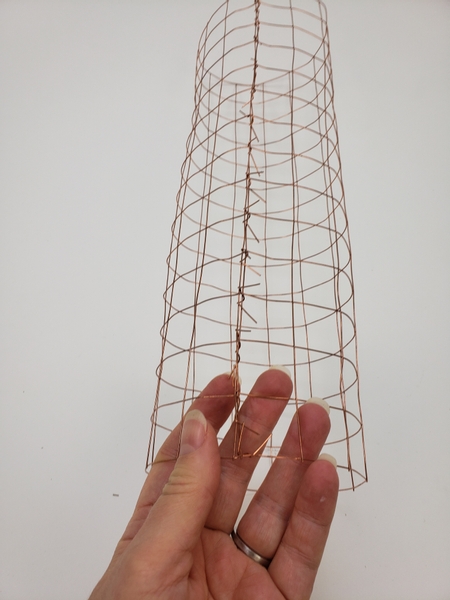
Twist all the way down the mesh to craft a tube of wire.
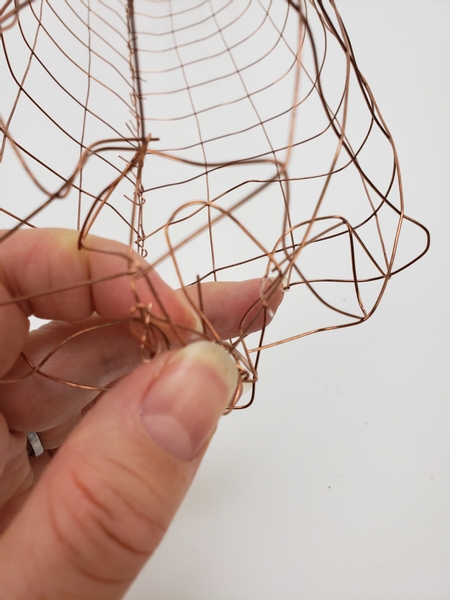
Fold the wires into the one end of the tube... sort of in the shape of the bottom of a soda bottle.
Fold in the other end to shape a cone.
Secure the shape with the wire ends.
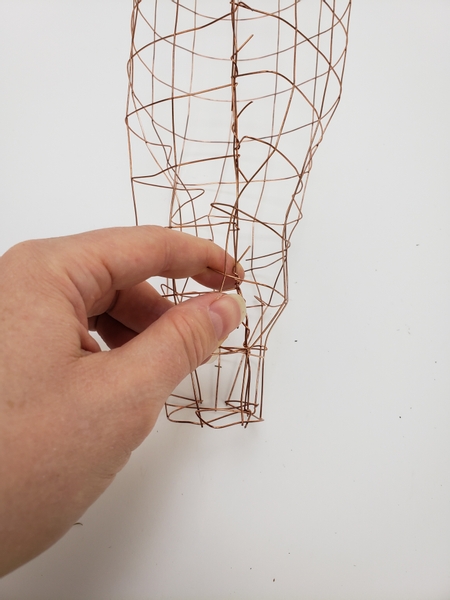
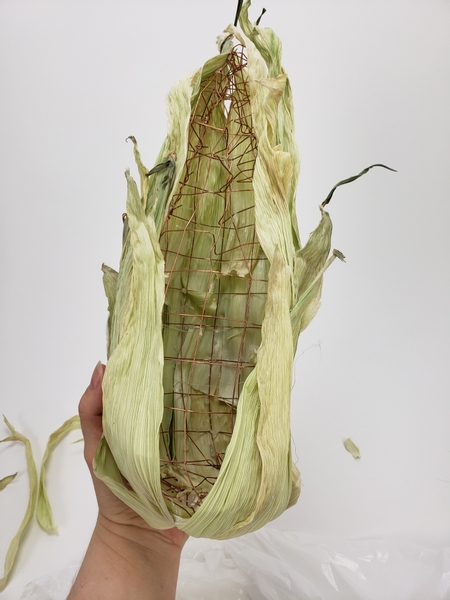
Pinch the wire shape to shape it into a giant ear of corn.
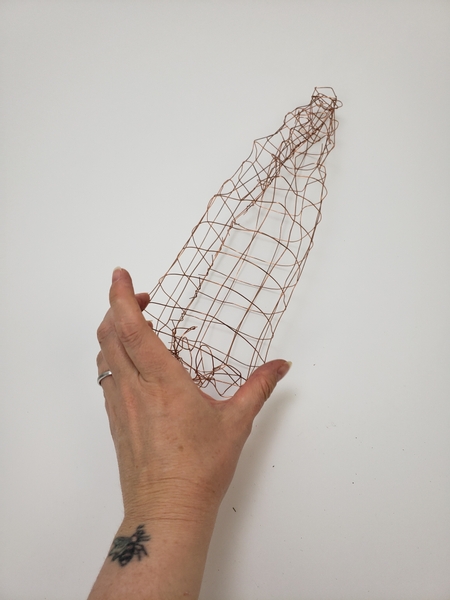
Wire ear of corn ready to design with...
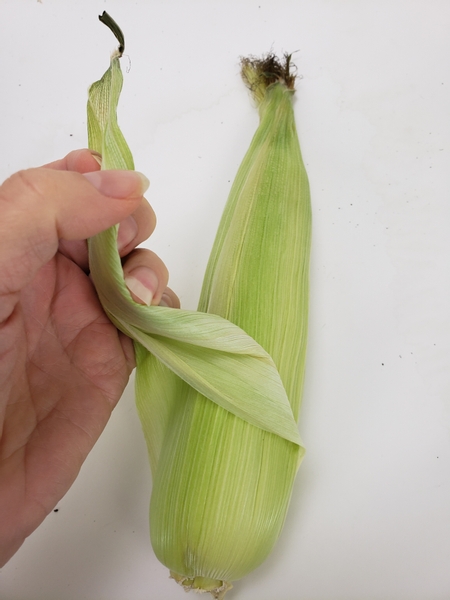
Remove the corn husks (the outer covering) of 4 ears of corn. You would of course need more... or less depending on the size of your armature but for mine- I used 4.
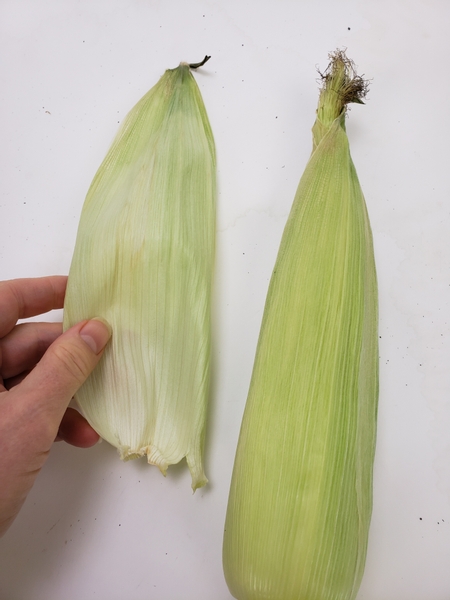
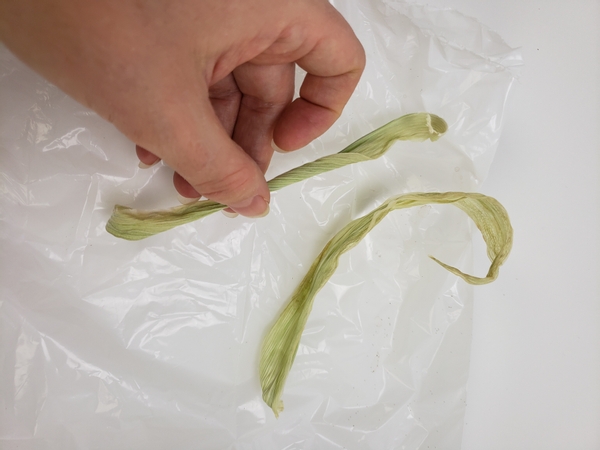
Set the whole husk aside to dry.
Corn husks can be sun, air or oven dried. I let mine air dry because I wanted it to shrivel up to give the the design it's natural curls. You can also soak the husks in water to make them more pliable once dried.
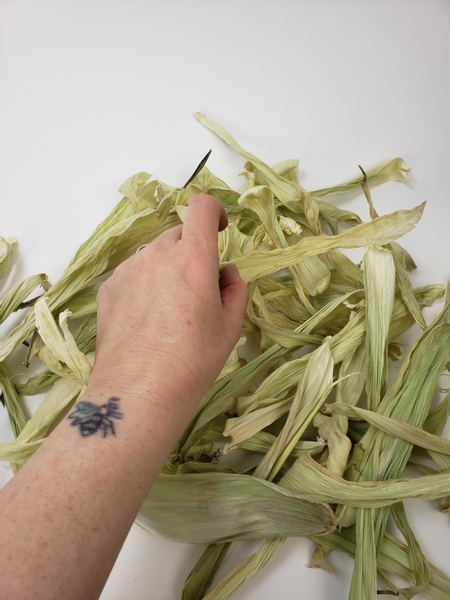
Once dry inspect your crop.
Set aside the prettiest husks to add as decorative interest right at the end.
Make another pile of the intact largest husks to cover the back and the stem ends and the last pile is for the left overs that are slightly damaged to be used as a first layer... or not at all.
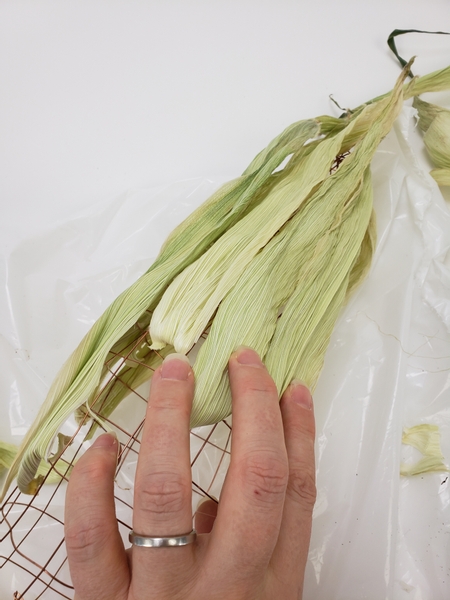
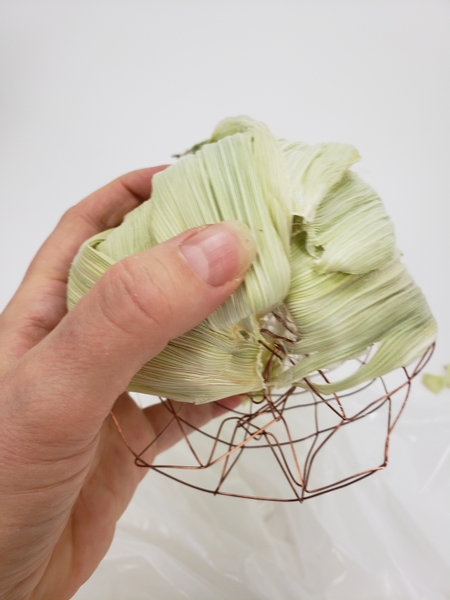
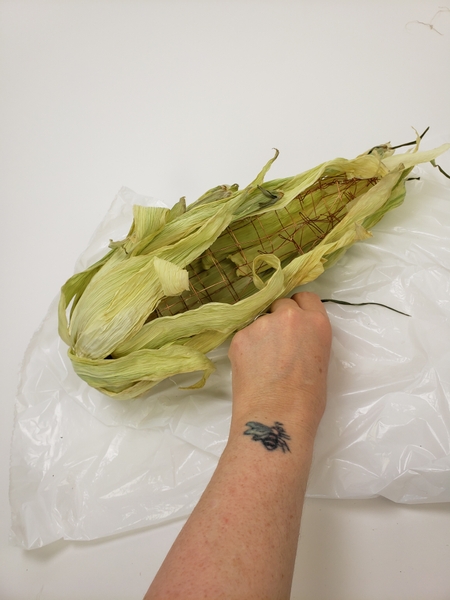
Hook the stem end over the wire and glue the husk to the wire armature.
Take care not to use too much hot glue because the heat might cause the colour of the husk to change. I wanted to explain a bit more on how I place the glue so that the husks are secured to the wire so I explained more in our weekly email. Make sure you are signed up to receive your once a week email from me. The sign up is below this post.
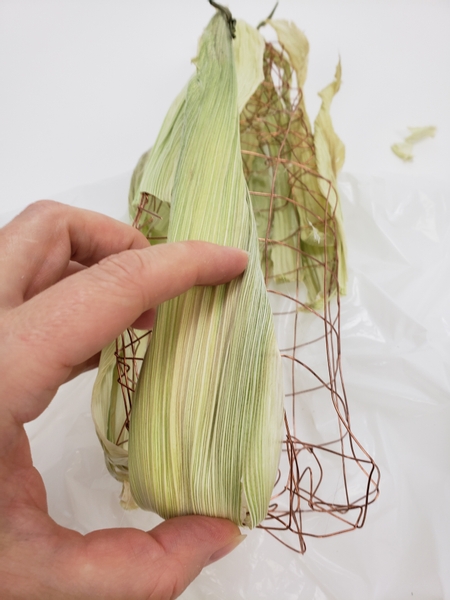
Start at the tip and stack the husks to slightly overlap moving down to the stem end.
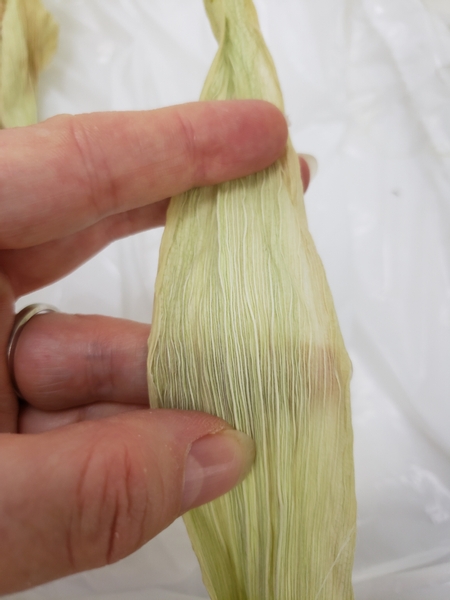
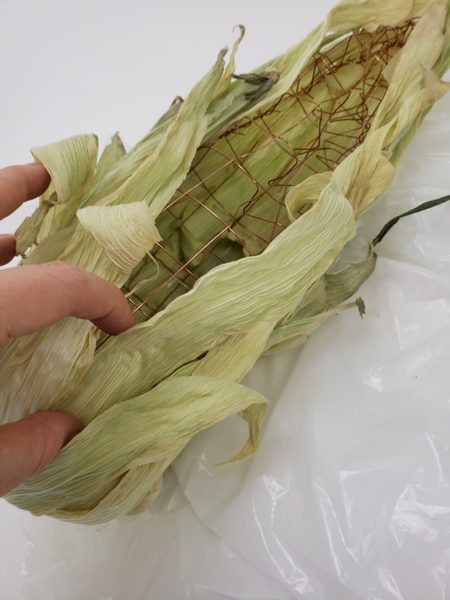
Smooth the nicest stem end husk open so that it creates a nice coverage...
And cover the bottom stem end so that the husks curve out from the middle and over to the sides.
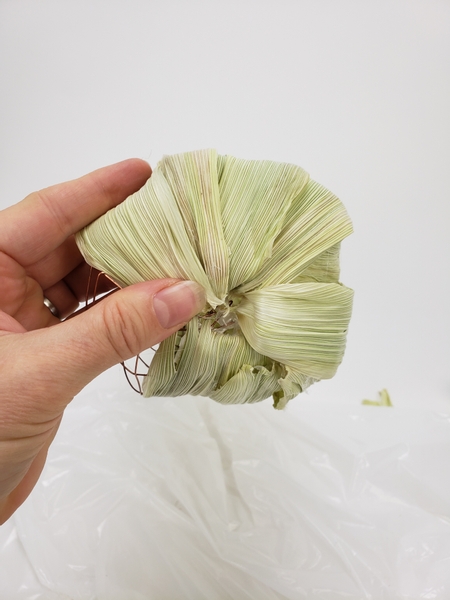
I loved how this turned out! Slightly overlap each husk so that the natural curve cradle the one next to it.
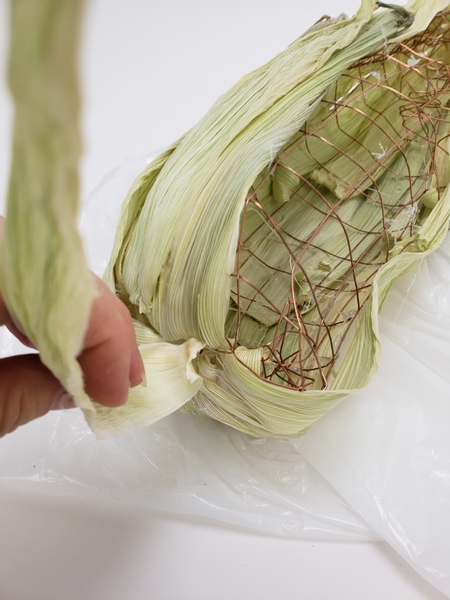
Continue creating a few layers of husk to completely cover the bottom stem part.
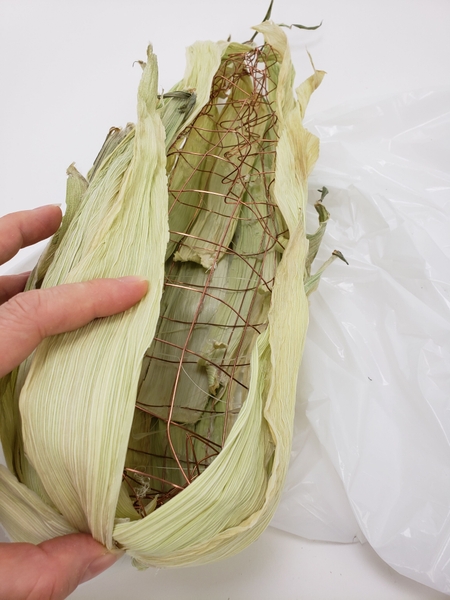
Leaving a gap in the front for the flowers.
Corn armature ready to design with.
Add in a few of the decorative curled husks.
Place the corn armature on a flat working surface and push the wire inwards to create a lower surface for the flowers to rest in.
This is a really important step. The flowers should be below the husks and often we forget this when we create armatures. The water tubes should be quite deep into the armature so that the flower heads can be just below the surface.
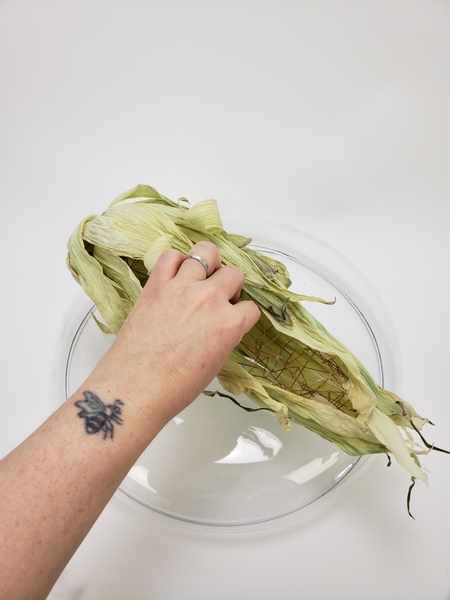
Place the armature on a display vase.
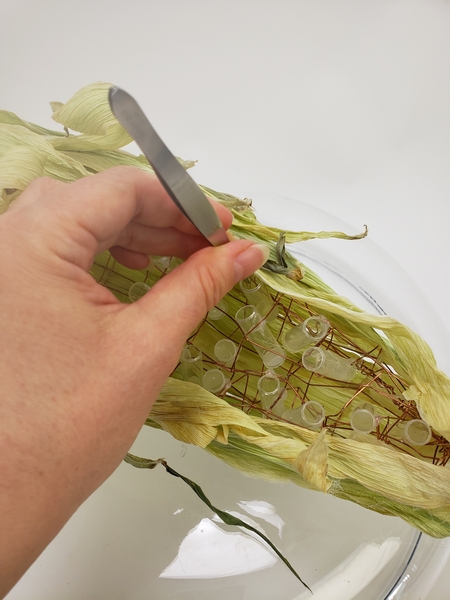
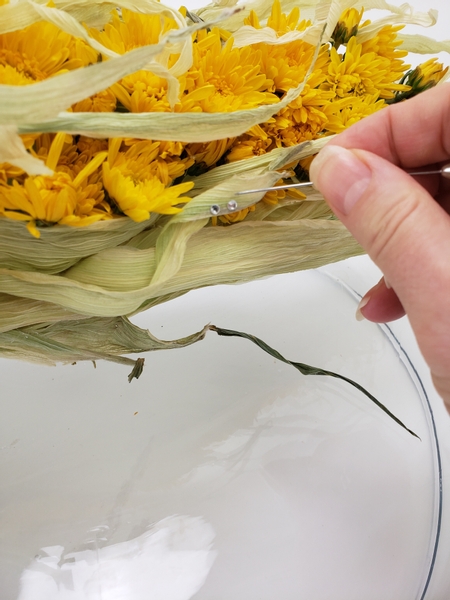
Fill the exposed wire section with water tubes. I place mine with a tweezer so that I can position it exactly at the right angle deep into the armature.
For more information on the tiny tubes see the Tutorial below.
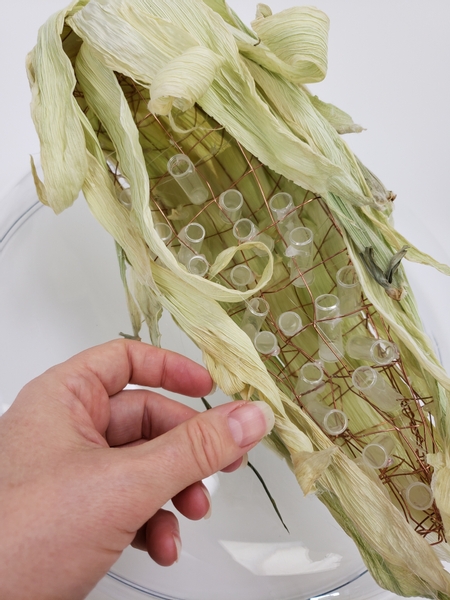
Add in the next layer of decorative husks to curl over the water tubes.
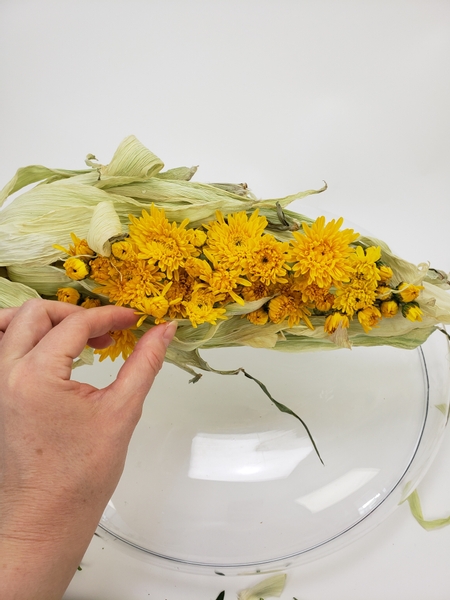
Fill the tubes with water and add in the fresh flowers
You can use any pipette to fill the tubes. I prefer using a syringe with a long tube so that I can get into tiny spots without disturbing the flowers. To see how I make it see the Tutorial below.
Book readers turn to page 184 for a whole lot more information on how to get the most use out of your pipette syringe and tube. Also if you page over to 187 you will see a grass version of this design where I show you how to make the wire armature if you don't have copper wire mesh. The roses are placed exactly like in this Tutorial.
For more information about my book: The Effortless Floral Craftsman
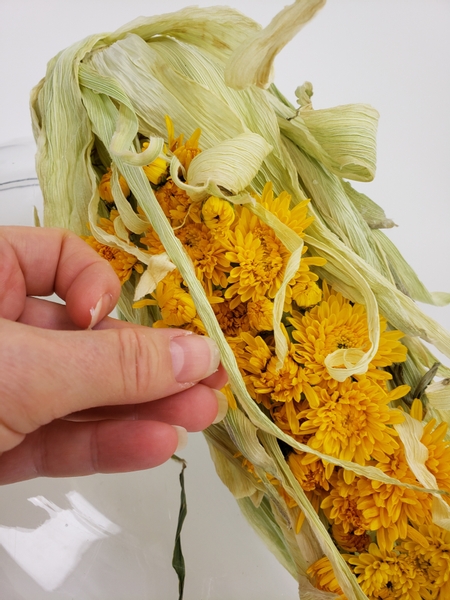
Add in the final layer of the prettiest husks to shadow the flowers and complete the ear of corn.
This is also the perfect opportunity to make sure no wires are visible by covering it with husks.
Finish the design with a few sparkling dew drop crystals.
Sign up for my weekly newsletter
Every week I add a new design with related tutorials. Be sure to subscribe to receive an email notification with design inspiration.


