Christine de Beer - effortless floral craftsman
Bark Christmas Stocking
- 21 December 2016
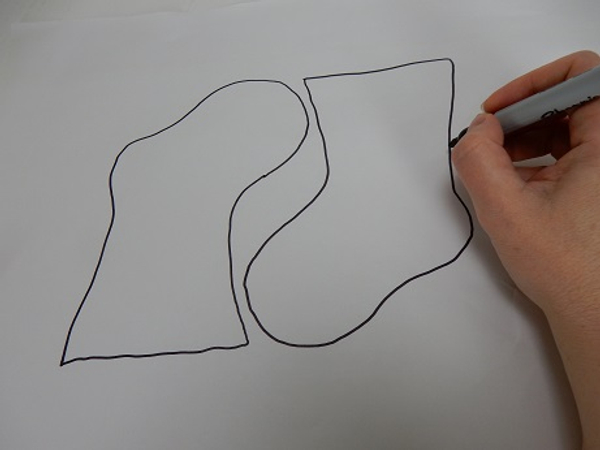
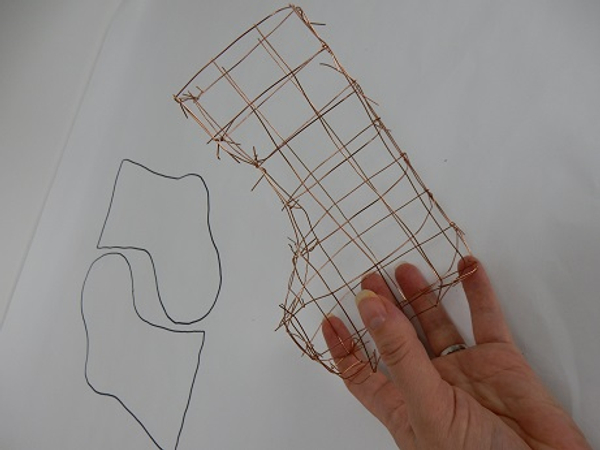
Draw a very basic Christmas stocking outline to use as a guiding template
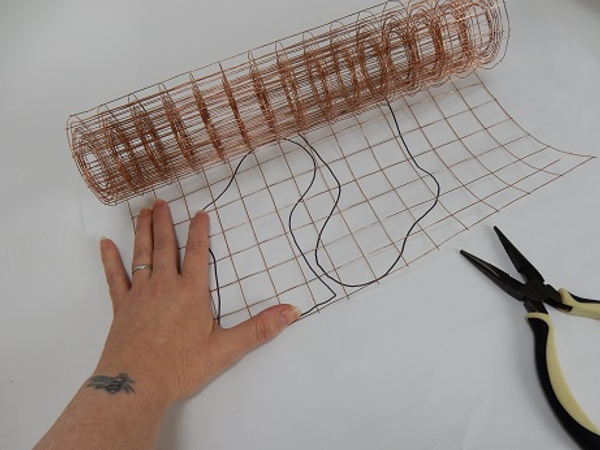
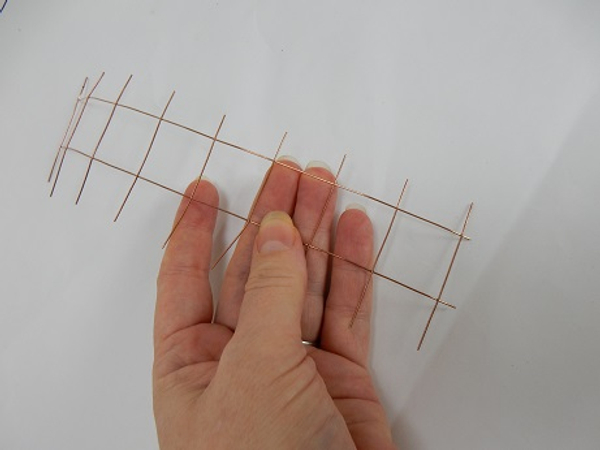
Measure out copper mesh to the size of the template.
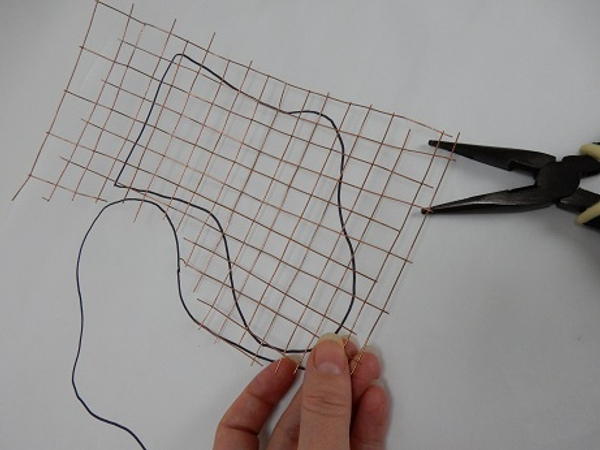
Cut the mesh to the shape of the template
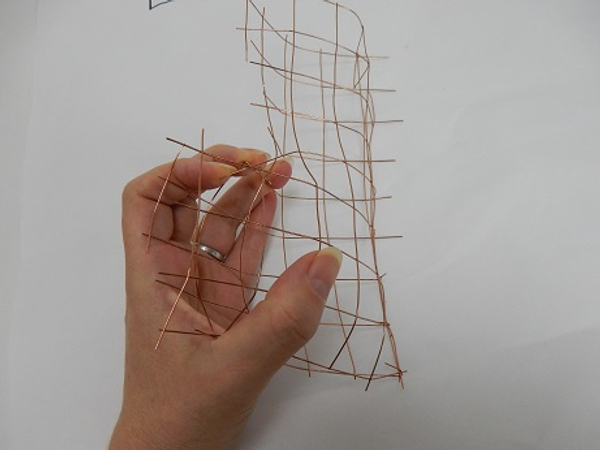
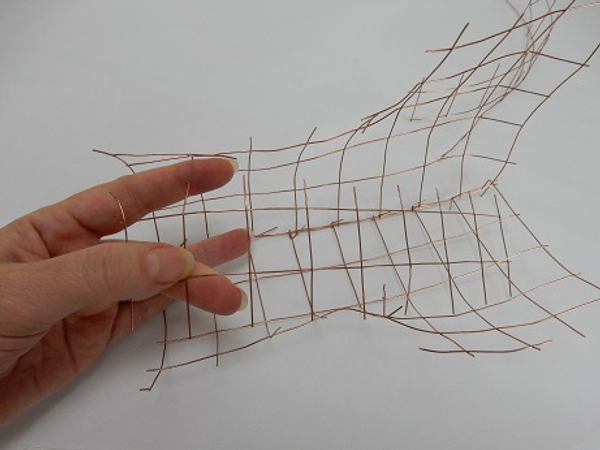
Connect the two halves and start shaping the stocking by bending the wire
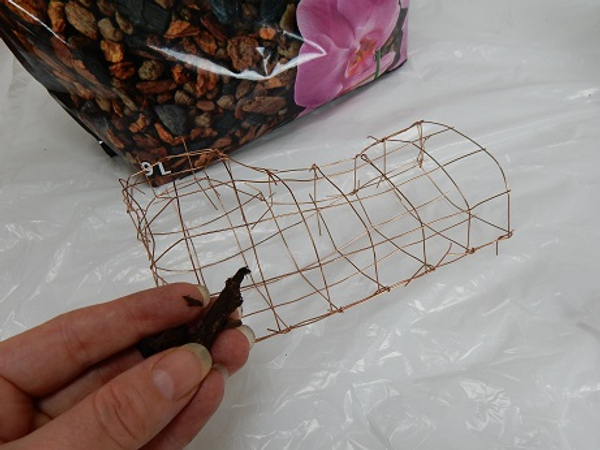
To add bulk cut a strip of mesh to add to the front of the stocking. Cut the strip so that you have wire ends extending out at both sides to connect to the stocking
Fit the strip to the front of the wire stocking...
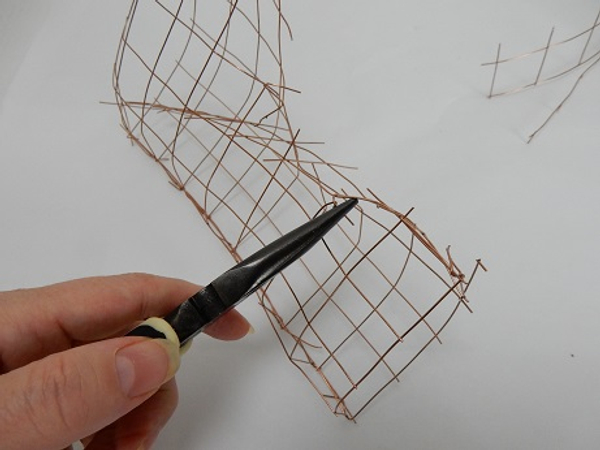
... and twist the wire ends with pliers to secure
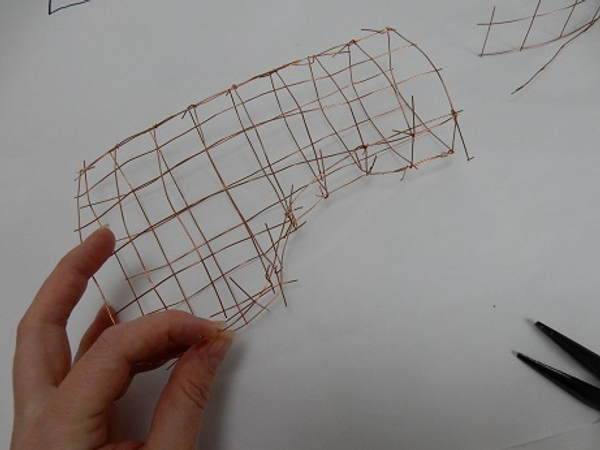
Continue to shape the stocking
Press the sole of the stocking flat to create a base and twist the wires to secure.
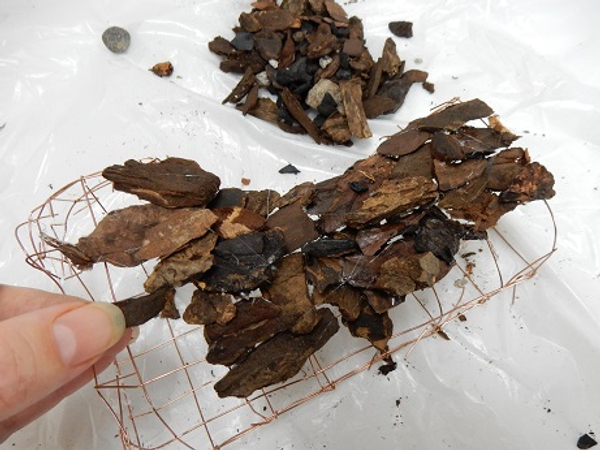
Cover the wire frame with bark. For this design I used the dark bark chips found in orchid growth medium

Glue the chips to the wire frame with hot glue
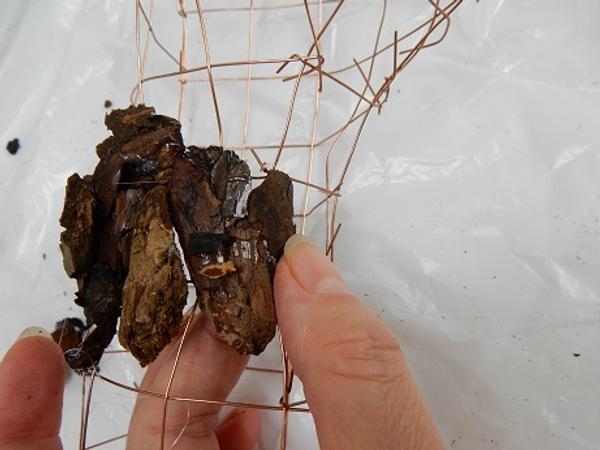
Fit each chip to overlap slightly but still follow the shape
Choose chips that closely follow the curves of the stocking
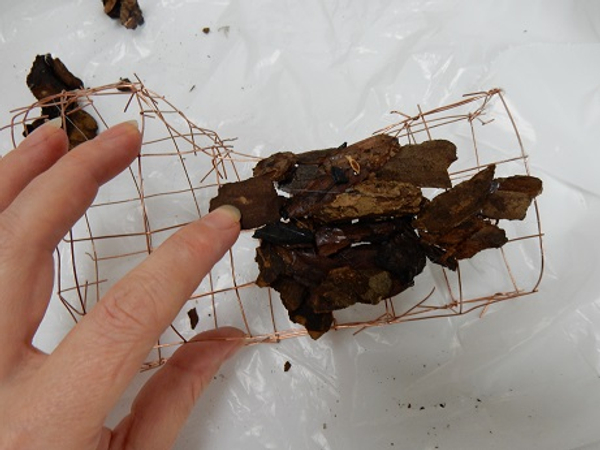
Glue chips all around the wire stocking
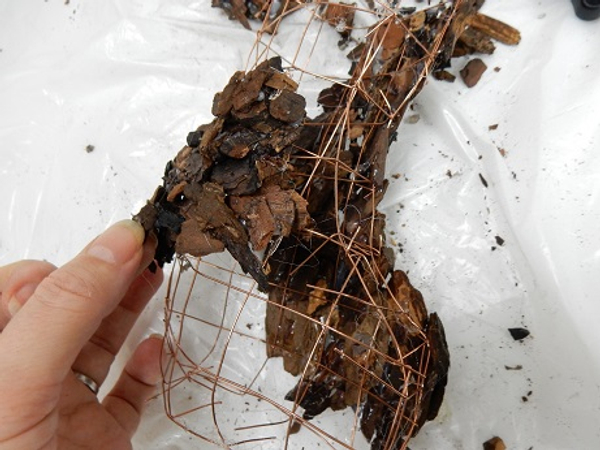
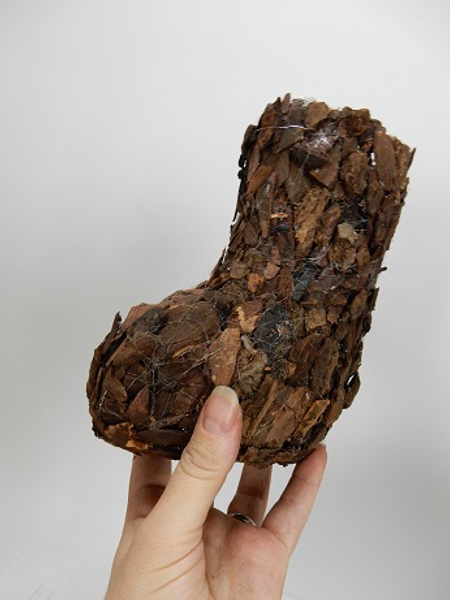
Flip the frame over and cover the other side
Cover the front and the back.
... and the sole.
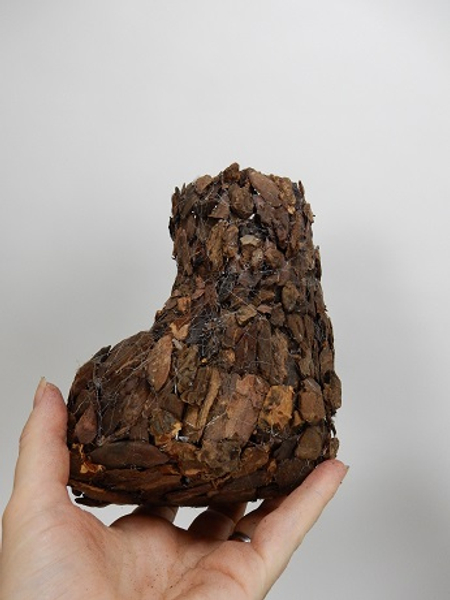
Inspect the stocking armature and add chips of bark where there is gaps
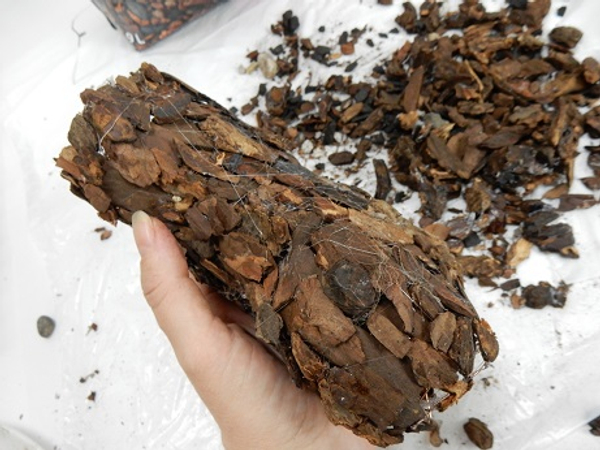
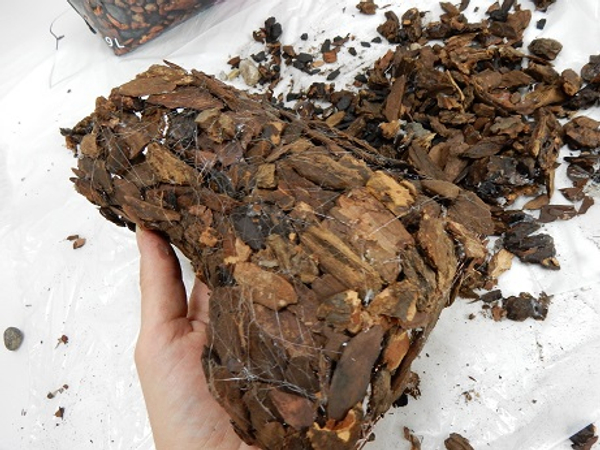
Bark Christmas stocking ready to design with
For a Tutorial on how to blow away the hot glue strands follow the link below
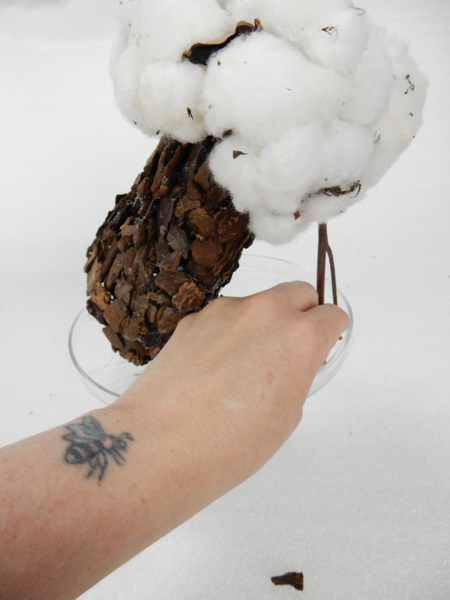
Set the stocking down and add floral details
Or add a few twigs at the back for the stocking to rest on:
Glue in a few twigs
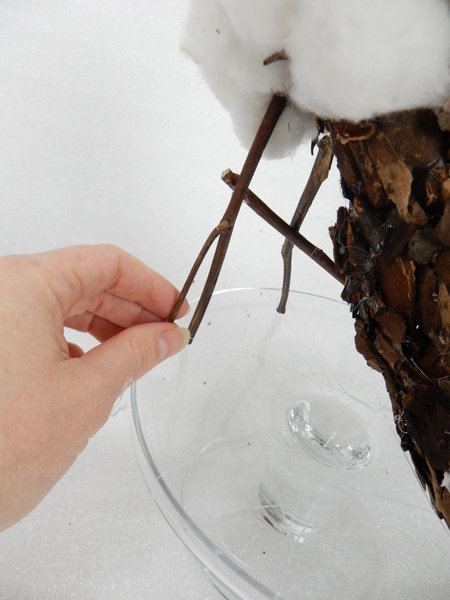
Making sure the design armature is secure.
The fluffy cuff of the bark stocking is cotton pods. See the Tutorial below for detailed instructions on how to add the cuff and finish the design
Sign up for my weekly newsletter
Every week I add a new design with related tutorials. Be sure to subscribe to receive an email notification with design inspiration.


