Christine de Beer - effortless floral craftsman
Tea stained Bamboo husk orchids
- 15 July 2020
- and more
To learn more about staining with natural dyes turn to page 372 of my book
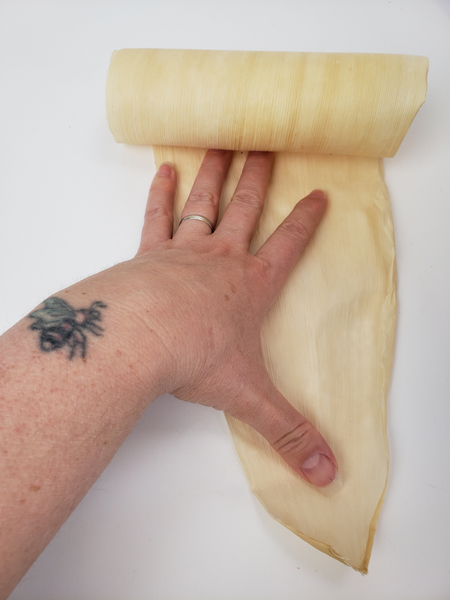
Unroll the bamboo husk
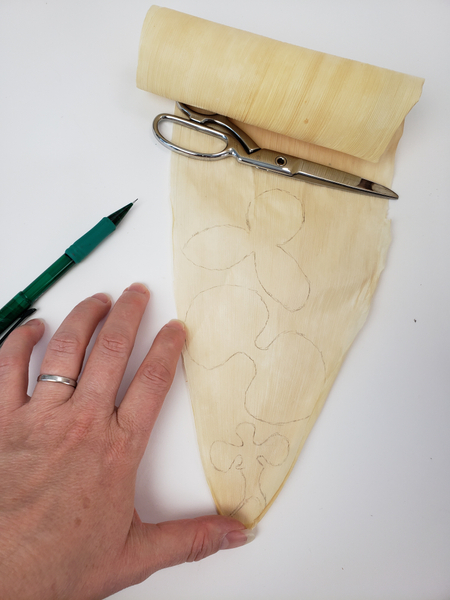
Draw the outlines of the orchid on the husk.
the pattern to make this orchid is in my free to download Template booklet. If you do not have a copy of it yet (or want another one) you can find the link in my weekly newsletter email. I will also add it next week so there is still time for you to sign up. I send out one email per week, always on a Wednesday just past eight in the morning Vancouver time.
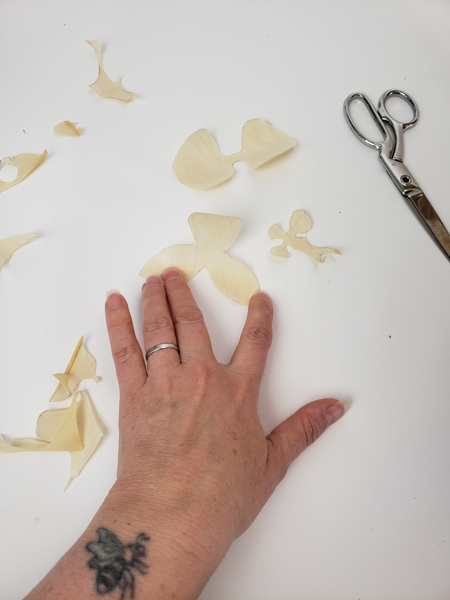
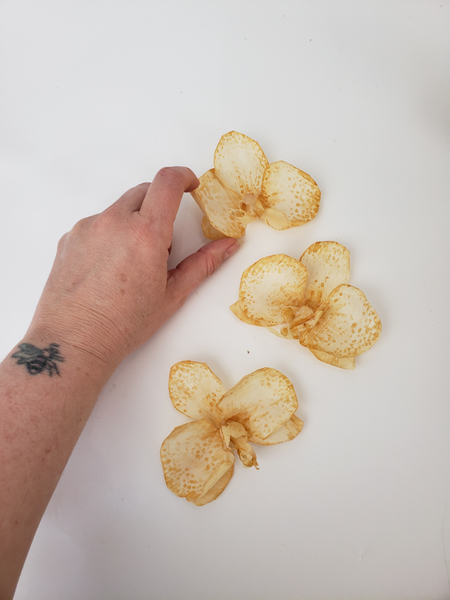
Cut out the orchid shape.

(I am making three orchids for my design)
Layer the template... the three sepals at the bottom- the one big roundel sepal points up with the smaller two pointing down. Next the two petals and finally the lip. I am adding a hot glue column right at the end.
Design note: I am using two types of glue here. Hot glue to create volume and wood glue to create shape.
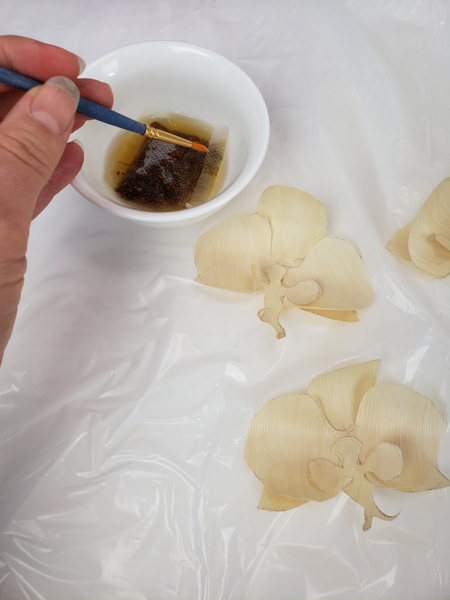
Steep a teabag in a bit of hot water.
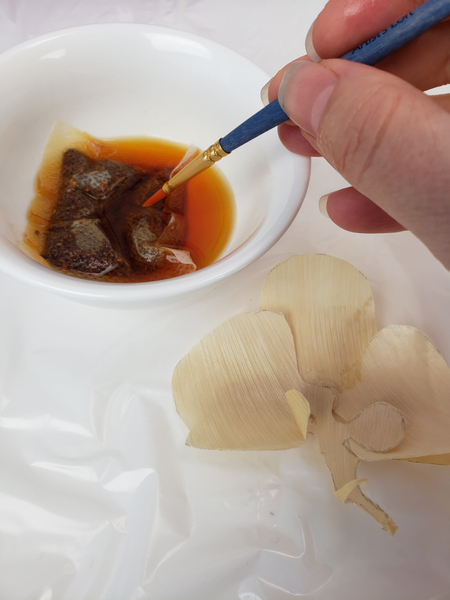
Dip a thin brush in the tea.
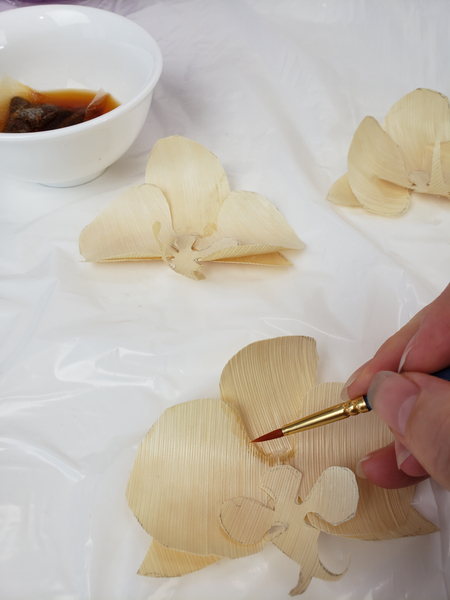
While the tea is still weak wash away the pencil lines by painting a thin line on the outer edge of the flower pattern.
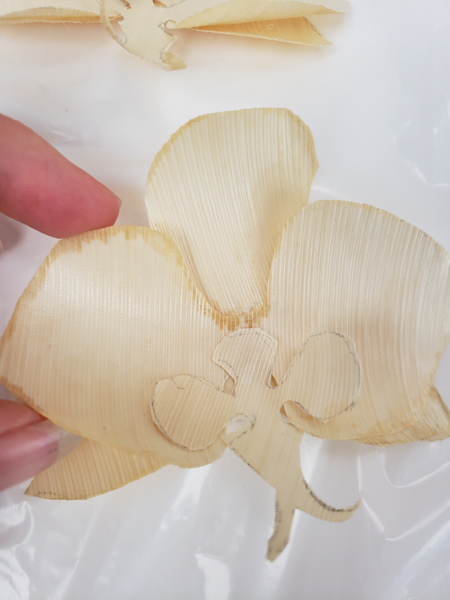
Create an outline around the flower.
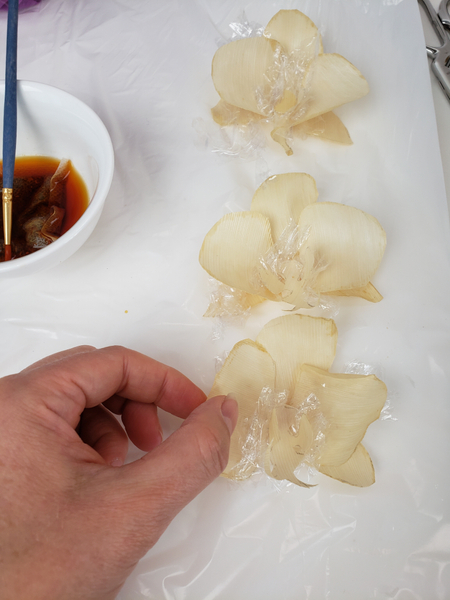
Place a small bit of plastic between the flower petals to keep it separated while it dries
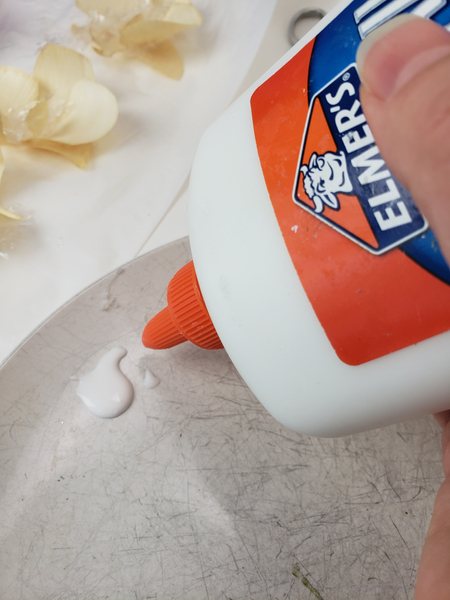
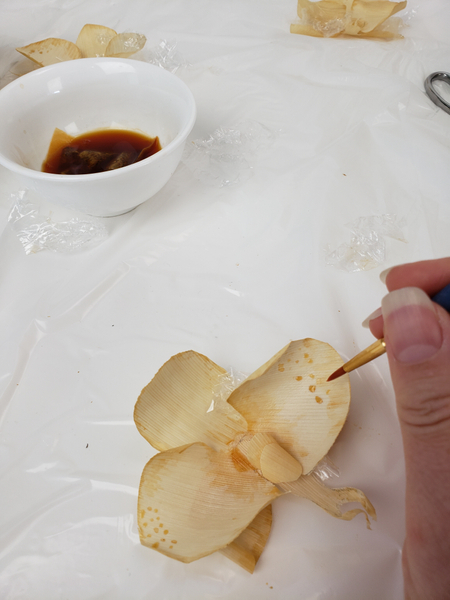
Pour out a small amount of wood glue onto a plate.
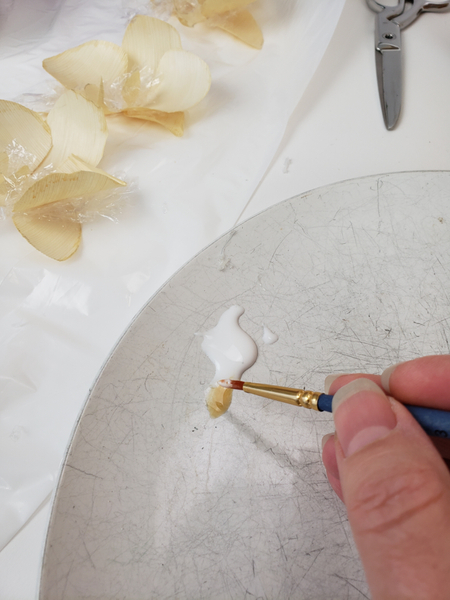
Mix a bit of the tea into the glue.
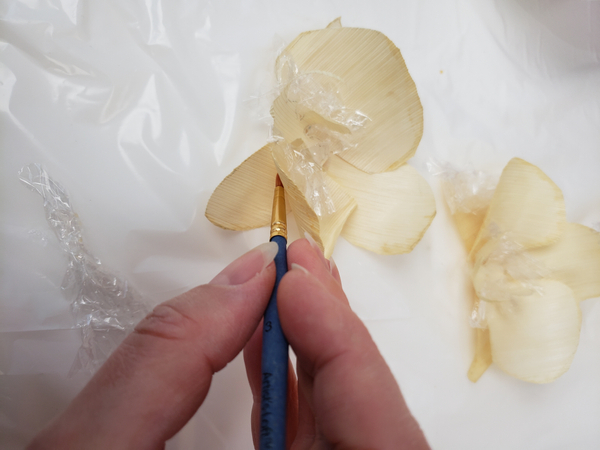
Paint the underside of the petals with the glue mixture.

And replace the plastic.
Set the bamboo orchids aside to dry.
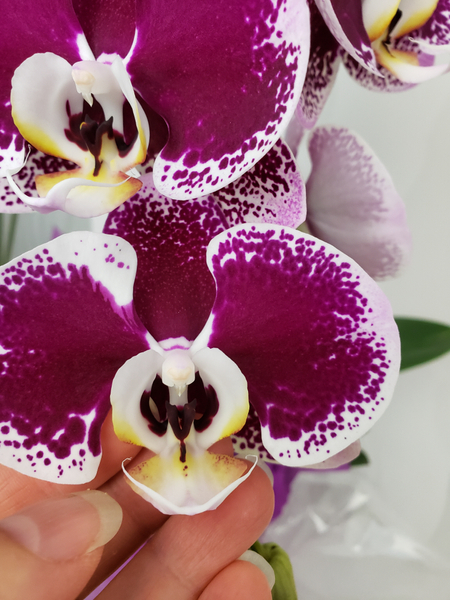
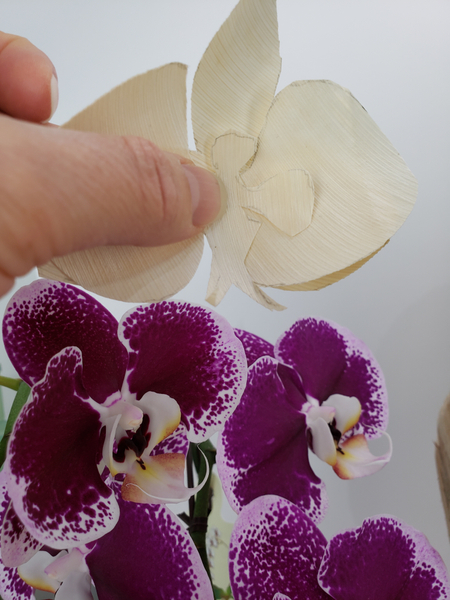
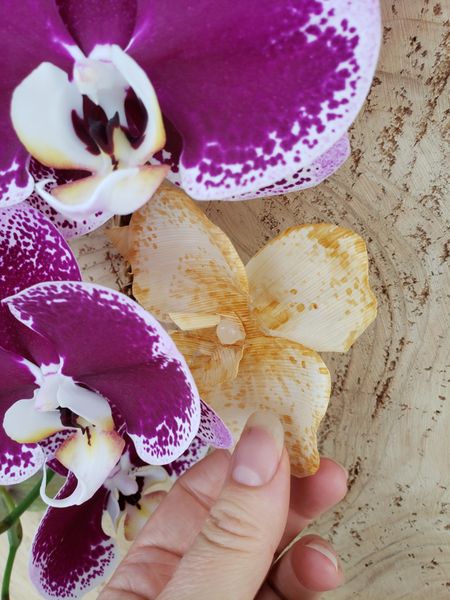
Take your inspiration from the fresh orchids...
And start painting the orchid details.
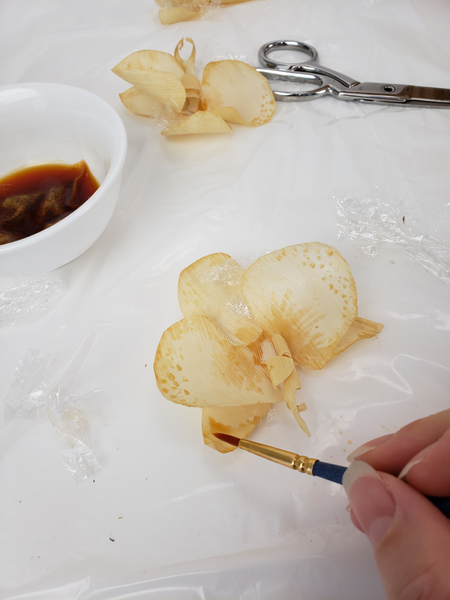
Build up the layers of paint slowly and set the orchids aside to dry while painting the next flower.
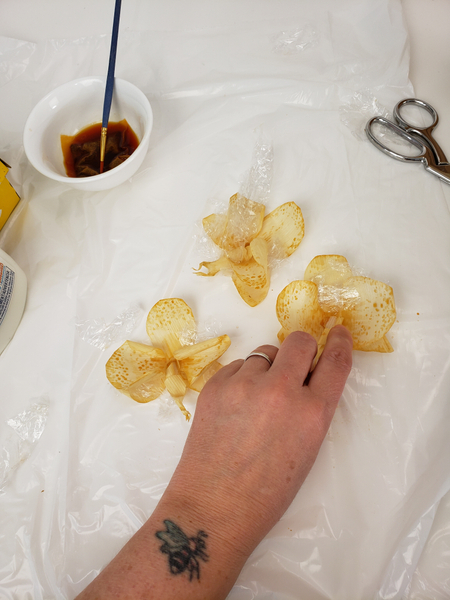
As the glue dries on the husk it stiffens it to make it easier to reshape.
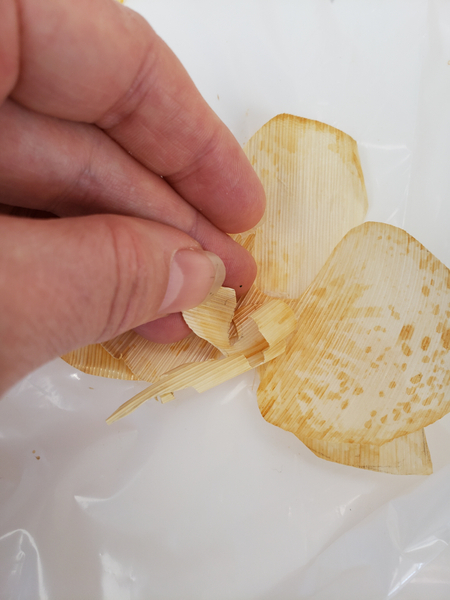
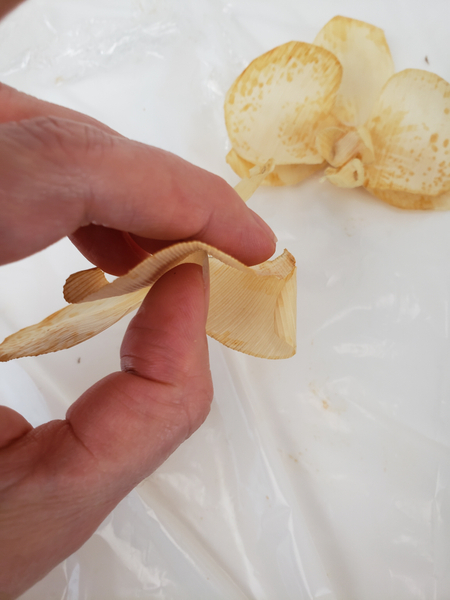
Carefully reshape the flower between the pad of your thumb and your nail.
Roll the lip around a bamboo skewer.
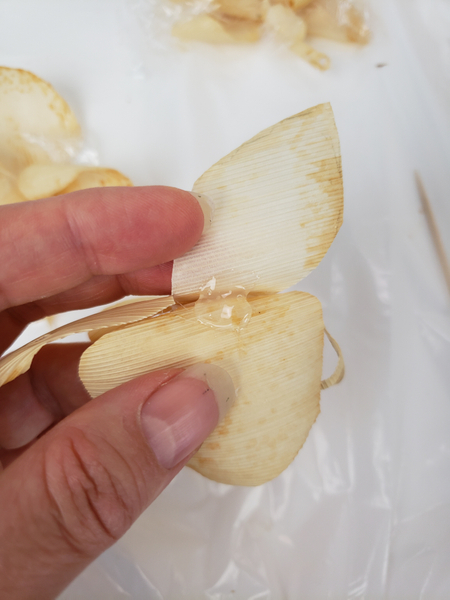
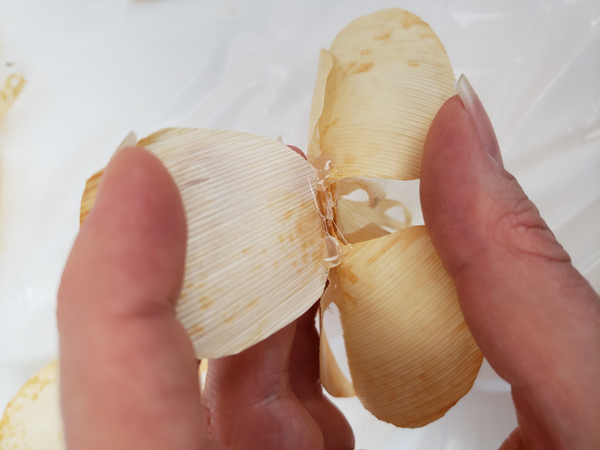
Place a hot glue blob between the sepals and the petals...
Curve the petal in and the sepal out as the glue sets.
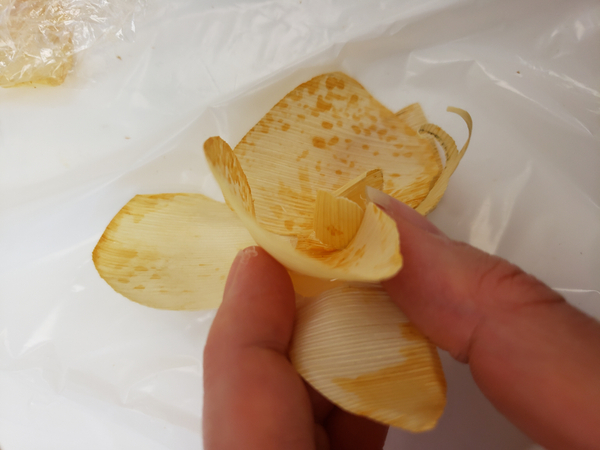
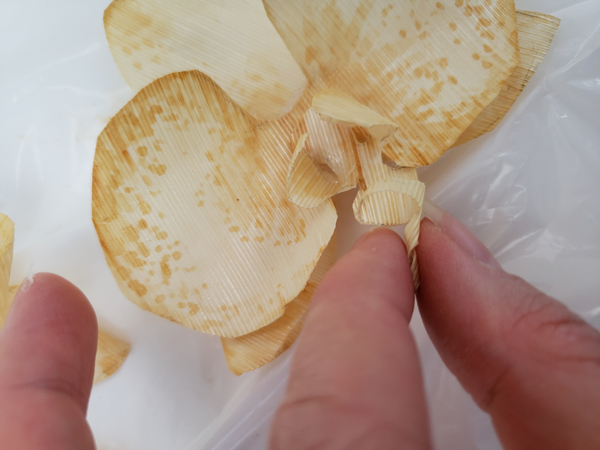
Do the same with the sepal and the petals at the top... squeeze out a generous blob of hot glue... and hold the petals so that it takes on the curved shape as the glue dries.
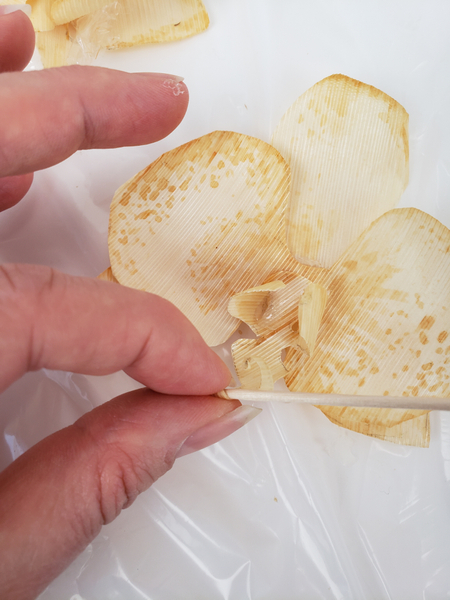
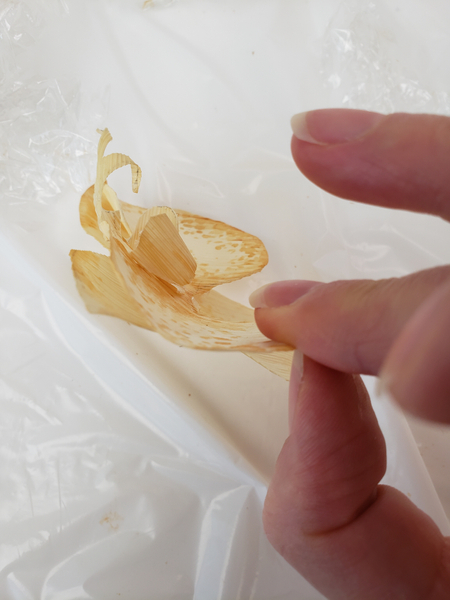
Curve the lip up to the throat...
Curve the inside of each petal by scratching the husk with your finger nail while protecting the husk from being ribbed with the pad of your thumb at the back.
Pinch all around the edge of the sepals and petals to curve it slightly back.
Add a drop of glue to the create the raised column. And lightly stain it with a wash of tea.
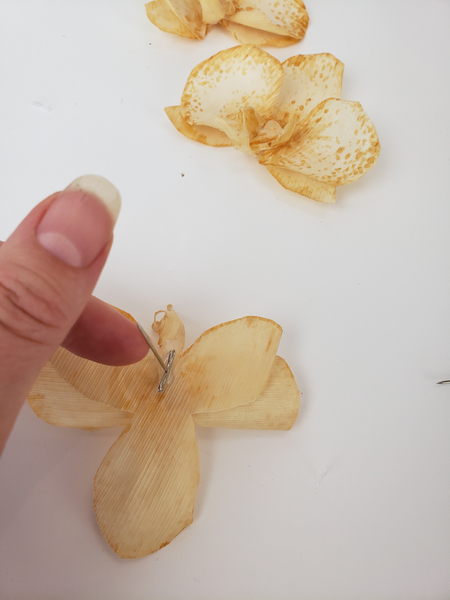
Glue a pin to the back of the orchid...
The orchids are now ready to design with.
Sign up for my weekly newsletter
Every week I add a new design with related tutorials. Be sure to subscribe to receive an email notification with design inspiration.


