Christine de Beer - effortless floral craftsman
A bark design surface that suspends the first Spring flowers to rest just below the surface.
- 19 February 2025
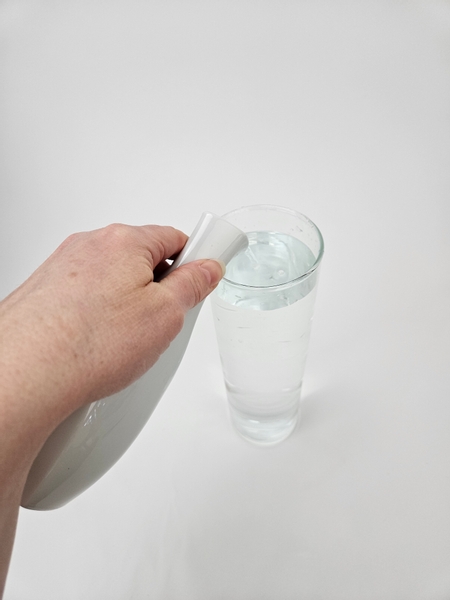
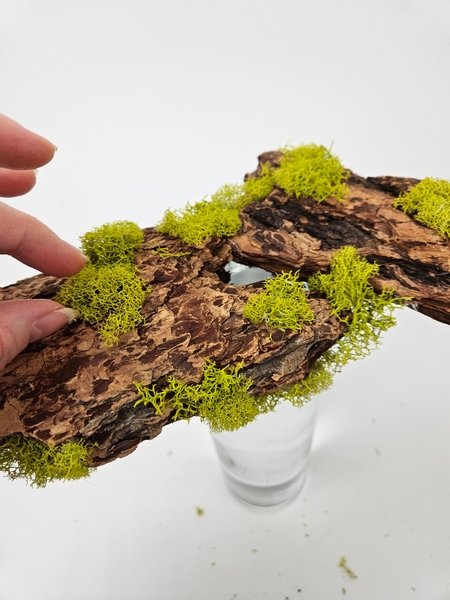
For my design I am using a tall, water filled cylinder vase that will act as a pedestal for my display.
Choosing glass as a container is an easy... challenge or is that a challenging easy choice? Either way glass vases are a staple in our design pantry. This week in our email I tell you more about the design considerations when choosing to arrange flowers in glass and I show you my favourite way to "personalize" my glass vases to reflect my own effortless style of designing.
I send out an email every Wednesday morning (Vancouver time) the moment the new design is ready for you to view. And I tell you a bit more about the design, so that you have the "inside scoop" before even looking at the design so that you can make the most of each week's design inspiration. The sign up is below this post if you want to join in and receive this free weekly email.
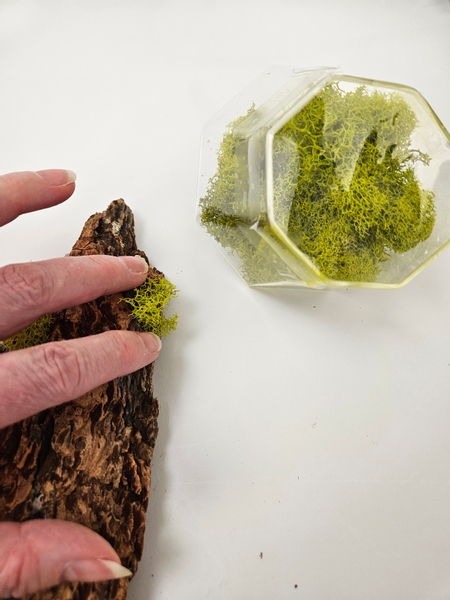
I am using two large bark chips to create the "moss covered" design platform.
I am using reindeer moss to create a winter display on the bark.
Book readers turn to page 95 to see the trick to portioning out the reindeer moss so that it looks as if it grew there. It is such a small adjustment but it makes a huge difference in how well groomed the design looks.
For more information about my book: The Effortless Floral Craftsman
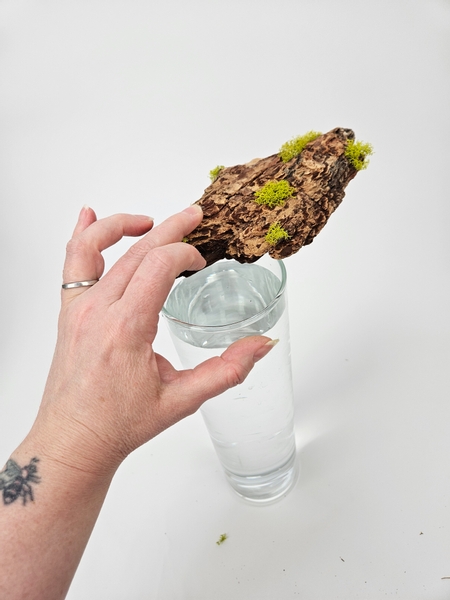
Glue the large bark chip to the top of the display container with hot glue.
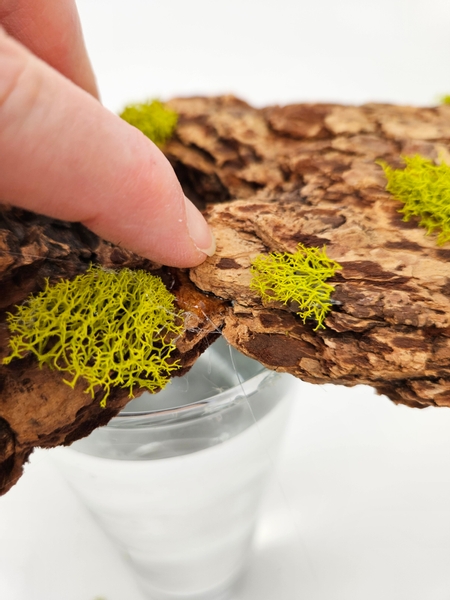
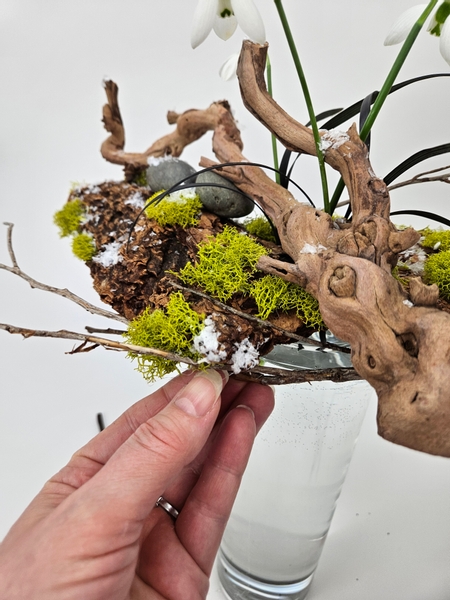
Slip the second bark chip under the the first to meet in the middle of the container... but with gaps between the two bark chips where you can slip your fresh floral details through to suspend them in the water below to remain hydrated.
Add in more reindeer moss to the bark to create a lush mossy display...
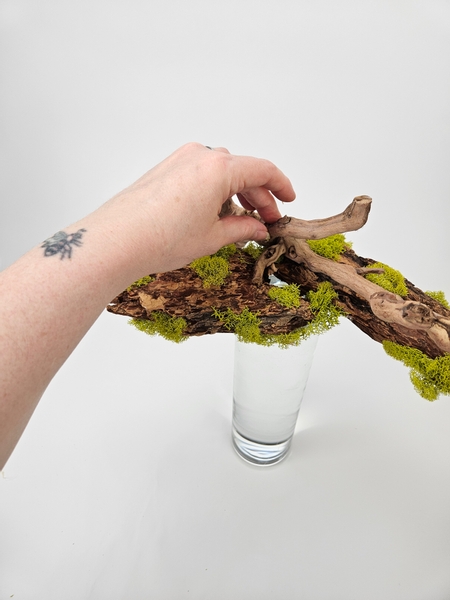
Place driftwood over the opening to help suspend the flowers.
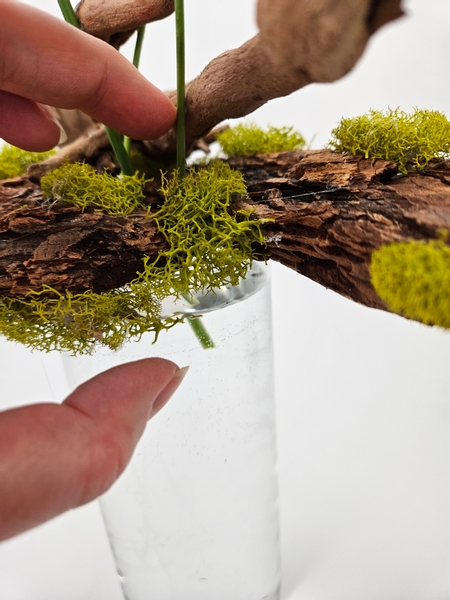
Slip the fresh floral details through the hole in the bark to make sure the cut stems are in water to remain hydrated but still suspended so that it is not seen below the bark when viewed from the side...
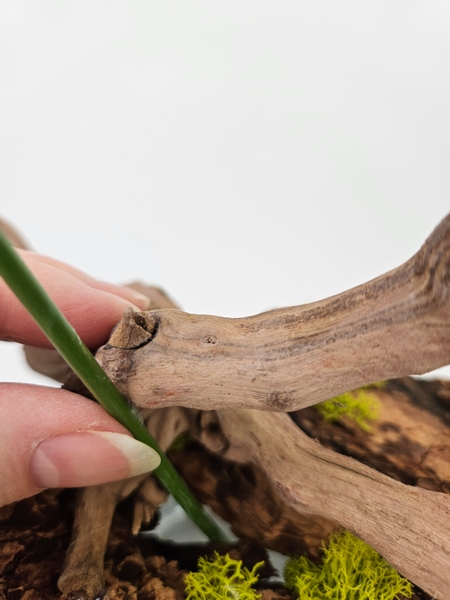
Use the tiniest drop of floral glue to secure the flower stems to the driftwood.
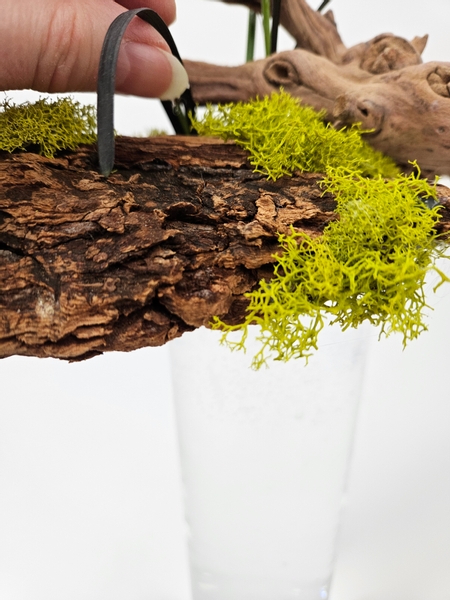
Between the flower stems and the driftwood it is now easy to slip in the black mondo grass into the water. It will be kept exactly in place in the small gaps between the stems so that you can angle them more freely to look like they are simply growing out of the bark.

Thread the Mondo grass into the gaps to make sure it is firmly in place with the cut ends just below the bark in the water.
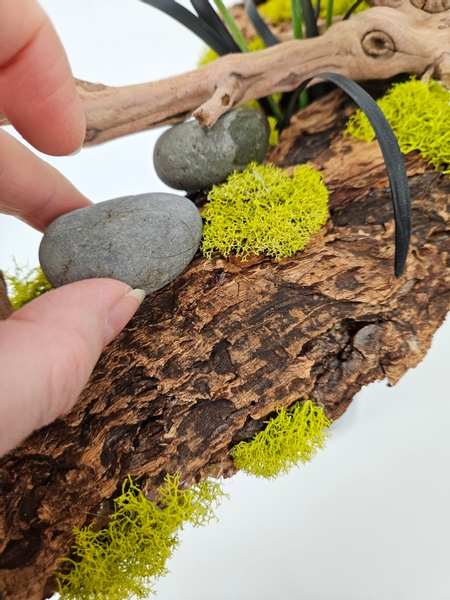
Glue in a few pebbles to complete the display... if you want... I liked how it looked with the black Mondo grass and the dark bark...
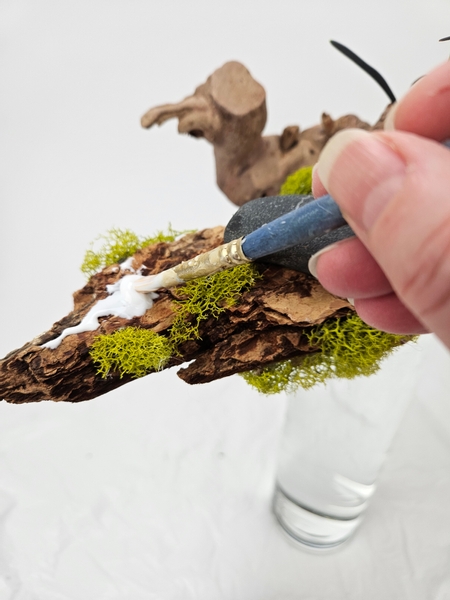
Next I am adding a few scatterings of artificial snow by painting the design every here and there with wood glue...
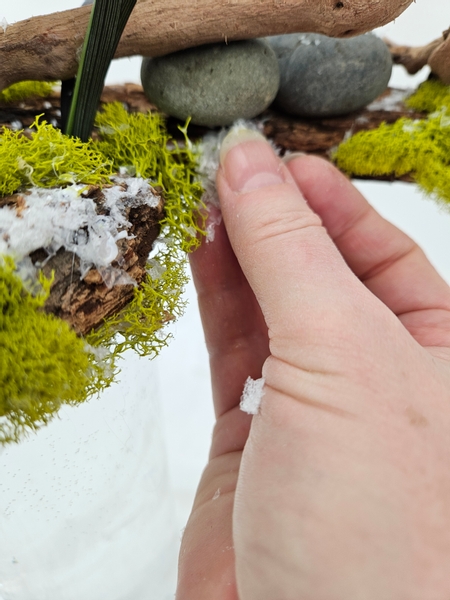
And sprinkling on the artificial snow...
See the Tutorial below for more detailed instructions on how I add the snow to my wintery designs.
Add in a few twigs to the sides to extend the horizontal line of the design.
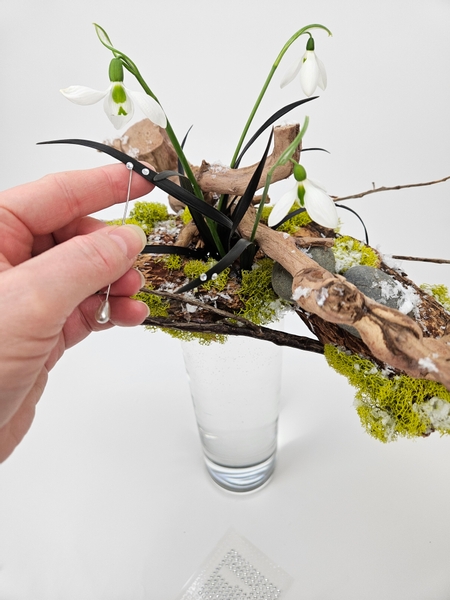
And I finish my design with a few dew drop crystals for extra sparkle on the gorgeous black grass...
See the Tutorial below for more detailed instructions on how I add the crystals to the delicate plant material to make sure I do not damage the design.
Sign up for my weekly newsletter
Every week I add a new design with related tutorials. Be sure to subscribe to receive an email notification with design inspiration.


