Christine de Beer - effortless floral craftsman
Mossy Twig handbag
- 6 January 2012
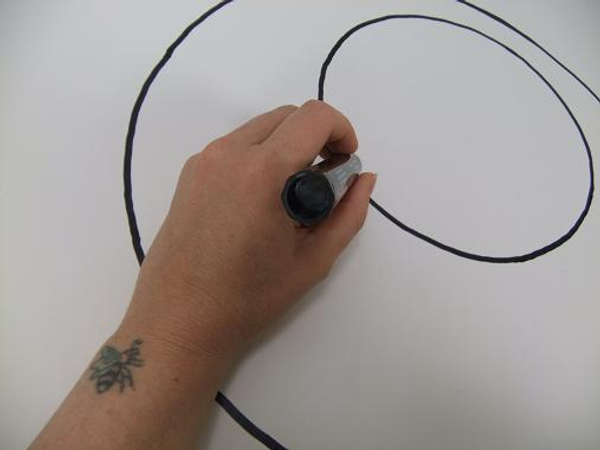
Draw a large round template for the twig handbag.

Cut a few moss covered twigs to fit in the template and pack them according to size
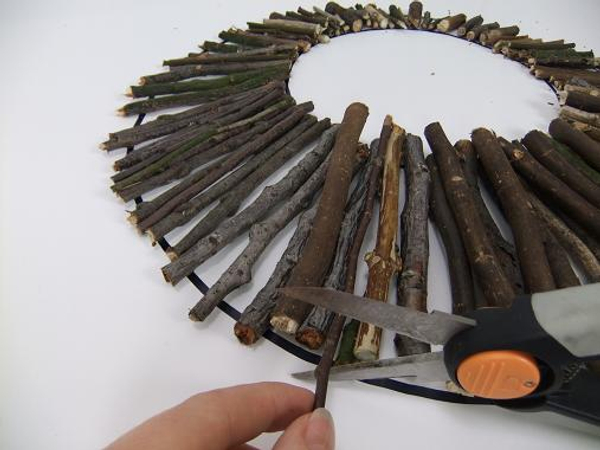
Start a second layer of twigs
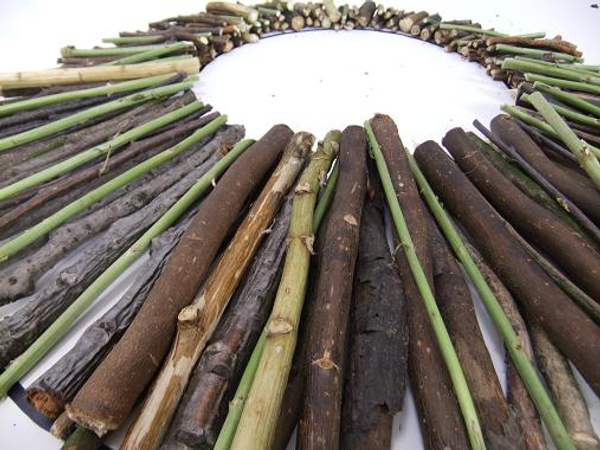
Add a few green twigs every here and there. Cut a few more twigs all the same length the width of what you want your bag to be. Set these loose twigs aside to incorporate when you wire the outer circle twig holes. These loose twigs will be the bottom of the bag
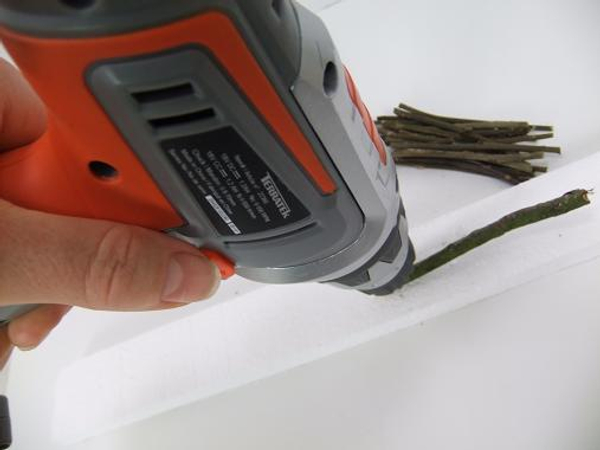
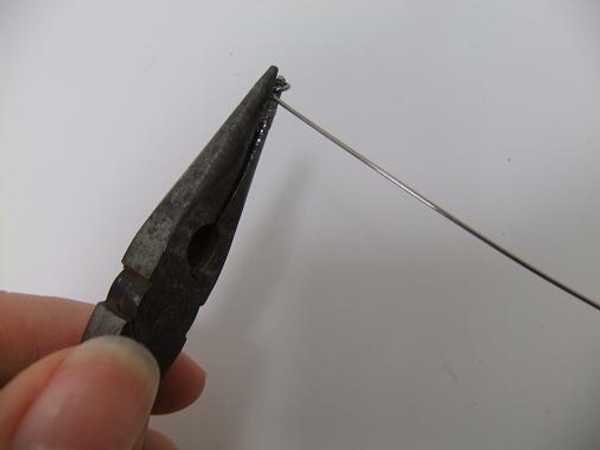
Drill two holes in each twig. One hole about 2cm from the top and one about 2ch from the bottom
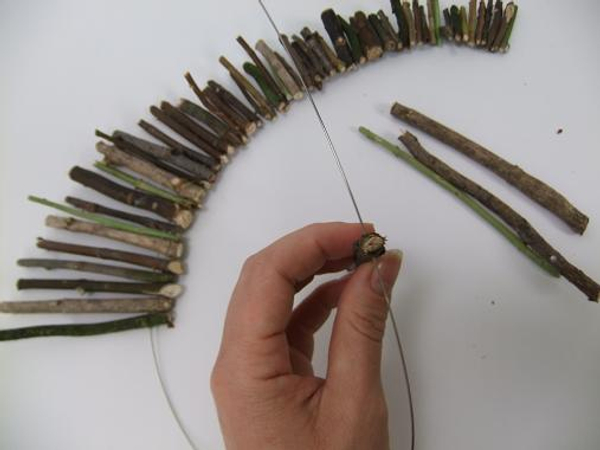
Make a hook on one end of a wire to catch and secure the twigs
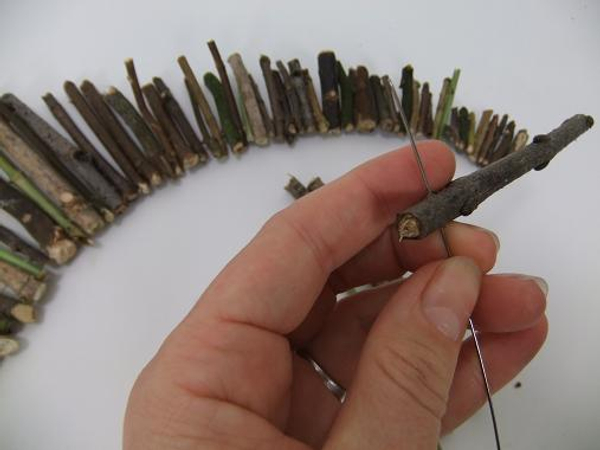
Wire the inside holes first. Start at the middle point of the smallest twigs and work your way around. Press the first small first twig all the way through the length of the wire to lay securely next to the hook you made. Continue all the way around
When all the inside circle twigs are wired loop the wire around the hook. Pull tight and secure with another hook
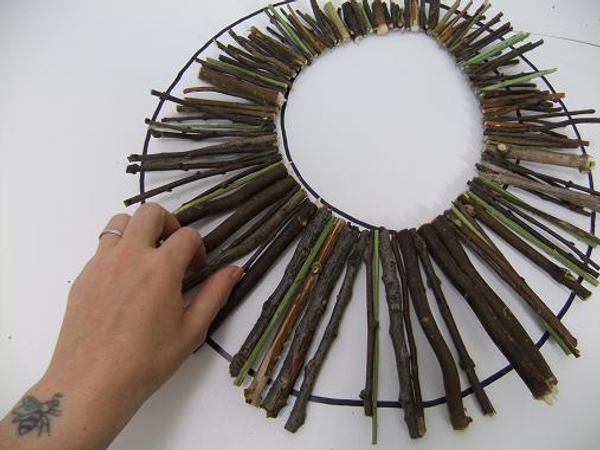
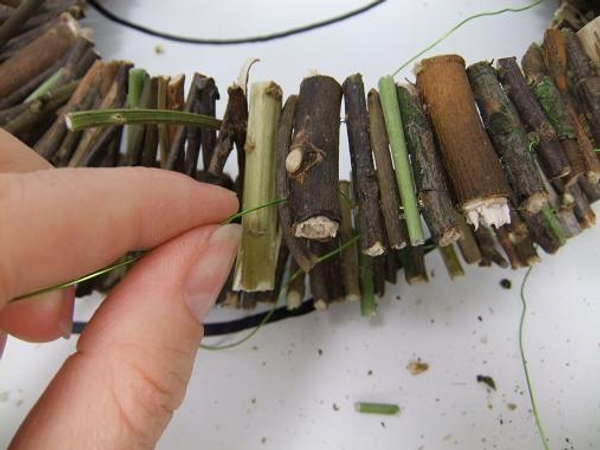
Space out all the twigs and make sure the twigs lie flat. Bend the wire if required
Start wiring the second circle twigs. Again wire only the inside circle holes. Secure the wire just as with the first circle.
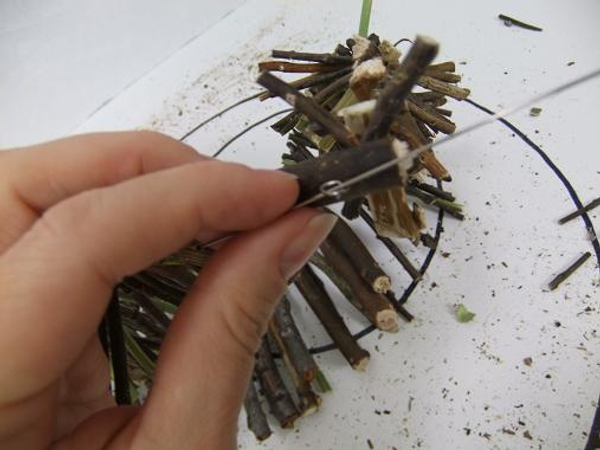
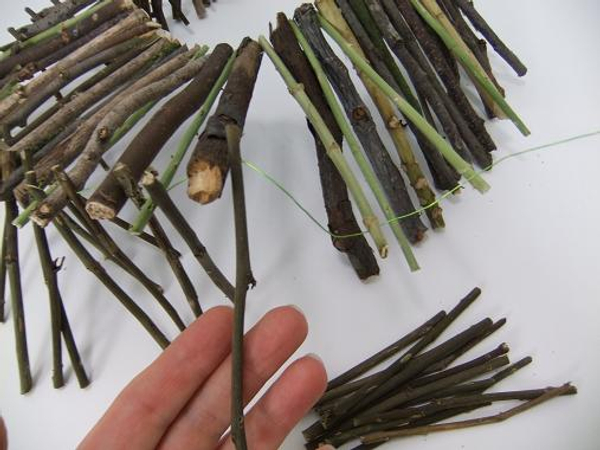
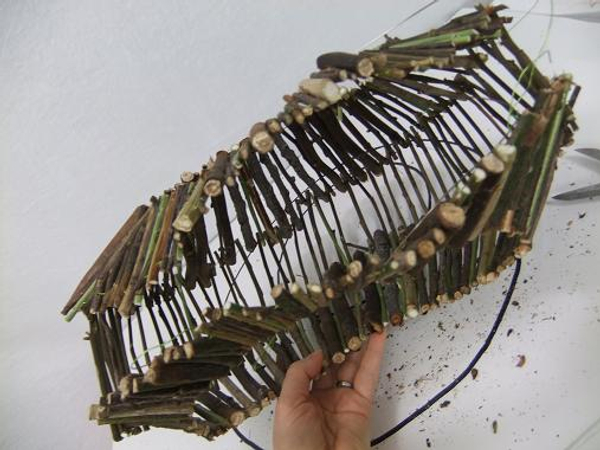
Place the two circles on top of each other. Cut two lengths of wire. Again make a hook catch on each wire. Start in the middle of the smallest twigs and thread the wire through a few twigs. Do the same with the top twigs. Continue to work your way down and around the twigs.
When you reach about half way down on the side start to add some of the loose twigs that you kept aside to be the bottom twigs
Wire a bottom twig between the circle twigs.
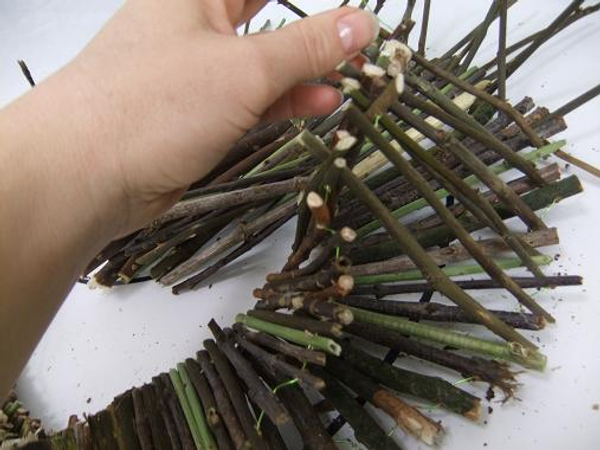
Now wire a top circle twig, one of the loose twigs and then a bottom circle twig.
Keep adding twigs and wiring all the way around to the level point on the other side.
Continue to wire the outer circle twigs at the smaller, top side of the handbag. Pull the wire tight. Secure the wire by looping it at the first twig and wire hook.
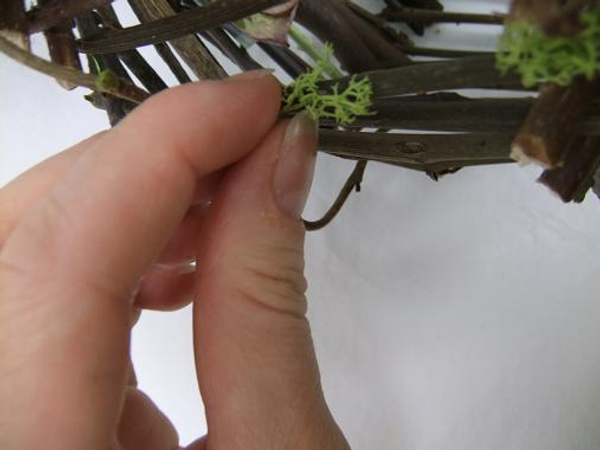
Add a bit of moss to the radiating twig bag to soften the design.
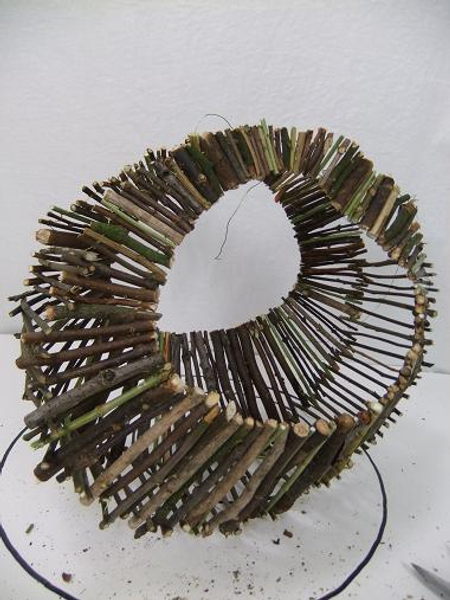
The Mossy twig handbag is now ready to decorate with a few flowers
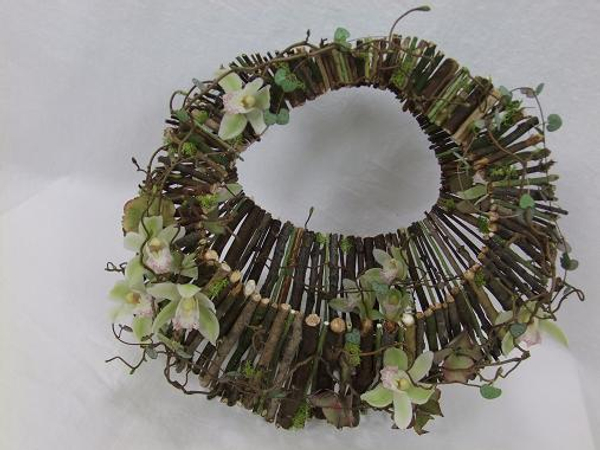
Dusty green Cymbidium orchids, dried hydrangea, rosary vine (Ceropegia woodii), moss and hazel twig handbag.
Sign up for my weekly newsletter
Every week I add a new design with related tutorials. Be sure to subscribe to receive an email notification with design inspiration.


