My Creative Workbook

Christine de Beer - effortless floral craftsman

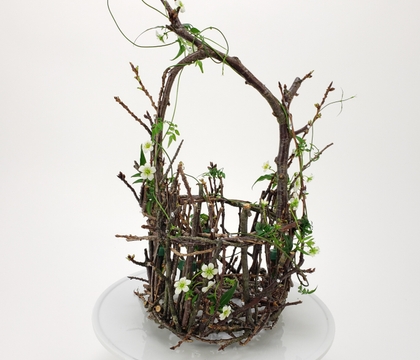
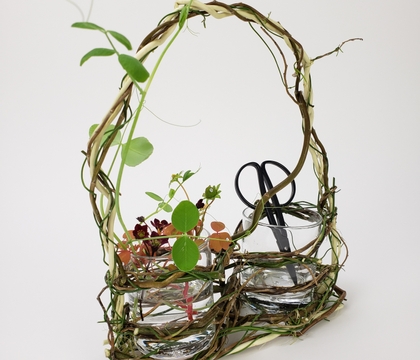
Willow and Vine tiny stem Gathering Basket

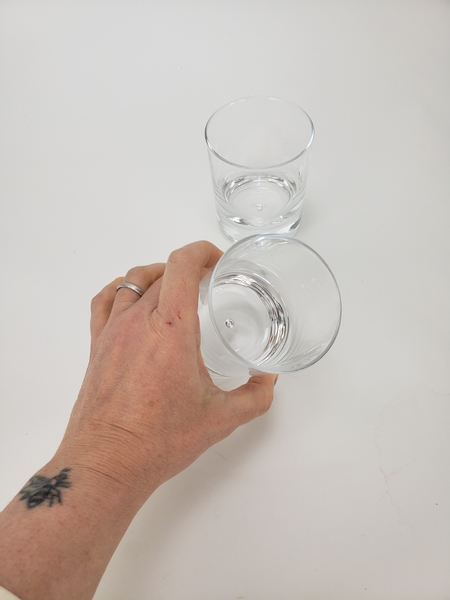
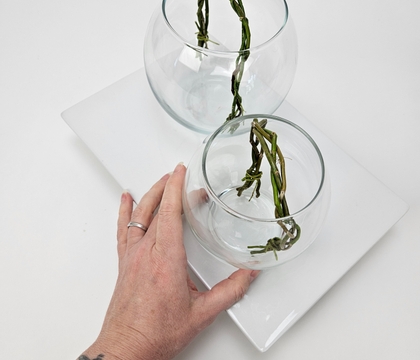
I am building my small gathering basket around two glasses

I am building my small gathering basket around two glasses but any water tight container will be perfect.
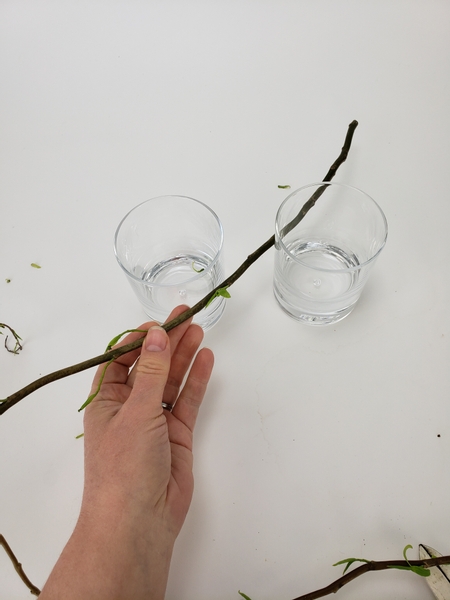
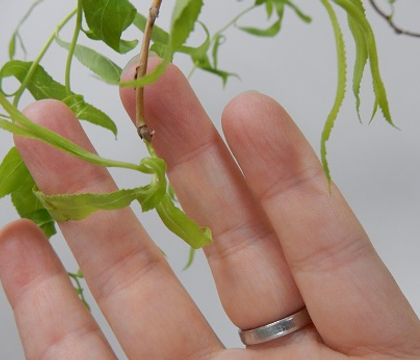
Test the willow stems to make sure they are flexible

You will need a small bunch of fresh willow. This time of the year you can usually buy a few rods... or even better grow some yourself. Test the willow to make sure it is fresh and flexible. Soak the stems in warm water if they are not as flexible as you might need. You will find a more detailed Tutorial below where I show you how to manipulate weaving stems.

Yes, even in a pot... on your balcony... like I do. Growing a coppice willow patch is easy and inexpensive but it will take time and space. To read more about growing a coppice garden head on over to the Plant Something BC to read my new article. My monthly flower arranging inspiration articles is a floral design companion for this initiative.
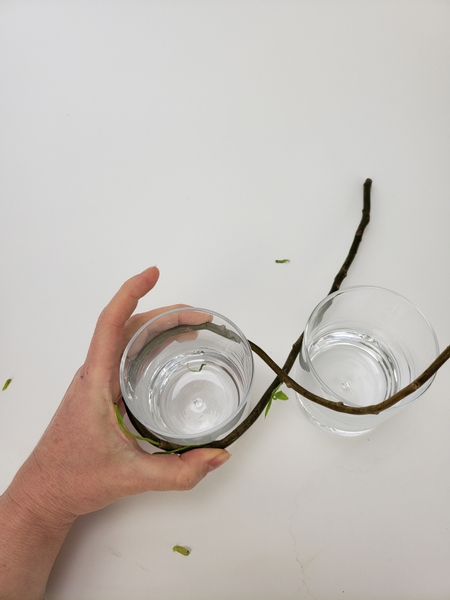
Wrap the stem around the first glass

Wrap the stem around the first glass...
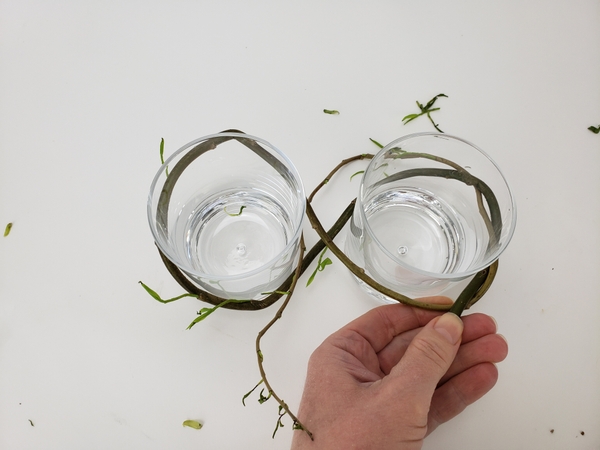
Extending the willow stem all the way around the second glass

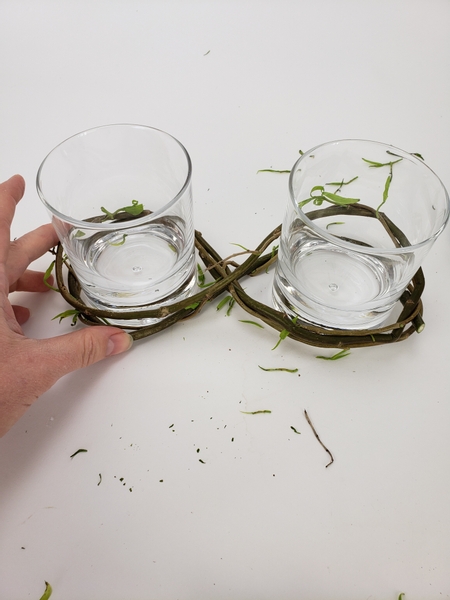
Extending the willow stem all the way around the second glass in a figure eight. Move this figure eight to the bottom of the glasses so that it rests on your working surface.

Weave the stem as you would weave a wreath. If you are unsure about weaving a wreath see the Tutorial below.
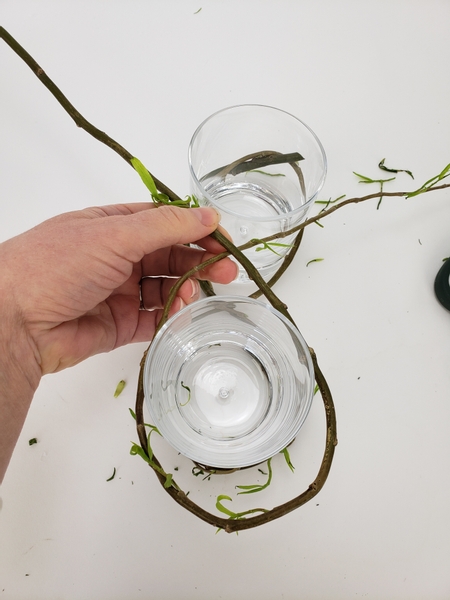
Wrap a second weaving willow stem around the first glass

Wrap a second weaving willow stem around the first glass.
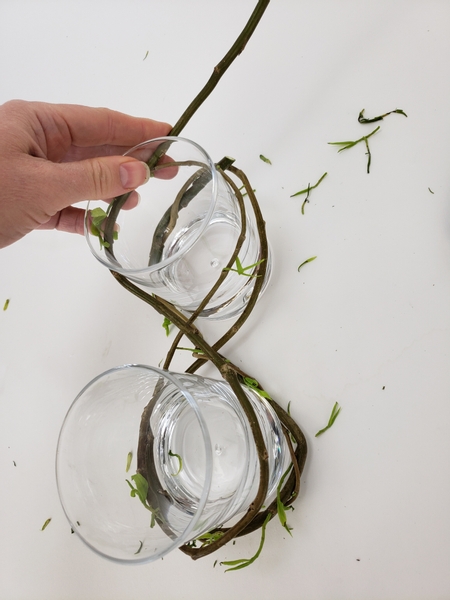
Weave this willow stem into a figure eight

Weave this willow stem into a figure eight...
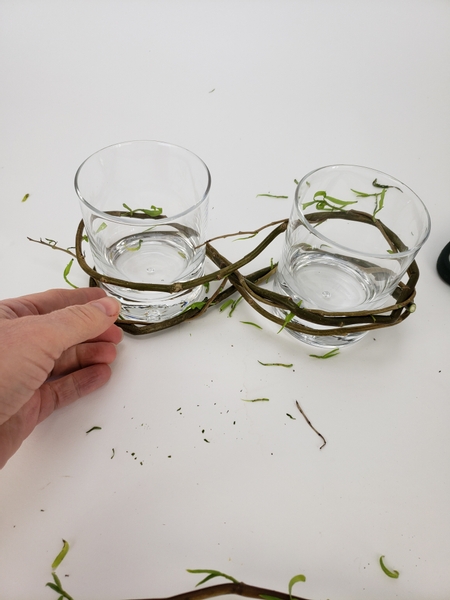
This stem will rest in the middle

This stem will rest in the middle...

Push it down temporarily to make it easier for you to weave the last figure eight

Push it down temporarily to make it easier for you to weave the last figure eight.
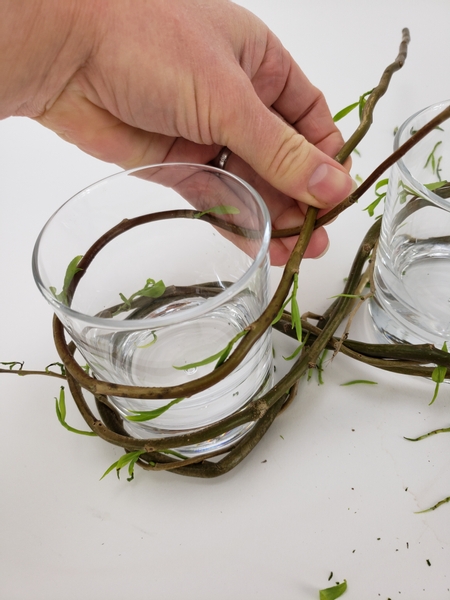
And start to weave the third figure eight

And start to weave the third figure eight...
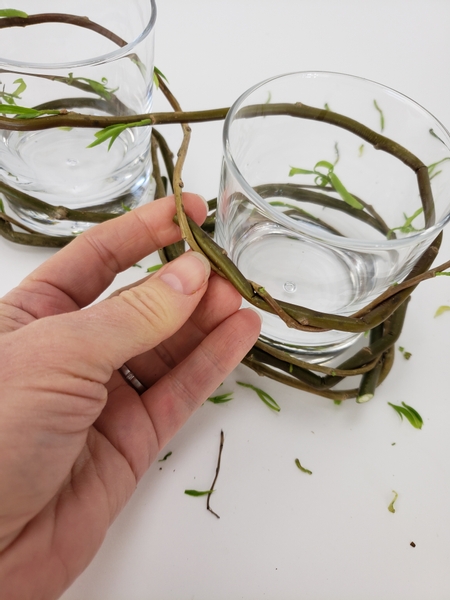
And secure it by weaving the stem in on itself

And secure it by weaving the stem in on itself.
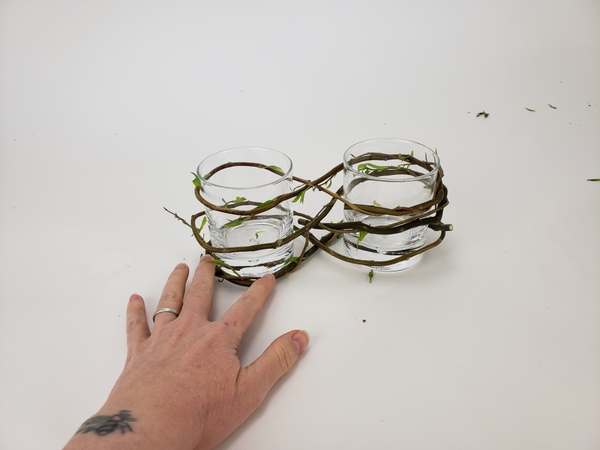
Space out the willow stems to have a figure eight at the top and middle and bottom

Space out the willow stems to have a figure eight at the top and middle and bottom.
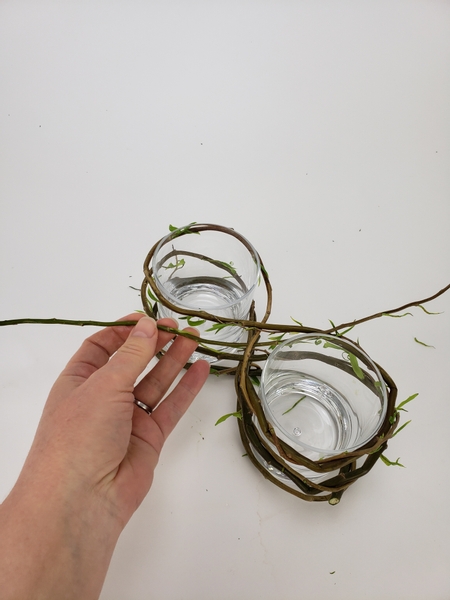
Weave in a few thinner rods around the figure eights

Take a step back and look at the three figure eights. Weave in a few thinner rods around the figure eights where it needs more support or needs to be bulked up.

This is as much decorative as it is supportive. Start thinking about the whole look of your basket. Would you like to have the three supports to be separate or would you like to start combining them? Add your personality into the design of your basket.

Weave in rods to make sure the support is strong and secure

Weave in rods to make sure the support is strong and secure.
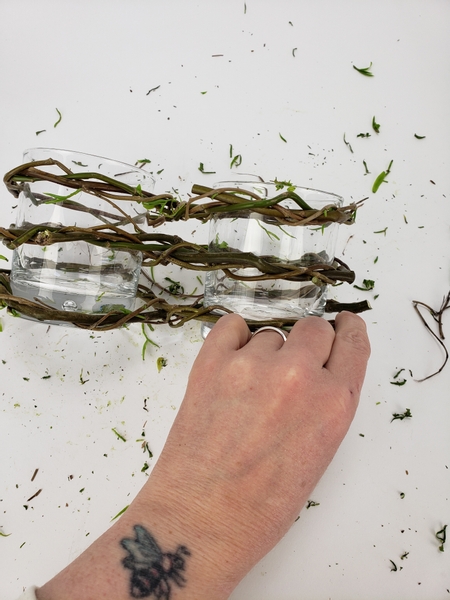
Look at the glasses form all angles and move the figure eights to be straight and neat

Look at the glasses form all angles and move the figure eights to be straight and neat. The stems will dry in this way so make sure it looks pretty from all angles.
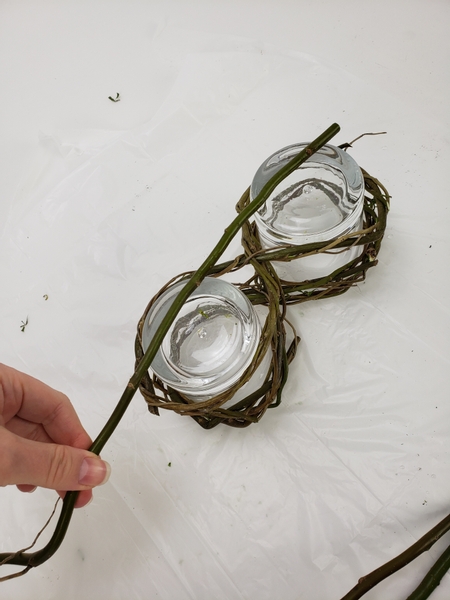
Turn the glasses bottom side up

Turn the glasses bottom side up and measure three willow stems to start the base of the basket.
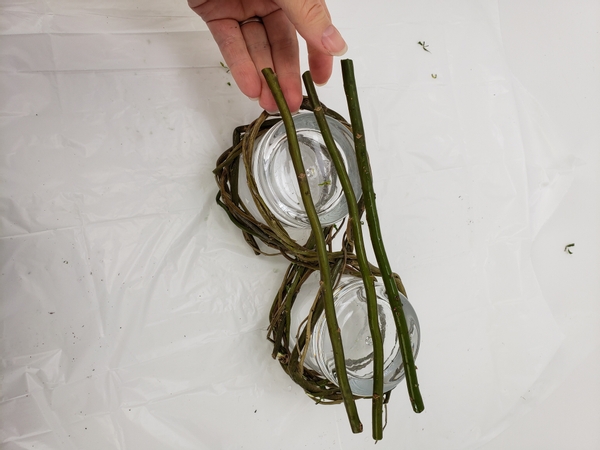
Space out the willow stems so that the glasses will rest on this when turned upright

Space out the willow stems so that the glasses will rest on this when turned upright.
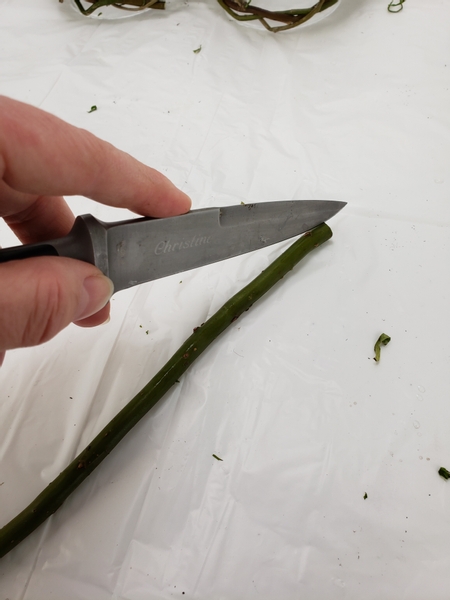
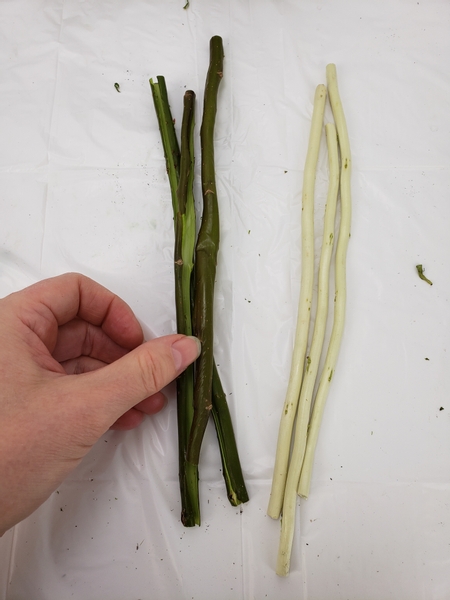
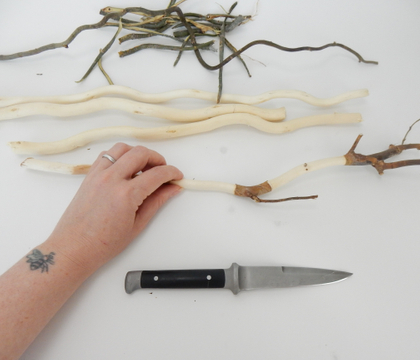
Cut the willow stems with a sharp knife to strip away the bark

Cut the willow stems with a sharp knife to strip away the bark. This step is optional. I wanted to make rope from the bark fibers and love the look of the stems so much that I decided to combine it.

If you want to make the basket without stripping some of the rods simply continue with that and use rope to secure it later. But if you want to give it a try... I have a Tutorial below with more information on how to strip bark from willow.
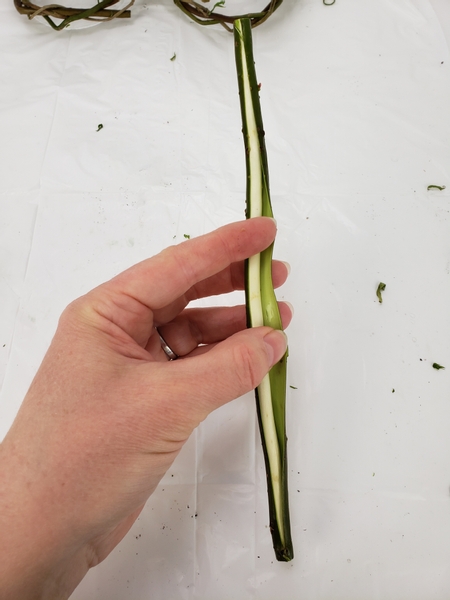
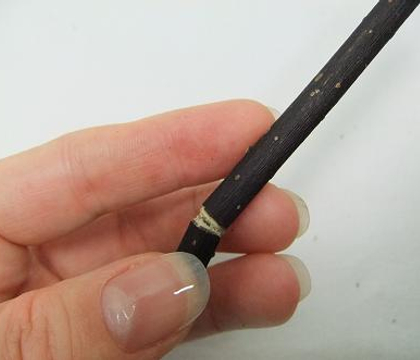
Strip the bark from the willow stem

Strip the bark from the willow stem.

Keep the bark part for making basic cordage

Keep the bark part for making basic cordage.
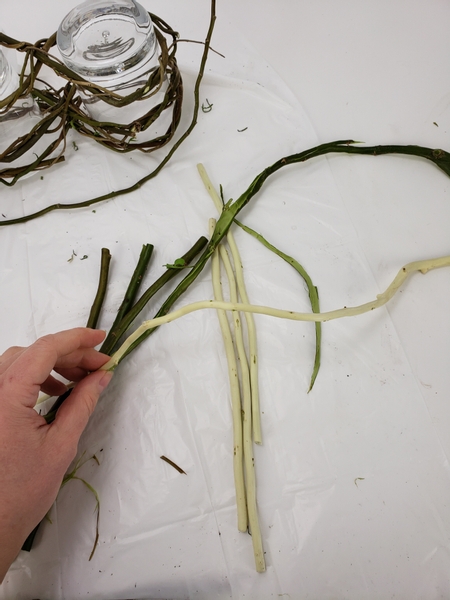
I am using stripped stems for both the base and the handle

I am using stripped stems for both the base and the handle.
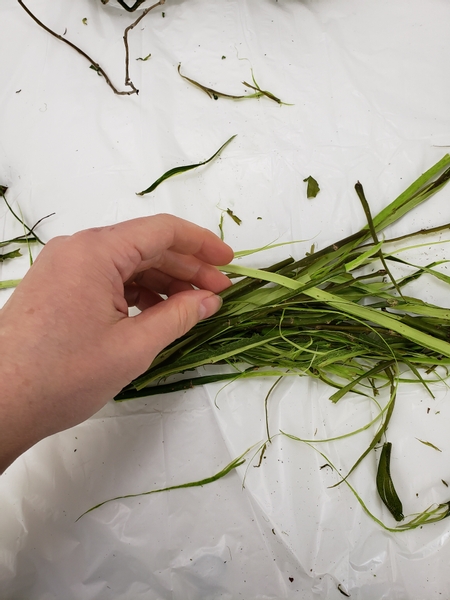
Rip the bark and scrape off the green outer layer to prepare the fibers for twisting into a rope

Rip the bark and scrape off the green outer layer to prepare the fibers for twisting into a rope.
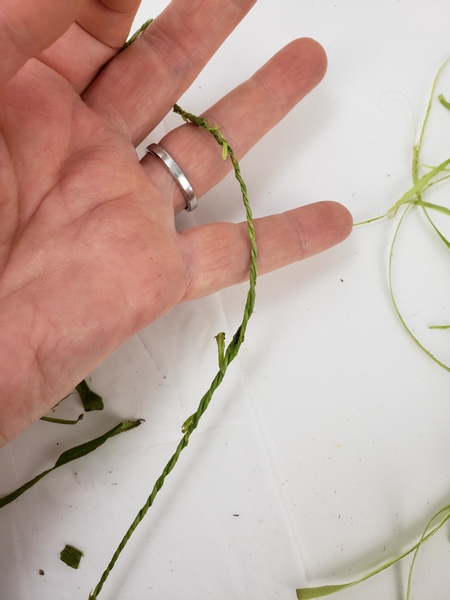
Making your own string is such a pretty way to add a natural element to your work

Making your own string is such a pretty way to add a natural element to your work. I deliberately make my cordage imperfect. I leave a bit of imperfections so that it looks handmade.

This is again where you add your own style to the design. If you want to learn more about basic cordage turn to page 46 of my book. For more information about my book: The Effortless Floral Craftsman
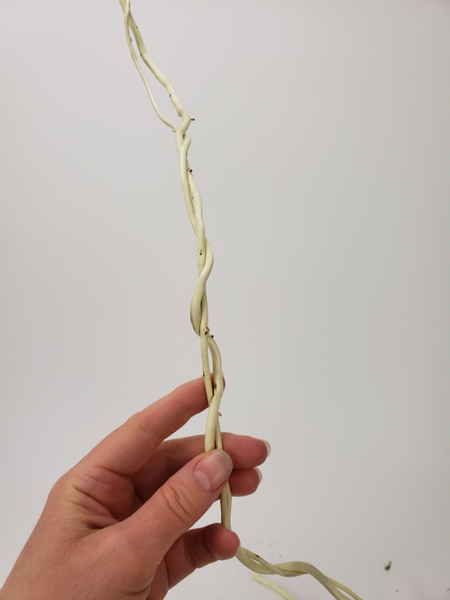
Twist two willow stems together to start crafting the handle

Twist two willow stems together to start crafting the handle.
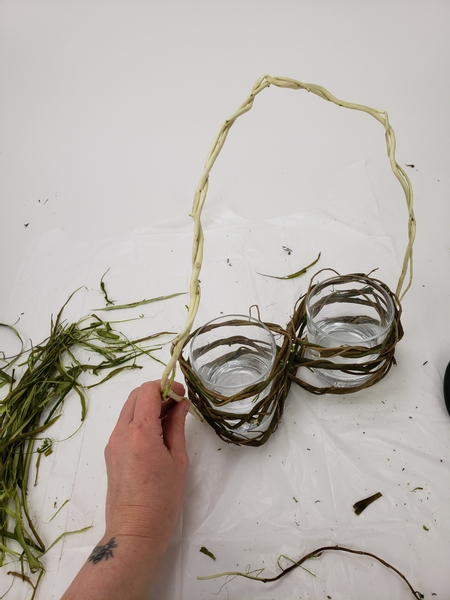
Bend the handle willow rods from the one side to the other over the glasses

Bend the handle willow rods from the one side to the other over the glasses.
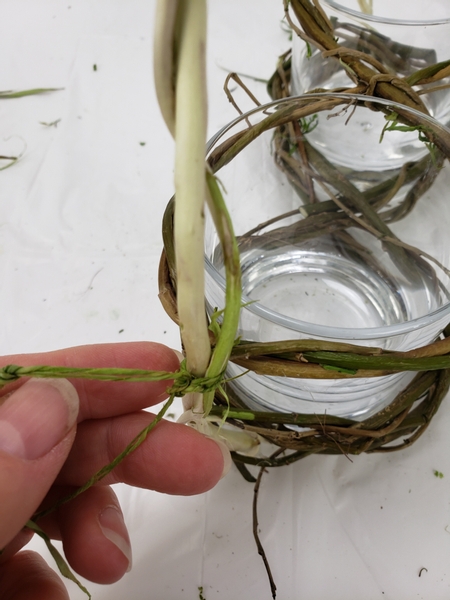
Secure the handle to the figure eight supports

Secure the handle to the figure eight supports with your string.
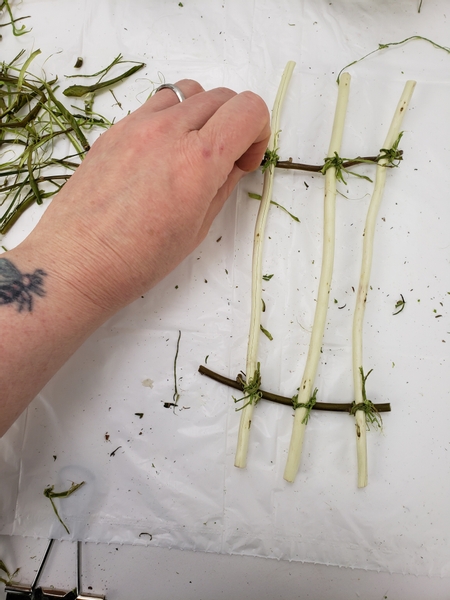
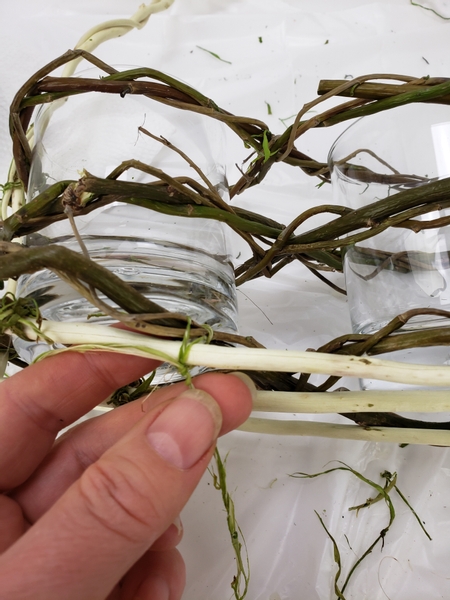
And secure two support sticks to the base sticks with your string

And secure two support sticks to the base sticks with your string.

Book readers turn to page 49 for knot advice. Also I have a tip for you about securing knots... permanently. that I wanted to discuss in more detail so I added it into our email for this week. If you are not yet receiving my once a week email you can sign up below this post. Also, I would love to hear from you. Reply to the email if you have questions or comments... or say hi. It is always wonderful to hear what you are working on at the moment.
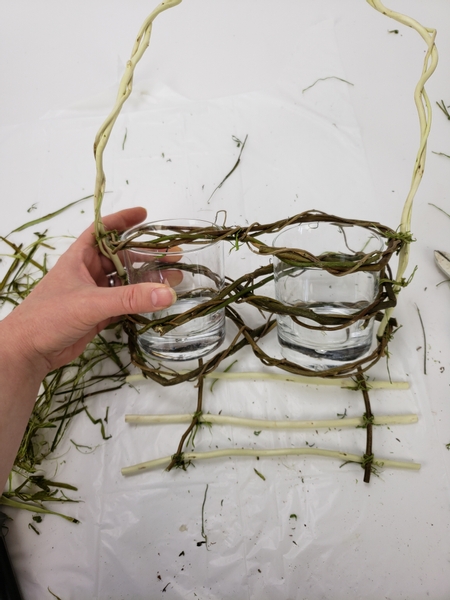
Place the glasses on the base

Place the glasses on the base...

And knot it at every connection point to secure

And knot it at every connection point to secure.
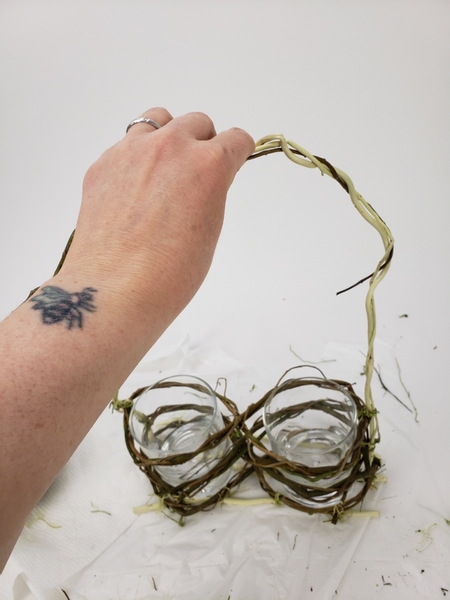
Lift the basket by the handle to test to make sure it is secure

Lift the basket by the handle to test to make sure it is secure... and adjust or add knots where needed.
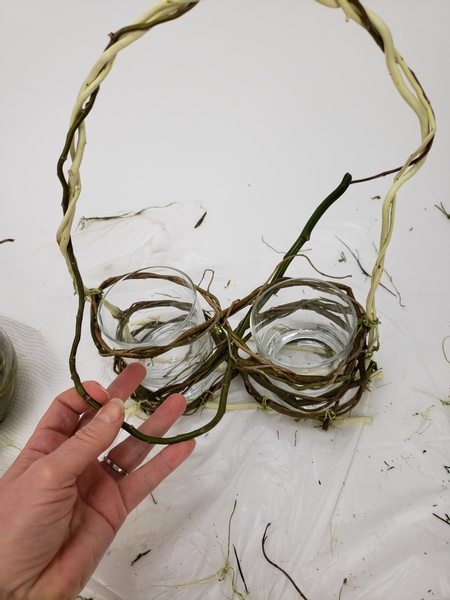
Weave in willow stems over the handle and around the figure eights

Weave in willow stems over the handle and around the figure eights. This not only breaks the weaving pattern to add a bit more interest and make it look more crafted but also makes the basket more secure.
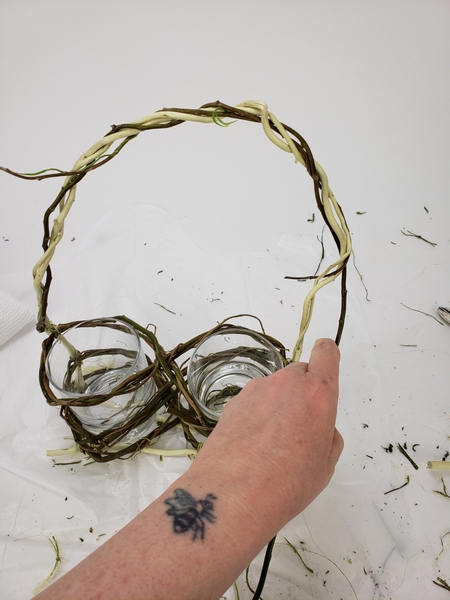
Focus the stems you add to support all the knots especially where it carries weight

Focus the stems you add to support all the knots especially where it carries weight. So add stems all the way over the handle and then weave it around the connection points.
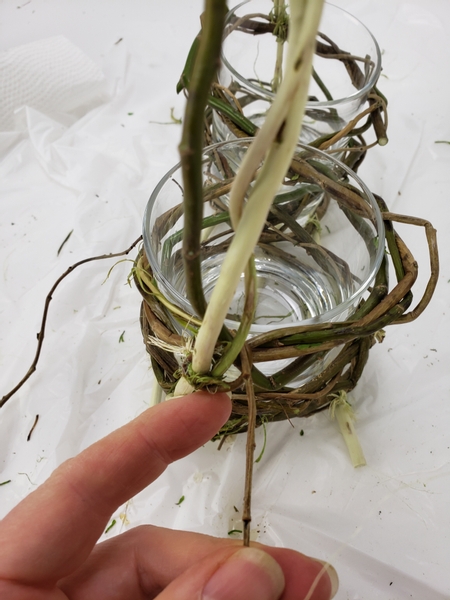
And over and around the knots that connect the figure eights to the handle

And over and around the knots that connect the figure eights to the handle.
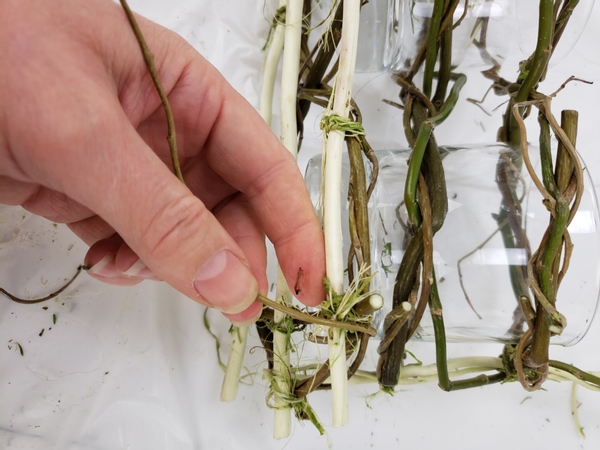
And over and around where the knots connect the figure eights to the base

And over and around where the knots connect the figure eights to the base.
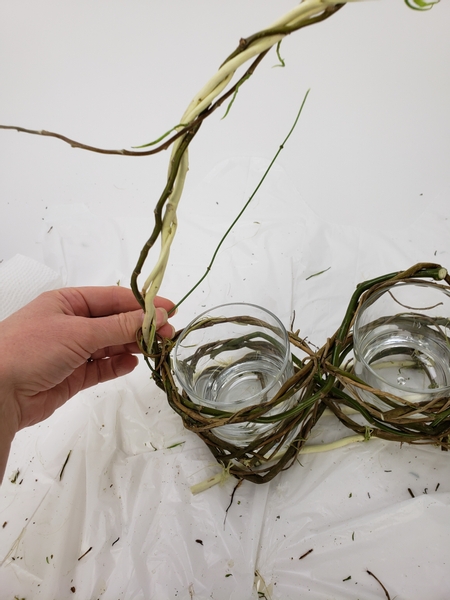
For my basket I also used vines

For my basket I also used vines to add a delicate twining finishing touch. You can continue with thinner willow rods but I wanted to make the design look overgrown... so I used jasmine vines to finish the weave.
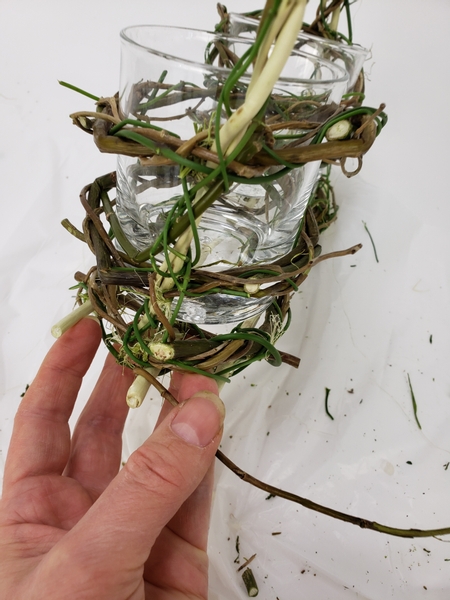
Simply weave the vines in and around and over and under the entire basket

Simply weave the vines in and around and over and under the entire basket...
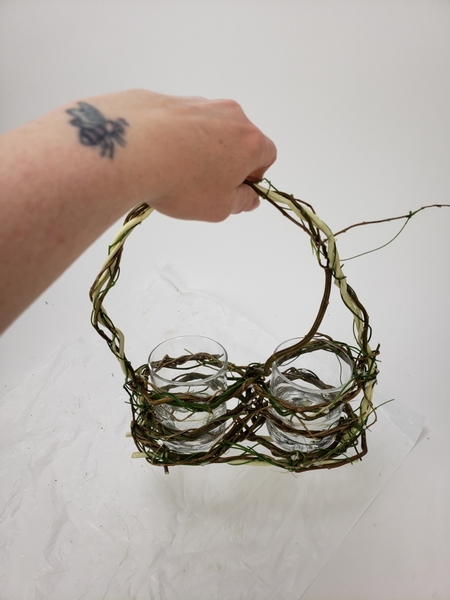
Again test the basket and add in vines if you need more support

Again test the basket and add in vines if you need more support.
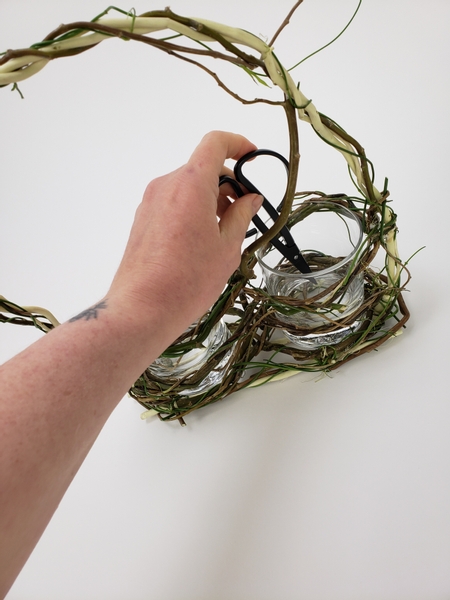
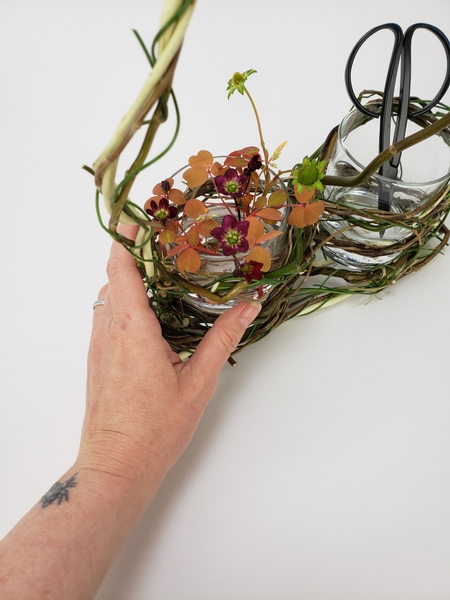
One side is perfect for your cutters

One side is perfect for keeping your cutters...
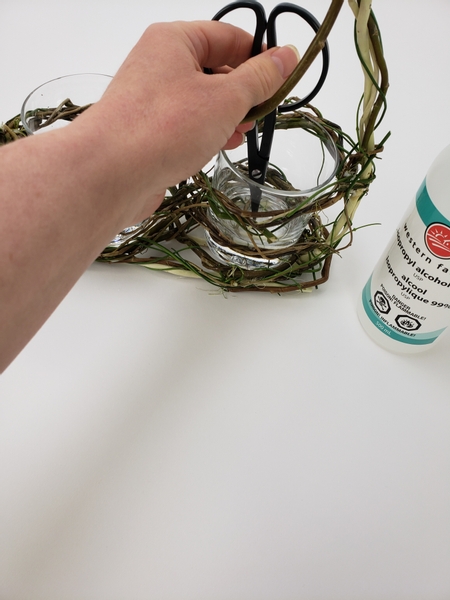
You can even add a bit of liquid to sterilize the cutters on the go or to rinse it if you are cutting milky stems

You can even add a bit of liquid to sterilize the cutters on the go or to rinse it if you are cutting milky stems... or use both if you need to keep the stems separate- looking at you daffodils.

Add water to the other glass

Add water to the other glass...

To hydrate your harvest on the go

To hydrate your harvest on the go.

Every week I add a new design with related tutorials. Be sure to subscribe to receive an email notification with design inspiration.
Tutorials

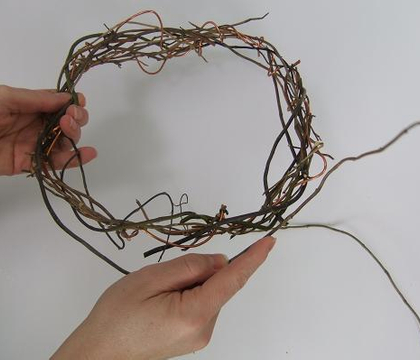
1 November 2011 Weaving a twig wreath

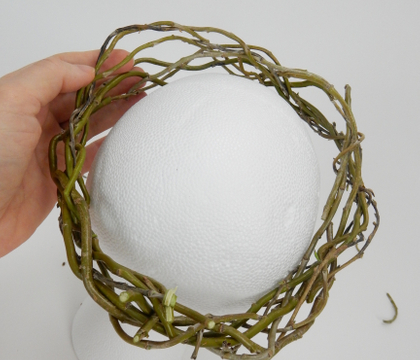
For my design I wanted the wreath to look wind blown so I added a few loosely woven twigs into the weave. I also wanted to emphasize the autumn colours so I added a twirling...
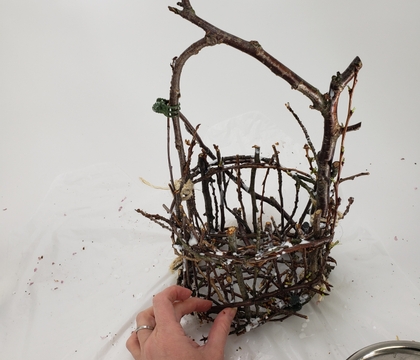
1 March 2023 Glue an early Spring basket from leftover cherry blossom twigs

After the last petal drops cut the blossom twigs into snippets to craft a basket with.

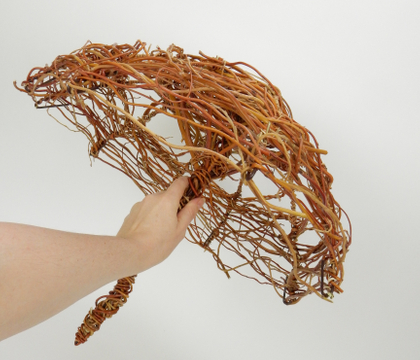
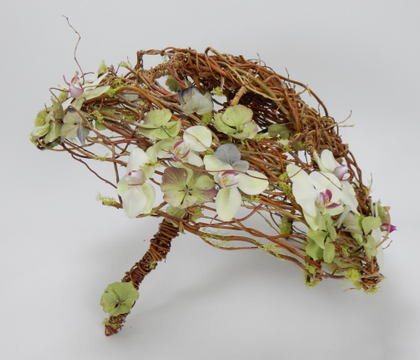
16 March 2016 Willow Parasol

Weave willow stems into a decorative parasol

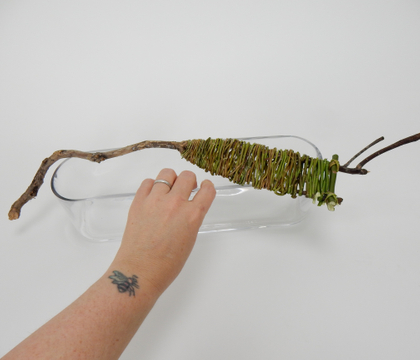
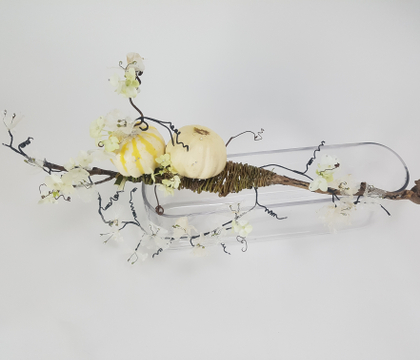
25 October 2017 Willow Paddle

Weave willow between the fork in a twig to create a paddle like armature

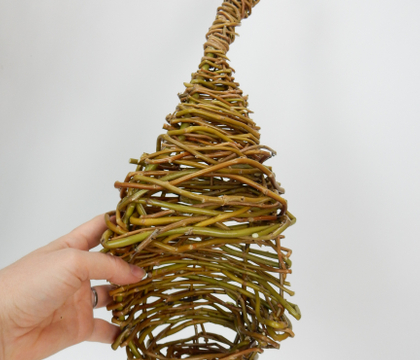
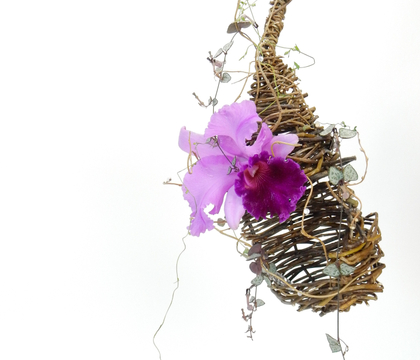
3 August 2016 Hanging Willow Nest

Bend and weave a nest shape from fresh willow stems

28 January 2015 The difference between detailing a sprouting stem for a floral design and pruning a stem

Give the stem a closer cut to detail for floral art

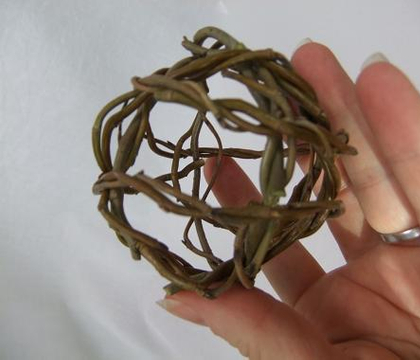
25 January 2012 Weaving Willow spheres

I build up the spheres by weaving willow wreaths and then use those to shape the ball

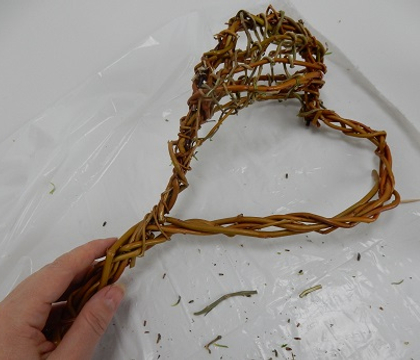
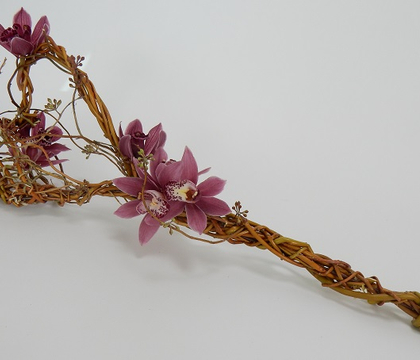
11 February 2015 Willow Heart Wand

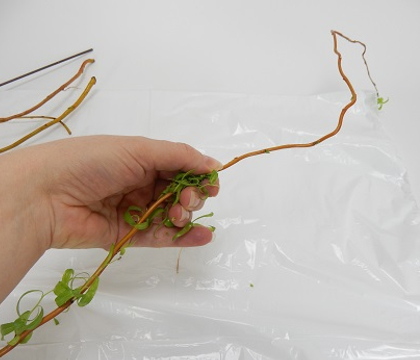
11 February 2015 Stripping foliage from weaving stems

Remove foliage from stems to weave with

8 June 2016 Stripping bark from willow sticks

Strip the green bark from the stems to expose the smooth wood

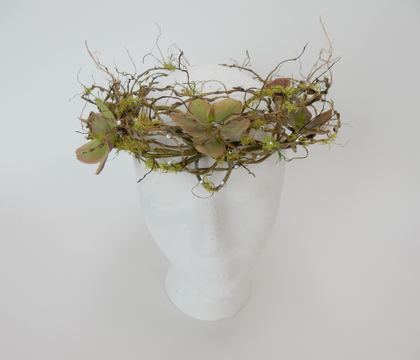
7 September 2016 Willow flower crown

Loosely weave willow tips to create an ethereal crown

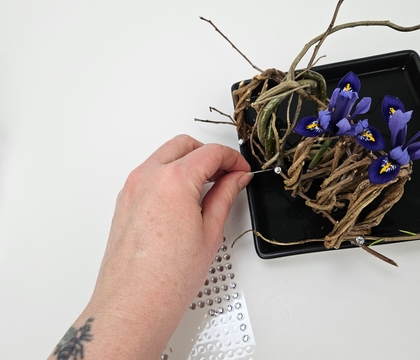
8 July 2015 Using a pin to place tiny dew drop crystals

It's sometimes difficult to place a tiny crystal or bead exactly where you want it.

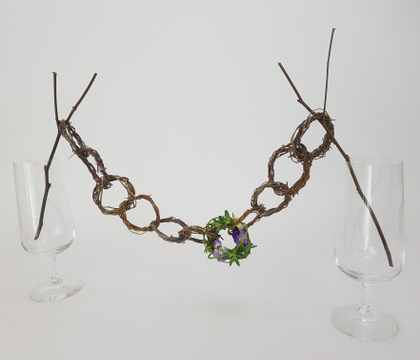
24 May 2017 Chain link wreath weaving

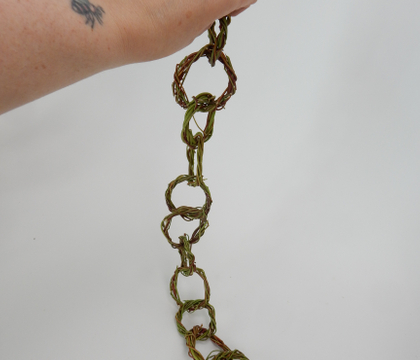
Weave a few small wreaths to connect

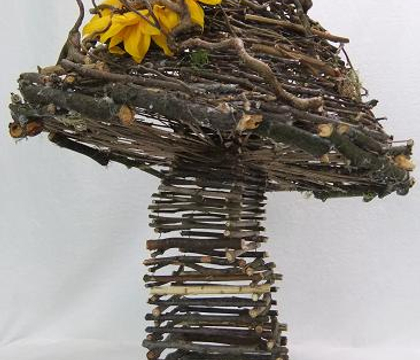
3 July 2012 Twig mushroom

Stack and wire a twig mushroom armature

22 May 2012 Bite and snap a sturdy twig

Break the sturdy twig on the scribe line.

6 January 2012 Mossy Twig handbag

Radiate short twigs in a circle to make a moss and twig handbag

21 March 2018 Craft a Spring basket from a wreath

A wide gap nearly basket for nearly spring

14 March 2018 Willow birdcage

Weave a willow birdcage to use as a wedding ring box

11 April 2017 A little nest for Easter chocolates that naturally hooks over the edge of a container

Weave a tiny nest with a twig hook so that you can hang it in a design

1 February 2012 Weaving a diagonal green grass basket

Once you figure out how to do the corners weaving a diagonal shape is actually not that hard to do.

30 October 2012 Midelino Harvest Moon Basket

This is a great flat and open basket to take outside when “harvesting” your fall leaves, pods and flowers. Who knows, you might even find a ghost pumpkin or three…

14 August 2012 Midelino cane coil basket

Weave a hand basket from Midelino cane coils

4 September 2013 Weave a heart shaped basket

An easy to assemble open weave basket

Favourite Flowers

Salix matsudana "Tortuosa"

Curly Willow, Chinese Willow, Tortured Willow, Globe Willow, Dragon's Claw, Hankow Willow

Related Designs

19 April 2023 Short Cut

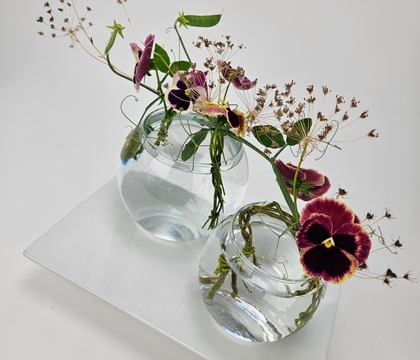
A tiny carry basket to gather the shortest stems from your cutting garden... with a place for water and your cutters.

24 May 2023 everywhere IS nature

A lush wreath that remains green so that you can design once... and cut and cut and place your violas to make sure you have flowers all season long.

28 June 2023 Catch and Release

Ah... yes summer time designing. Anyone else seeing more insects hiding between the petals this year?

2 August 2023 here… from … my little corner… of the world wide web

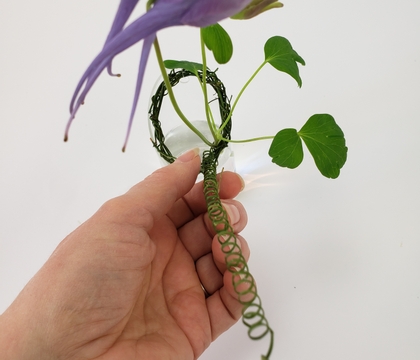
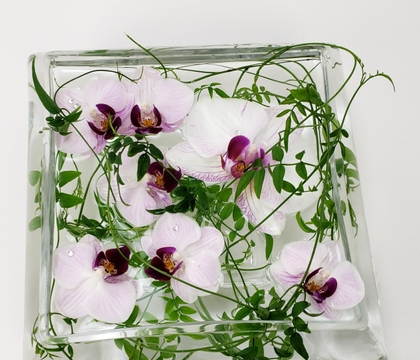
Weave a web of jasmine vine to support orchid stems

6 March 2024 A Stay Open

Grow a willow birdcage... with a bit of a Spring flower support to get it started.

20 March 2024 the arc of Success

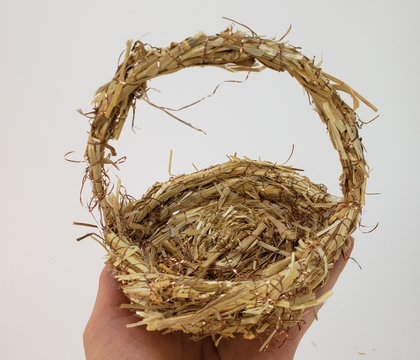
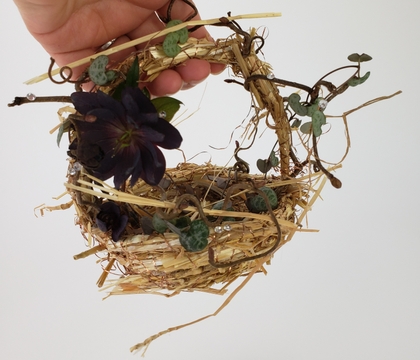
Coil a straw basket for an Easter display

3 April 2024 springy, Spring, spring

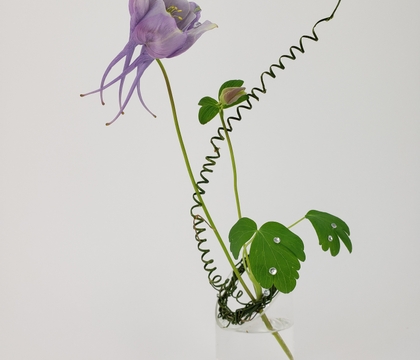
Gorgeous Aquilegia vulgaris spring flower... with it's own springy thing!

2 October 2024 Brewing some inspiration

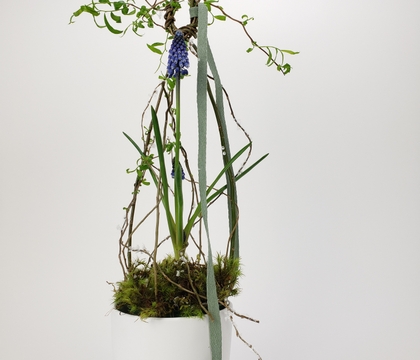
Autumn harvest willow for a double the pretty plaited flower support

1 March 2023 … ish

An early... ish Spring basket glued from blossom twigs

16 March 2016 Creative Expectations

My article and a floral parasol design featured in DIY Weddings Magazine

3 August 2016 Practice

Weave a willow bird nest

25 October 2017 When the pretty eyeballs you back!

Barely there skeleton blossoms with Eucalyptus eyes for my Halloween design... Oh! and a Willow Paddle, which probably should have been the main Tutorial... but... well...

11 February 2015 Love Spell

Weave willow to create a heart shaped wand design

7 September 2016 You are all invited!

My article and Willow Crown design featured in DIY Weddings Magazine

24 May 2017 Link

weave a few wreaths to link

3 July 2012 Twig-a-tude

Stack and wire twigs to create a twig mushroom with attitude for summer

8 June 2016 When the wind whisper

Glue a fantasy forest from Popsicle sticks, grape vine tendrils and willow tips

5 January 2012 Designing Your Way to Profits

Floral Craftsmanship Article in the Canadian Florist Magazine

12 July 2017 Sparkler

A radiating twig design

21 March 2018 Bring some Spring

Just like the weather is only hinting at spring, so is this design only hinting at being a basket

18 April 2018 Swing Vine

Weave a delicate vine swing to nestle a small vase with spring flowers in

3 March 2021 Spring Tray-ning

A Spring basket design for catching falling blossom petals.