Christine de Beer - effortless floral craftsman
A secret and so pretty stay open support for a growing willow birdcage
- 6 March 2024
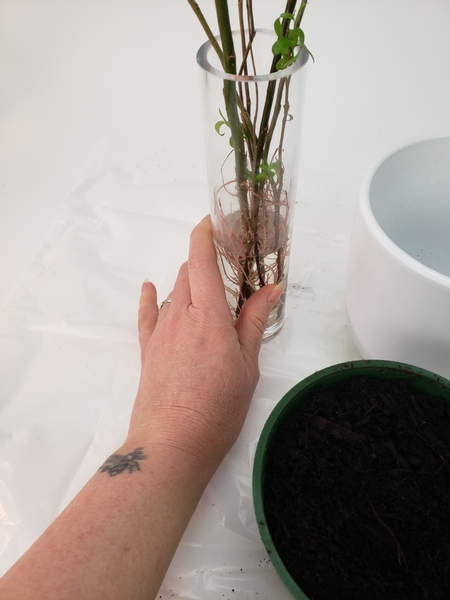
Look! Isn't this exciting? Last year I started a willow coppice... in a pot. And this design is my very first harvest. I again allowed the cut willow to root in water.
Plant the thickest stems first and the thinnest ones in between them.
To read the article about how I planted willow to coppice for crafting head on over to the Plant Something BC website. I wrote the article in April 2023 as part of their initiative to promote the benefits of buying locally grown plants to aspiring and experienced gardeners of all ages.
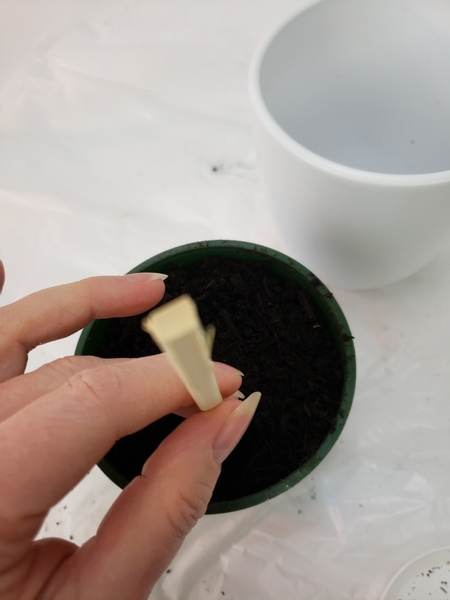
Fill a small pot with potting soil and make a small hole for the willow cutting.
Plant the willow close to the edge of the pot and fill in the soil from the middle.
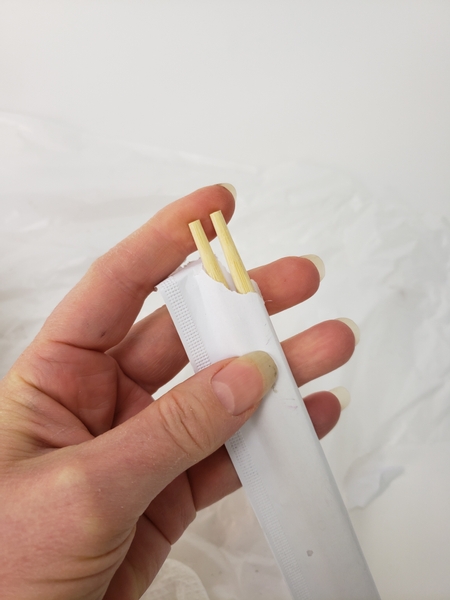
Design note: I do small scale gardening in pots on my two balconies. And chopsticks are my absolute favourite garden tool. They scoop and poke and pick up and stake. I keep them poked into pots everywhere ready for me to use when I need to adjust something. But also... I take them out to inspect whether the plant needs more water. My absolute favourite tool.
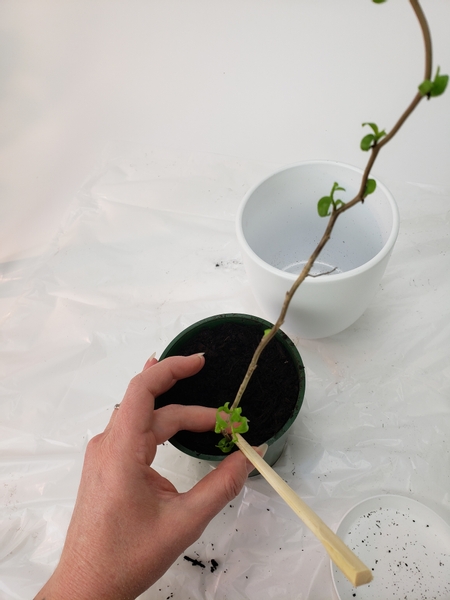
Make a hole on the opposite side of the pot...
And plant the second willow stem.
Poke two more holes between those and plant willow stems.
Plant the thinnest stems between those willow stems, keeping a gap as a display opening.
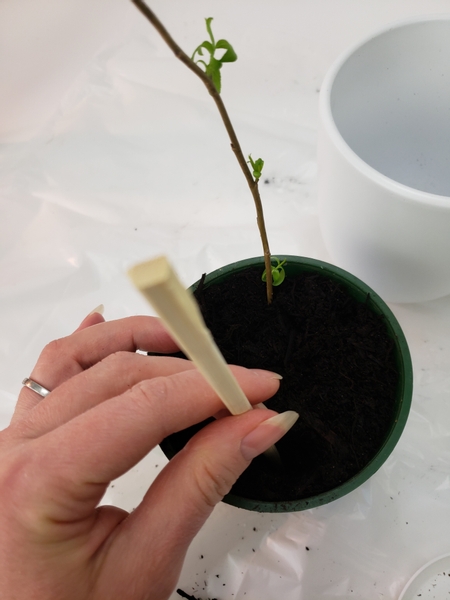
Hollow out the potting soil a bit so that you can add a spacer to keep the twigs open when you weave them.
Because the roots are not yet established the willow roots will easily get damaged and the twigs flop about if you do not keep them stable.
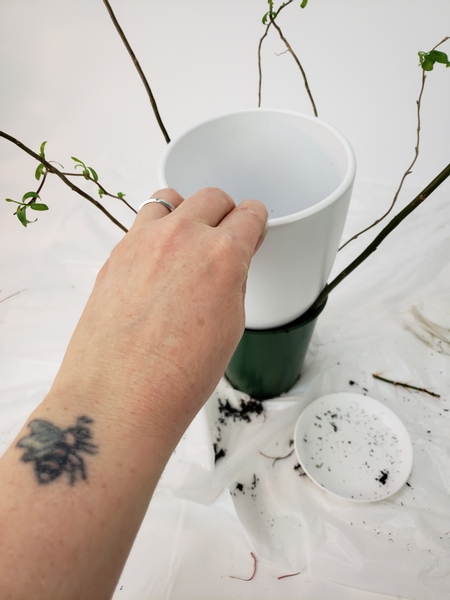
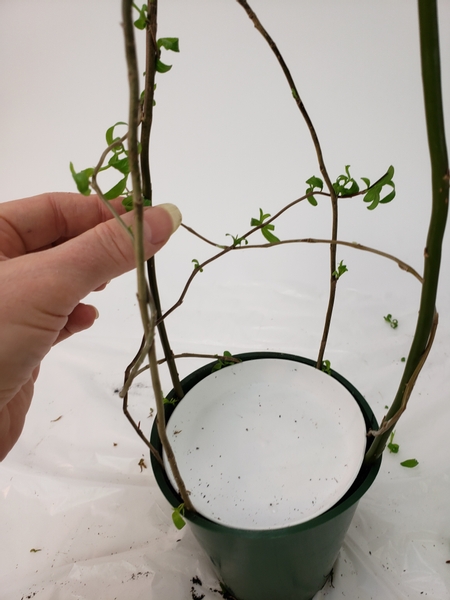
Place the display pot on the potting soil in the middle of the cuttings. Press slightly down to firm them in.
Use the display pot as a guide so that you get the proportions right the first time, and also for keeping the cuttings stable in the pot below as you manipulate the stems.
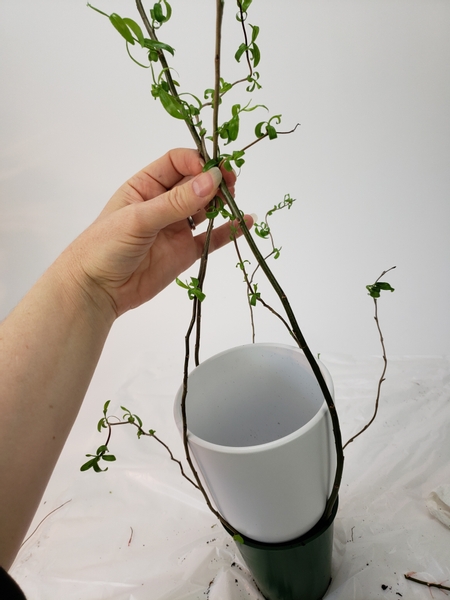
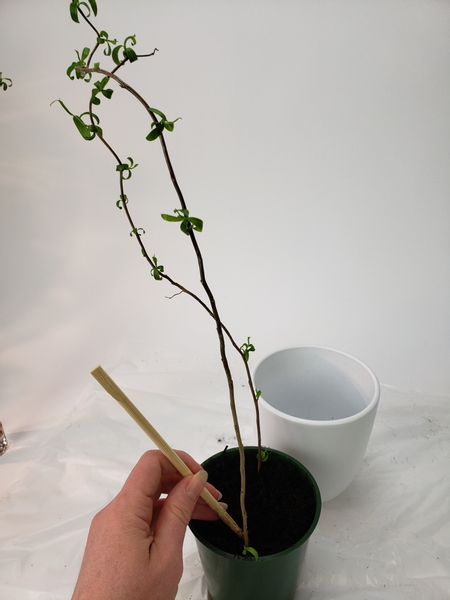
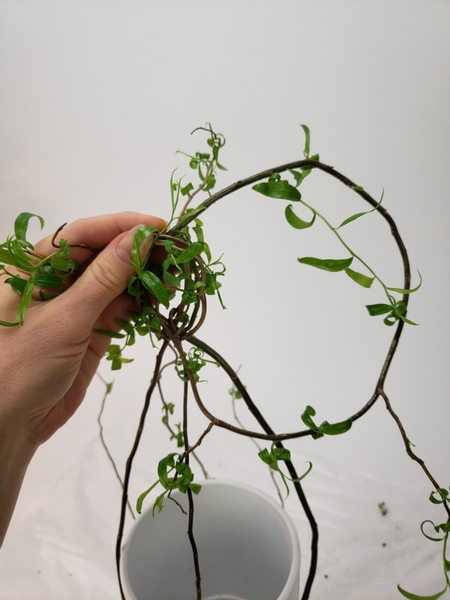
Gather the longest willow stems up over the display pot.
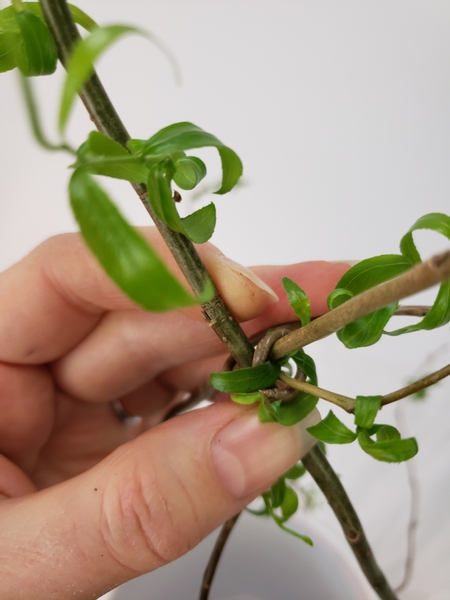
Wrap one of the thinner willow stems around the cuttings to secure them together. Knot the cutting in on itself so that it is firmly secure.
Book readers turn to page 235 where we talk about binding. For more information about my book: The Effortless Floral Craftsman
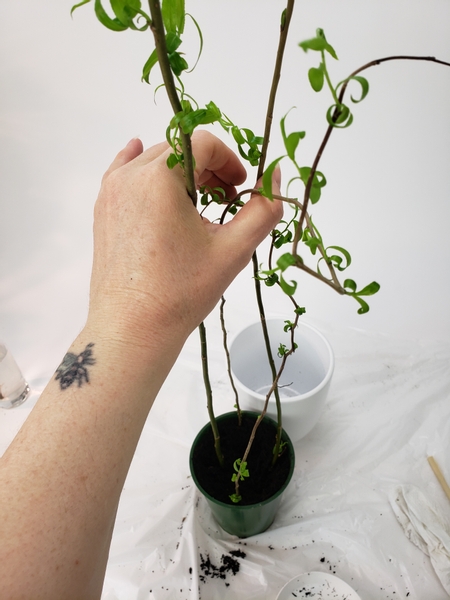
Curve the second longest stem to shape the birdcage handle.
If you are struggling to shape a great looking circle or would like to get it done quicker I have a tip for you this week on how to get the shape exactly how you want it in our email. I send out a notification email every Wednesday morning (Vancouver time) the moment the design is ready for you to look at. And I add a tip or something that I have discovered in the email so that you have the "inside scoop" even before you have a look at the design. The sign up is below this post. Also you are welcome to reply to the email to say hi... or ask a question or if you have a comment. I would love to hear from you.

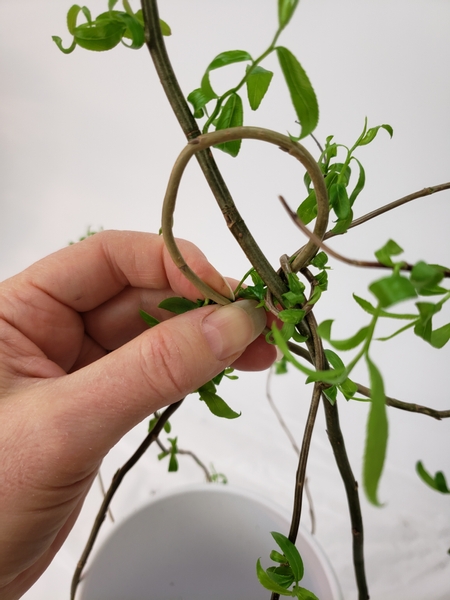
Once the stem is curved into a circle...
... Push the most robust stem through the circle to secure it.
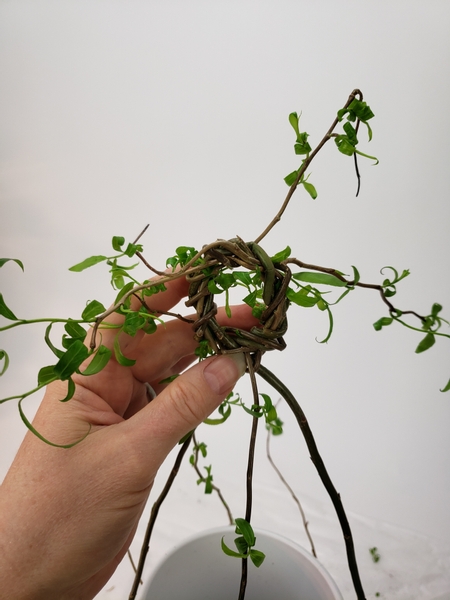
Weave the stem through the circle to wrap it firmly.
Book readers page a few pages back and forwards. You will find a few tips about binding and weaving and wrapping and winding in this section of the book.
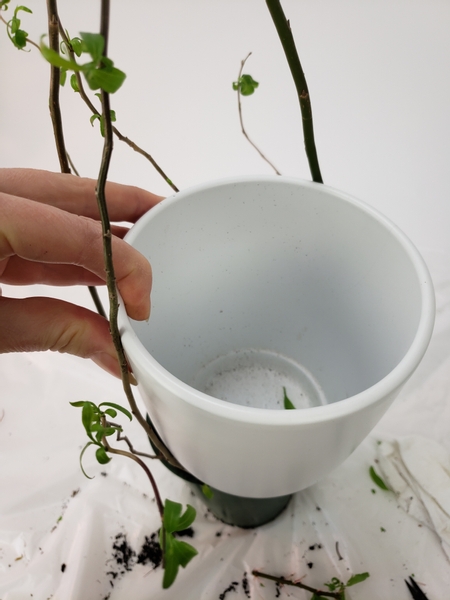
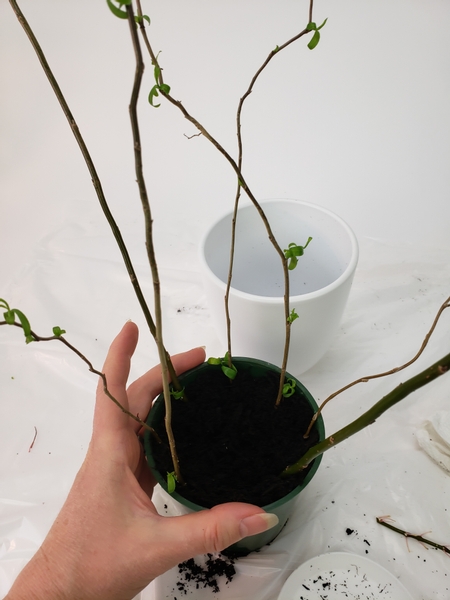
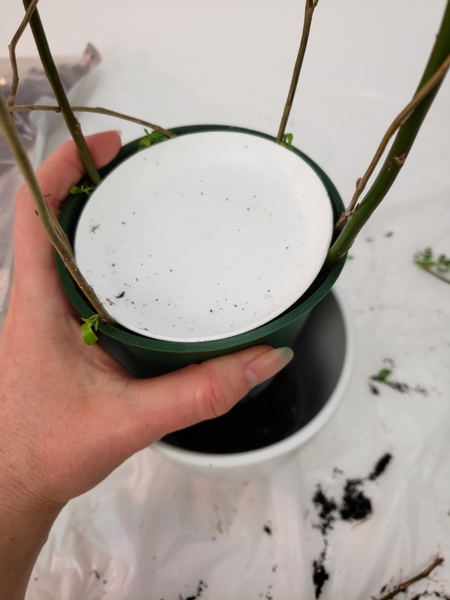
Once the stems are secured you can remove the display pot.
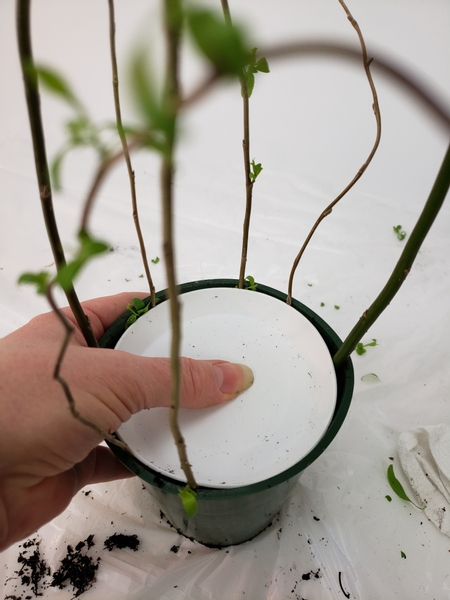
... to replace it with the matching plant saucer as the guide so that the twigs start to grow in the shape you want.
Start to weave in the thinner stems to begin the birdcage shape. You can continue to tweak the birdcage design as the willow grows in the pot below. For now... the incomplete, just the hint of the cage is perfect for an... almost... almost.... almost Spring design.
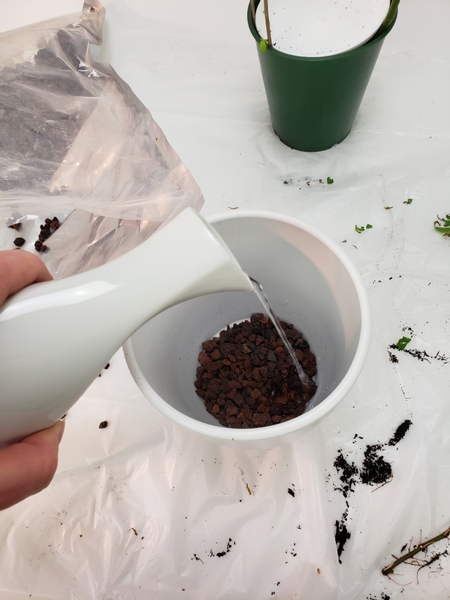
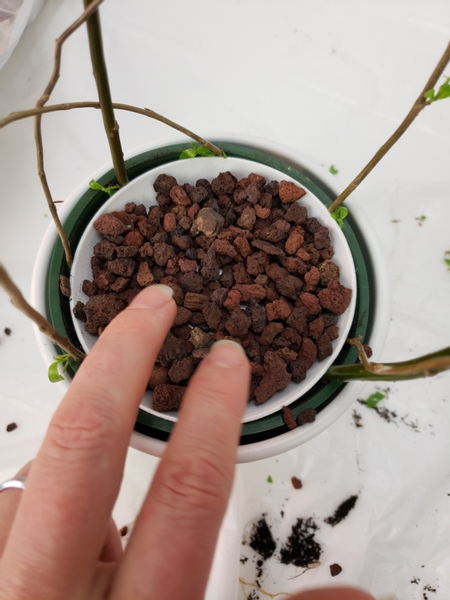
Add gravel to the bottom of the decorative pot to hydrate the growing willow.
Place the willow on top of the gravel in the wet decorative pot so that it can be watered...
Place gravel or pebbles or even clay bits in the bottom of the saucer to prevent standing water.
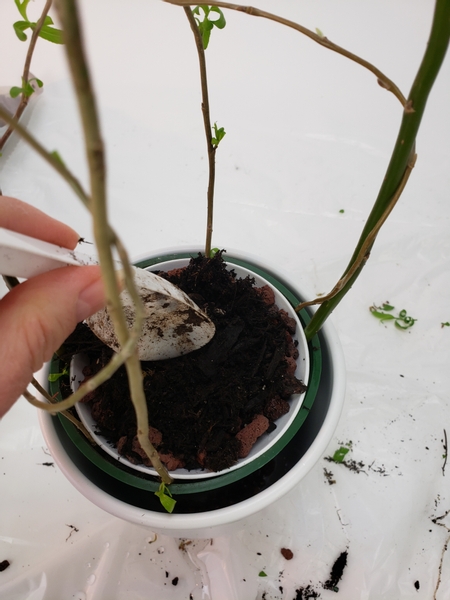
Add a scoop of potting soil on the gravel.

Plant a spring flowering bulb in the soil and top up with more potting soil to make sure it stands upright and the roots are covered.
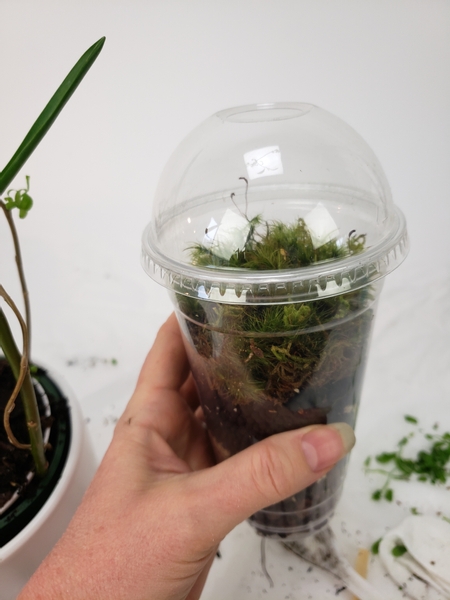
I grow all the moss*** I design with in small containers in my design room. For something that seemingly grows absolutely everywhere growing moss is surprisingly tricky. It takes weeks for moss to become stable in the growing conditions they prefer. And this is my first "harvest". My crop of mood moss is stable and growing happily in a glass terrarium. This cup is the first moss that I had to remove because the main container became overgrown.
*** Would you like to see how I grow my moss? Different species of moss grows on different substrates. For my design pantry I grow a steady supply of bun moss and mood moss (used in this design) for anything that has soil as a substrate and step moss (see the design in the link below) and sheet moss for anything that I design using bark. I also have green reindeer moss (a lichen) that I use as an in between when I might not have any substrate.
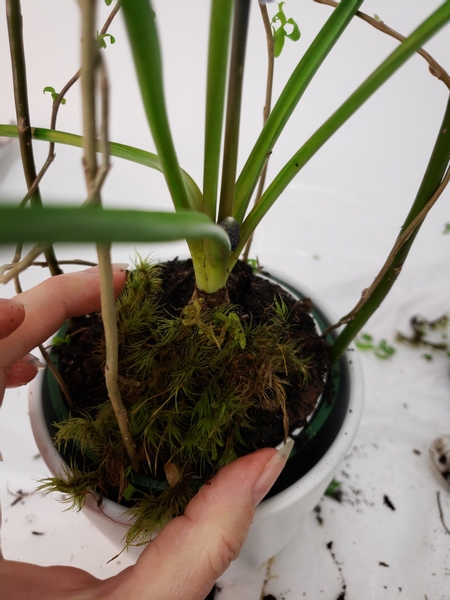
Place the moss on the potting soil all around the bulb.
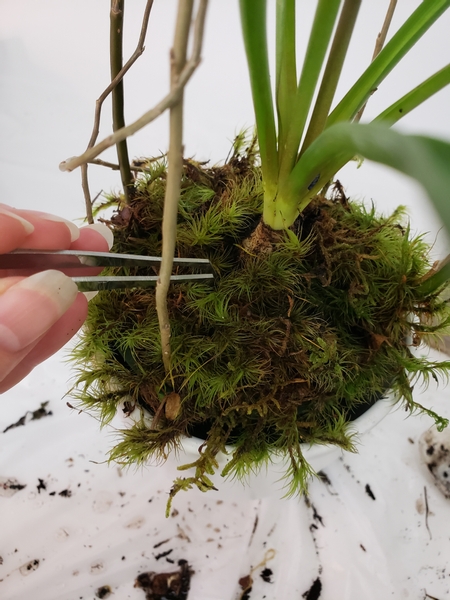
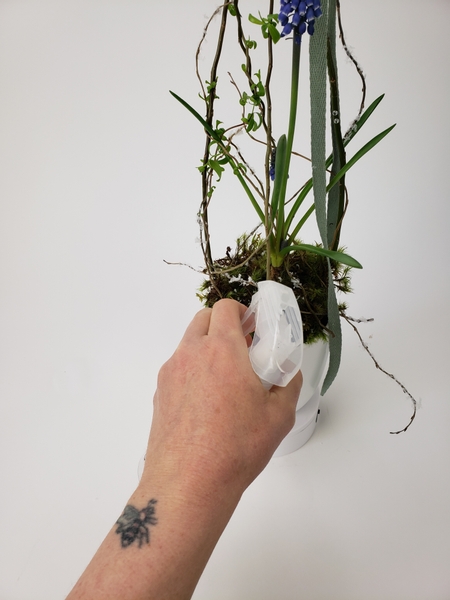
Poke the moss with tweezers to make sure it is firmly into the soil.
... and now it's time for the fun part:
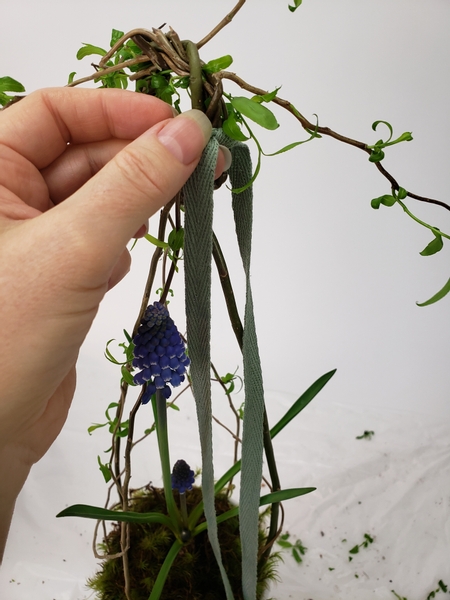
Add your own effortless style details to the design... maybe some ribbon casually tied into a knot (or you might like a bow more...?)
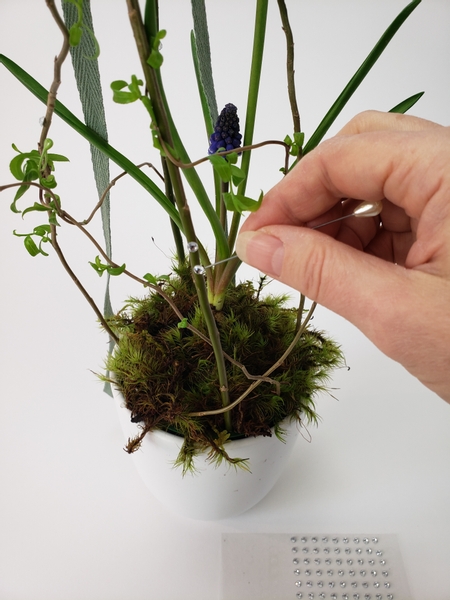
Add in a few dew drop crystals...
See the Tutorial below for more detailed instructions on how to add the crystals with a pin.
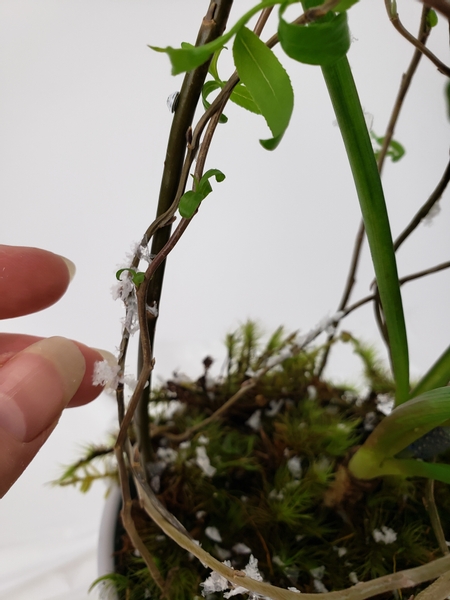
And maybe a few snow covered dried willow twigs...
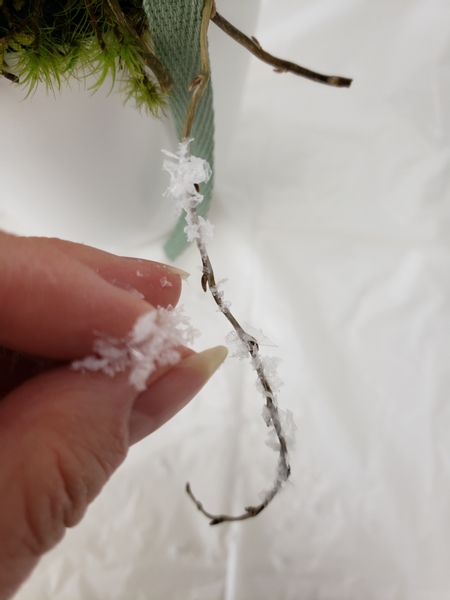
To add to the "will grow into it" not yet Spring, touch of winter look to the design.
See the Tutorial below for more detailed instructions on how to add snow to the twigs.
Maintain the design by spraying the moss with water when it starts lo look dry...
As the willow roots grow and mesh together below you will be able to lift the cage by the handle to pour water into the pot below. That is also a good time to lift out the saucer and plant the bulbs directly into the birdcage for a more permanent design. Keep weaving in the willow stems to have an ever changing display.
Sign up for my weekly newsletter
Every week I add a new design with related tutorials. Be sure to subscribe to receive an email notification with design inspiration.


