Christine de Beer - effortless floral craftsman
Mossy “Moss” Pebble… in the snow
- 10 January 2024
To craft this design we have three options:
A single use option by simply balling up the moss inside the container and using that as your mechanic. The water in the moss will then hydrate the cut flower stems. Enjoy the design while it looks pretty and use the container for something else once done.
Or as a slightly longer lasting option you can add the entire flower bulb into the balled up moss design so that the flowers continue to grow and maybe the moss as well.
My preference, for this design at least, was to focus on and protect the moss. It is a bit more of an effort to create a moss habitat but I would love to add it to my terrarium after the flowers have faded. To do that I need to quarantine my moss before I design with it. That is what I am telling you about this week in our email. If you are not receiving a weekly email (always on a Wednesday morning at about 8, Vancouver time) from me you can sign up below this post. The email is for us to connect. I write to you about something I found interesting about the design to make sure you get the most possible out of the teaching. And you can then reply to the email if you have questions or a comment.
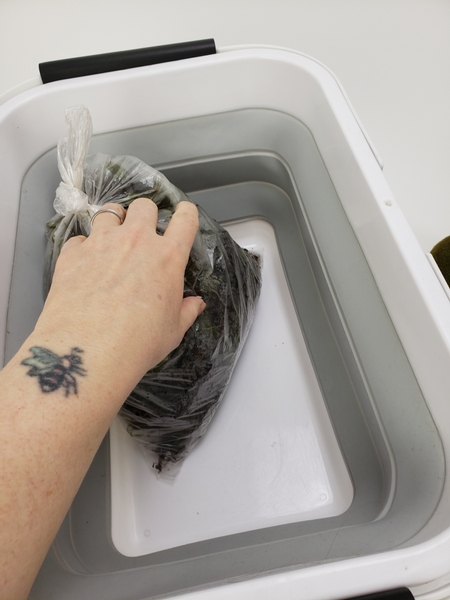
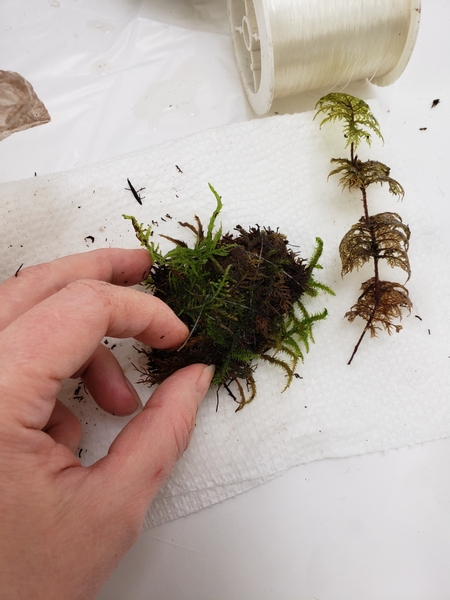
Step one when designing with moss: always to get good quality, sustainably grown and harvested moss. It actually should be so valuable that you do not want it to die. Once cleaned, groomed and quarantined you are ready to design.
My number one rule is to ALWAYS make sure you have permission to forage anything from anywhere. Yes, even in the forest. Yes, even on the side of the road. Rather leave it there for all to enjoy. If you go through the effort to ask for permission you value it enough to research how to take just enough and then give it the best possible chance to thrive well beyond seeing it just as a mechanic.
Better yet, if it is not growing in your garden source your moss from someone who is an expert.
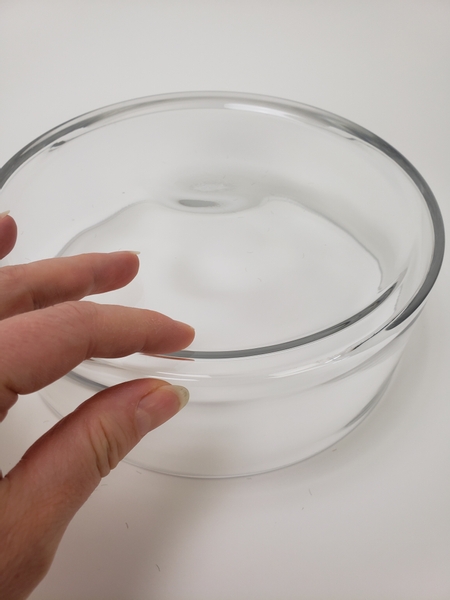
Prepare a display surface. For my design I am using an upturned vase that has a convenient ridge on the base that creates a little water dam.

Use a sharp knife to cut into a faux moss pebble.
You can buy these from craft stores or even amazon.

Cut out the shape you want to fill with moss.
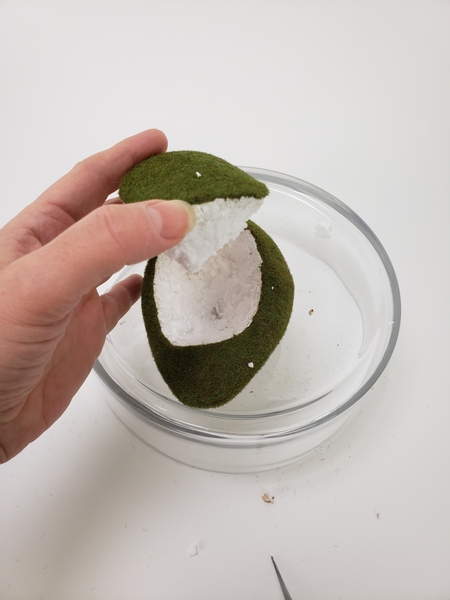
Lift out the lid piece.
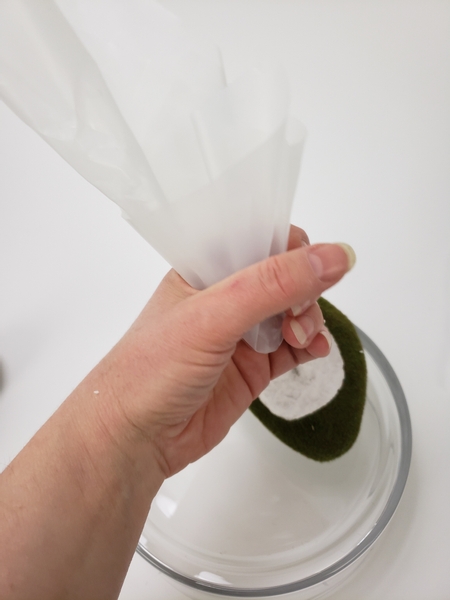
Gather a sheet of heavy duty lining plastic in your hand..
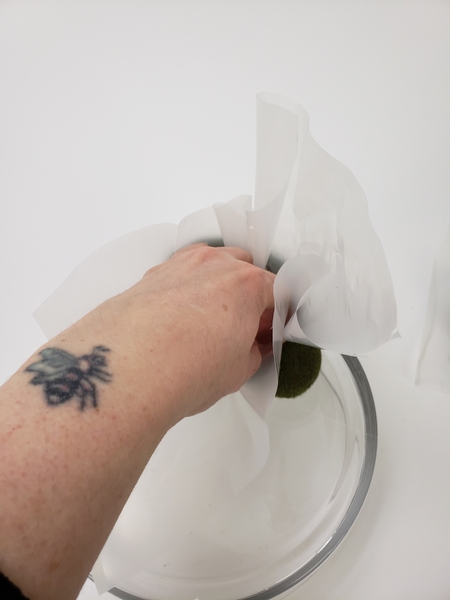
Open up the plastic to line the inside of the pebble.
You can skip the lining if you prefer. I line mine because the polystyrene inside was not as dense as I wanted it to be and I am worried that water might seep into it at a later stage. Better do a good job early on than having to discard the moss because I did not line it.
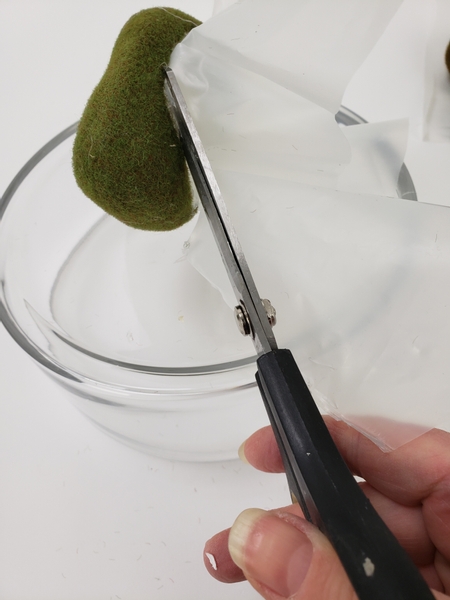
Cut away the plastic.

Secure the plastic lining to the pebble using hot glue.
Design note: Next we choose what is the best habitat and substrata for the particular moss we have. The bag was labeled as step moss (Hylocomium splendens) but it looks like there might also be another type of moss in the mix. But mostly step moss is the most commonly found moss here in the Pacific Northwest. It grows in a variety of habitats on diverse substrata, such as decaying logs in the forest, the forest floor itself, cliff shelves and tree trunks. So giving it a little tree trunk should feel a bit like home.
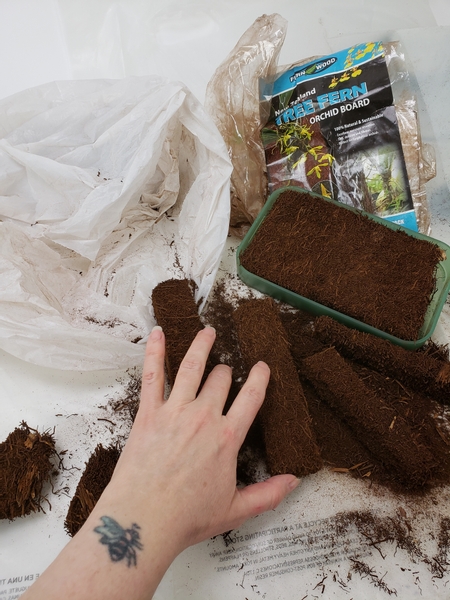
Cut the tree fern into the shape you need to fit into the pebble. Notice the label?
This is the most sustainable tree fern you can buy. Look for "from New Zealand" on the packaging to make sure.
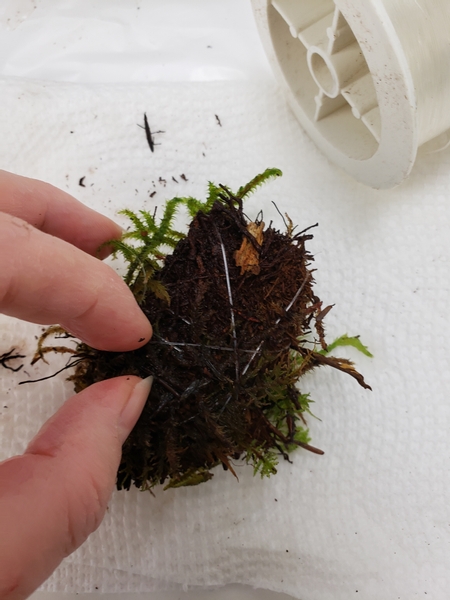
Use fishing line to tie the moss to the tree fern shape.
You can also use green thread but make sure it is polyester to prevent rot.
Soak the fern shape in room temperature distilled water.
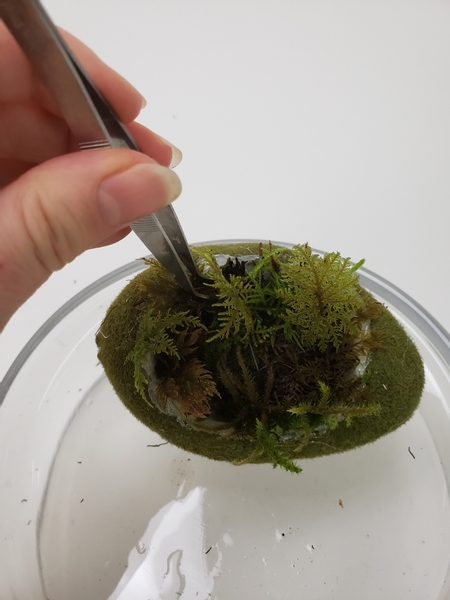
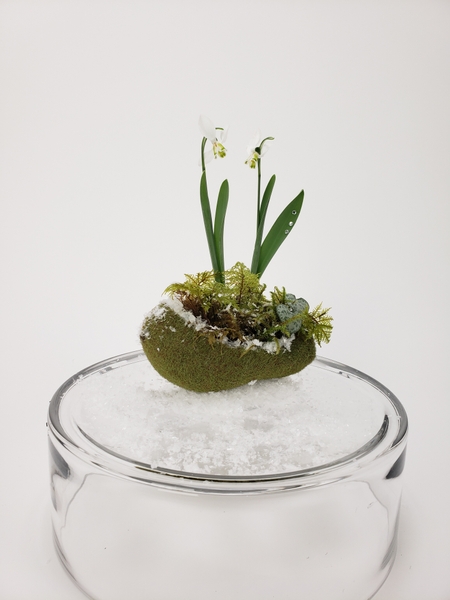
Place the shape in the pebble and adjust the moss to create a design.

Pretty just like this... but to finish the design...
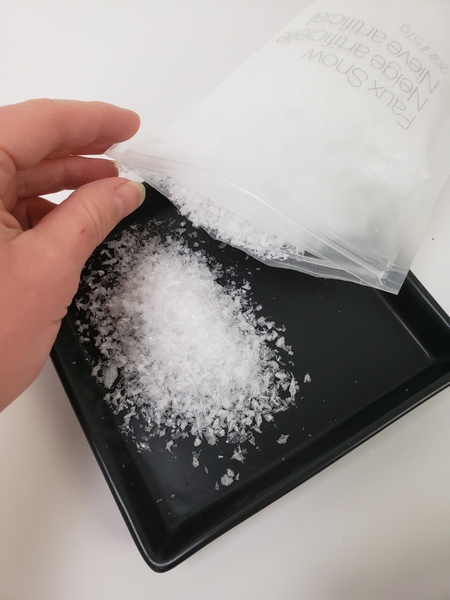
Pour out some artificial snow in a shallow container.
I get mine from Crate and Barrel but most craft stores sell a version of this snow.
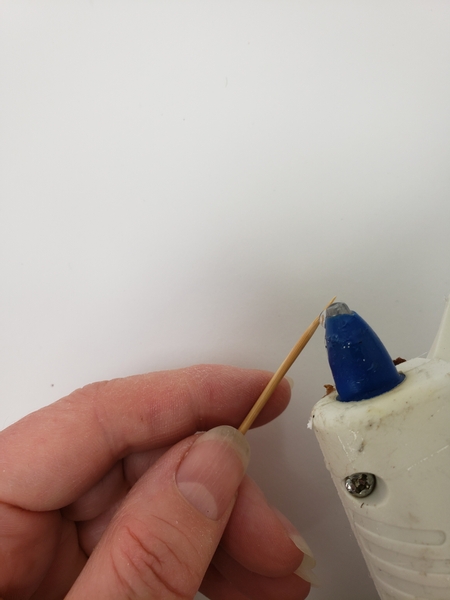
Hold a bamboo skewer under your hot glue gun to catch a drop of glue...
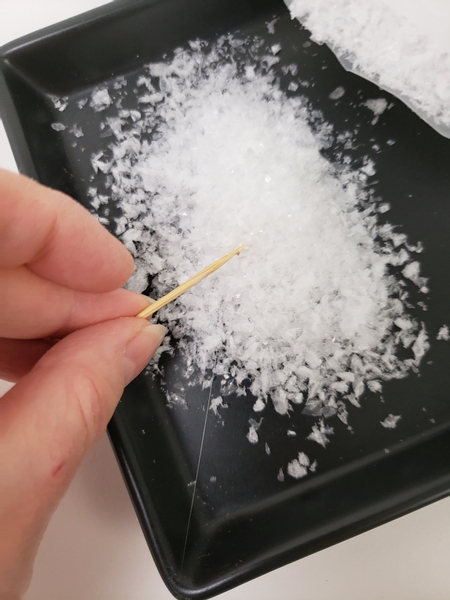
Dip the glue in the snow...
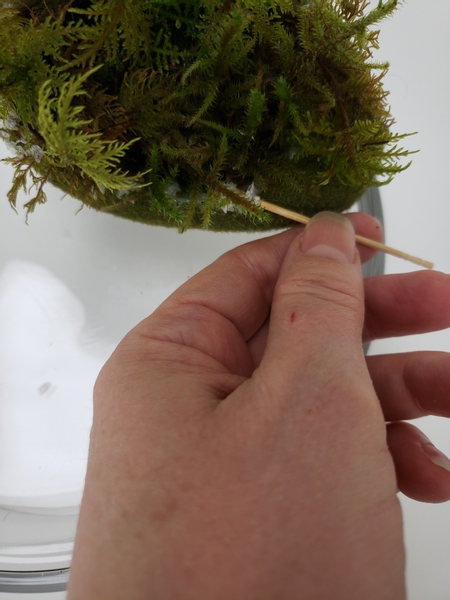
Reach in under the moss and place the snow on the very edge of the pebble to conceal the glue line.
Make sure not to glue the moss.
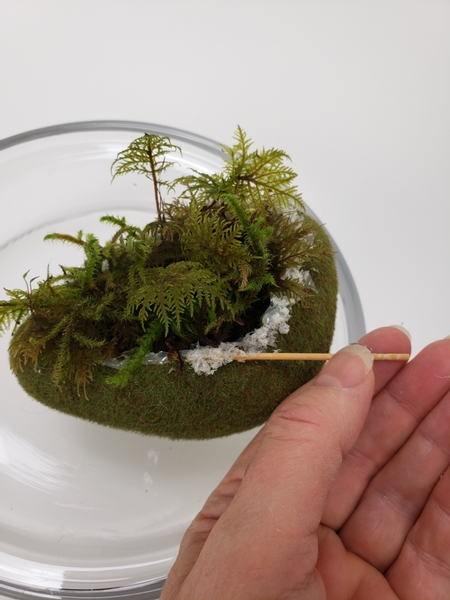
Move all the way around the pebble and give it a snow covered edge.
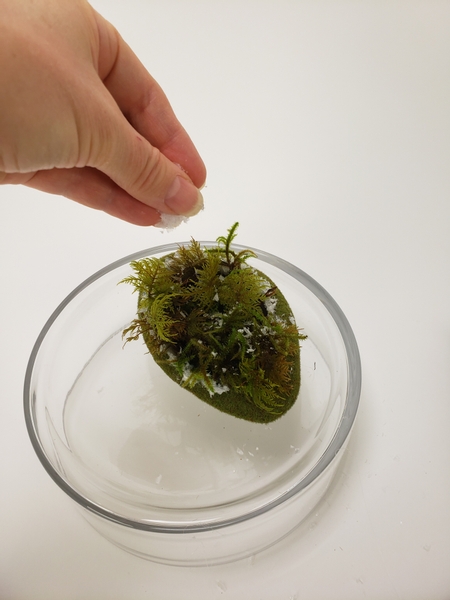
Sprinkle artificial snow over the moss.
Still want to add a bit more?
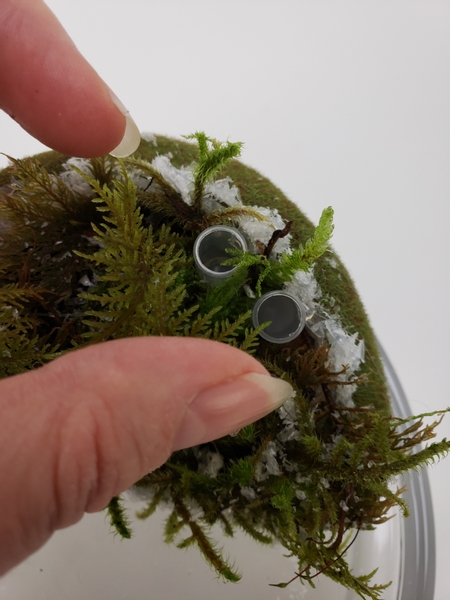
You can use moss as a mechanic to keep the flowers hydrated but because my moss is going to be in quarantine and I want to continue to grow it I want to avoid introducing any bacteria into the design. When adding flowers make sure to give them a separate water source. Add in two tiny water tubes into the moss.
Fill the tubes with water and place your flower stems. I also added a few rosary vine succulent leaves into the design... just make sure to seal the cut ends with floral glue.
Want to add even more?
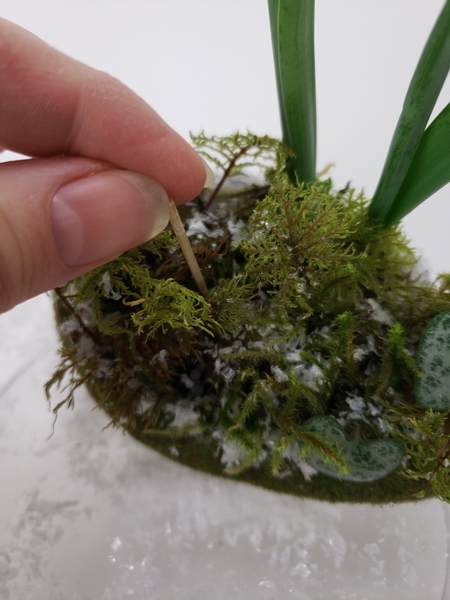
Press a bamboo skewer into the tree fern base.
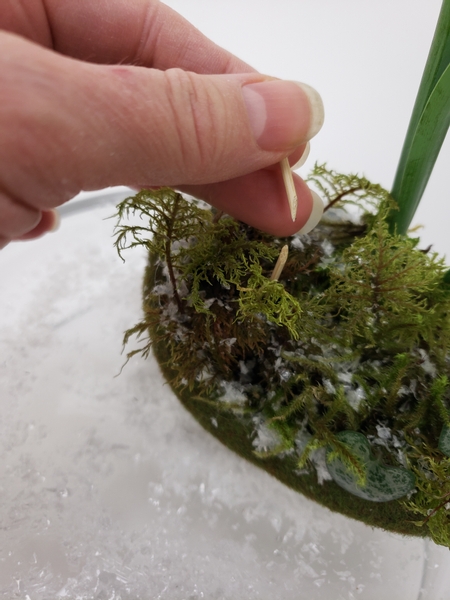
Cut the skewer at a sharp angle just above the moss...
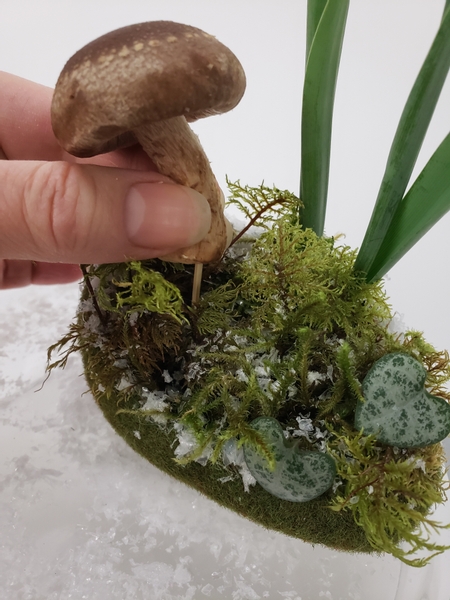
And spear a mushroom over the skewer to hover just above the moss.
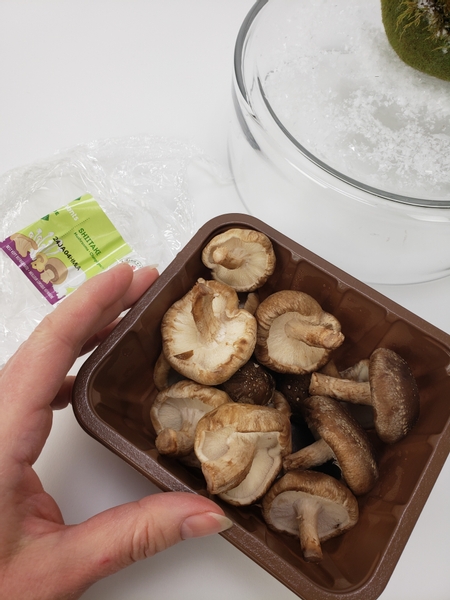
Shiitaki mushrooms are my favourite mushrooms to add into a floral design. They look pretty just like this out of the container but also dry wonderfully. You can read more about these mushrooms on page 123. For more information about my book: The Effortless Floral Craftsman
But to get you started also see the Tutorial below. Add in a few dew drop crystals and scatter in some more snow to finish off the design.
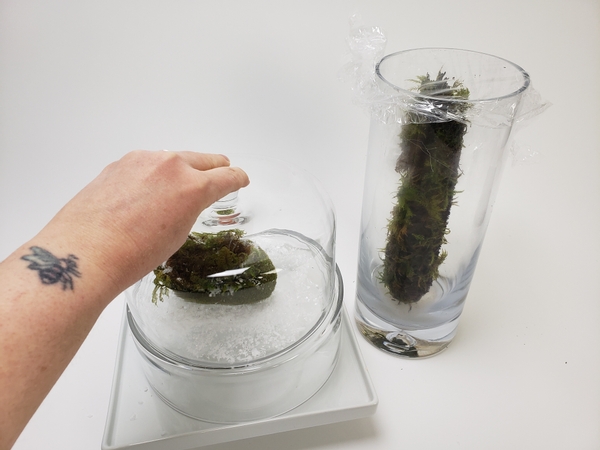
Design update: I did not have much hope for the moss because it was in the bag from well before Christmas. But I washed and groomed it and tied it to the tree fern. For the most part it still looks green and healthy. I am still rinsing away tree fern dust (you can see it draining out of the upright tree fern) but hopefully that will also clear up after a few washes. If all goes well I will place the moss in tiny mossarium designs by next weekend.
Exciting... right?
Sign up for my weekly newsletter
Every week I add a new design with related tutorials. Be sure to subscribe to receive an email notification with design inspiration.


