My Creative Workbook

Christine de Beer - effortless floral craftsman

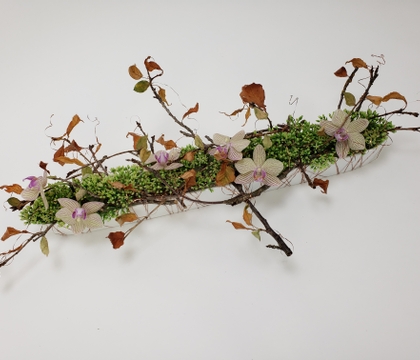
Driftwood base for a floral foam pebble design

A few weeks ago I had a few young friends visiting my design room and this perfect, flat piece of driftwood was a gift from them. Thank you Luke, Liam and Nate
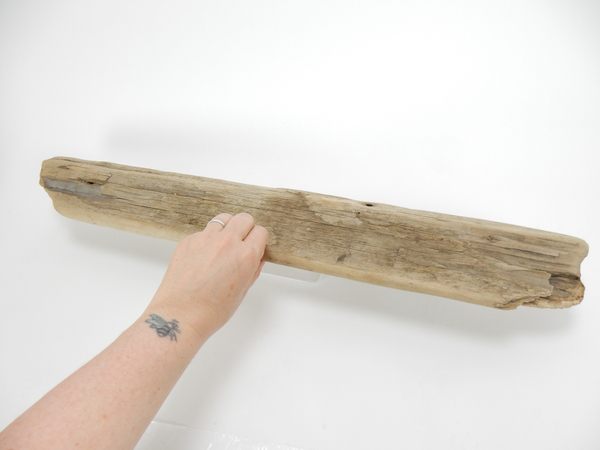
Place a piece of hollowed out driftwood on a stable base

Place a piece of hollowed out driftwood on a stable base. No need to line the base, I am adding a waterproof barrier to the floral foam

But if you wanted to line the base see the detailed Tutorial below
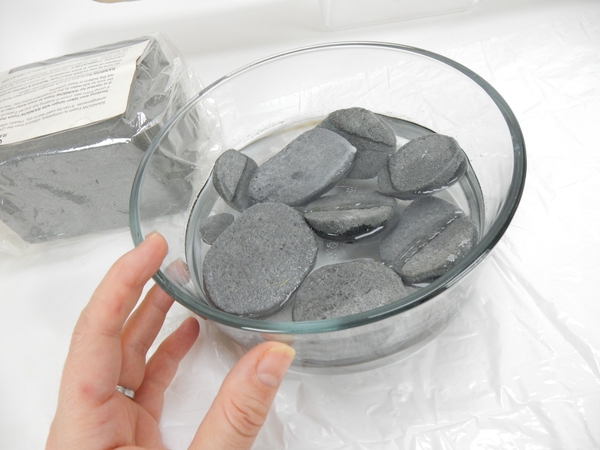
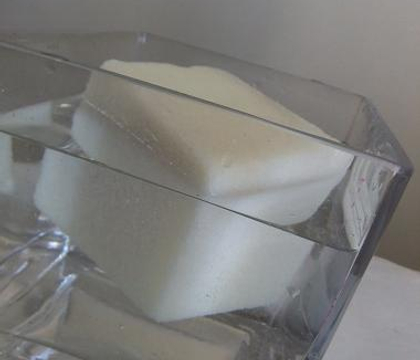
Carve pebbles out of floral foam and soak in water until the foam sinks  to the bottom of the container

Carve pebbles out of floral foam and soak in water until the foam sinks to the bottom of the container. I also seal each pebble with hot wax to make it water tight.

See the Tutorials below for more detailed instructions on carving pebbles from floral foam and how to soak the foam and how to seal it with hot wax to make it water tight
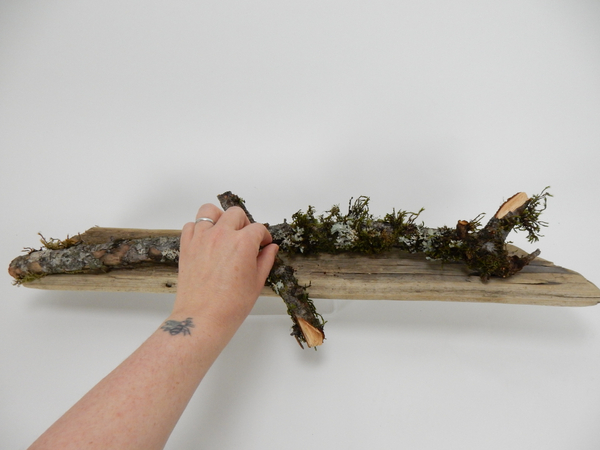
Place moss covered sticks on the driftwood
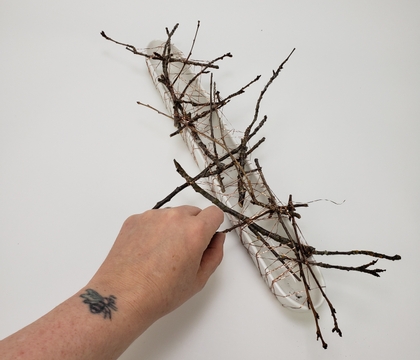
Place moss covered sticks on the driftwood

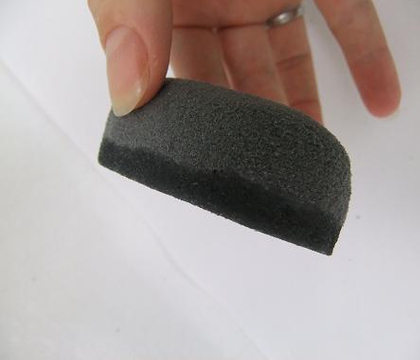
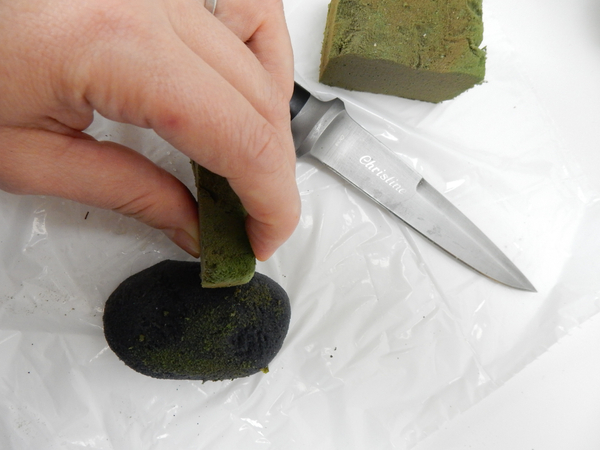
Smooth the soaked foam with an off cut of green foam to give it a mossy appearance

Smooth the grey soaked foam with an off cut of green foam to give it a mossy appearance, every here and there.
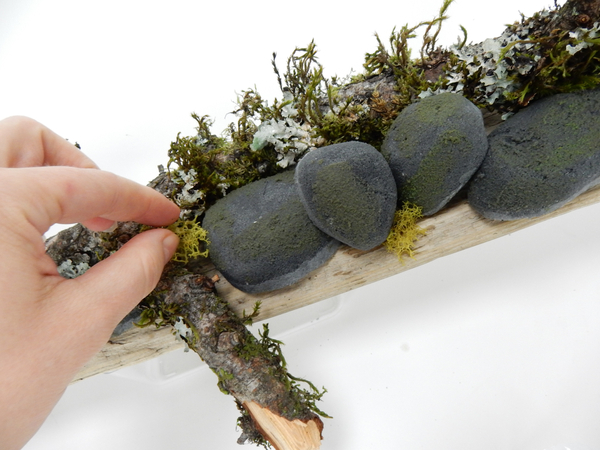
Place the pebbles on the driftwood and add reindeer moss to fill in the gaps between the pebbles
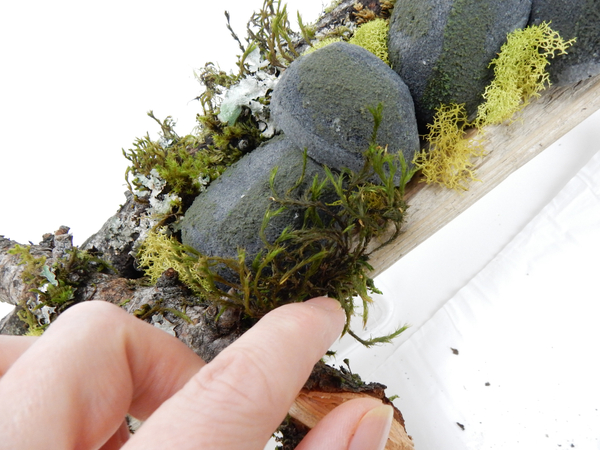
Place the pebbles on the driftwood and add reindeer moss to fill in the gaps between the pebbles

Add more moss to create a lush base

Add more moss to create a lush base and to conceal the wax line on the pebbles
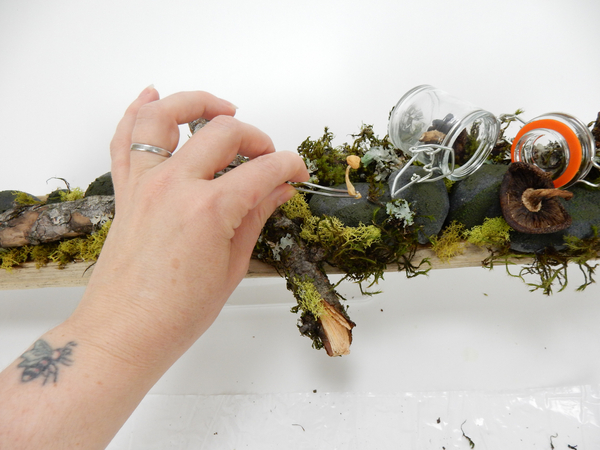
Place a small container with dried mushrooms to tumble over in the design

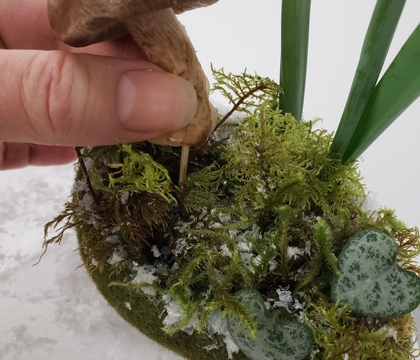
Place a small container with dried mushrooms to tumble over in the design and add a few more mushrooms by placing it in the foam. The foam will re-hydrate the dried mushrooms. If you prefer the mushrooms to remain dry place it in (unsoaked) dry foam or foam for dried arrangements

I used dried mushrooms for my design. See the Tutorial below for more detailed instructions on how to dry mushrooms for floral art.
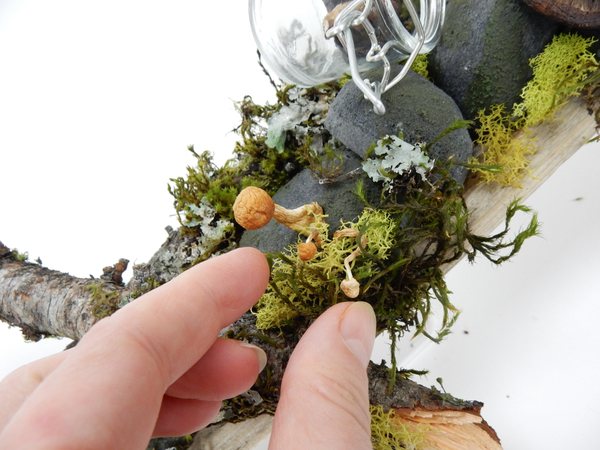
Cover the base with a small bit of moss

Cover the base with a small bit of moss to conceal
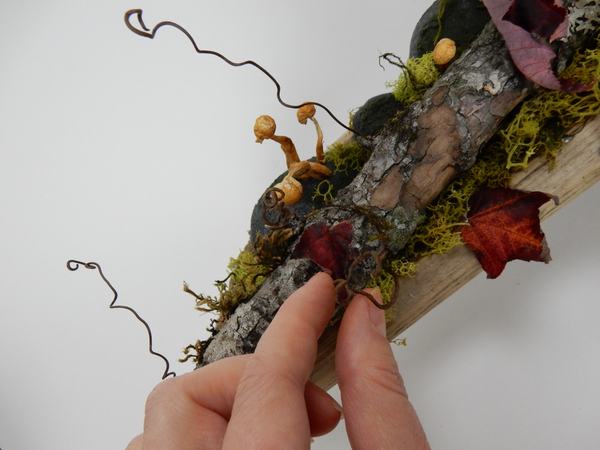
Glue in a few grapevine tendrils and autumn leaves
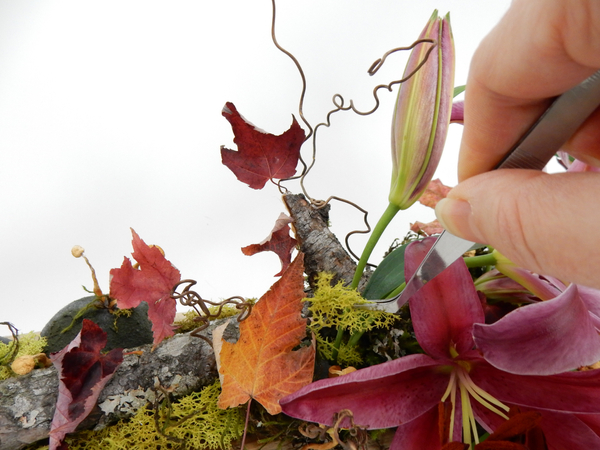
Glue in a few grapevine tendrils and autumn leaves

Insert the flowers in the wet foam and conceal the base with moss

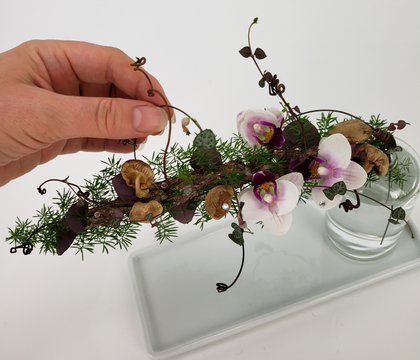
Insert the flowers in the wet foam and conceal the base with moss

Design note:
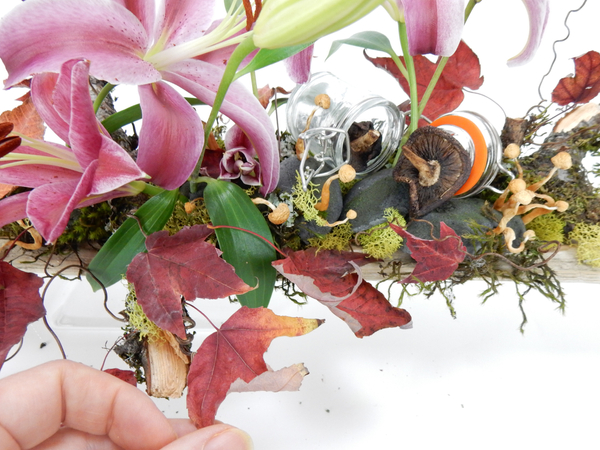
The tiny little glass container is the focal point of the design

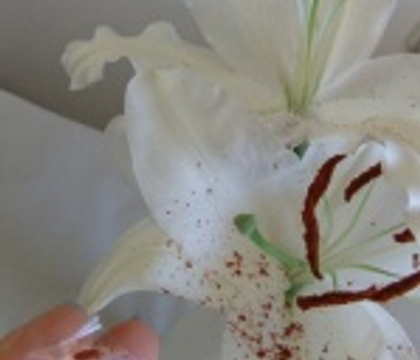
The tiny little glass container is the focal point of the design. Place a few of the design details to point to the glass container to lead your eye that way. There is also a bright orange rubber in the lid of the container, place three leaves that have more orange colour to them close to the container to draw attention to the colour. I also left the stamens in to add that extra touch of orange. Lily stamens are messy, See the Tutorial below for detailed instructions on how to "fix" pollen on stamens or how to remove it all together.

Every week I add a new design with related tutorials. Be sure to subscribe to receive an email notification with design inspiration.
Tutorials

8 February 2011 Cut Rainbow Oasis shapes to make multi-coloured designs

Mix and match Rainbow Oasis colours to create patterns

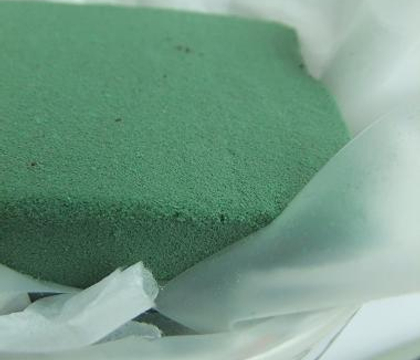
20 February 2011 Soaking Floral Foam

Each block of foam holds forty times its own weight in water. One brick holds two litres of water

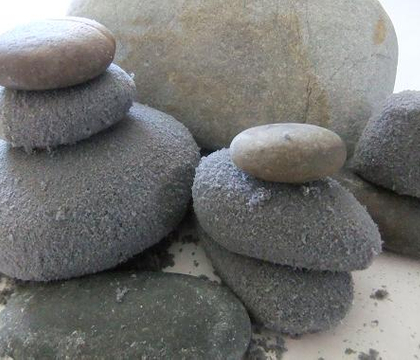
19 February 2011 Pebbles

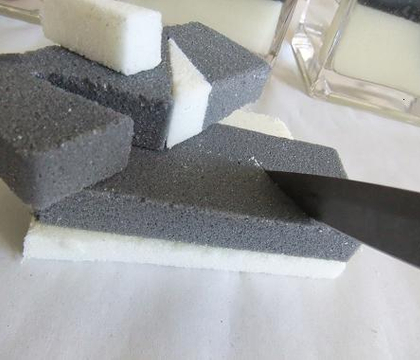
Cut and smooth pebbles out of Rainbow Oasis

14 February 2013 Sealing floral foam shapes with candle wax to make them water tight

A thin layer of melted wax creates a watertight layer for floral foam

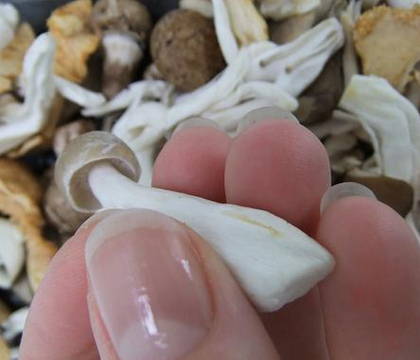
13 April 2012 Drying Mushrooms for Floral Art

I use edible mushrooms in my designs. To preserve them I press a tiny stake into the base and let them air-dry.

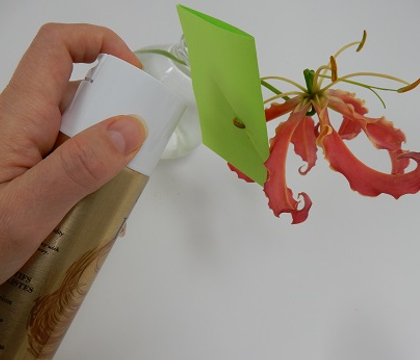
1 April 2015 Keeping pollen tidy

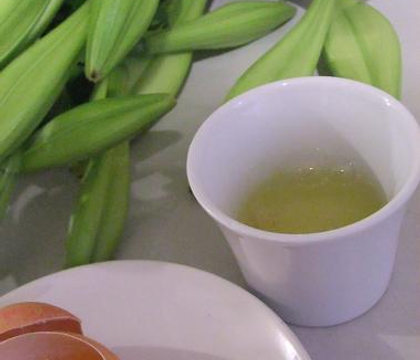
Most of the time I would gently tug the pollen covered stamens away the moment it becomes yellow and messy. But the Gloriosa looks rather pretty with the stamens on, so I fix it...

2 January 2011 Lilies

How to keep Lilies in bud for longer. Removing the pollen. Stringing a Lily Garland.

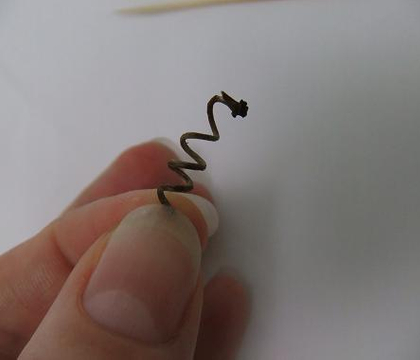
19 February 2013 Manipulating stems: Snapping at an angle, Bending, Spiraling, Curling and Straightening

Most stems, twigs and even sturdier branches can be bend into shapes. It takes practice and more than a bit of patience. The main idea is to slowly manipulate the branch without...

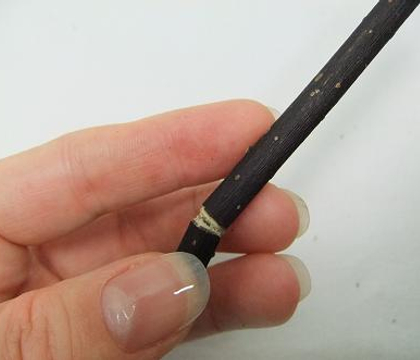
22 May 2012 Bite and snap a sturdy twig

Break the sturdy twig on the scribe line.

1 June 2011 Lining containers to make them waterproof

If you use Papier Mache, terracotta or clay or any precious container that might scratch, rust, or discolour or disintegrate when it's in prolonged contact with water it is best...

30 March 2012 Keep pod shaped flowers in bud for longer

Sometimes you want to keep flowers in tight bud for as long as possible to suit your design

Related Designs

2 November 2016 Pick your poison

A Fun Halloween design with "poisonous mushrooms" tucked between the moss and petals

15 March 2017 Wedding Welcome

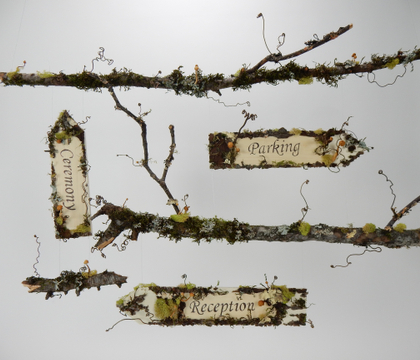
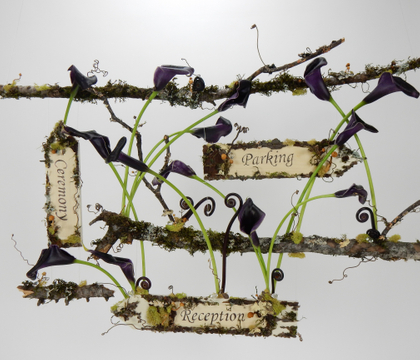
My article and wedding direction board design featured in DIY Weddings Magazine

17 January 2018 Flowering Between a Rock and a Hard place

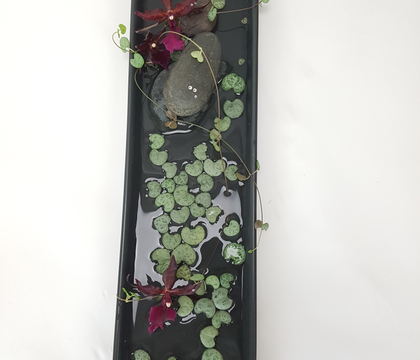
Create a subtle contrast by floating or anchoring some of your design elements.

29 July 2020 Tail end of the story

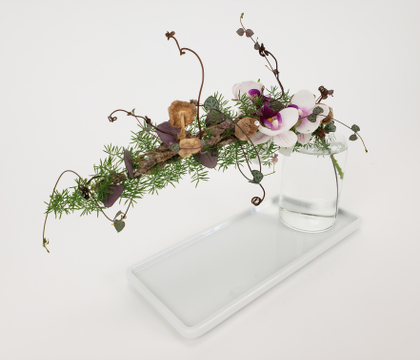
Craft a bark platform to design on in a foxtail fern frond.

25 August 2021 Doing a loop tangle twist

oh yes, a light an airy design showing off those very first autumn leaves.

10 January 2024 Snow Glitters and Mossy Glimmers

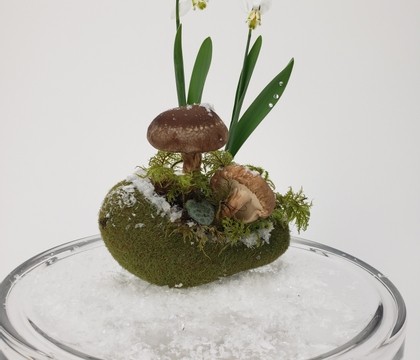
A glimmer is the opposite of a trigger... a little uplift. For this design I am lifting up my happiness by starting a tiny mossarium... but enjoying it as a design while it is in...

17 September 2014 Still

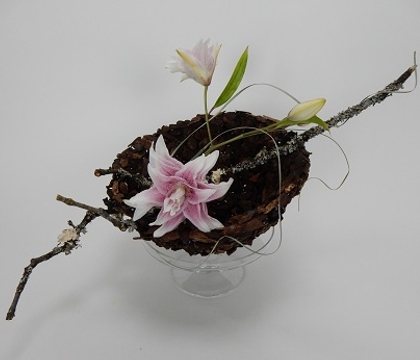
My bark bowl design and tutorial featured in the Centrepiece Wedding Magazine

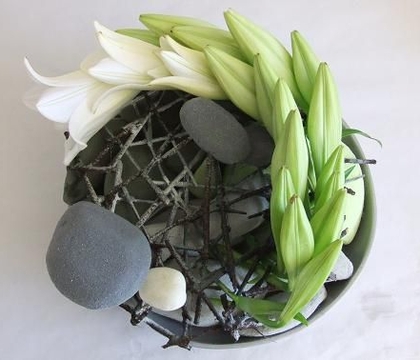
25 February 2011 A Rock by any other Name...

It's not really what we call things that matter but what they are made of- in this design, it's made of all three types of Oasis and wool.

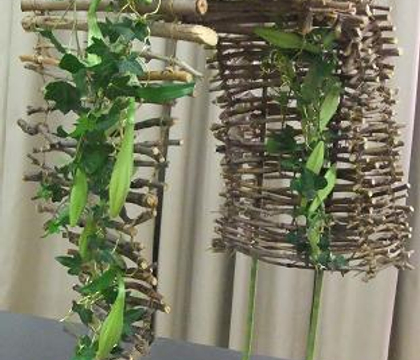
19 February 2011 Crossing Boundaries

Twig waterfall creates the boundary between the "under" and the "over" of the design. Tutorial: How to cover test tubes with Rainbow Oasis

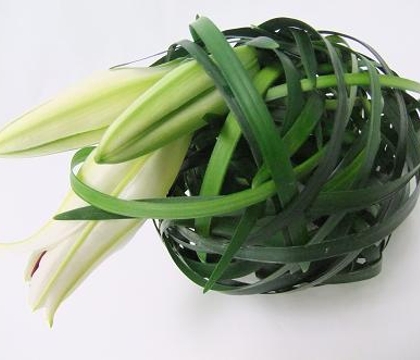
13 March 2013 Than you have to

Weave blades of grass to create a cover for a glass vase

16 April 2014 Never saw such a lovely day...

Weave a palm thorn garland to decorate for Easter

3 April 2011 One Singular Sensation

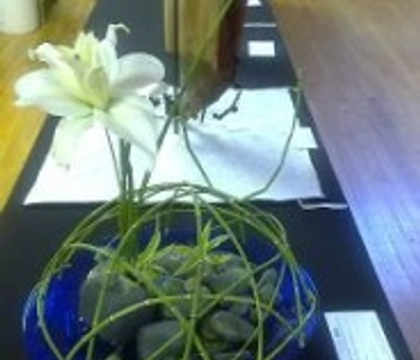
Three Lilies plaited to create a sensational, singular flower "growing" out of a Equisetum dome filled with Rainbow Oasis pebbles.

16 October 2012 Bright, brighter… brightest!

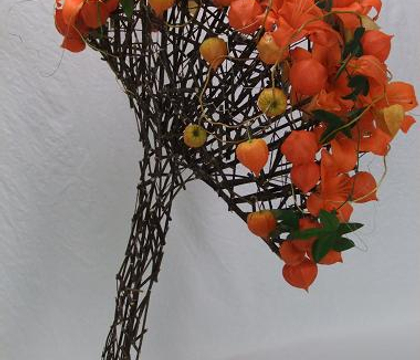
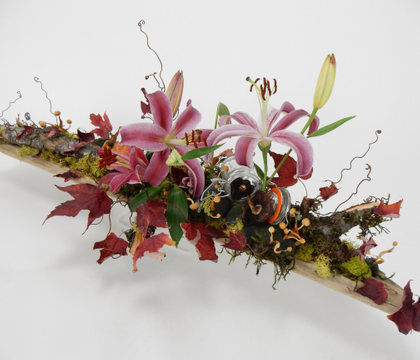
Celebrate the bright colours of autumn with lilies and Chinese lanterns