Christine de Beer - effortless floral craftsman
Sealing floral foam shapes with candle wax to make them water tight
- 14 February 2013
- and more
Melt a small amount of candle wax. See Tutorial below
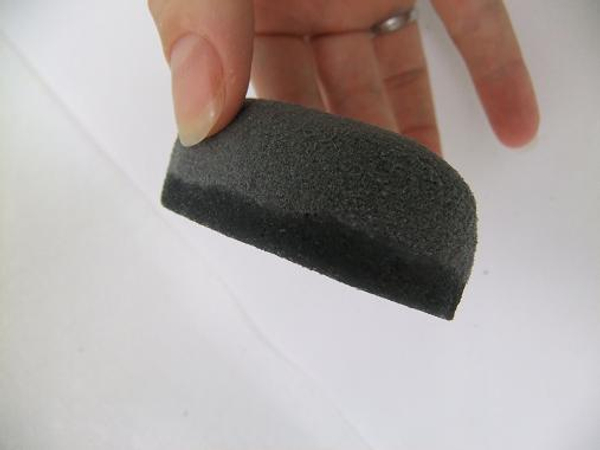
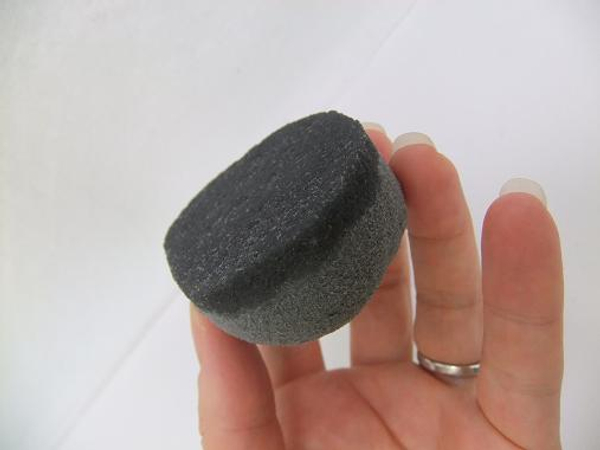
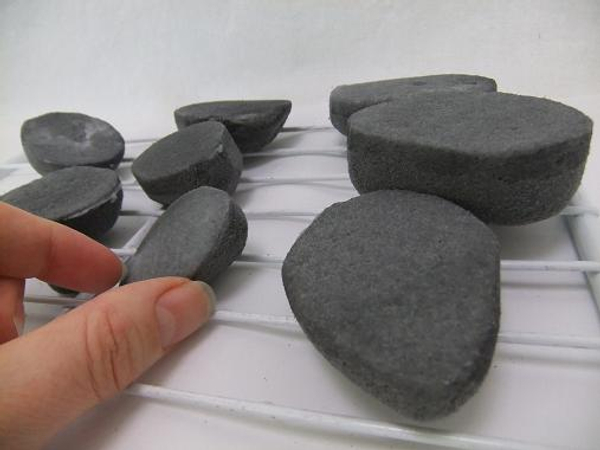
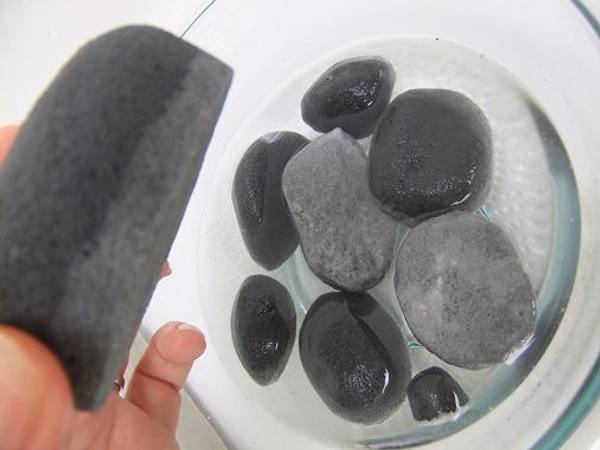
Cut the floral foam and smooth the surface to create the pebbles. Smooth only the top and sides of the pebbles and leave the resting surface flat. See Tutorial below
Dip the flat bottom of the pebble in the melted wax.
Let the floral foam pebble rest until it soaked up about a 1cm of wax
Rest the pebbles, wax side up to set. The wax will become hard
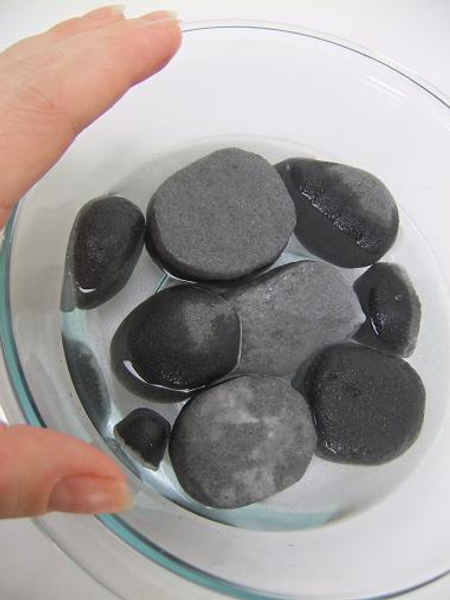
Fill a deep bowl with water. Float the floral foam pebbles on the water. Do not dunk. As the pebbles soak up the water it will start to sink. Once the heavy pebbles lie on the bottom of the bowl they are ready to design with
Each pebble will now have a water tight layer at the bottom.

Place the floral foam pebbles in the container and add the fresh flower material. As the grey pebbles dry it will become lighter in colour. Pour a bit of water on the foam, where the stem is, to replenish the water
Sign up for my weekly newsletter
Every week I add a new design with related tutorials. Be sure to subscribe to receive an email notification with design inspiration.


