Christine de Beer - effortless floral craftsman
Prickly Pine-needle Square
- 10 December 2014
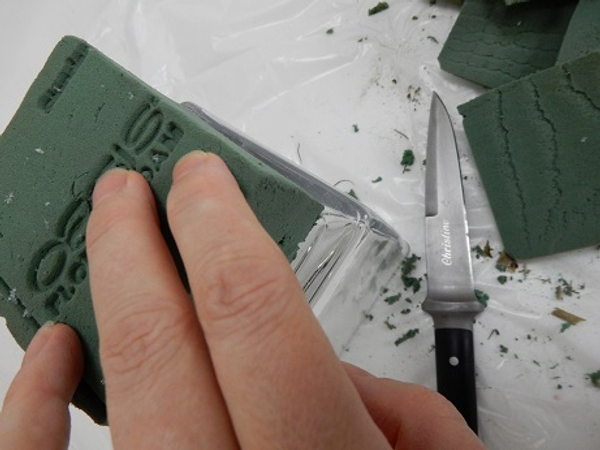
Cut a block of floral foam into a square. I wanted my block to rest on an upturned square vase so I measured it to be slightly smaller than the container
I seal the foam with wax before soaking it to create a water tight base. See the Tutorial below for more detailed information about sealing floral foam
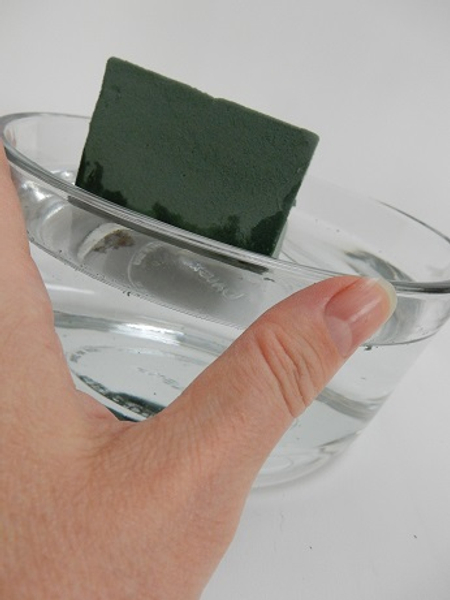
Fill a container with water and rest the floral foam on the water to soak. Do not dunk the foam under water but let it naturally soak up water and sink to the bottom to prevent air bubbles from being trapped in the foam
See the Tutorial below on more details on Types of Floral Foam and Soaking Floral Foam.
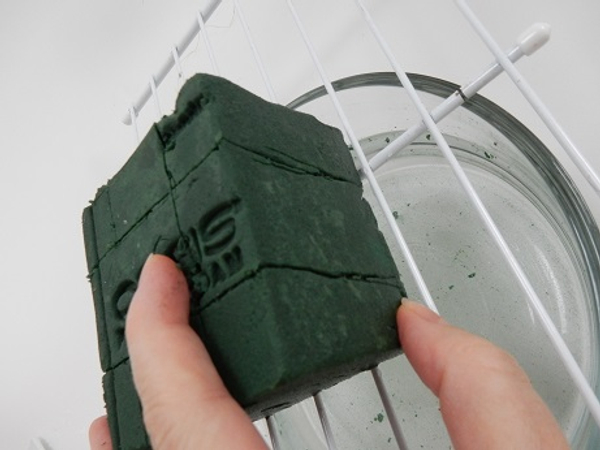
Let the water drain from the block and score any pattern lines into the foam
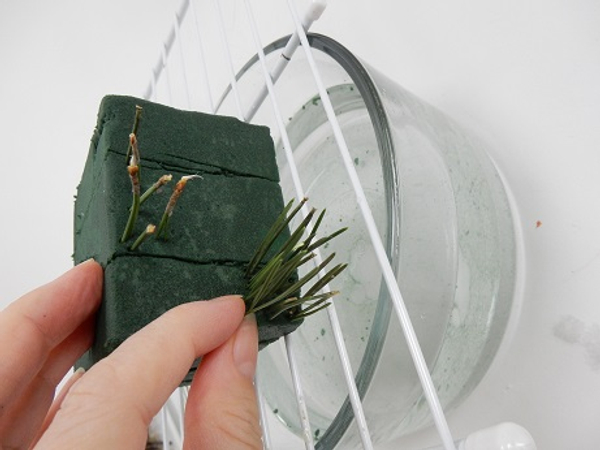
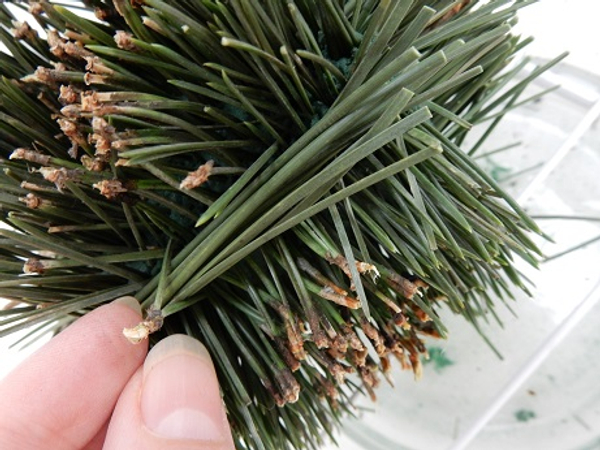
Start pressing the pine needles into the foam. For my design I created a pattern by pressing the sheath into the foam to let the sharp needle stick out or pressed the needle into the foam to let the sheathe portrude
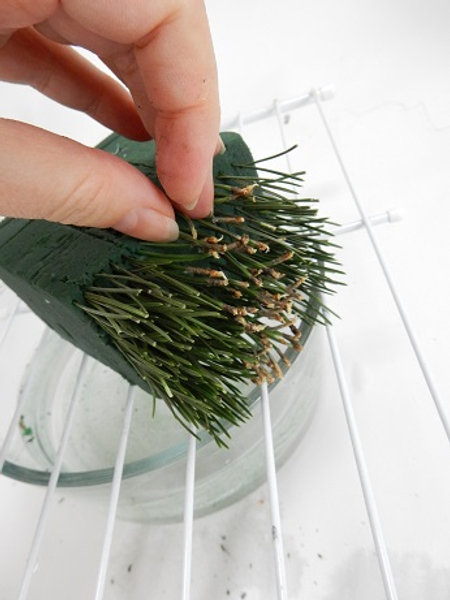
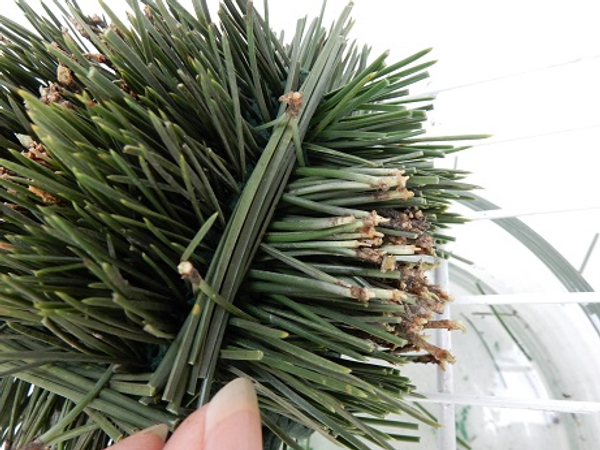
Continue adding needles
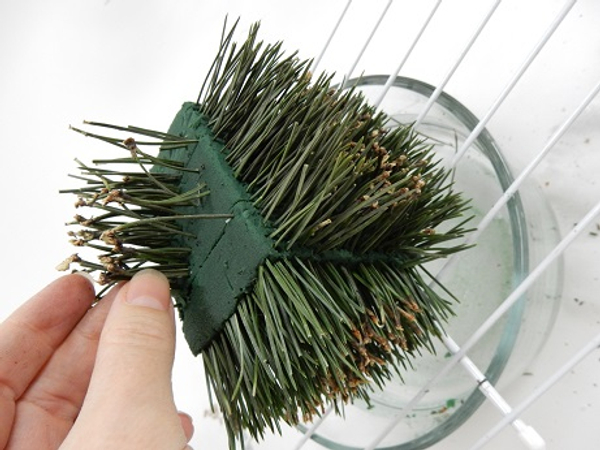
Move around the flat surfaces and press in needles
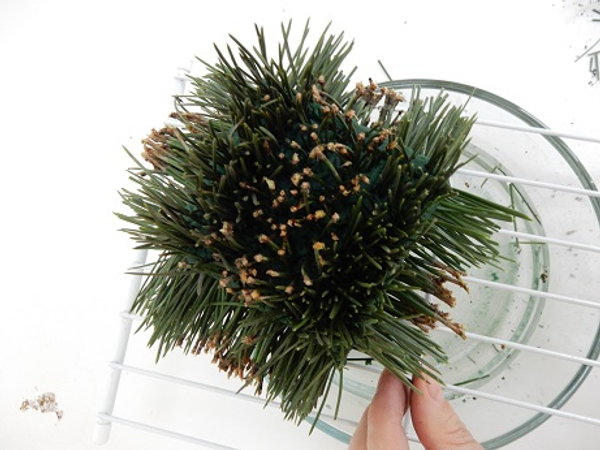
Keep pressing in needles to cover all the angles
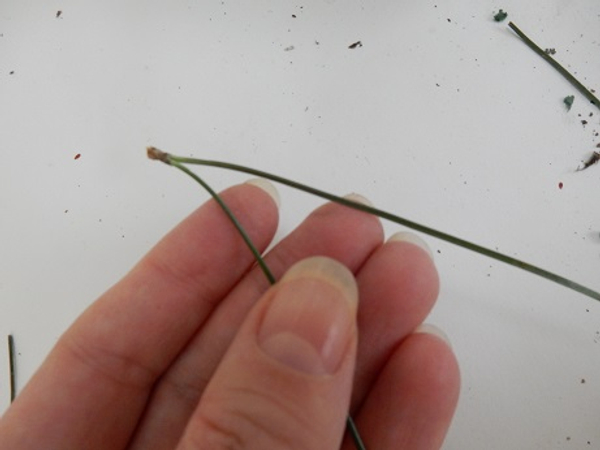
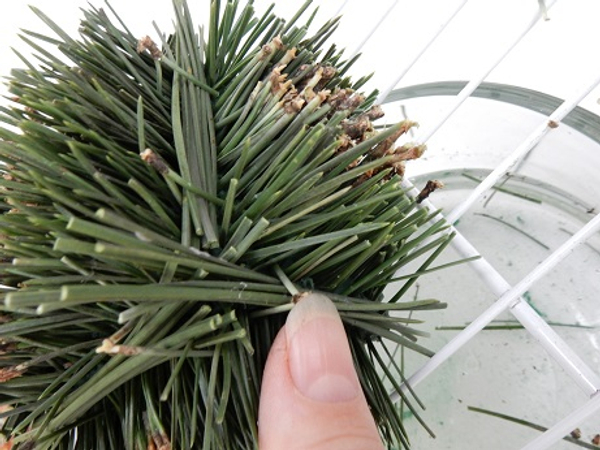
Split a needle open to create a hairpin...
To peg a small bundle of needles in place to cover the sharp edges.
One needle peg on each side
Peg a verticle bundle to cover the side edges
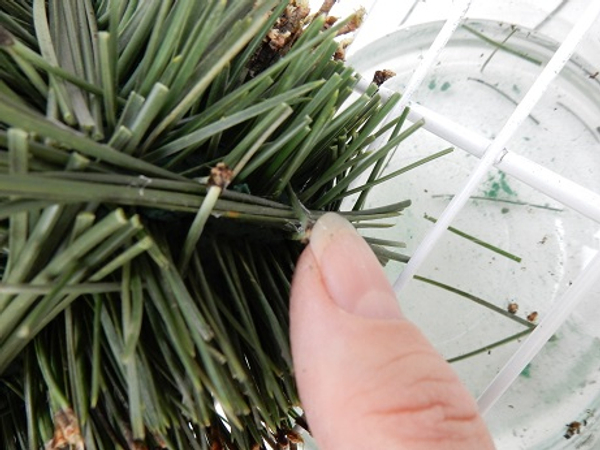
Peg the bottom bundle to secure it in place
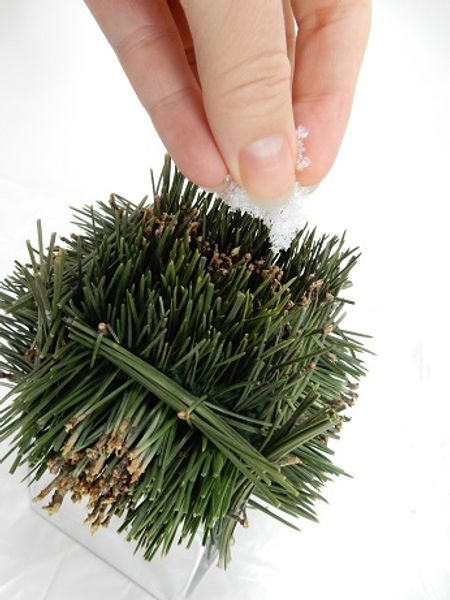
Sprinkle very fine artificial snow to settle between the needles
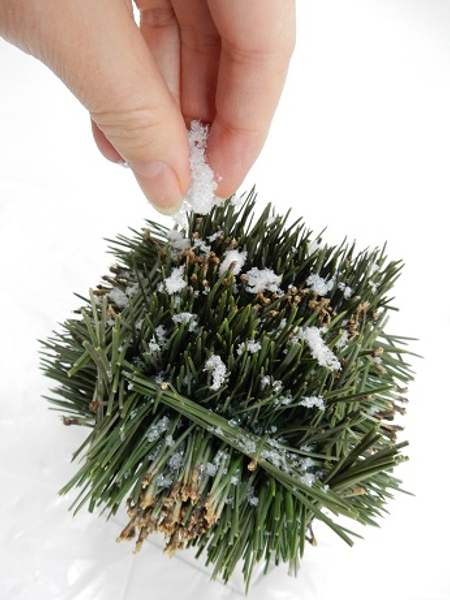
Lightly dusting the entire cube with artificial snow
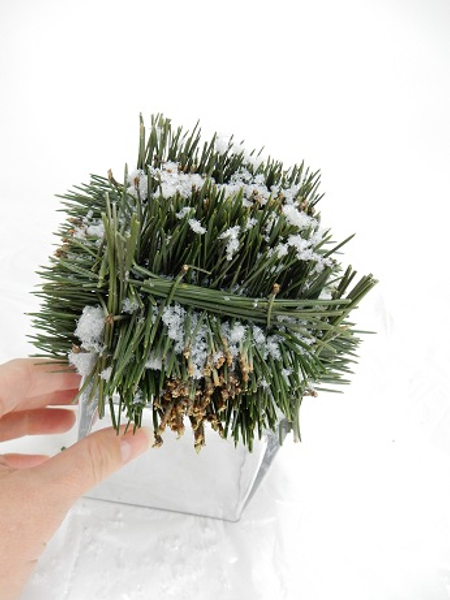
Pineneedle cube ready to design with
Sign up for my weekly newsletter
Every week I add a new design with related tutorials. Be sure to subscribe to receive an email notification with design inspiration.


