Christine de Beer - effortless floral craftsman
Twig mushroom
- 3 July 2012
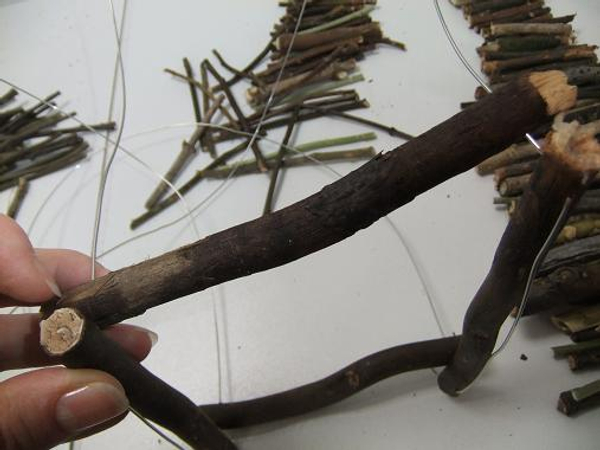
Start by wiring a stem for the twig mushroom:
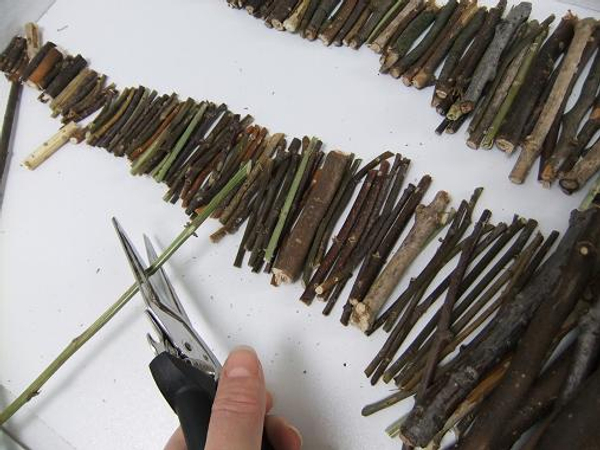
To create the mushroom stem cut twigs from short to long. Place them according to size on a work surface. I made two shorter rows instead of one long one to make it easier to manage.

Drill a hole in both ends of each twig about one centimetre from the end.
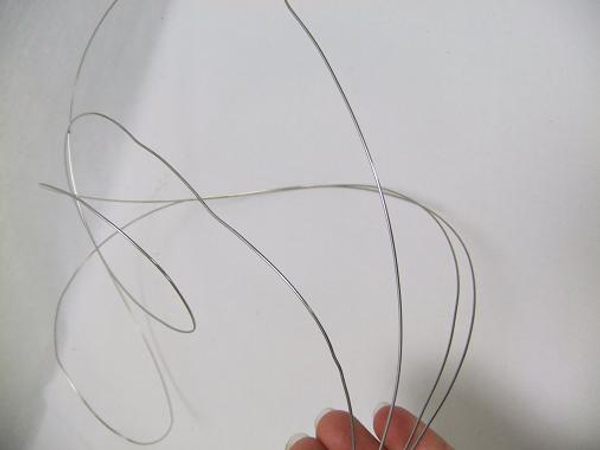
Cut two sections of wire. To measure the length of the wire: Cut each section of wire to be double the length of the mushroom stem plus the width.
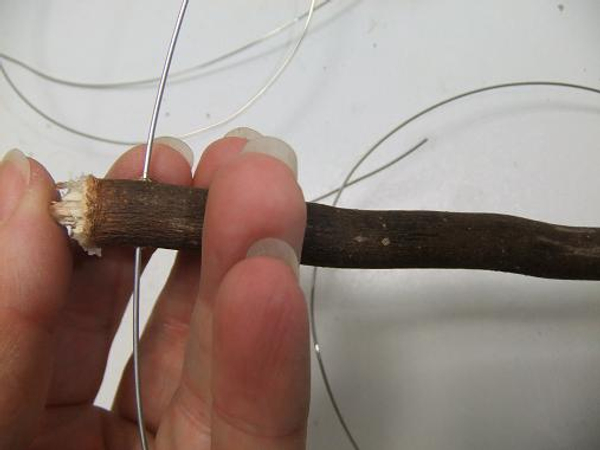
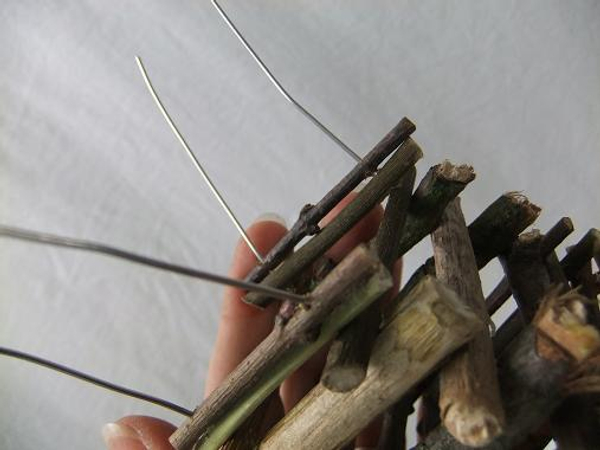
Find the middle point of the wire. Thread the longest twig so that the middle point of the wire falls at the middle point of the twig with the long ends dangling through the twigs, pointing up

Press the wire flat at the bottom of the side of the twig.
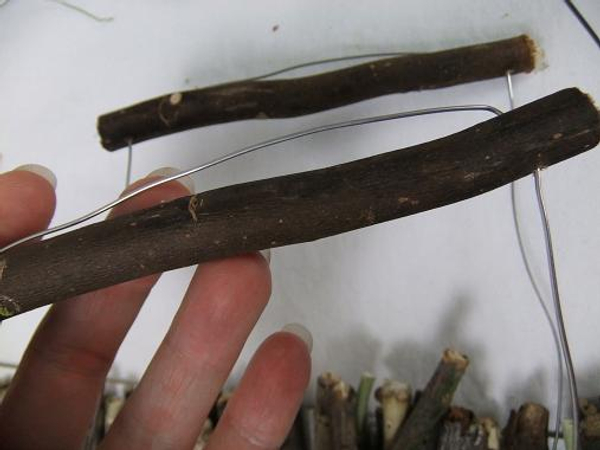
Wire another twig.
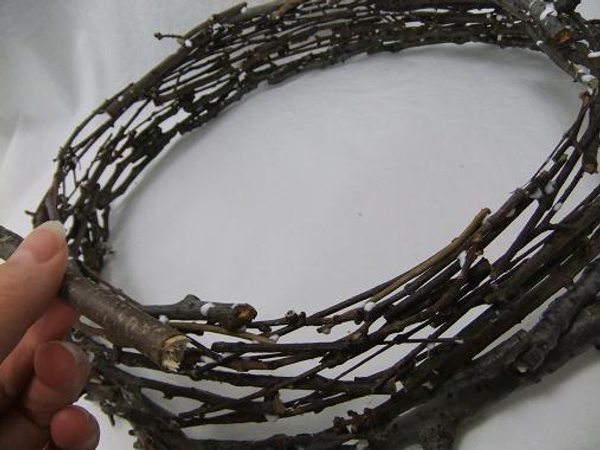
Start building up the base by threading in twigs.
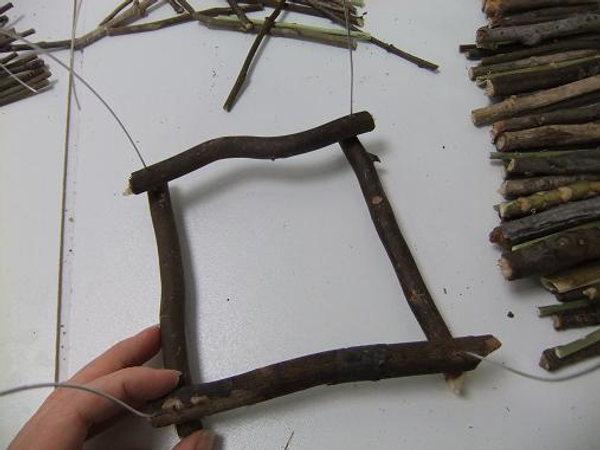
This is the basic threading pattern.
Left side then right side. Top side then front side.

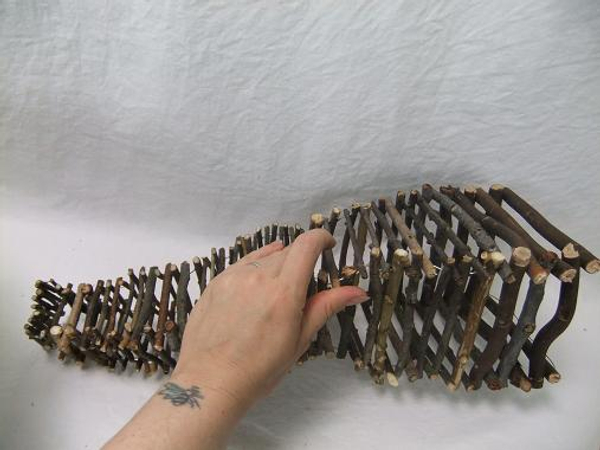
Continue to build up the twigs.
Add each twig from the longest to the shortest from your drilled twigs that you placed on your work surface.
Section by section press the twigs down to tightly fit on the wire.
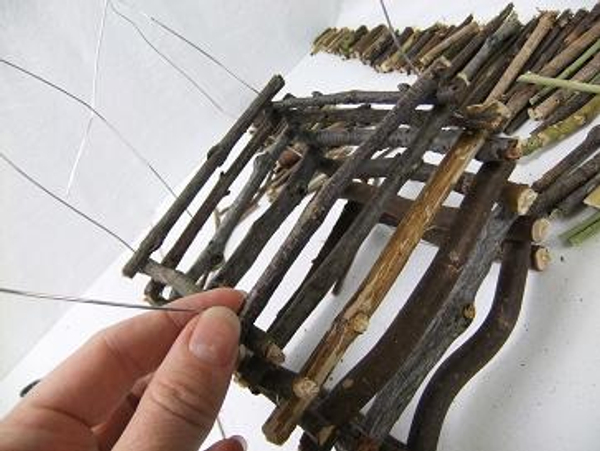
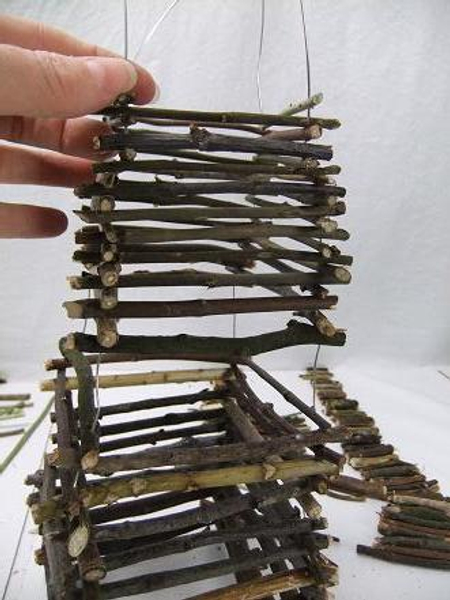
Stack the smallest twigs to create a neat top part.

Close the twig stack and twist the wire to secure.
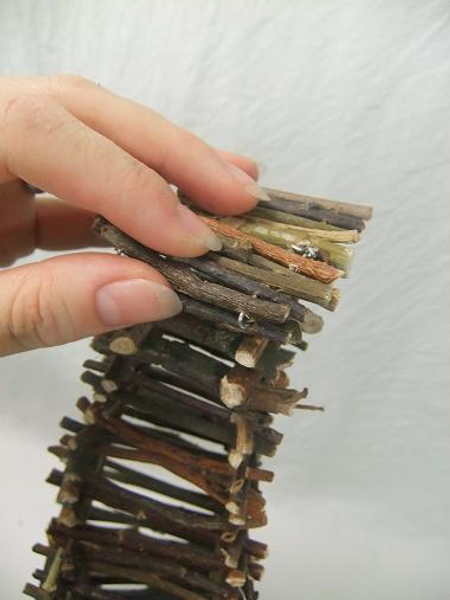
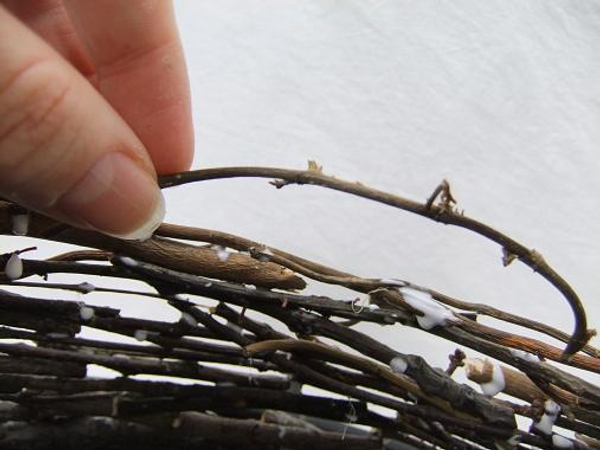
Press down on the twigs to create a flat top.
Rest the wired twigs on its side and twist the wire. This breaks the perfect lines created by threading the twigs and add a bit of attitude to the mushroom stem.
To create the cap of the mushroom:
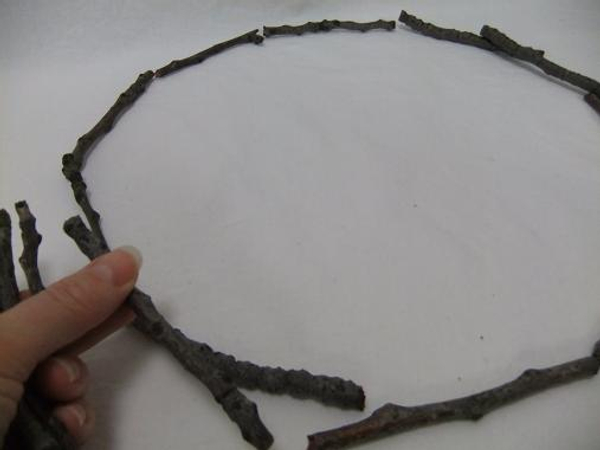
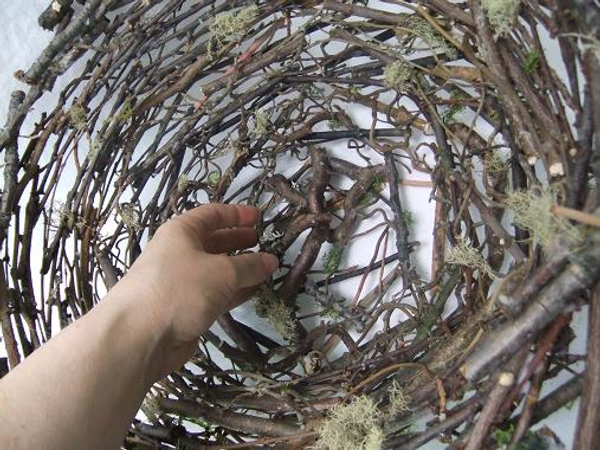
Place the twigs in a circle.
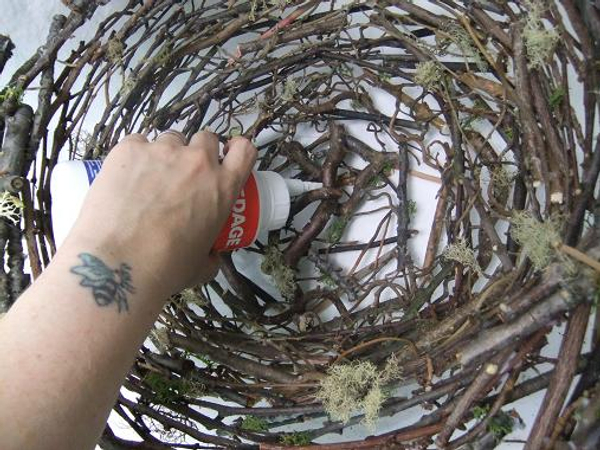
Place a drop of glue on each contact point and build up the mushroom cap shape.
Add more glue to secure the twigs.
Weave a few twigs into the design to create a load bearing surface.
Set aside to dry.
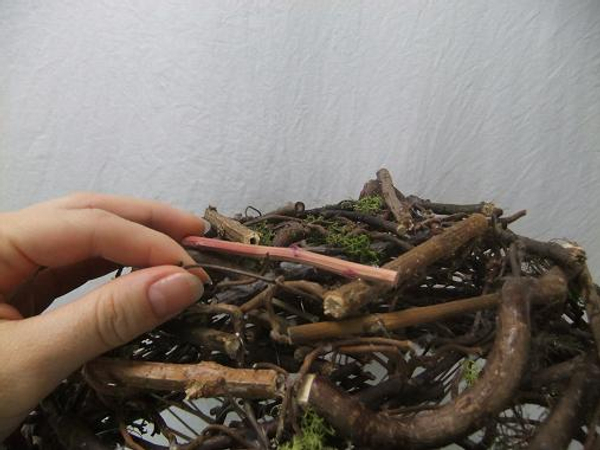
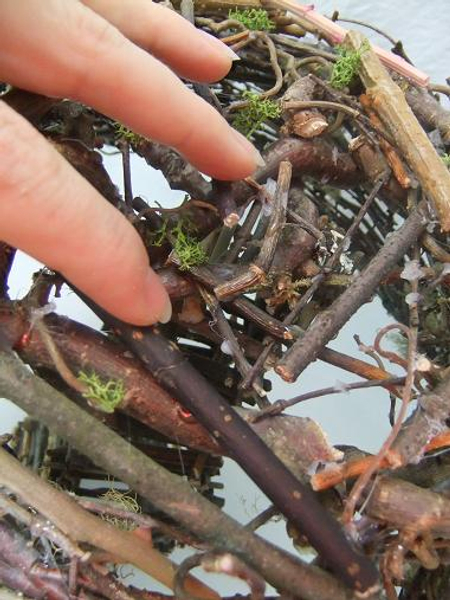
Flip the structure over and add strong twigs to secure.
Add more glue to the load bearing twigs.
Set aside to dry
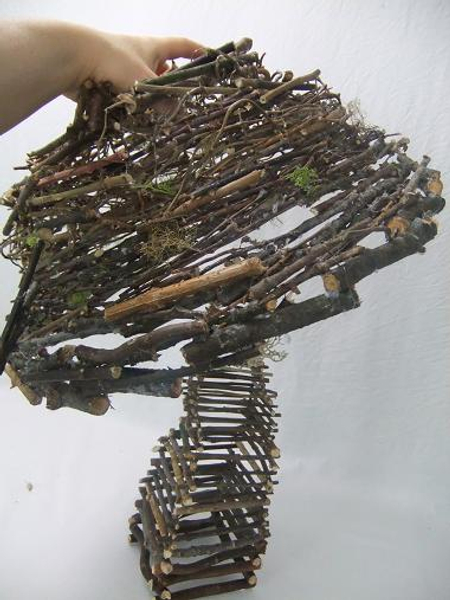
Place the twig cap on the mushroom stem.
Place the mushroom cap at a jaunty angle making sure it rests on twigs.
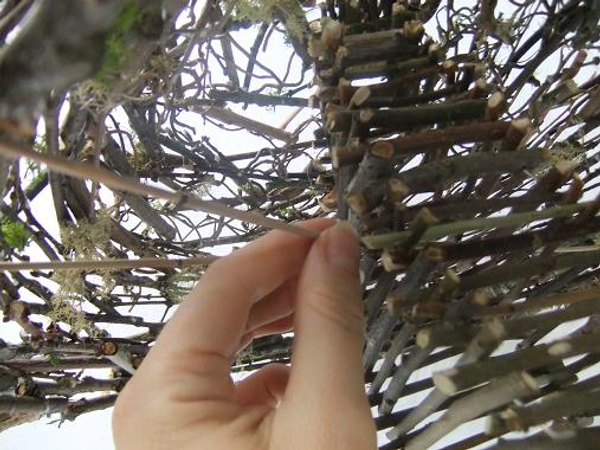
To secure the cap to the stem add some reed gills:
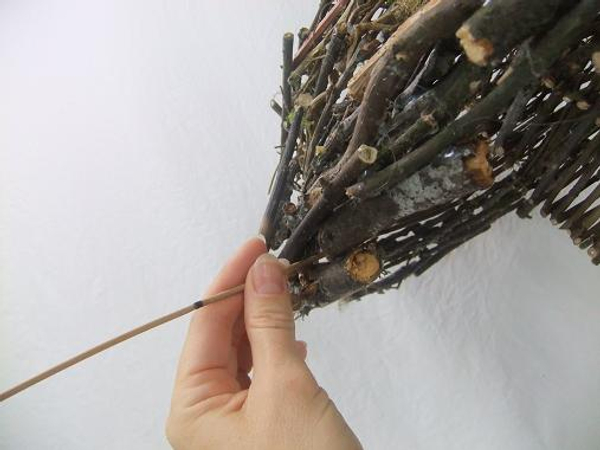
Press a Mikado reed through a gap in the twig mushroom cap.
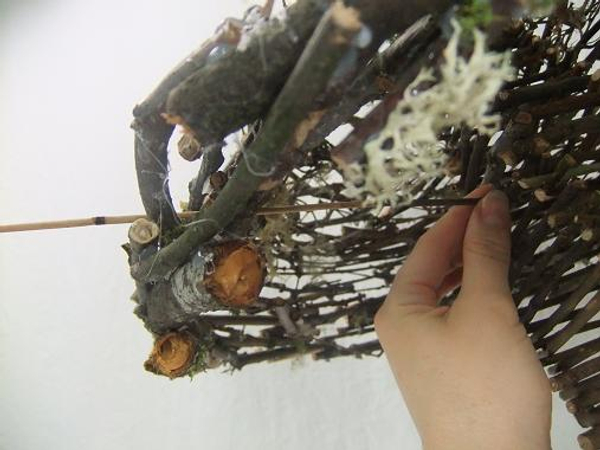
Press the Mikado reed through the base or stem of the twig mushroom.
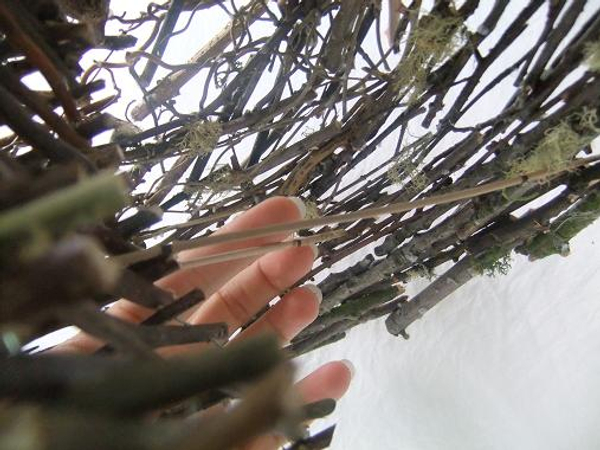
Pull the Mikado reed through to the other side of the twig stem.
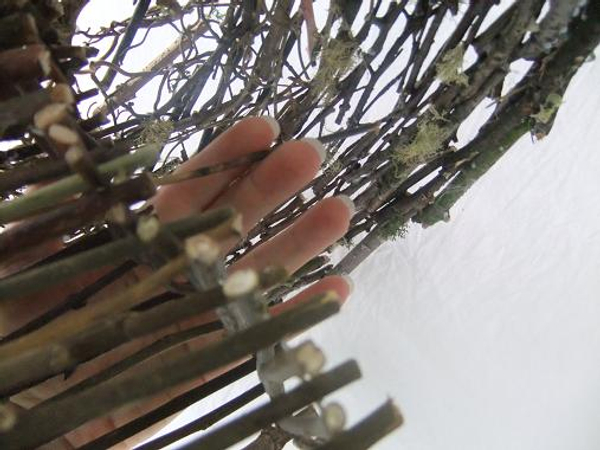
Pull the Mikado reed out the other end of the twig mushroom cap.
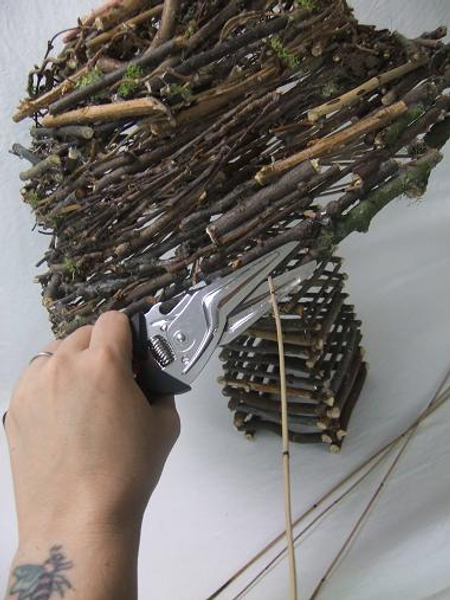
Cut the Mikado Reed short.
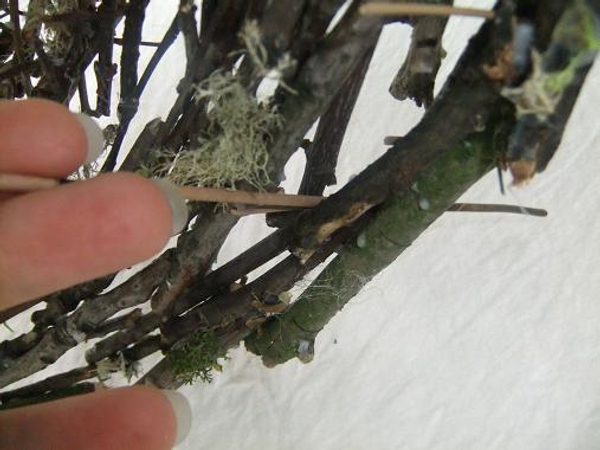
Thread a second Mikado reed through the twig cap.
Pull the reed out the other side and cut short.
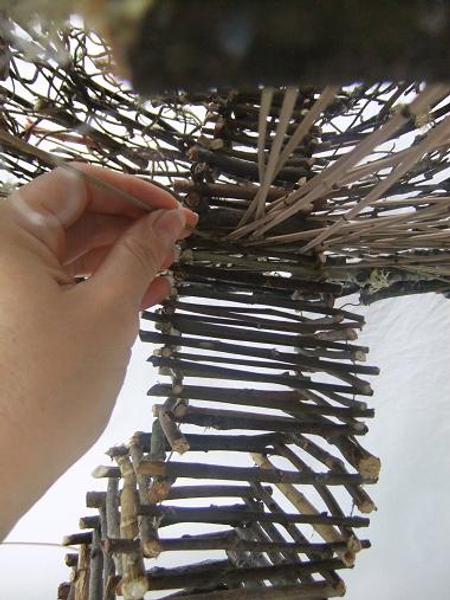
Continue to add Mikado reeds

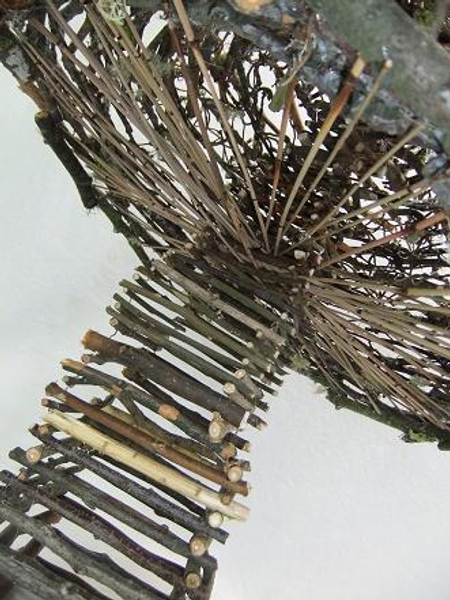
Weave some of the Mikado reeds to go over and under other reeds to secure the structure.
Fan out the Mikado reeds to cover the entire mushroom cap surface.
Twig mushroom
Sign up for my weekly newsletter
Every week I add a new design with related tutorials. Be sure to subscribe to receive an email notification with design inspiration.


