Christine de Beer - effortless floral craftsman
Disk Twig Armature
- 29 July 2015
- click to send Christine a smile
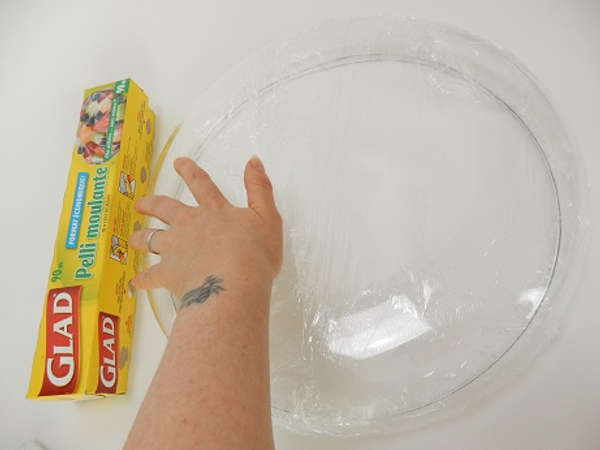
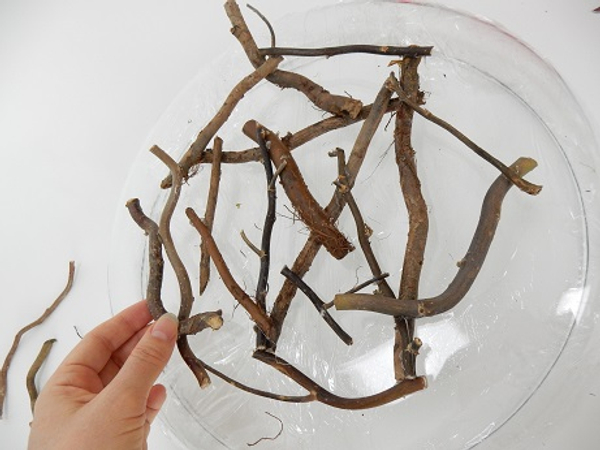
Cover a disk shaped bowl with wrap to protect it
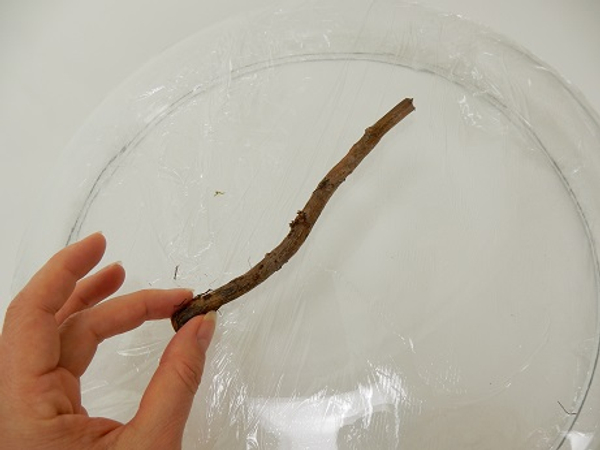
Place the first twig on the bowl but do not glue it.
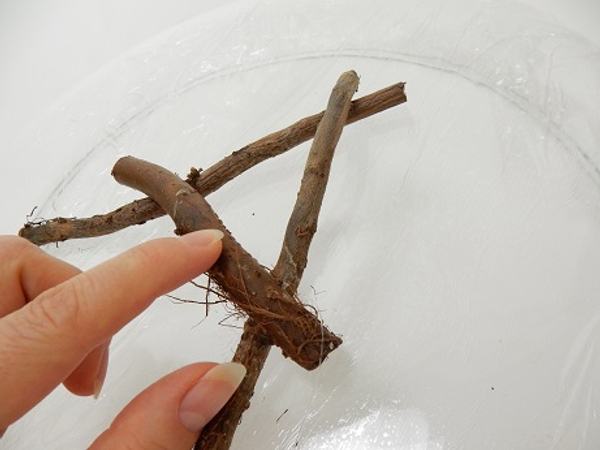
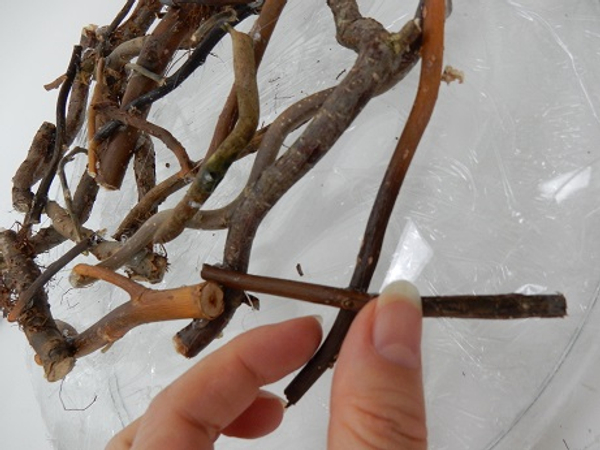
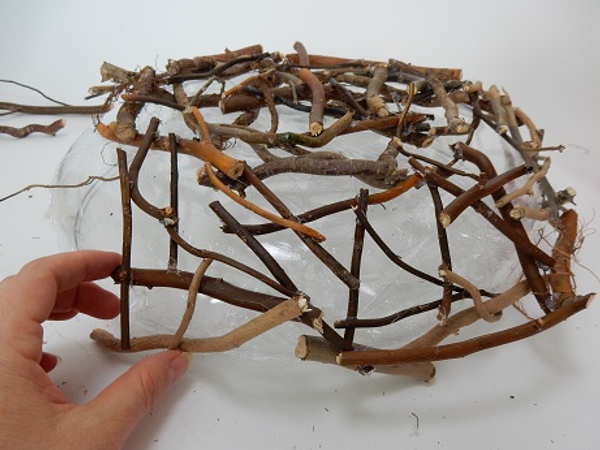
Start gluing twigs to twigs. Be careful not to let glue spill over to prevent it from sticking to the glass bowl
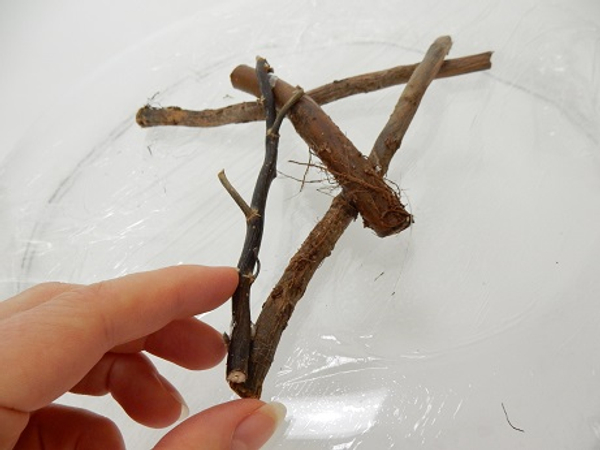
As you build up the disk, try to let each twig connect at three places with another twig o create a stable armature
Keep adding twigs
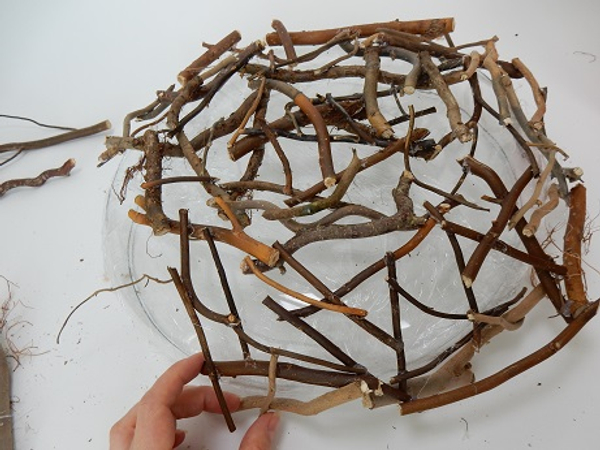
Follow the curves of the glass container
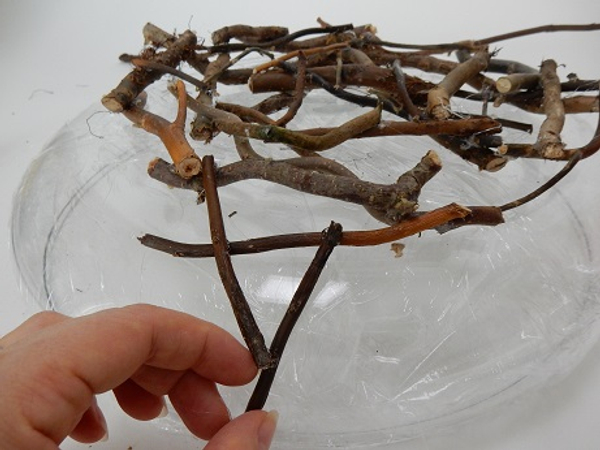
Add twigs to the side of the container
Again making sure almost every twig connects at three places
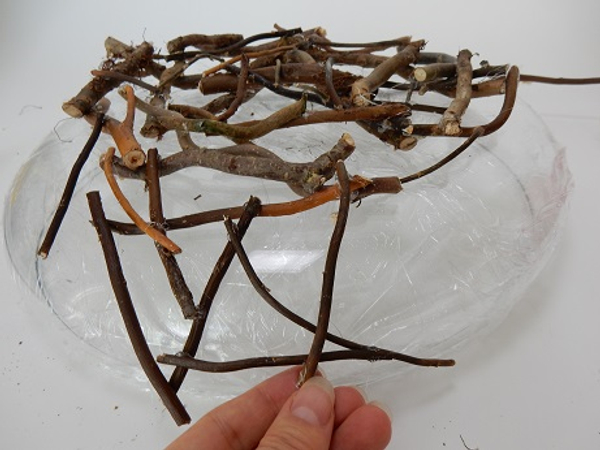
Add thicker twigs to create the rim
Add smaller twigs to strenghen the connection points
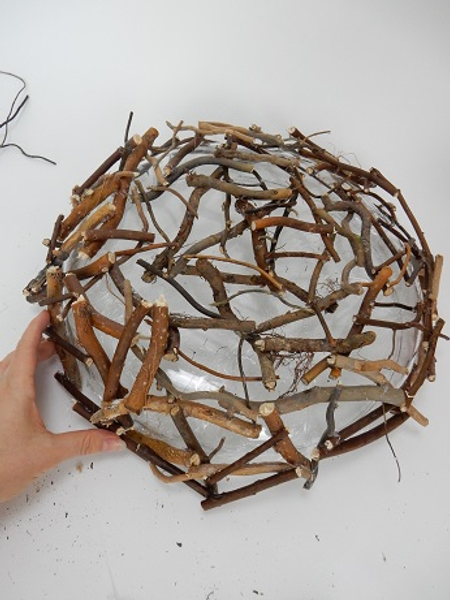
Continue to add twigs to cover the entire shape
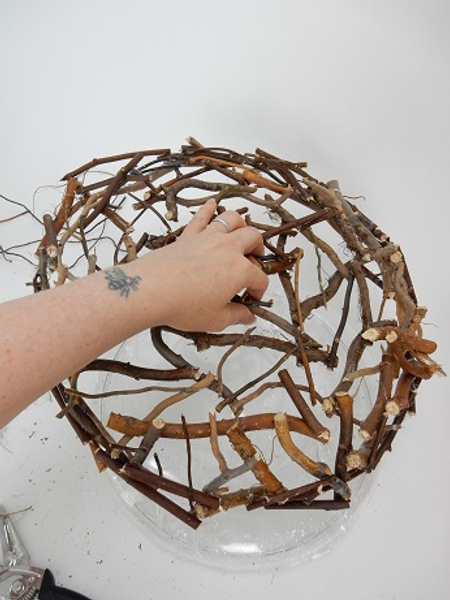
Before removing the twig armature from the container wiggle the twigs to make sure it is secure. Add more twigs to connect any weak connections.
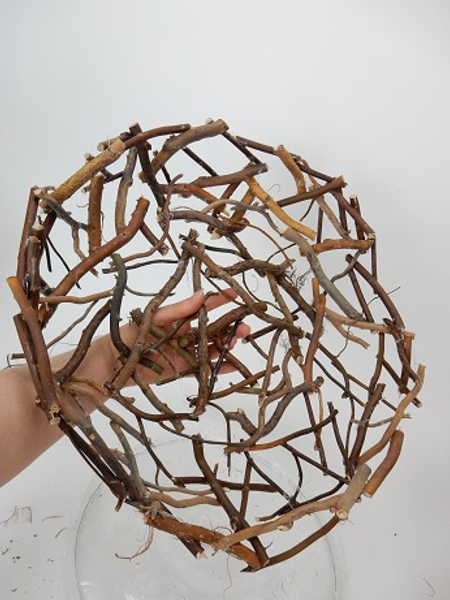
Lift away the armature
Glue in a few wild twigs to break the neat bowl shape and make it look more natural
Blow away the glue strands. See the detailed Tutorial below
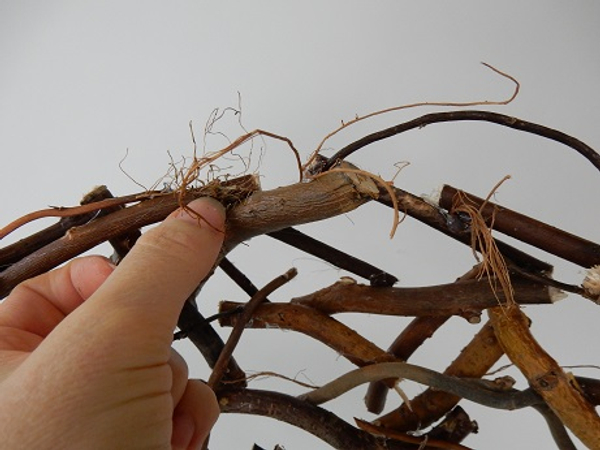
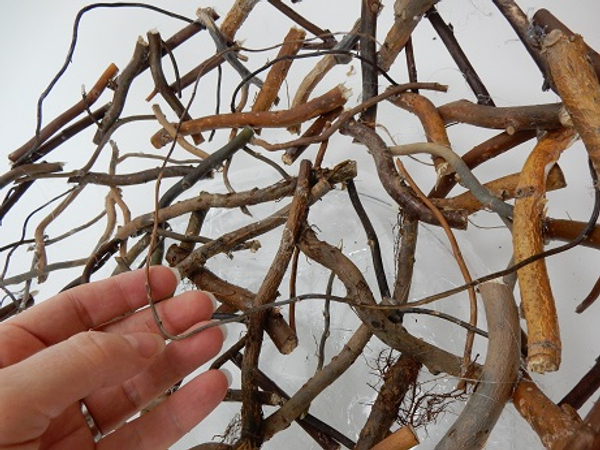
Glue in dried roots
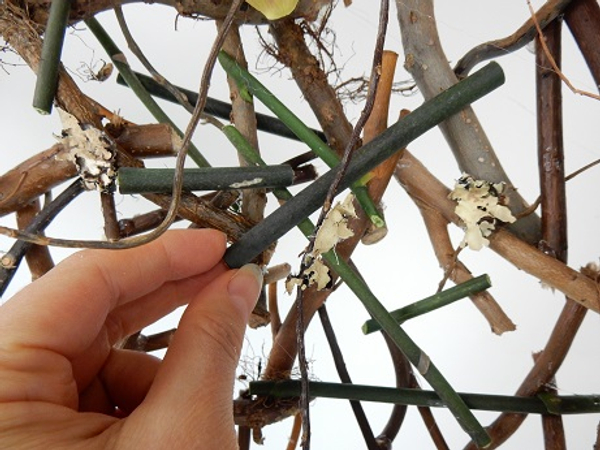
Add some lichen and green orchid stems
Sign up for my weekly newsletter
Every week I add a new design with related tutorials. Be sure to subscribe to receive an email notification with design inspiration.
Tutorials
When you glue a structure with hot glue there are always a few stray strands of glue stuck all over the design. Blow it away with a hairdryer.
When you need to keep a tiny stem hydrated this is just what you need. If you can't find a suitable drinking straw... I also have an upgrade: tiny food grade pipe water tubes.
This is a great way to use all those bits of twigs and sticks in your design room to make a floral armature
Related Designs
My article and willow birdcage design for wedding rings featured in DIY Weddings Magazine.
A delicate winter twig armature to show off the delicate beauty of these early spring coloured tulips.
Have you heard? I have wonderful news this week. Oh! and I also have this pretty grapevine armature shaped like the petals of an open rose to show you. But... Have you heard...
Instead of just placing a handful of twigs and two stems of sweet peas in a vase... why not...?
A creative design that has some height to it without blocking the view. This can easily be scaled up or down to match the environment you want to display it in.
Soft minimal Fall armature making it easy to replace the flowers as the season progress.
Grass crisscross that makes you want to lean in closer to count the late summer raindrops around these gorgeous roses.
Using that little something that is unusual about your flower to make the design stand out.
A take your time and mindfully craft a pretty design to celebrate the summer solstice- it is officially summer here in Canada.