Christine de Beer - effortless floral craftsman
Scattered dried grass with raindrop crystals
- 4 August 2021
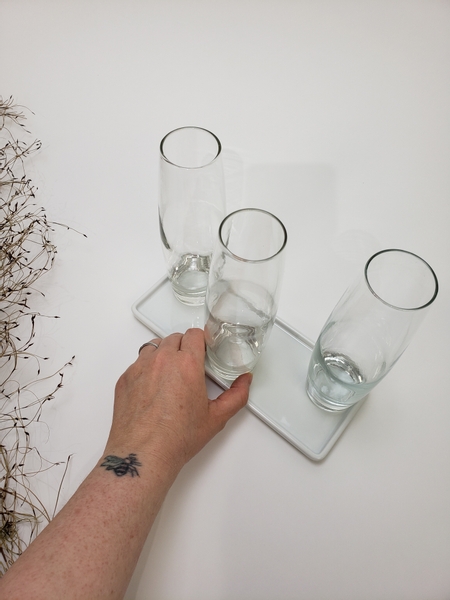
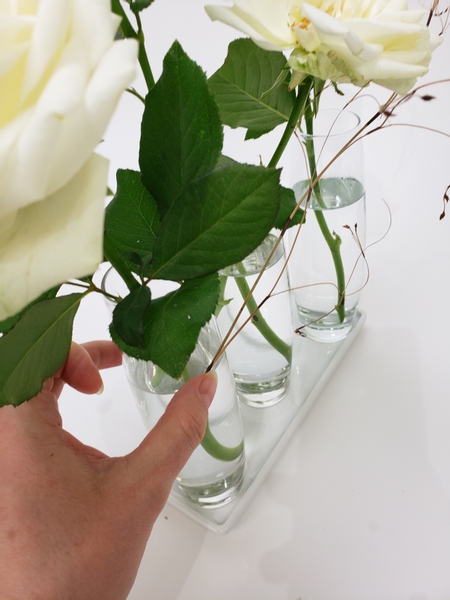
Place bud vases on a display tray... three to start and one extra to add in so that it creates a layer.
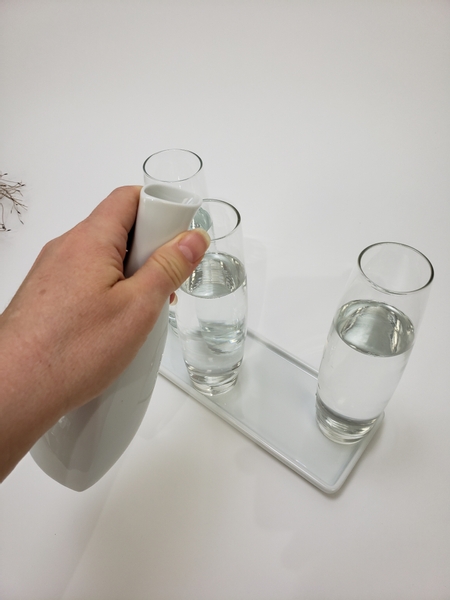
Fill the vases with water.
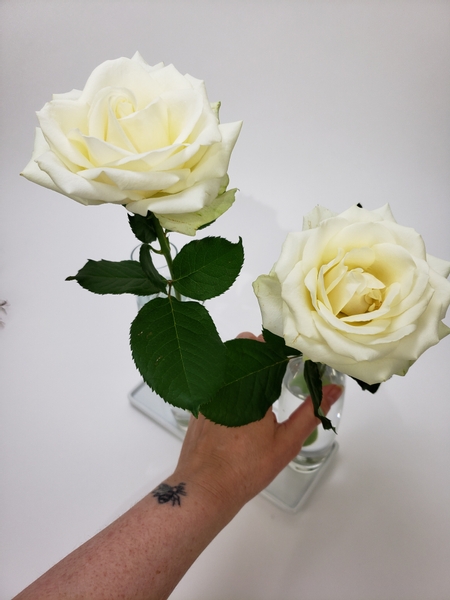
Give the roses a fresh cut and place it into the vases.
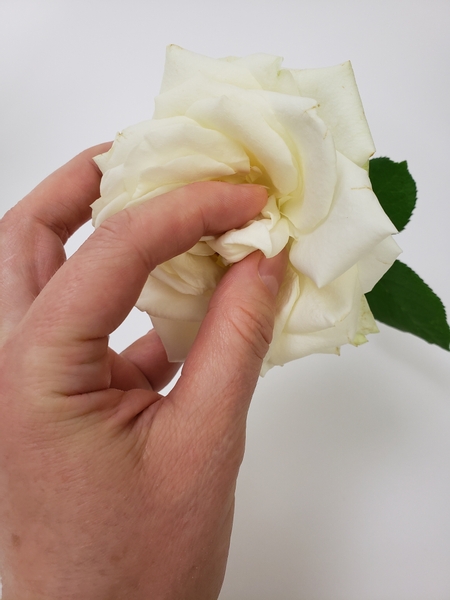
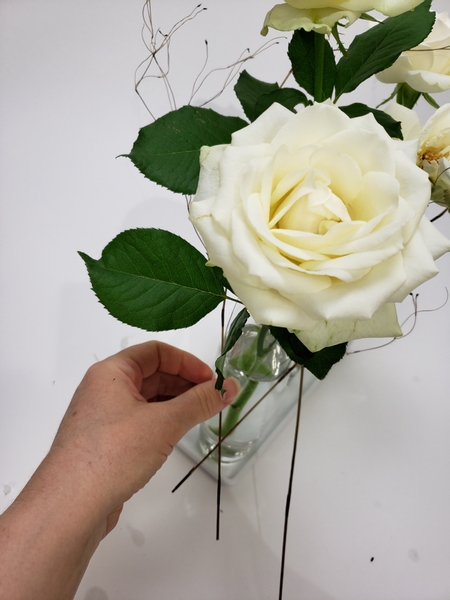
Reach into one rose...
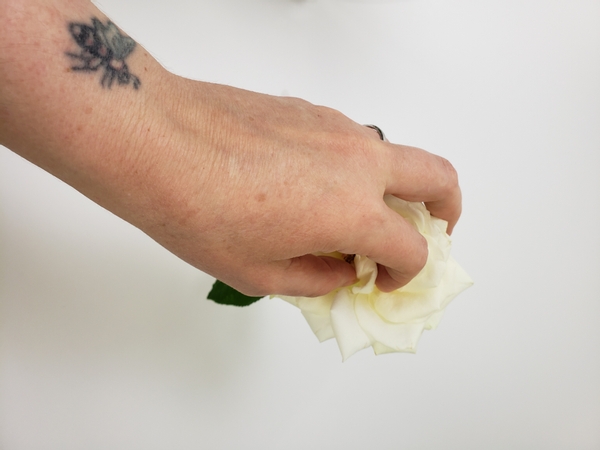
... And pick away the petals
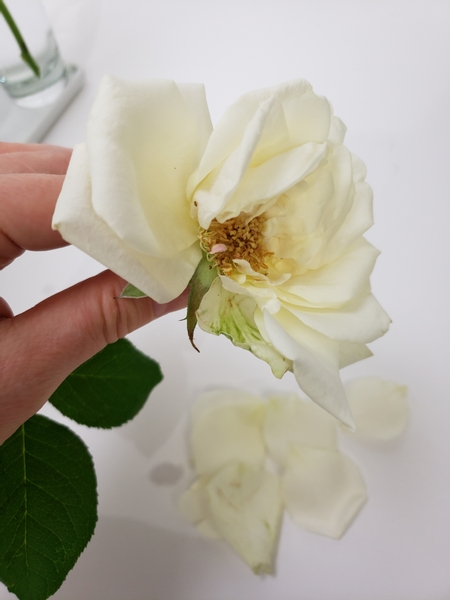
... to expose the disk and instantly transform shop bought roses into a more "just picked this this morning" look.
I wanted to explain to you why I did this in greater detail so I included it in my tip for you this week in our email. Could you see the thing about looking closer? Make sure you are signed up to receive the one-email-per-week-on-Wednesdays email where we discuss the design in a bit more detail.
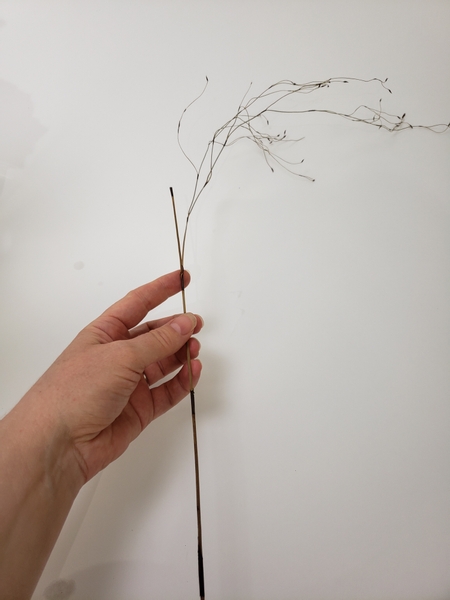
Next step is to groom the dried grasses. I wanted only a soft glow or haze of grass surrounding the grass so I groomed it to have only a bit of fluff on the end.
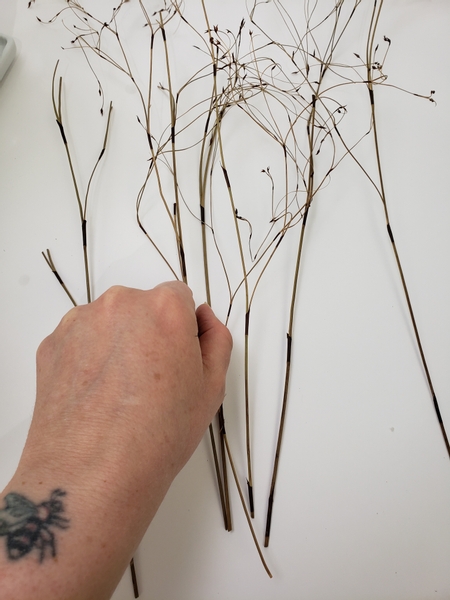
Groom the bundle of grass and lay it on a design surface so that you can see at a glance what you have to work with.
Glue the first blade of grass to the vase. I used hot glue because it is so easy to peel from the glass to clean up.
Start to build up the grass halo. Make sure to add blades of grass that crosses in all directions all around the roses.
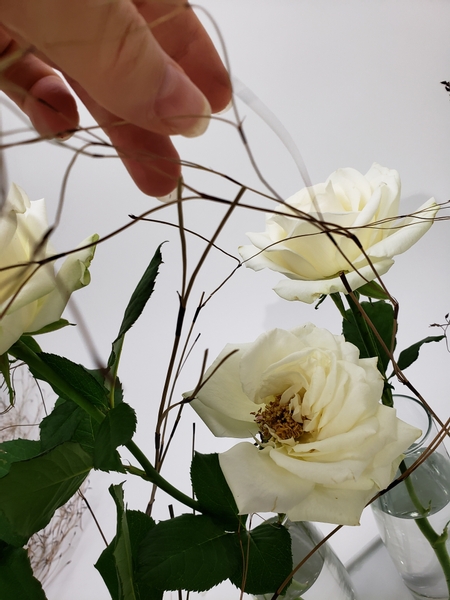
Add a few forked grass pieces to support the thinner grass sections in the direction you want them to flow
... this is a great way to make sure the dried grasses create a uplifting rather than a droopy look. Always make sure the grass tufts point in a general upward position as you add them.
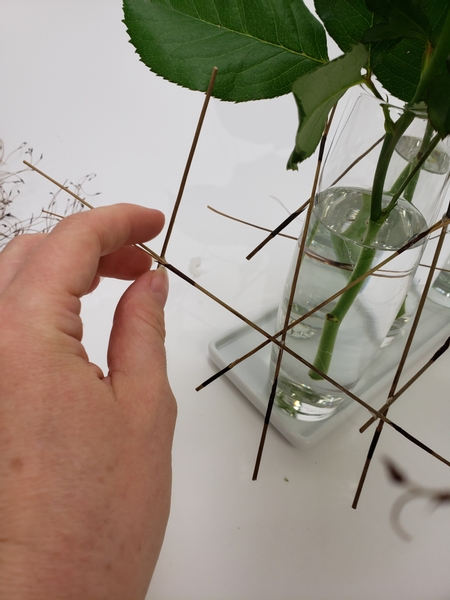
And make sure each grass is connected at, at least three places to create a really sturdy halo.
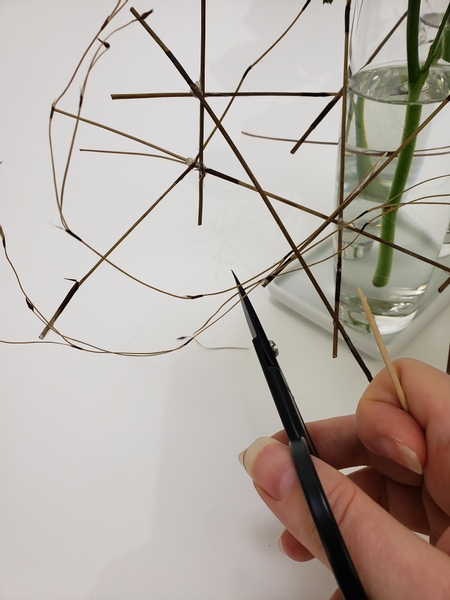
Lift the grasses into position with a wooden skewer and groom away any extra tufts.

Also cut away any grass bits that point down as you build the grasses around the roses. This way you make sure to cut away any bits that might give the impression that the design is droopy. It's a tiny detail but it makes a huge difference in the overall appearance of the design, especially when you use dried material. It should not look like you forgot it there...
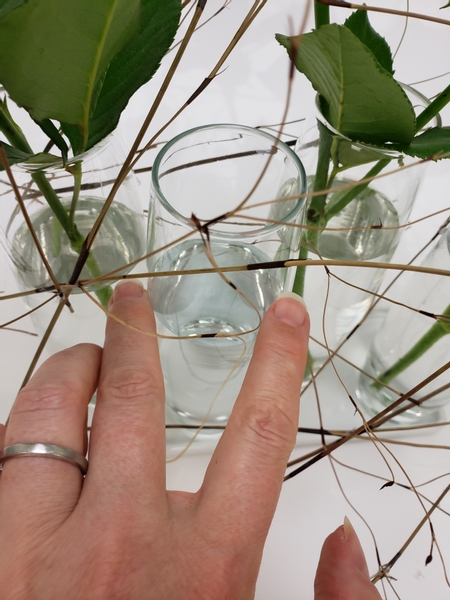
Slip in the last bud vase to nestle between the grasses.
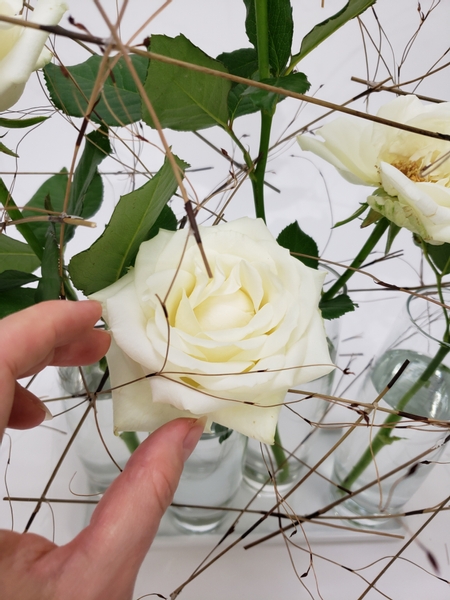
And place the rose in the vase.
Design note: yes, yes that is a guard petal you see there. And no, I did not forget to remove it. It is a bit controversial leaving it in but I adore guard petals! They are so pretty.
It's a bit like removing the thorns of roses... I really wish you would not when you sell a bunch of roses. They are so pretty. Book readers turn to page 83 where I discuss the more controversial aspects of conditioning. I would love to hear what you think!
For more information about my book: The Effortless Floral Craftsman
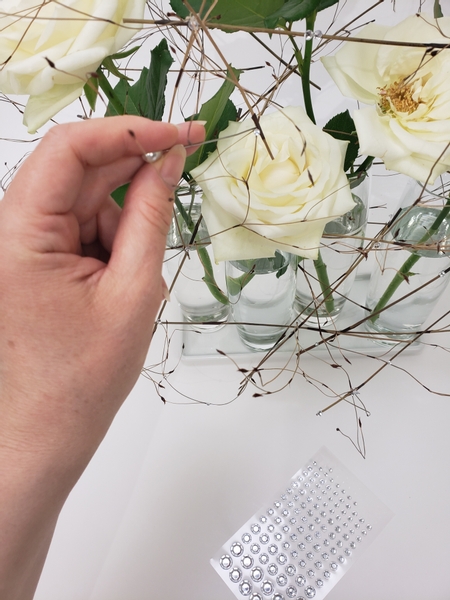
Add in loads of crystal beads all around the design to sparkle like raindrops.
I use a pin to position my crystals. See the Tutorial below for an explanation why. I have a tip for you about where to position the crystals on the more flexible tips of the grasses in this week's email. You can sign up below this post if you want to receive the weekly email.
Sign up for my weekly newsletter
Every week I add a new design with related tutorials. Be sure to subscribe to receive an email notification with design inspiration.


 then support the snap with a snap (squeezed open) to craft a straight grass shimmer line")


 so snap to it")


 I can see you")


