Christine de Beer - effortless floral craftsman
Twig snippet vase armature
- 11 May 2016
- and more
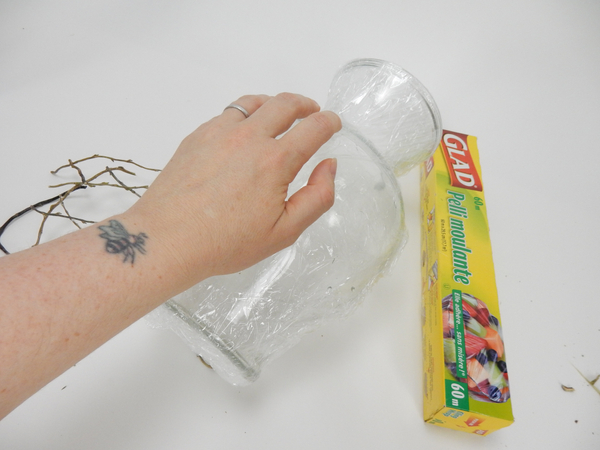
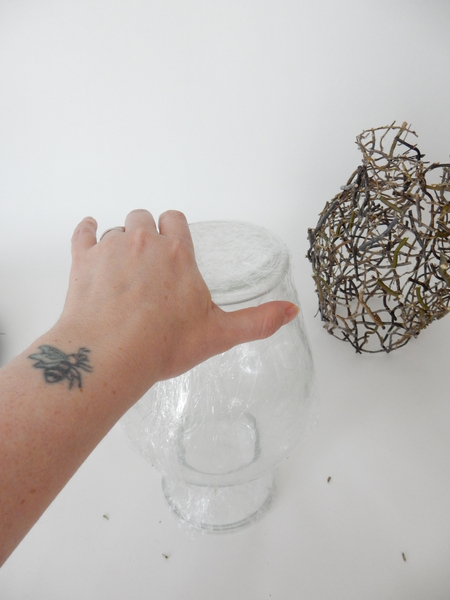
Cover a glass vase with cling wrap. Smooth it down
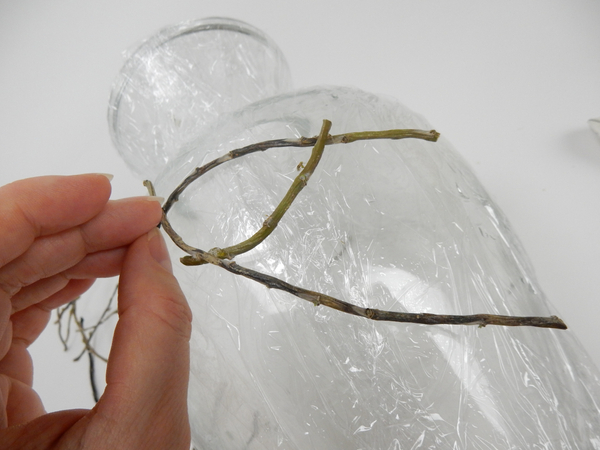
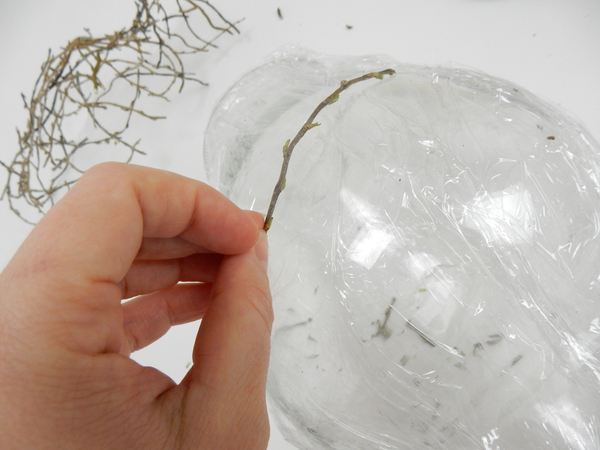
Glue twig snippets to closely follow the shape
Curve the snippets around the vase
Follow all the curves of the vase.
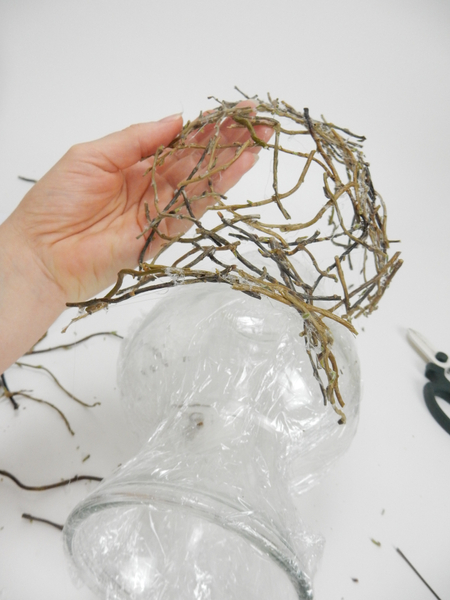
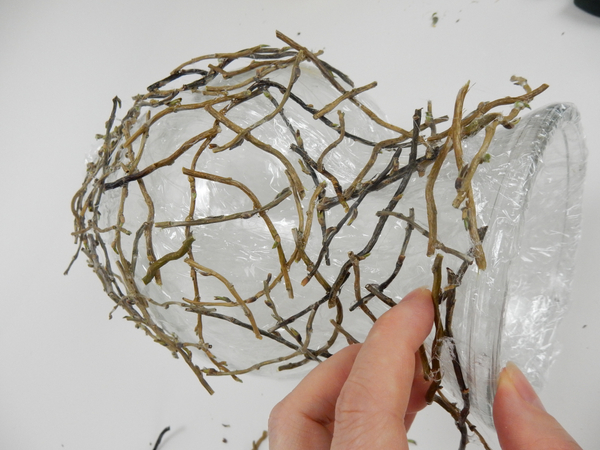
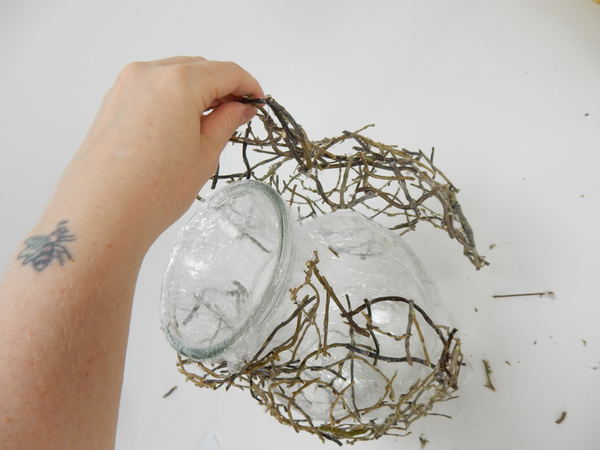
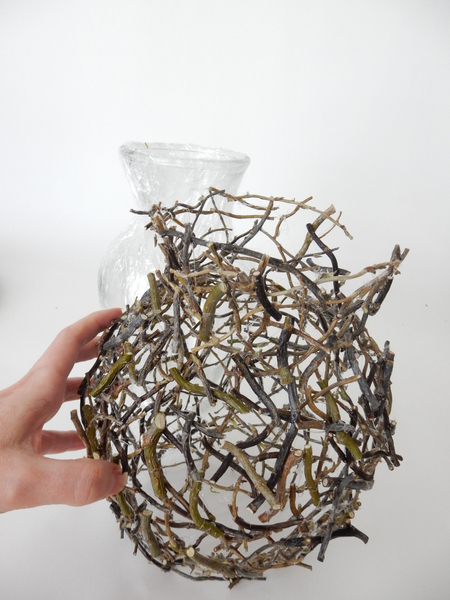
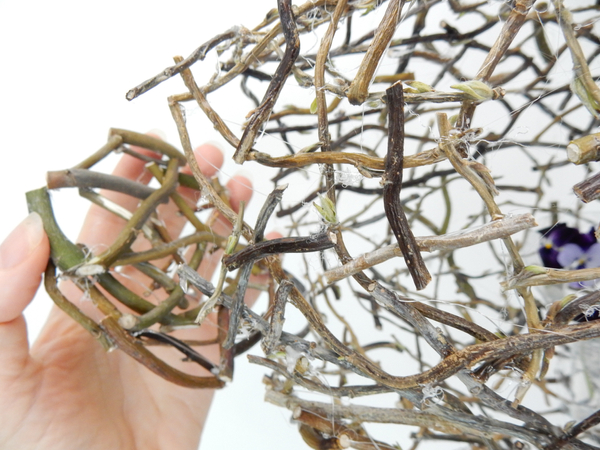
Lift the first half of the twig vase away and set it aside
Start on the other half as you did the first
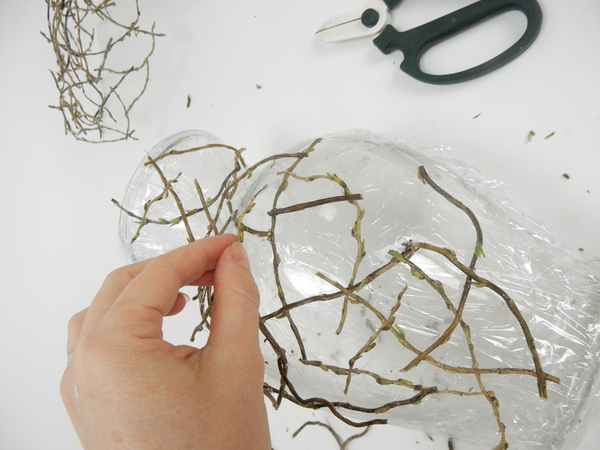
Carefully build up the shape as you did with the first half
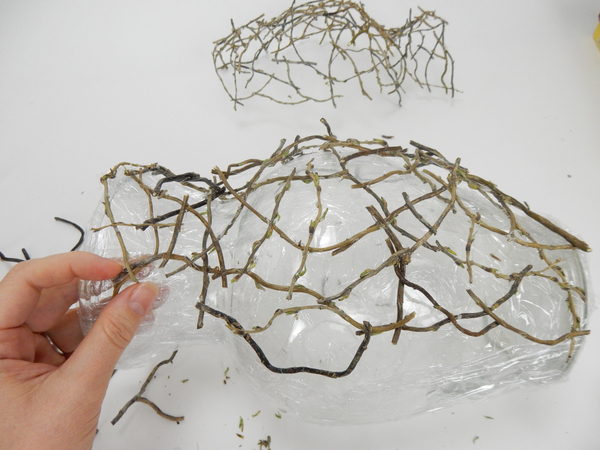
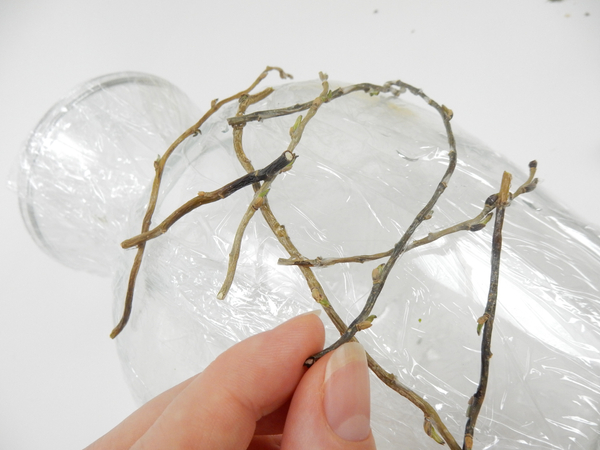
Cover the shape with twig snippets
Fit the two halves together to make sure the entire surface is covered
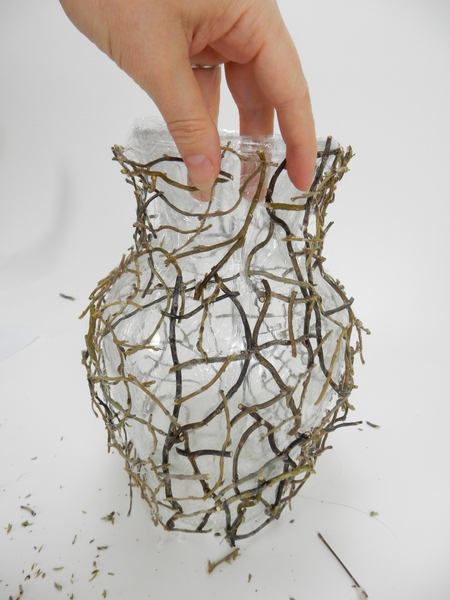
Connect the two halves at one side with additional twig snippets
Make sure to glue the twigs to both sides of the armature.
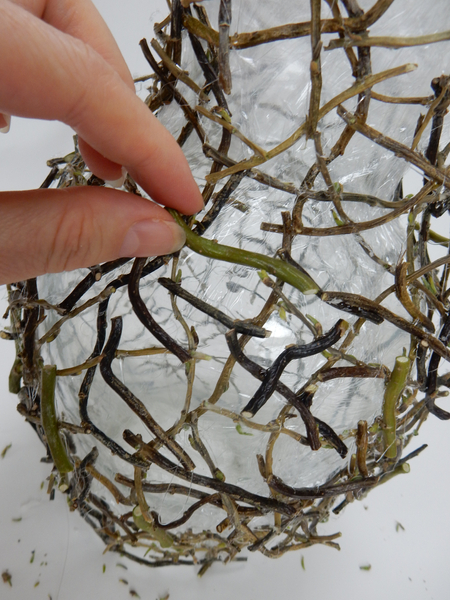
Wiggle the twigs to make sure the shape is secure. Add twigs or glue down twigs where needed.

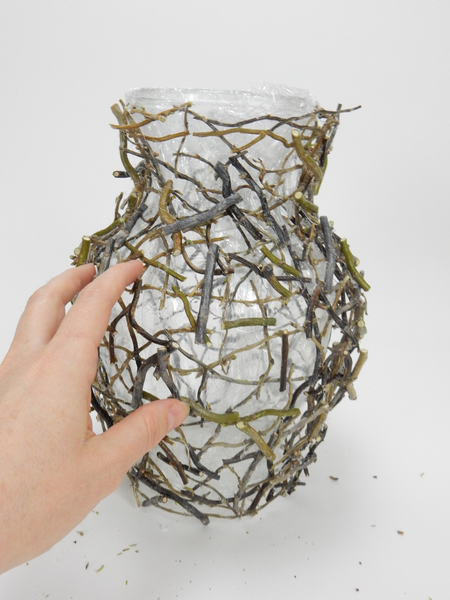
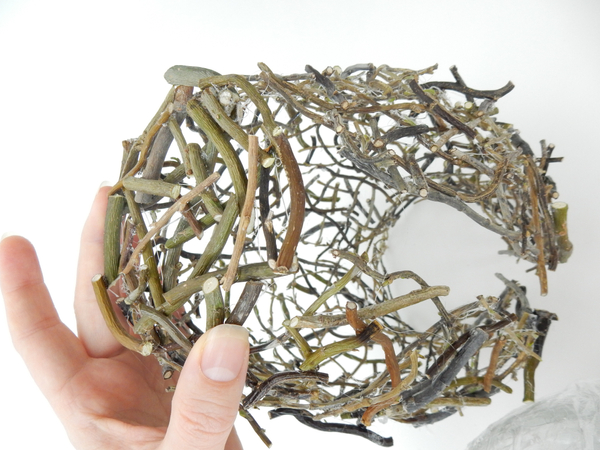
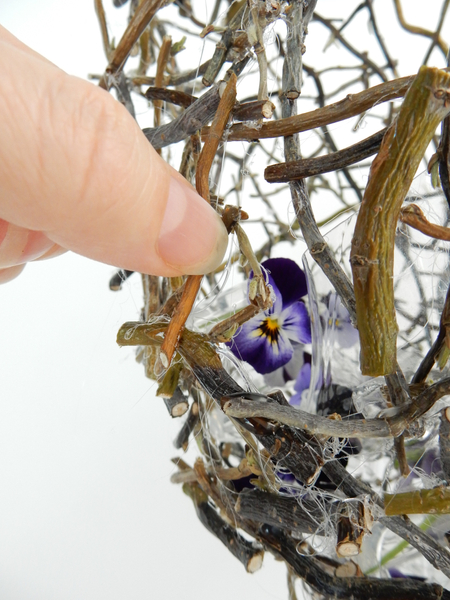
Slip your fingers between the vase and the twigs to release the shape
Lift the twig shape away from the vase.
Place the vase upside down on a working surface

Glue twigs to create the base of the vase shape
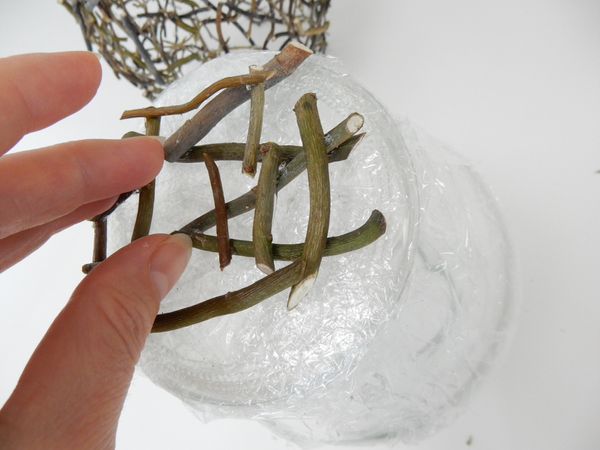
Overlap the twigs to create a secure shape.
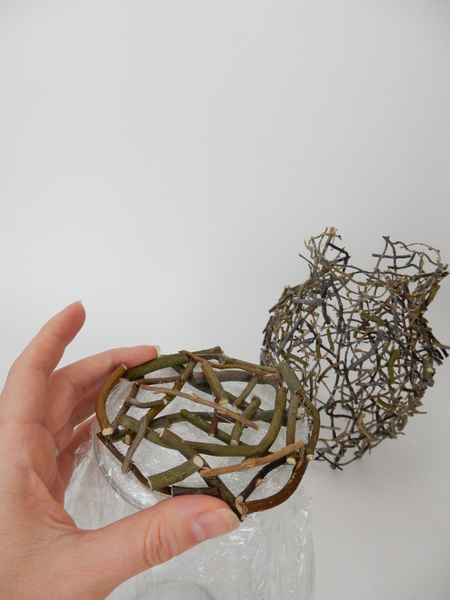
Lift the twig snippets from the vase
And fit it to the twig armature to make sure it is the right size. Add twigs if necessary. Do not glue it down yet so that it is easier to design the flowers in the vase part of the armature.
I made the clear part of the armature by melting plastic.
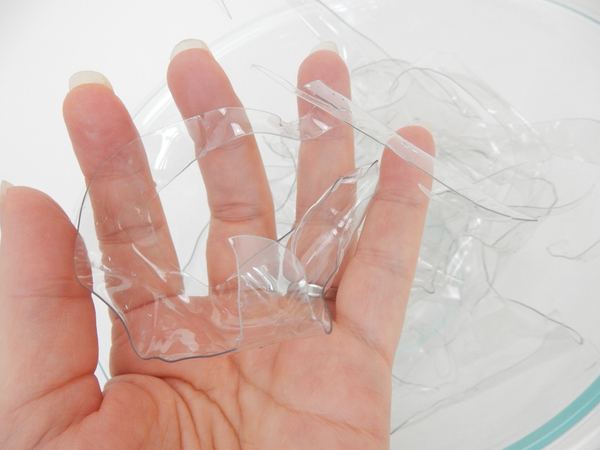
See the Tutorial below for detailed instructions on how to melt plastic into curved shapes
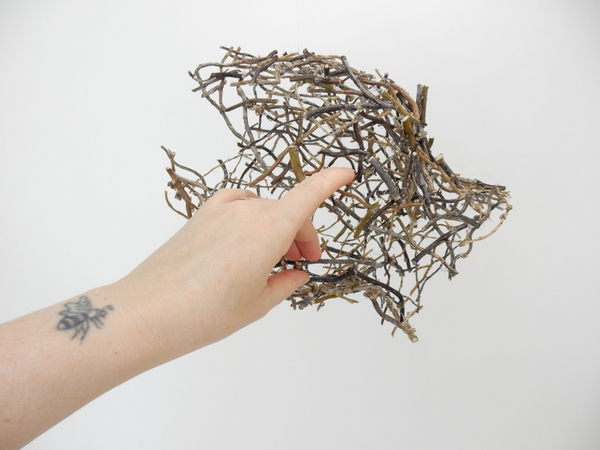
Gently open up the twig vase shape.
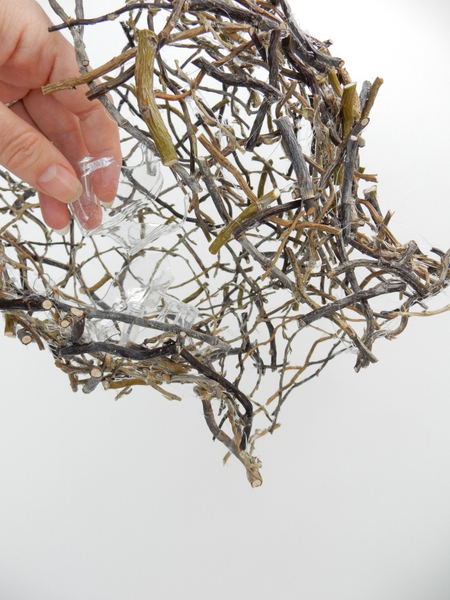
Place some of the plastic shapes in the twig shape
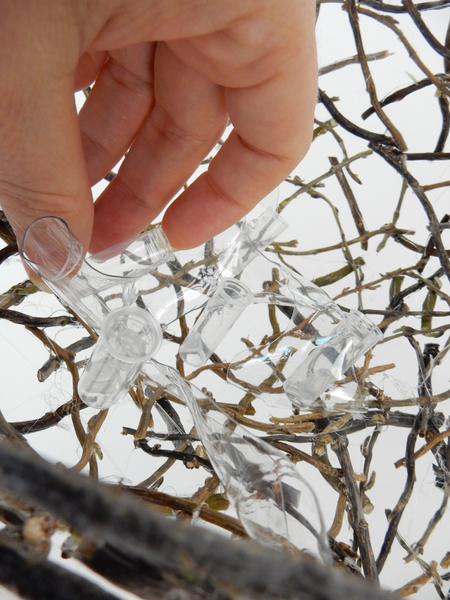
Glue in a few tubes to keep the flowers hydrated.
See the Tutorial below for detailed instructions on how I make my own test tubes from drinking straws
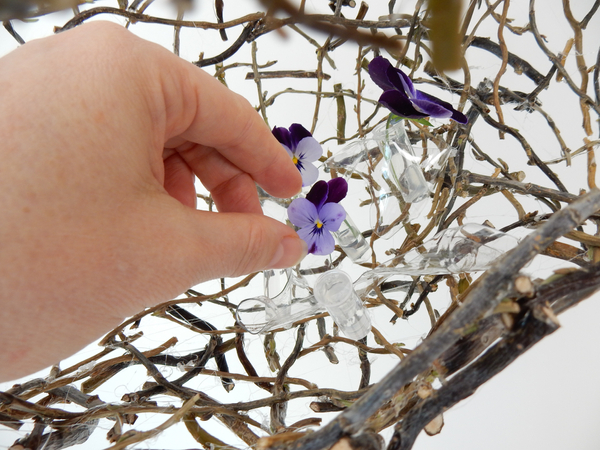
Fill the tubes with water and add flowers

Add a few more plastic shapes so that the flowers peek through

Continue to add plastic shapes and tubes to spill out of the twig vase armature
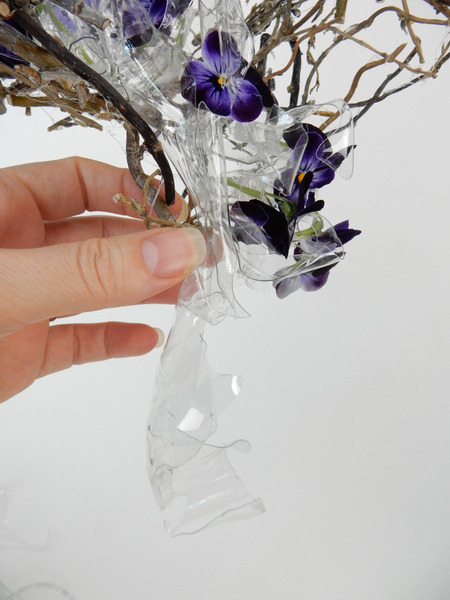
Add in longer plastic shapes to tumble down
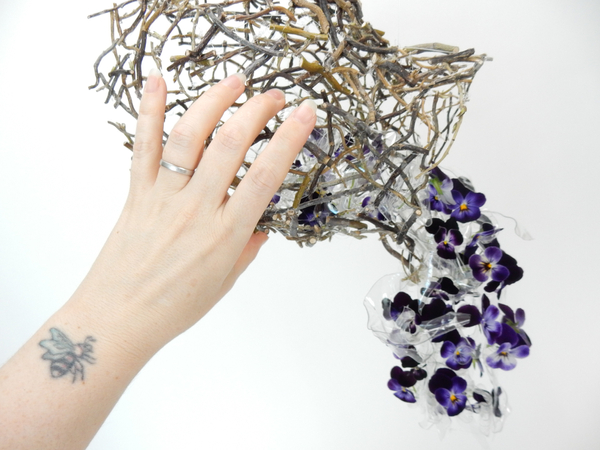
Close up the open side of the twig snipped vase
And glue in twigs to secure
Fit the bottom piece of the twig snippet vase and secure with twigs
Finish the design with a few more flowers and grass snippets for contrast
Sign up for my weekly newsletter
Every week I add a new design with related tutorials. Be sure to subscribe to receive an email notification with design inspiration.


 I can see you")


