Christine de Beer - effortless floral craftsman
See through Jasmine Vine tangle support
- 10 April 2024
Jasmine vines are surprisingly robust once dry. They are the perfect choice for a design like this that is impossibly thin and deceptively strong... yes you can even hang plant material from the tangle!

Choose a large glass display container that would be big enough for you to build the armature around... and add some floral details inside.
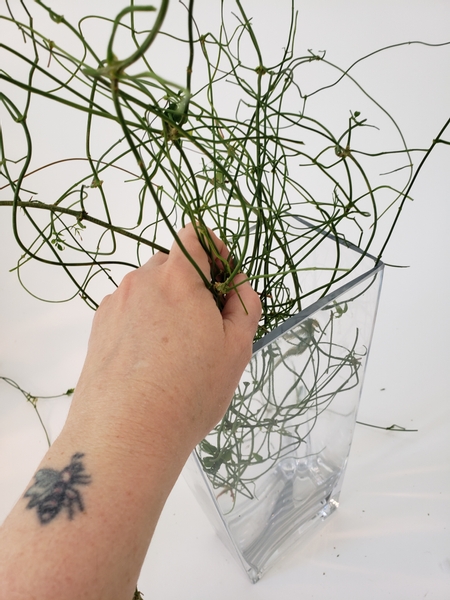
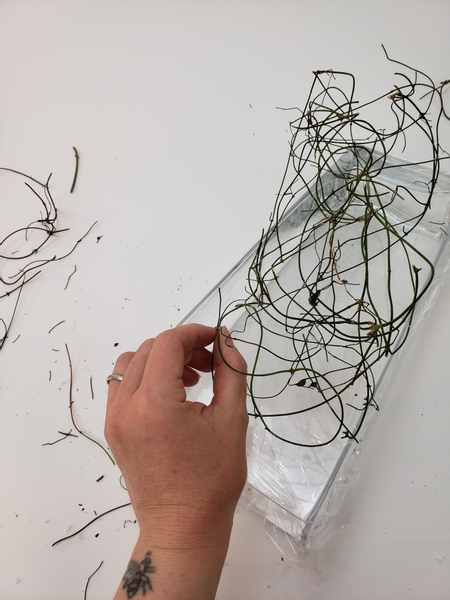
Fill your display container with some tangled up vines.
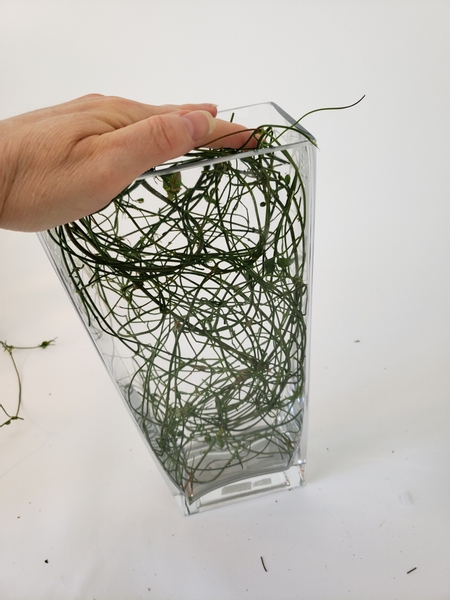
Make sure the vines fill the container and can take on the shape once dried.
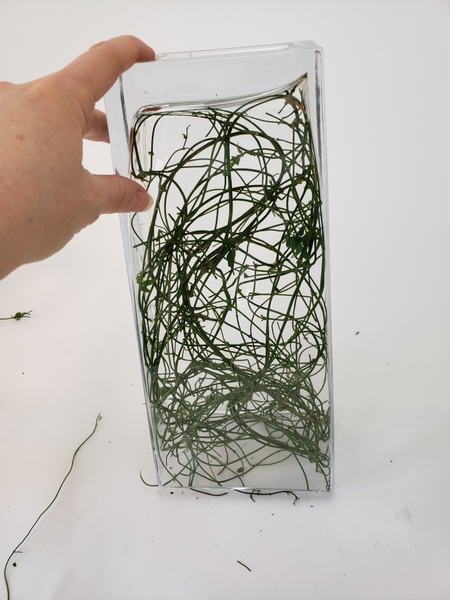
Place the container upside down for a few days so that the vines can dry into this shape.
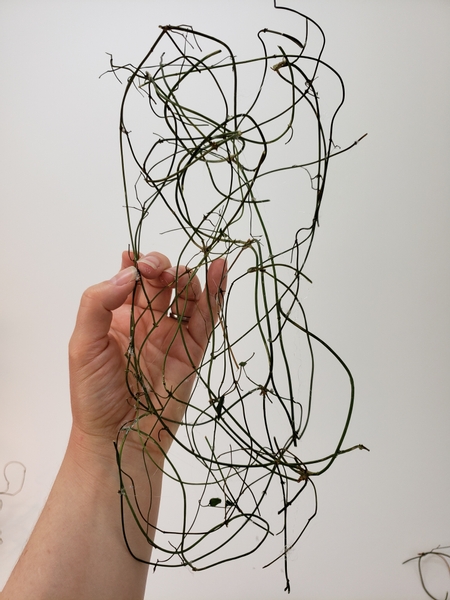
The dried jasmine vine dries into a really strong and rigid tangle that stands up by itself and can even carry some floral details without distorting.
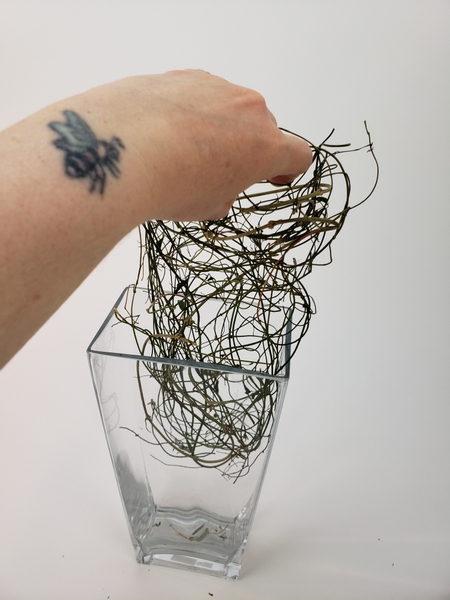
Lift the vine tangle from the container.
it looks quite nice just like this, right? Great idea for a future design, maybe. But for this design I wanted the thinnest possible vine tangle that is barely there and see-through... so...
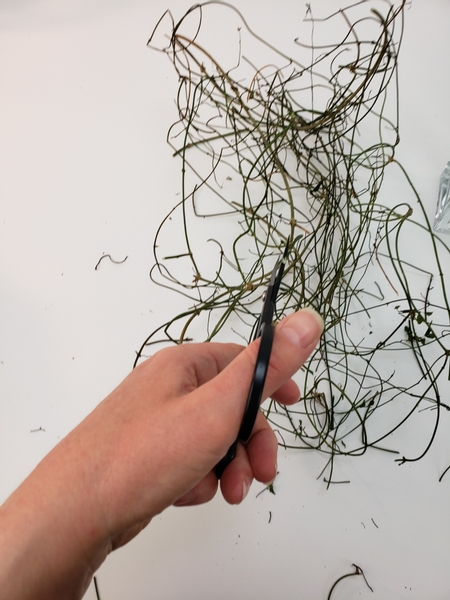
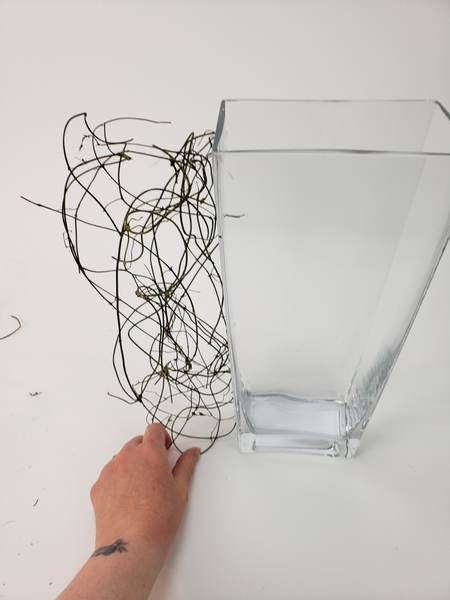
Cut the vine tangle open...
Be careful though so that you keep the shape the tangle dried into.
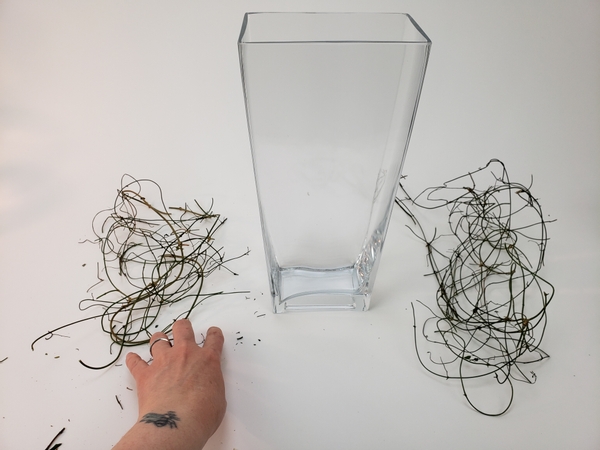
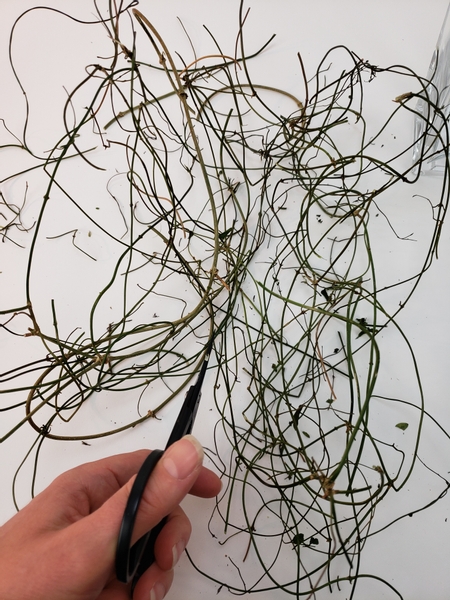
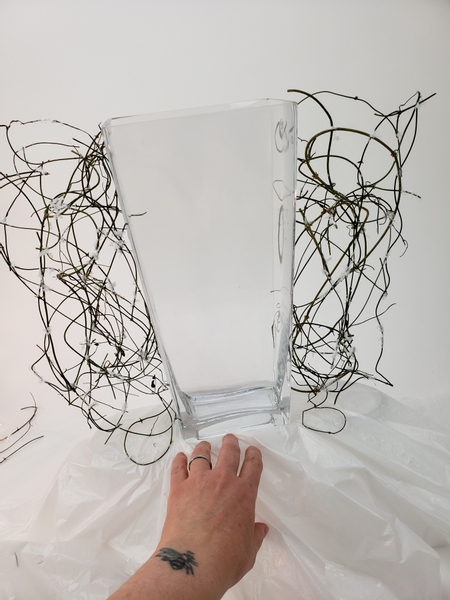
Match the tangles so that it fits on either side of the display container.

Place some plastic wrap to protect the display container...

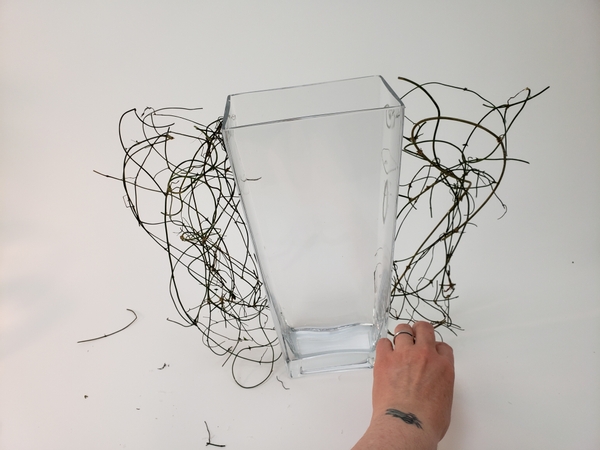
Place the tangle on top of the container and neaten up the shape by snipping away any fly-away vines and securing any loose bits with hot glue.
Position all the edge pieces that dried into the container shapes to the sides so that it looks like the vines simply dried in place.
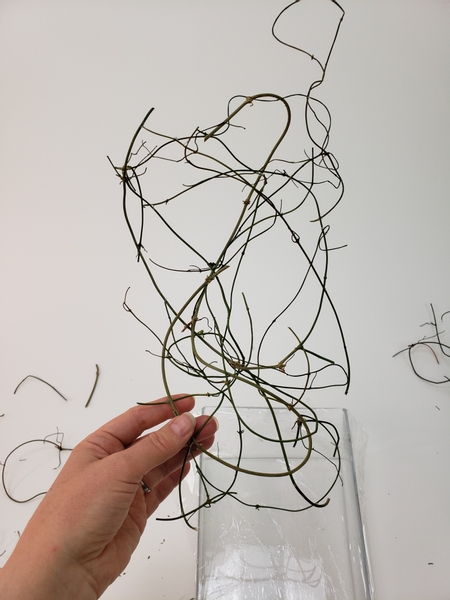
The goal is the thinnest possible vine tangle that can stand up by itself. Remove any unnecessary vines and add in any support vines that is needed to make a robust panel.
Do the same with the second vine tangle for the other side.
The vines should hold the shape when you lift it up.
Use hot glue to glue the vine tangle to the glass container on the one side...
And then secure the other side.
Use the smallest drop of hot glue as possible to secure the vine tangle to the container. It should be completely suspended and not look glued down. Getting into the tangle to glue it exactly where it connects with the vase can get a bit complicated with all the vines in the way. This week in our email I show you how I use hot glue to not only control the amount of glue but also get into the smallest of spaces. I send out an email every Wednesday morning (Vancouver time) to let you know when the design is ready but also so that you have the "inside scoop" on the design. I add a bonus tip for you to take special note of when you look at the design. If you are not yet signed up, and want to ask a question or comment or say hi the sign up is below this post.

Paint the connection pieces with a bit of wood glue to secure.
The wood glue dries clear so if you want you can skip the next step...
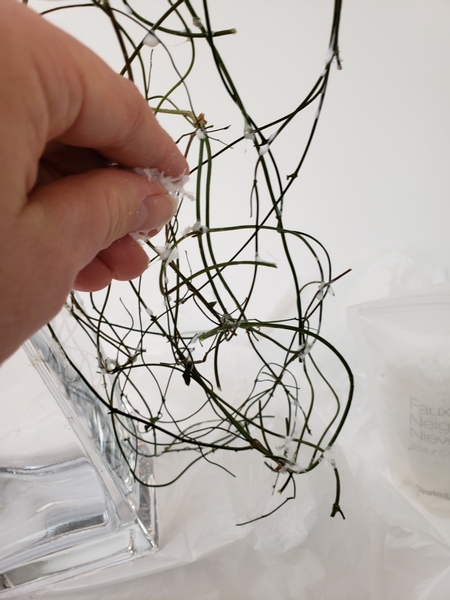
.. but I wanted my design to be set in early spring to celebrate the green sprigs emerging from the cold winter frost and snow... so I am sprinkling a dash of artificial snow on my vine tangle.
See the Tutorial below for more detailed instructions on how I add artificial snow to my designs.
Our vine wintery tangle is now ready to get a touch of Spring...
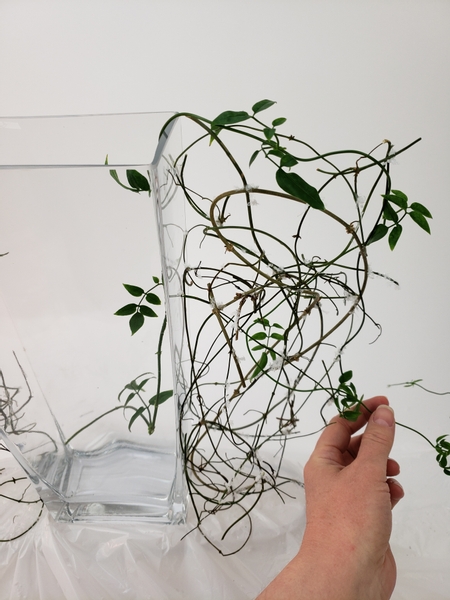
Groom and trim a long jasmine vine with just the barest hints of foliage and place it deep in the display container and tangle it through the dried vine tangle on the outside.
If you want to read a bit more about special care and grooming your floral details turn to page 96 of my book. For more information about my book: The Effortless Floral Craftsman

Tangle in fresh vines to drape over the other side.
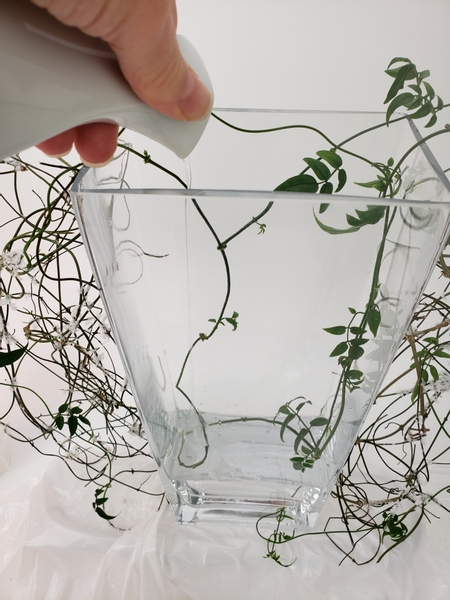
Pour water into the display container to keep the jasmine vines hydrated.
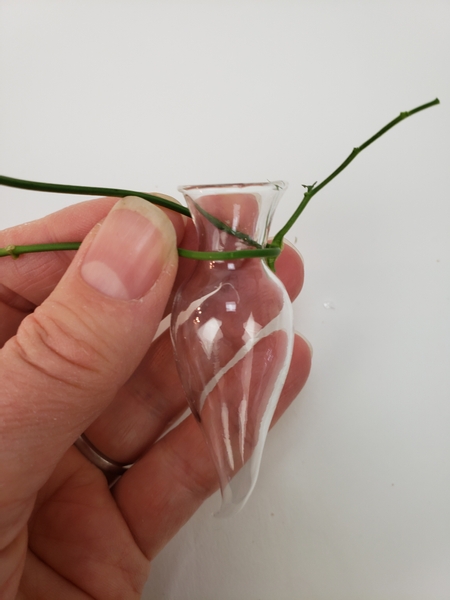
Wrap a jasmine vine around the neck of a tiny glass seahorse vase...
Book readers turn to page 194 for a few creative tiny container suggestions for you to use instead of glass seahorses or water tubes.
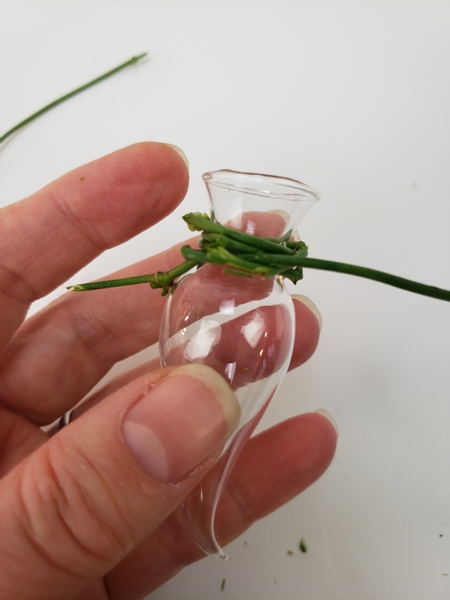
Press the vine end through the wrapped vines to secure it with a knot.
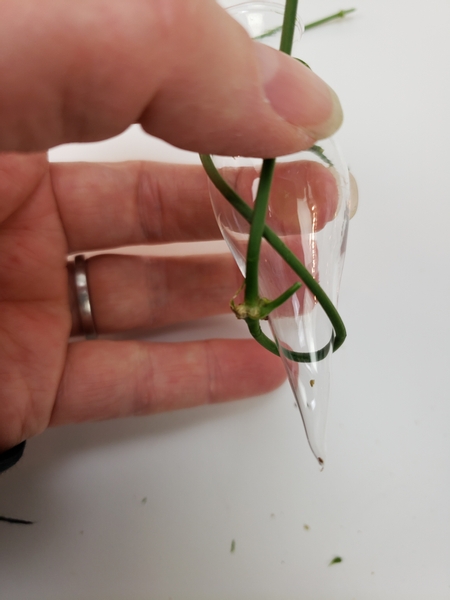
Fold the vine down and hook it around the tip of the glass seahorse and fold it back up...
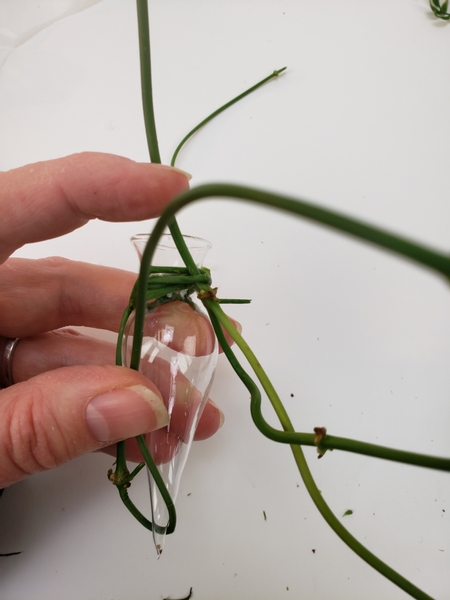
Press the vine through the secured vine wrapped around the neck of the seahorse and pull it through all the way.
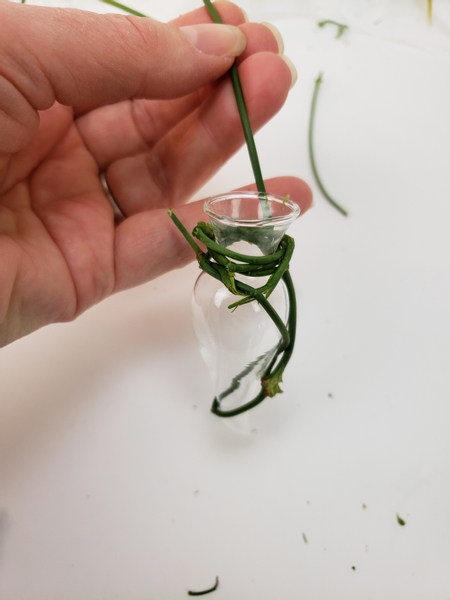
... and there you have it... a matching tangled in vine way to hang the seahorses.
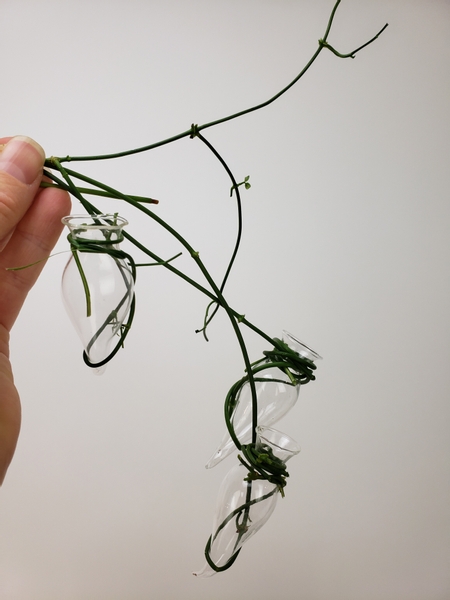
I am adding three orchids each in their own glass seahorse.
A rather dramatic way to display those long and rather dramatic petals of the Oncidium orchids... and giving them as much room as they need to stretch out and be their pretty self.
Tangle in or hang the glass seahorses into the design
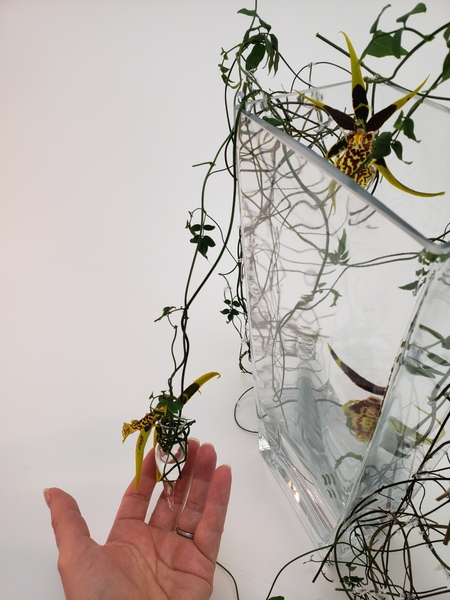
For my design I tangled in two glass seahorses inside the container and one glass seahorse to drape and dangle over to the front.
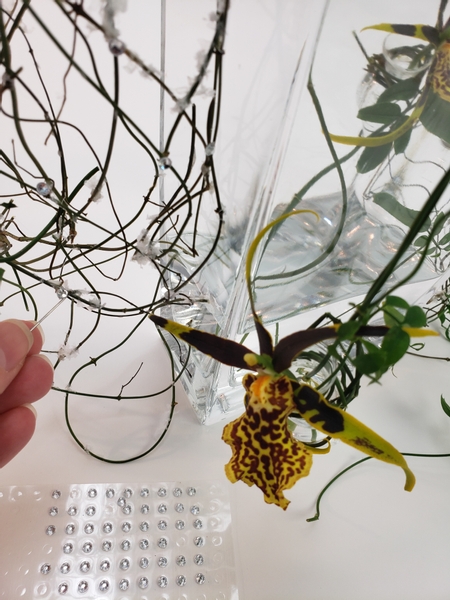
and as always... I finish my design with a few dew drop crystals.
See the Tutorial below for more detailed instructions on how to add the crystals.
Sign up for my weekly newsletter
Every week I add a new design with related tutorials. Be sure to subscribe to receive an email notification with design inspiration.


 in place")


 I can see you")
