Christine de Beer - effortless floral craftsman
Controlled chaos straw and dried foliage armature
- 18 September 2024
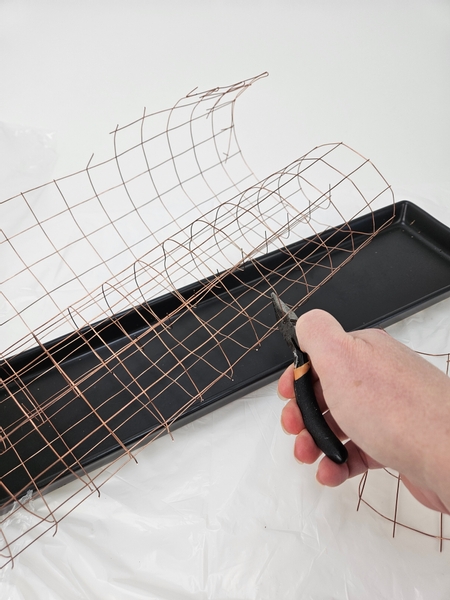
Measure out wire mesh so that a roll comfortably fits in a display tray.
Cut the wire and fold all the sharp ends in.
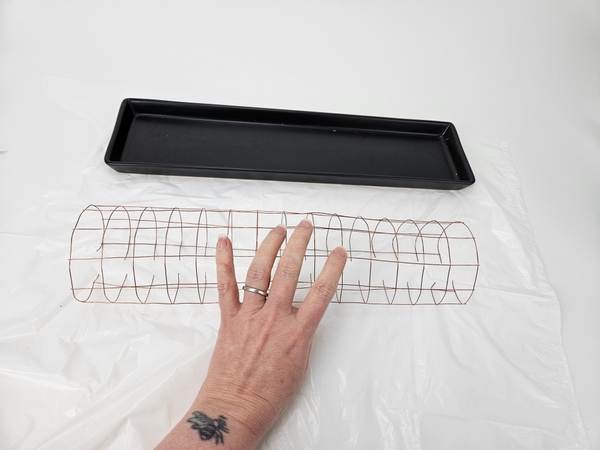
Place the wire roll on a protective sheet of plastic.
Design tip: a shower curtain works great. It is large enough for most projects and you can simply rinse it and use it again. Or use a plastic bag that is durable enough to be reused.
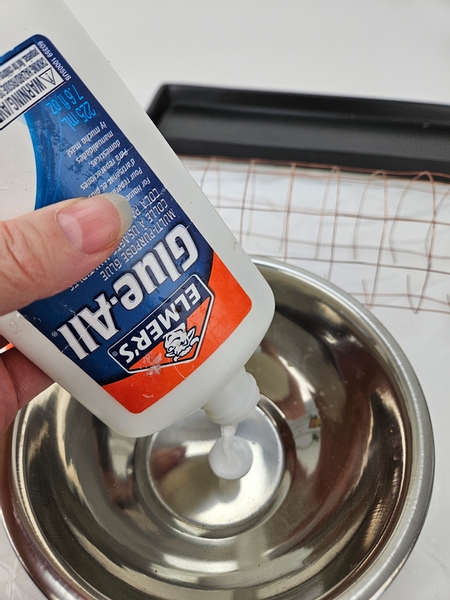
Pour wood glue into a bowl.
Book readers turn to page 32 of my book where I tell you about watering down glue to soak plant material. For more information about my book: The Effortless Floral Craftsman
But to get you started here is a link to a free read sample of the first 38 pages: The Effortless Floral Craftsman on Amazon.ca
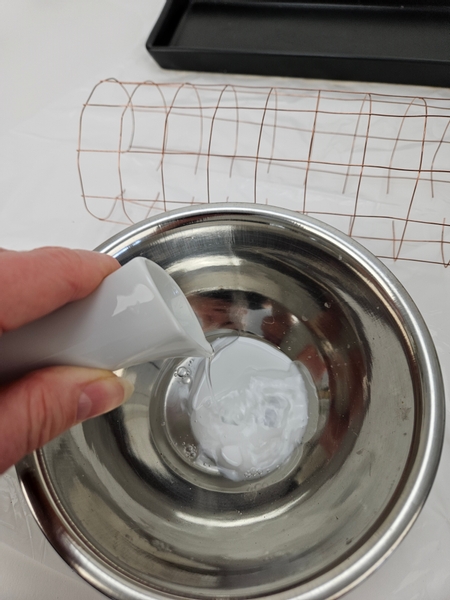
Thin the wood glue with warm water...
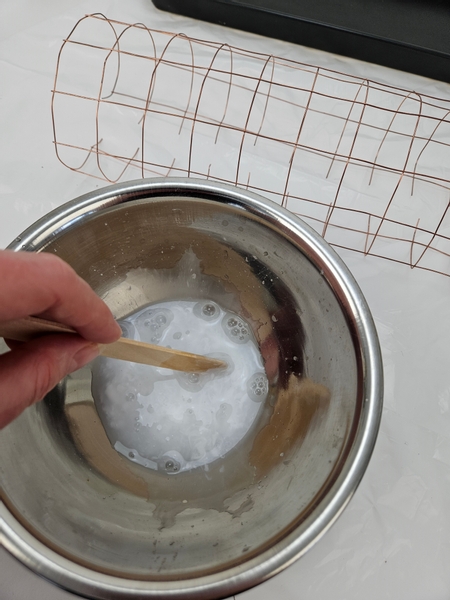
It should feel like just slightly thicker than milk when you mix it through.
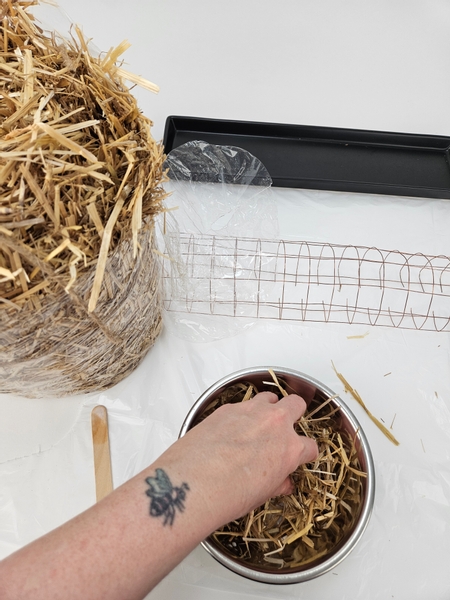
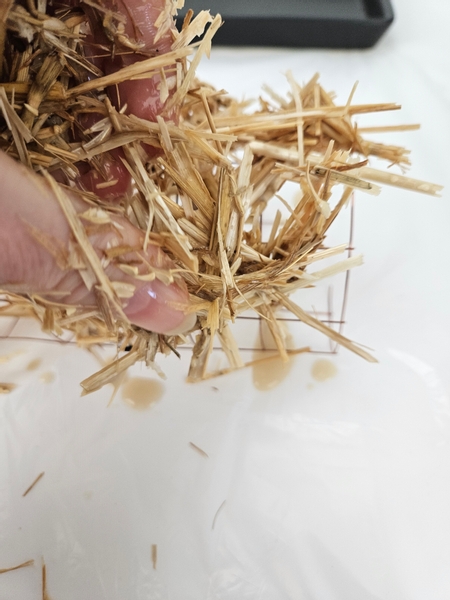
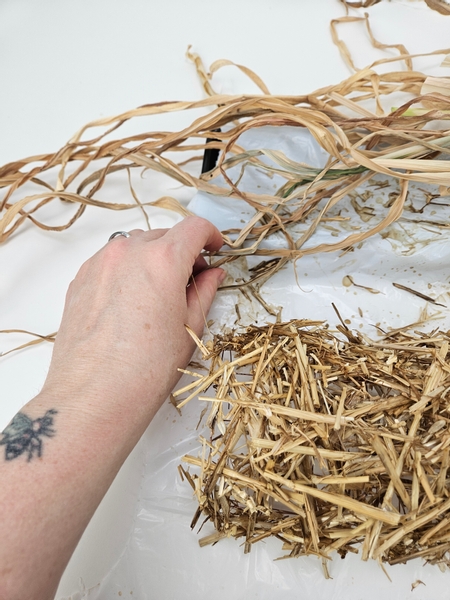
Mix some straw into the glue...
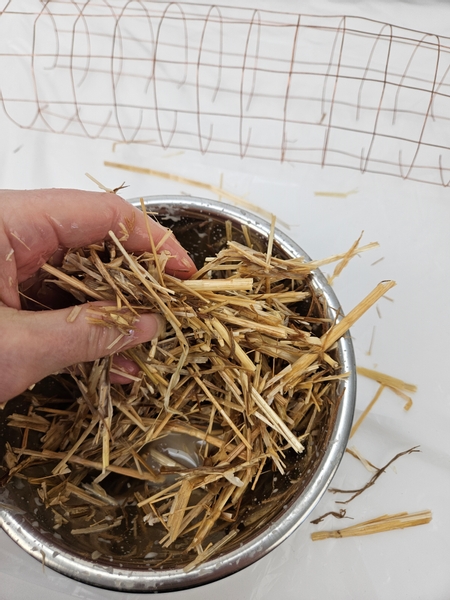
And let it soak up the warm glue mixture.
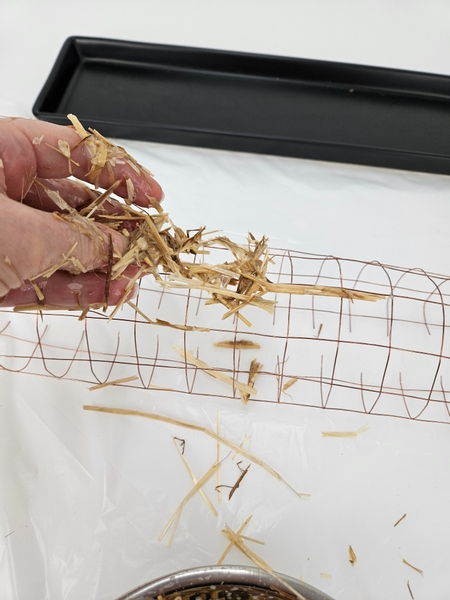
Scatter the straw onto the wire mesh.
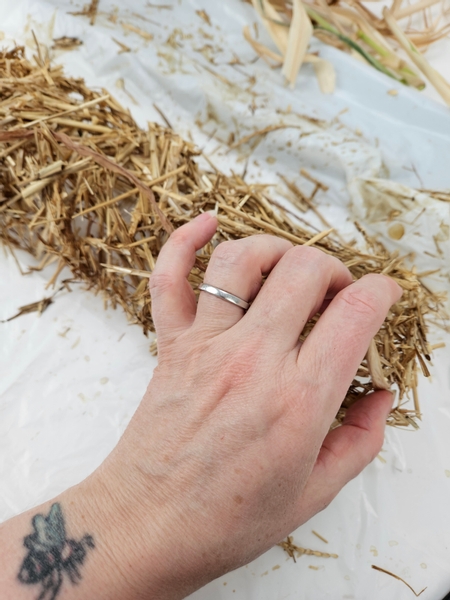
Design tip: take a large handful of straw at a time... the straw will cling and clump and make it easier to stack.
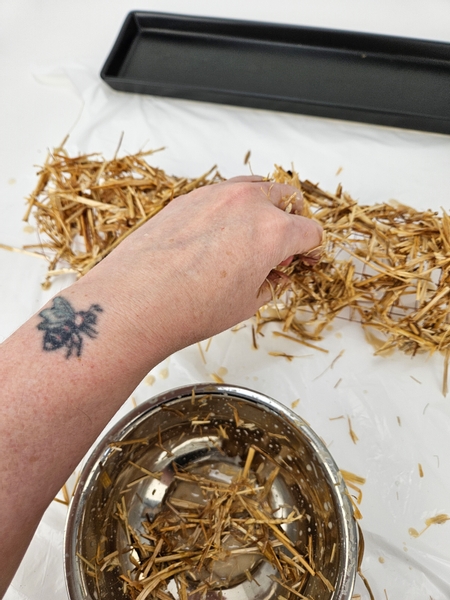
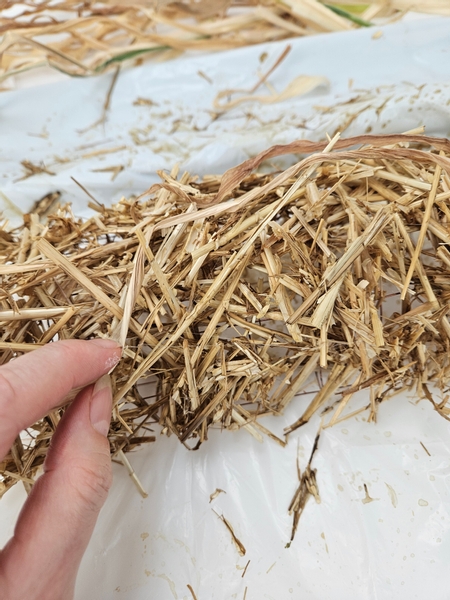
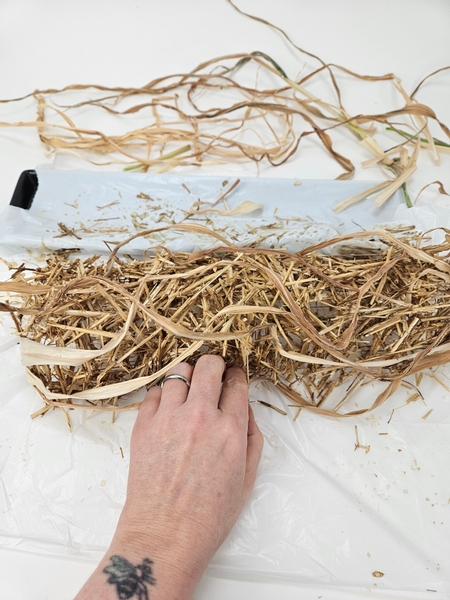
Cover the entire mesh shape...
Slowly building it up layer after layer.
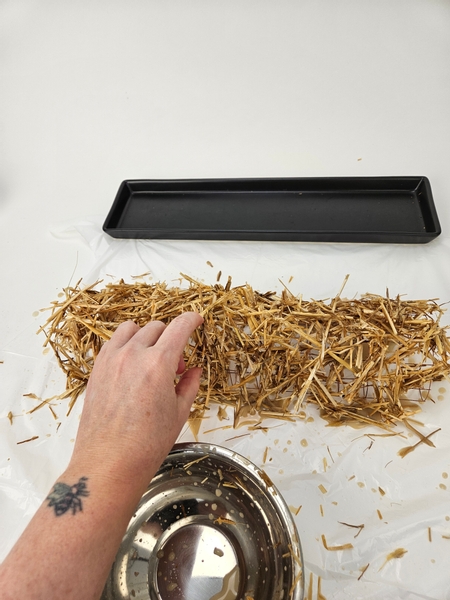
Set the straw covered mesh aside to dry completely.
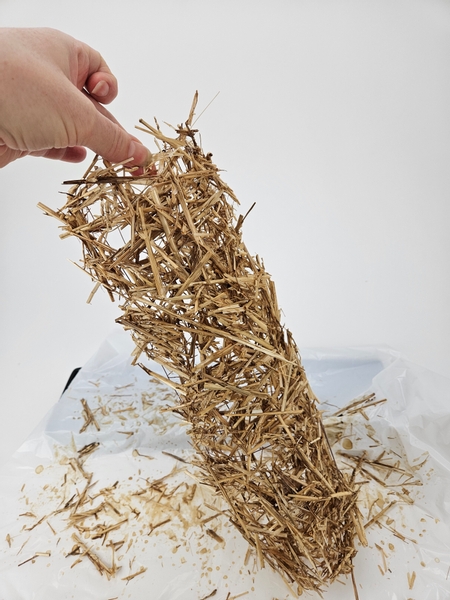
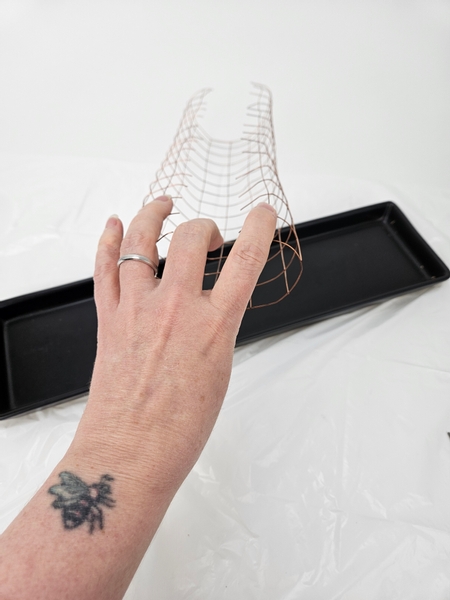
Lift it up to test the mesh shape to see if all the straw is secured.
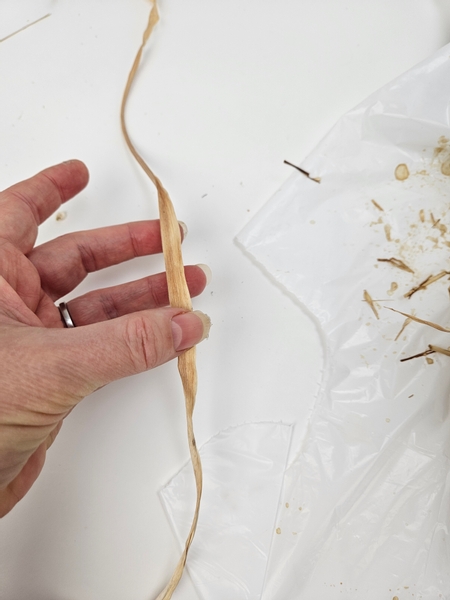
For the next layer I am using ribbons of dried foliage.
Mine is from the garlic that I grew on our balcony garden but any long strips of grass or foliage will do. Or you can even use raffia.
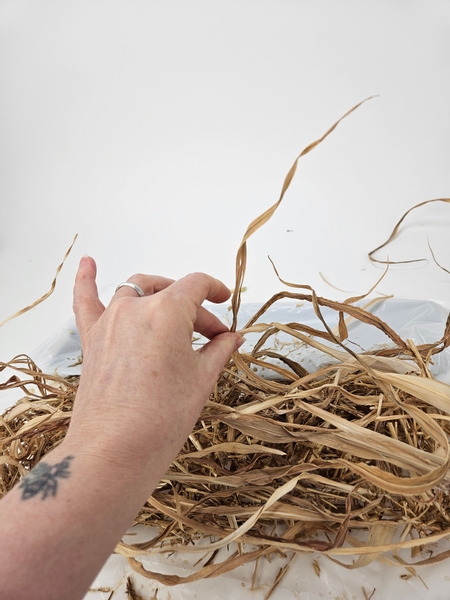
First I am adding a loose layer of foliage to drape horizontally over the wire shape. Fold the cut end of the foliage over the edge of the wire shape and glue it with hot glue.
And drape the foliage to loosely follow the shape.
I am gluing these ribbons of foliage into position every here and there because they are the support for the next layer of foliage.
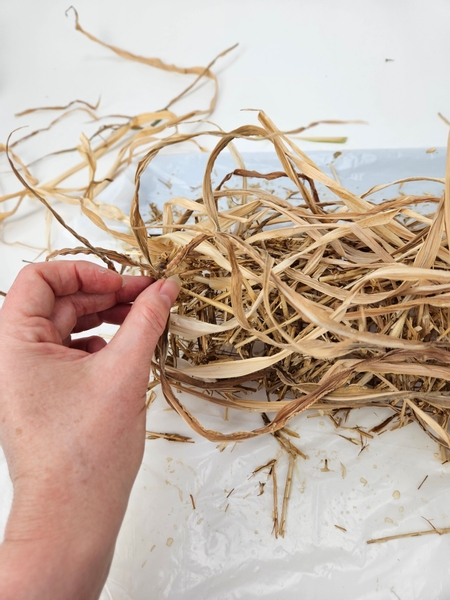
Smooth out the rest of the foliage to create flat ribbons... these will make up the final layer of the armature.
No need to force it. Smooth out the sections that opens up naturally. Or use a damp cloth to smooth the foliage if you find it is too dry and rips.
Slip the foliage between the ribbons and allow it to stand upright in a natural position. You can secure it to the horizontal pieces if you want a bit more control over where it points to.
This week in our lesson email I show you how to manipulate the grass so that it can be glued upright. I send out an email every Wednesday morning (Vancouver time) the moment the new design is ready for you to view... with a bit of "insider information" so that you can get even more out of every week's inspiration design. The sign up is below this post.
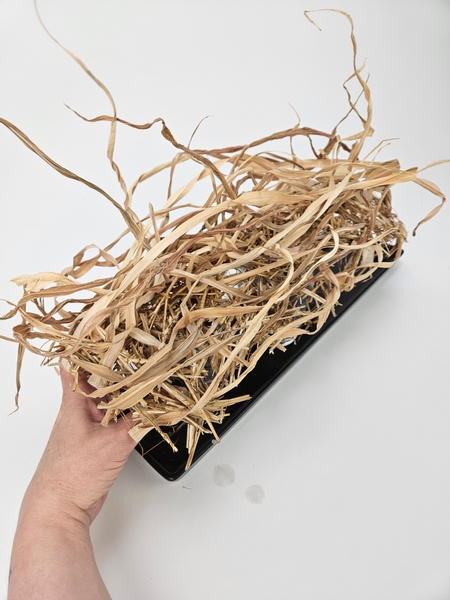
Cover the entire wire shape with upright foliage so that it looks like a wind blown tangle on a field.
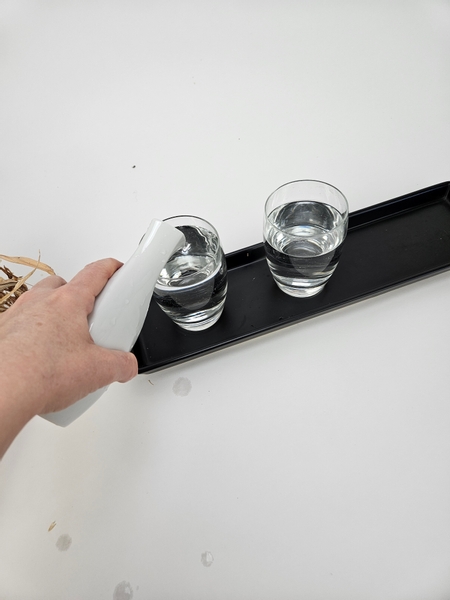
Place the containers you want to use as a water source in the display tray. I am using glasses because it gives the wire structure a nice lift... and support. Fill a few glasses with water.
Gently stretch the wire frame to fit over the glasses.
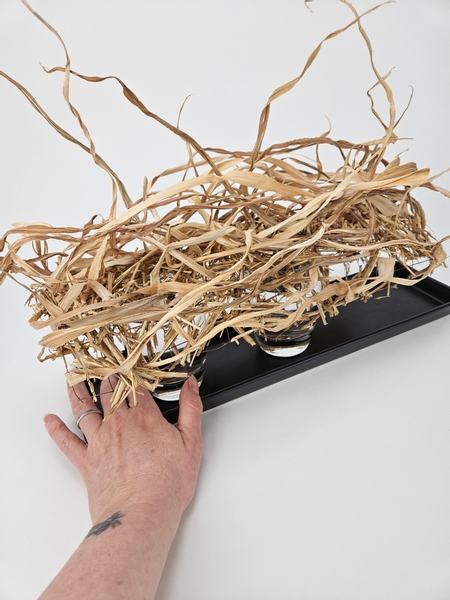
Position it so the the wire frame is nicely displayed on the tray.
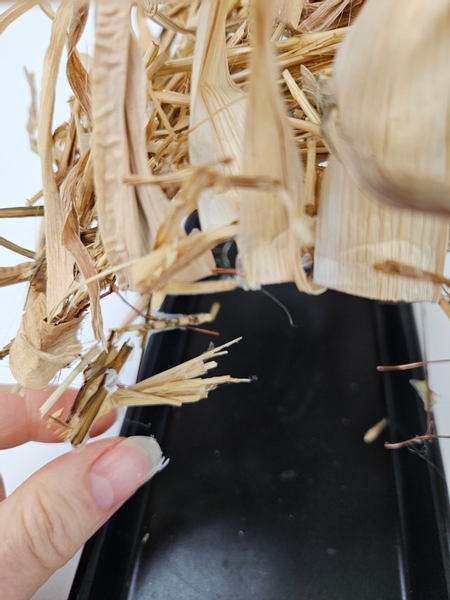
Because we opened up the wire mesh to fit over the glasses you might see areas that were not exposed on the table. View the wire mesh from the sides and conceal any exposed wires with straw.
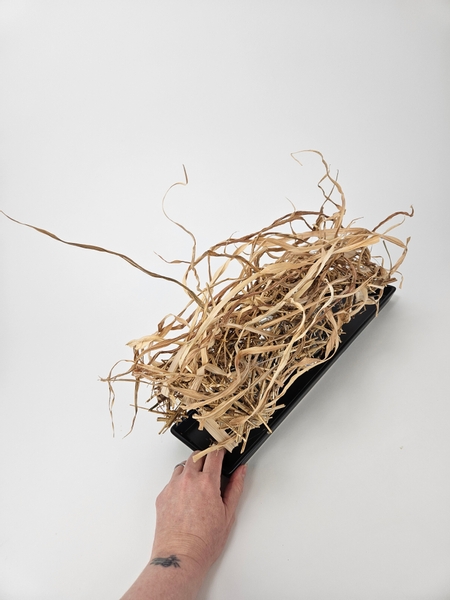
Your foliage covered wire mesh is ready to design with.
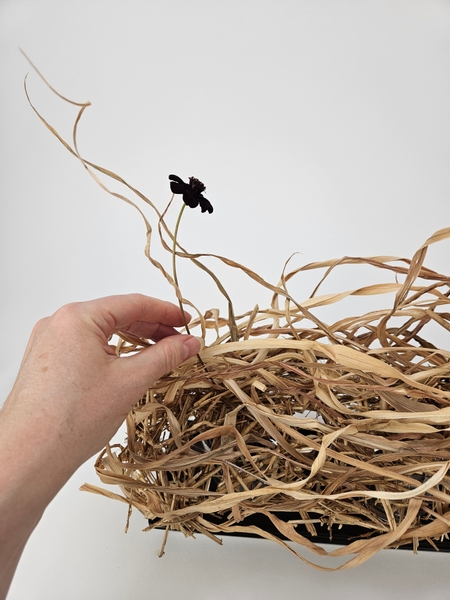
Slip a few chocolate cosmos flowers through the straw mesh into the water filled glasses below.
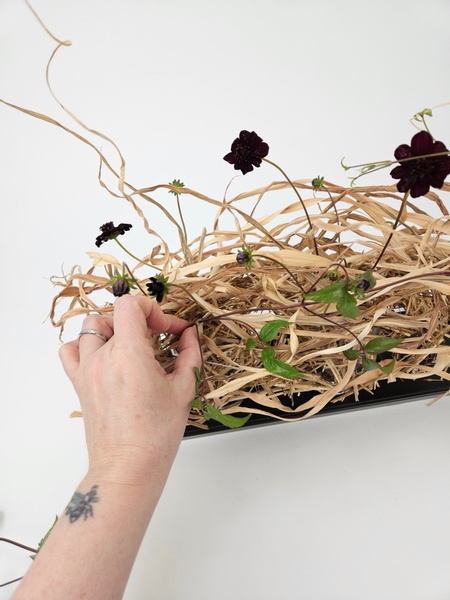
Thread a dark stemmed clematis vine through the wire and straw mesh into the water.
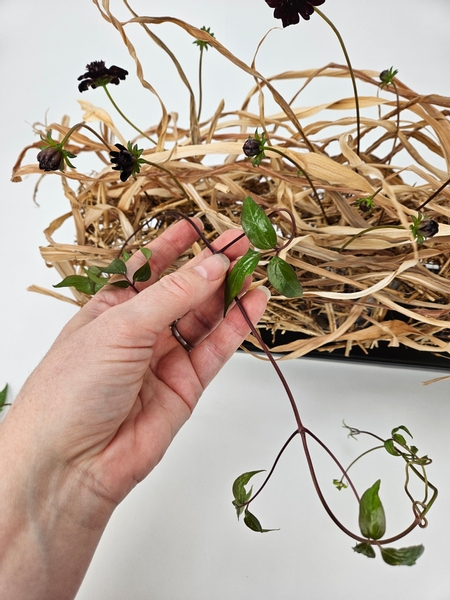
Carefully guide the vine not to catch on the foliage.
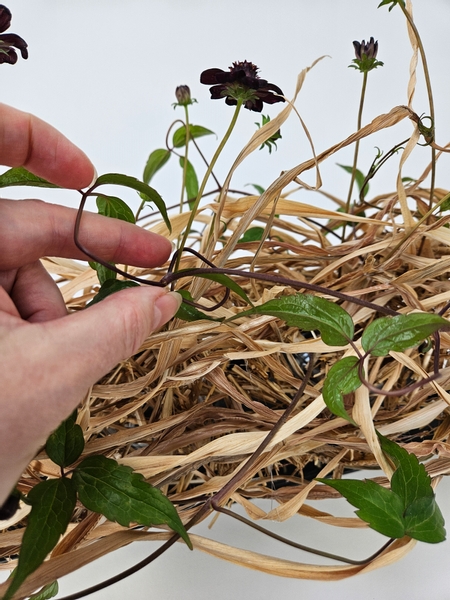
And drape the vines all over the design.
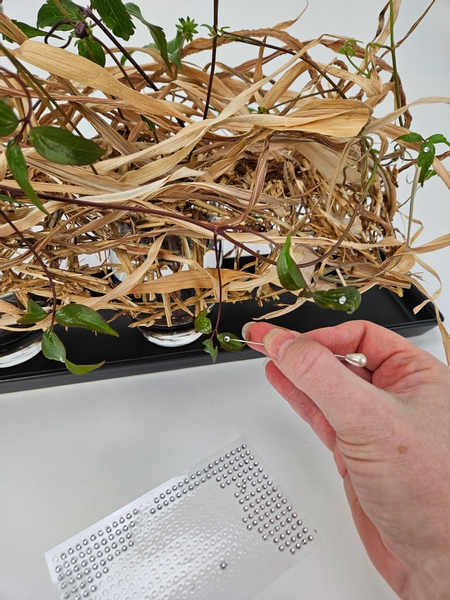
Finish the design with a scattering of dew drop crystals.
Sign up for my weekly newsletter
Every week I add a new design with related tutorials. Be sure to subscribe to receive an email notification with design inspiration.


 I can see you")


