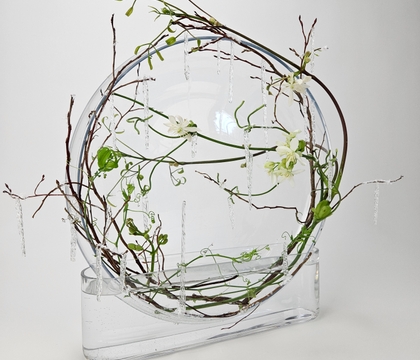
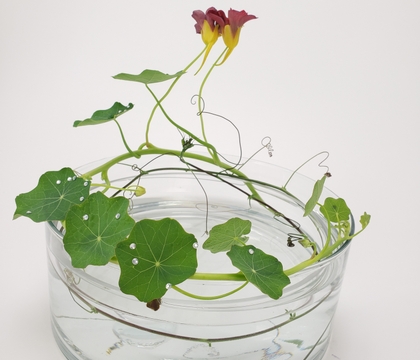
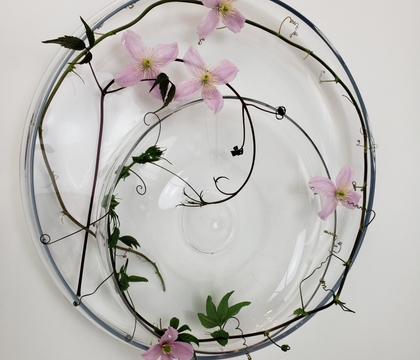
Christine de Beer - effortless floral craftsman
Tendril support to anchor a floating vase (and its ginormous bubble) in place
- 17 April 2024
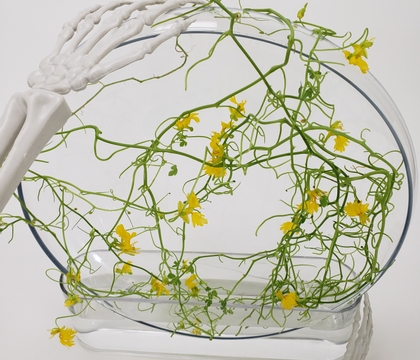
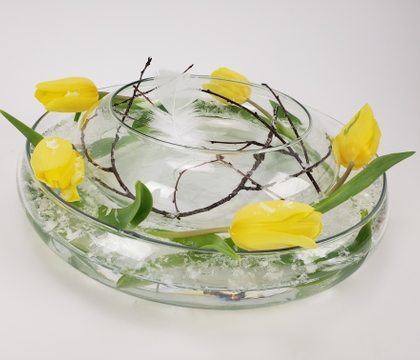
The tricky part of this design is… for the two vases to have a giant trapped bubble between the layers they need to float. But a floating vase moves and the design details will move with it. How do you anchor it in place… without actually looking like you anchored it in place?
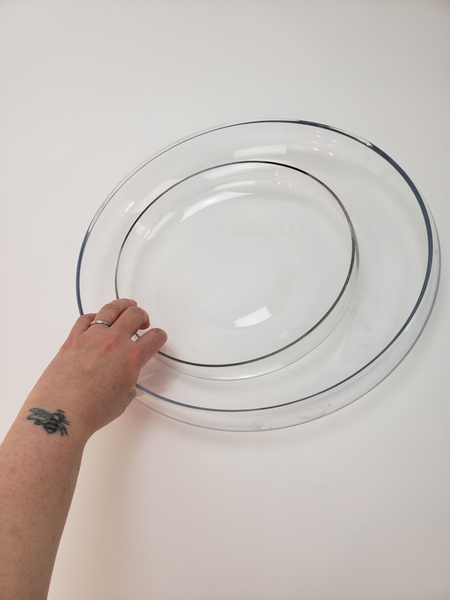
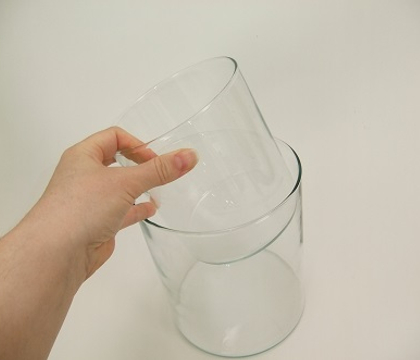
For this design you will need two shallow display containers, one slightly smaller than the other.
Book readers turn to page 167 where I show you how to use the double vase trick.
For more information about my book: The Effortless Floral Craftsman
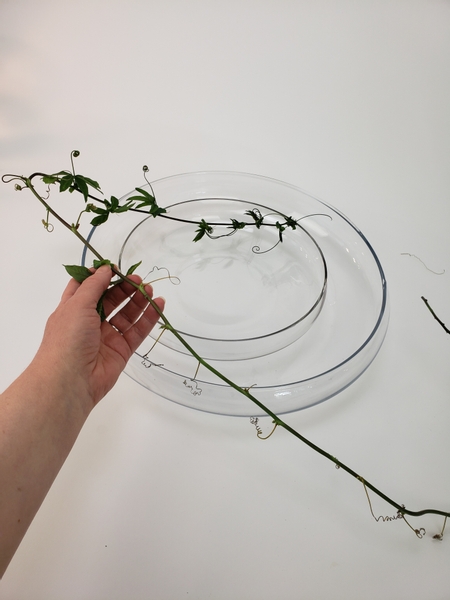
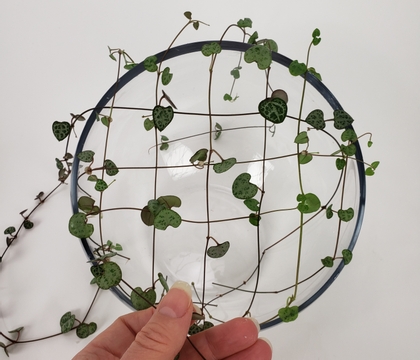
Remove most of the larger foliage from a passion fruit vine...
I want the design to look like it just "woke up" and... it's Spring!
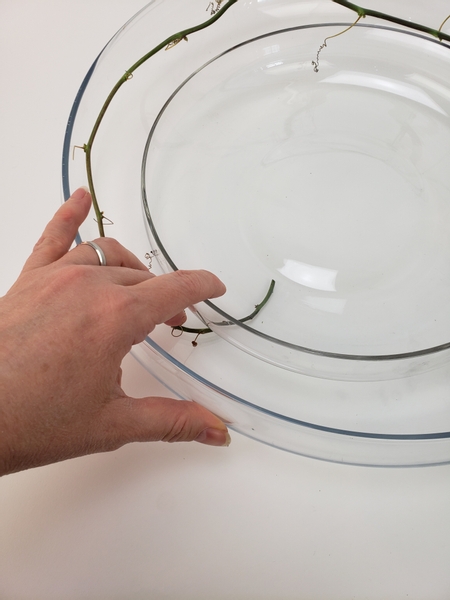
Slip the cut end of the vine under the top container to keep it in place while you twirl it inside the containers.
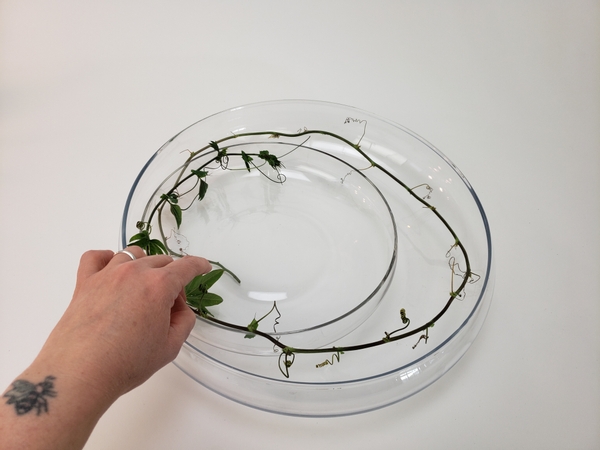
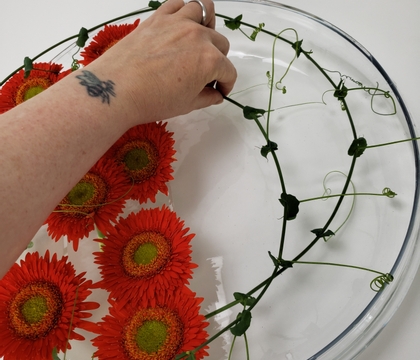
Wind the vine around the container and rest the tip inside the smaller container.
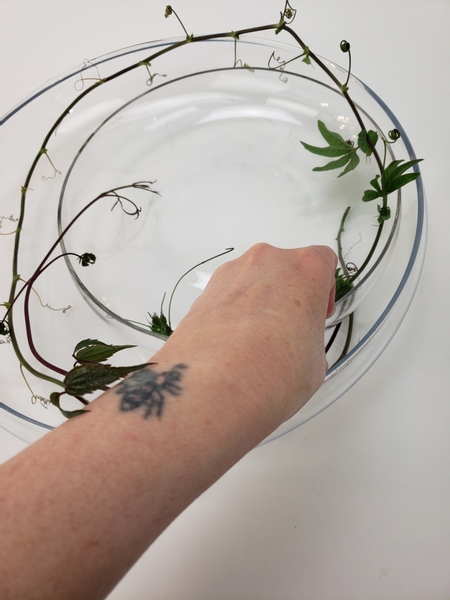
Add in a shorter clematis vine.
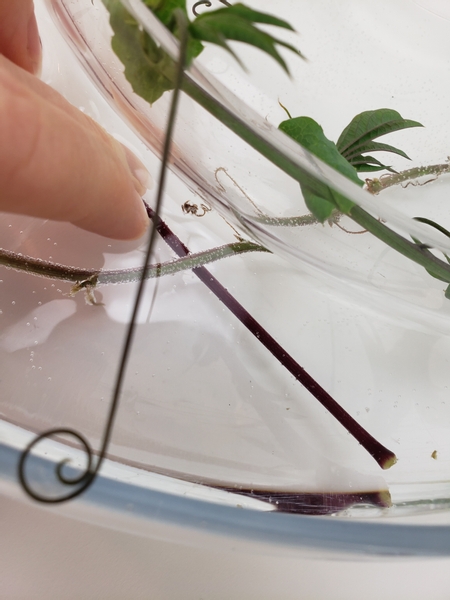
Make sure the clematis vine is hooked under the passion fruit vine so that it remains under water when the container is filled with water.
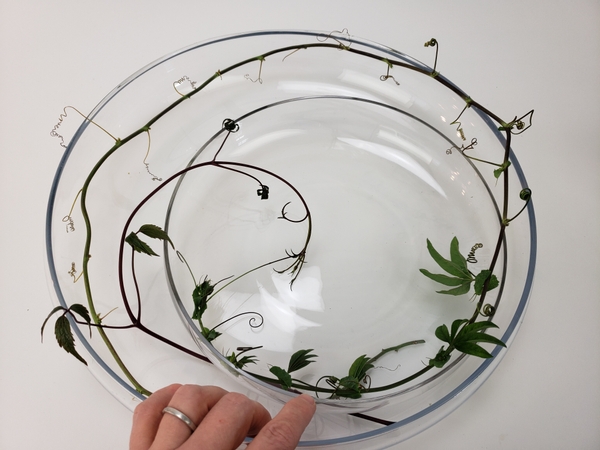
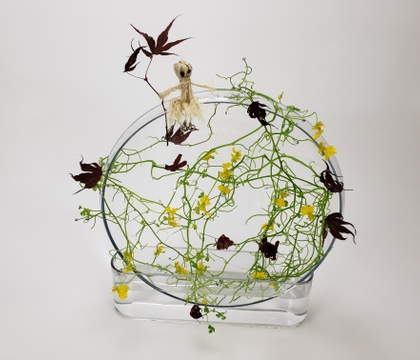
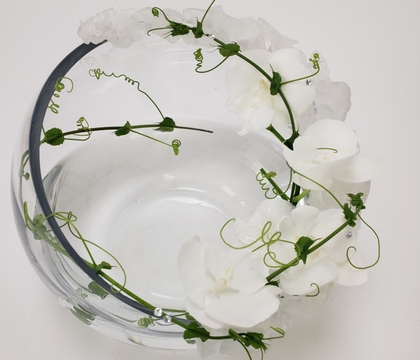
The vine tendrils tell a story in this design... I hint at that by letting the two vines meet in the middle. Stretch out a tendril and let it catch on the vine
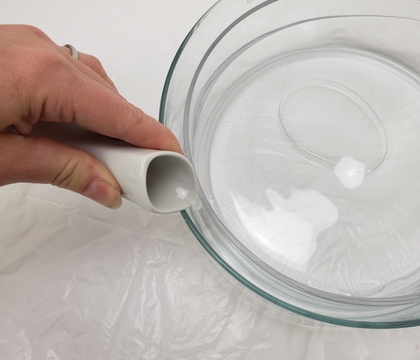
Now for a bit of a trick... as I pour in the water...
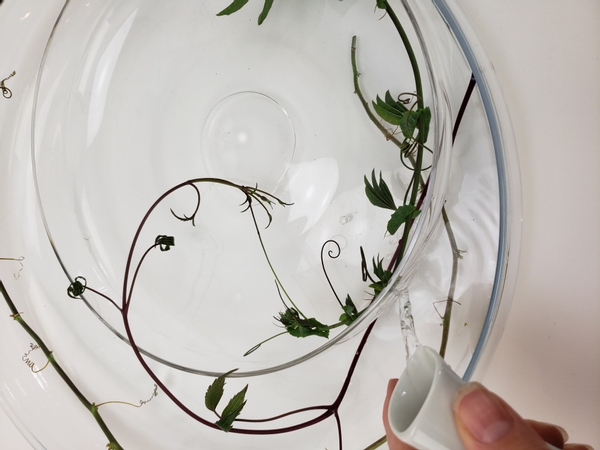
The top vase starts to float and a bubble forms between the two containers.
Hold the containers with your one hand and guide the bubble to frame the meeting place of the two vines...
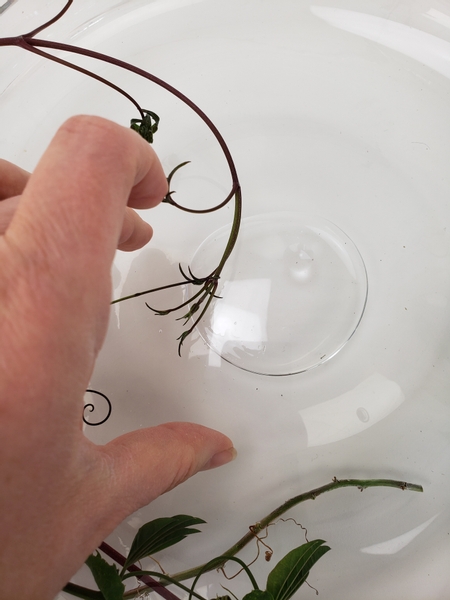
The bubble now forms a third circle just there where you want the onlooker to notice the vines meet.
It is a tiny little detail. It makes you notice the tendrils... because...
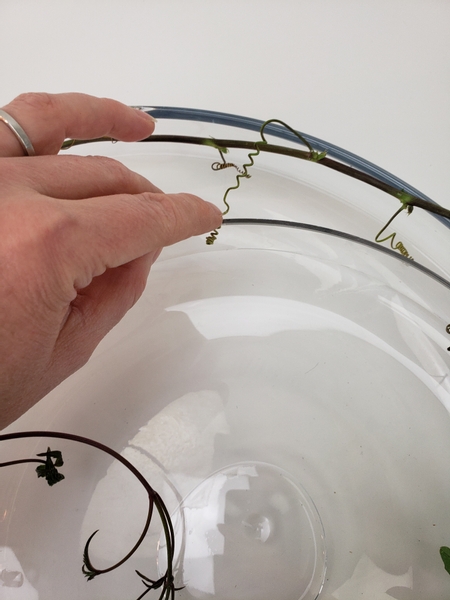
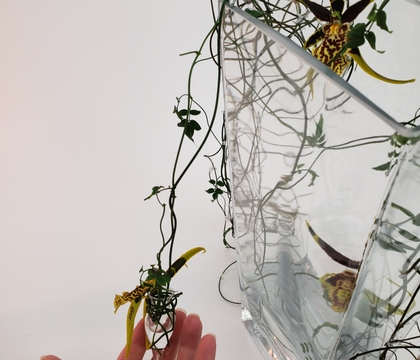
I now use the tendrils to neatly anchor the containers in place. Look carefully at the design. You want the anchor points to be natural. Stretch out a vine and use floral glue to attach to both containers.
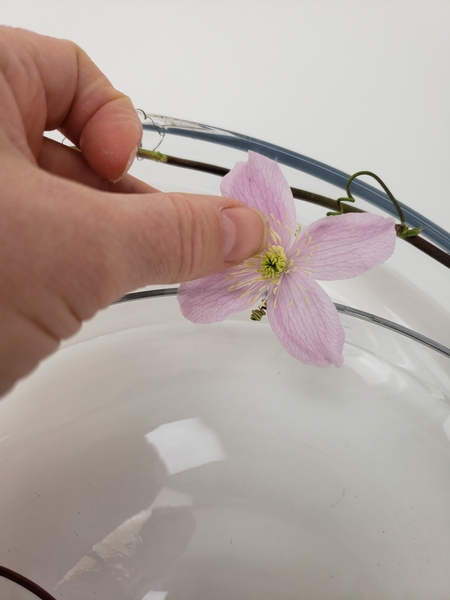
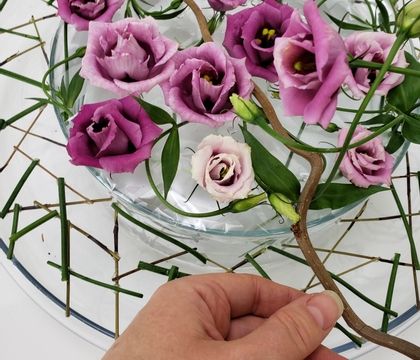
Use the tendrils as support for the flowers.
This week in our email I tell you more about cutting and conditioning clematis flowers. They can be a challenge. And it is exactly for the most challenging of clematis flowers that this kind of design is ideal... working with what they need rather than getting frustrated by it. I send out a design specific bonus tip each week in an email, the moment the new design is ready for you to view.... always Wednesday mornings (Vancouver time) always at 8. If you are not yet receiving the email the sign up is below the post. This is also a great way for us to connect. Simply reply to the email if you have questions or comments (or have another clematis conditioning tip for us) I would love to hear from you.
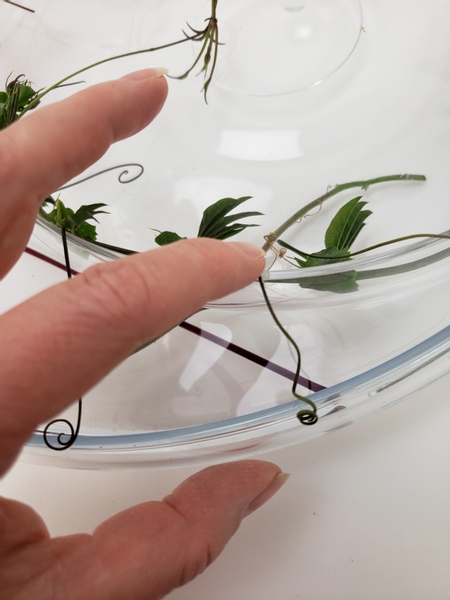
Move all the way around the design and secure the tendrils. first to the one container and then to the other.
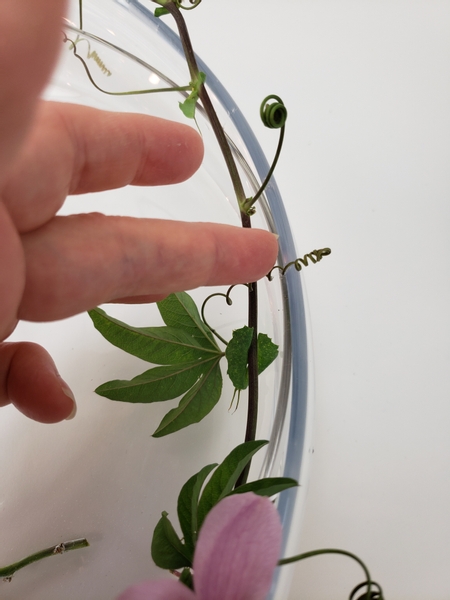
Creating a barely there but surprisingly secure anchor for the floating container.
For interest... this was inspired by the mooring snubber of a boat. A snubber is a piece of rubber that acts as a shock absorber to dampen the sudden jerking or pulling forces on the lines that moor your boat.
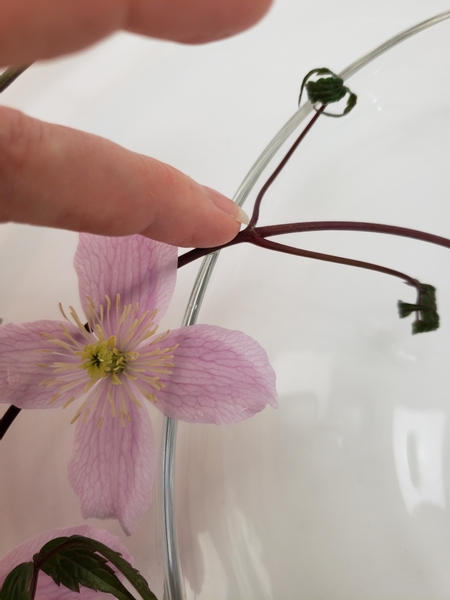
Carefully inspect the vines all the way around the container to find places where you can connect the vines to the containers with the smallest bit of glue.
The idea is to rather have many weaker connections than large obvious ones. The vase should be held in place but gently. It should rather let go than break.
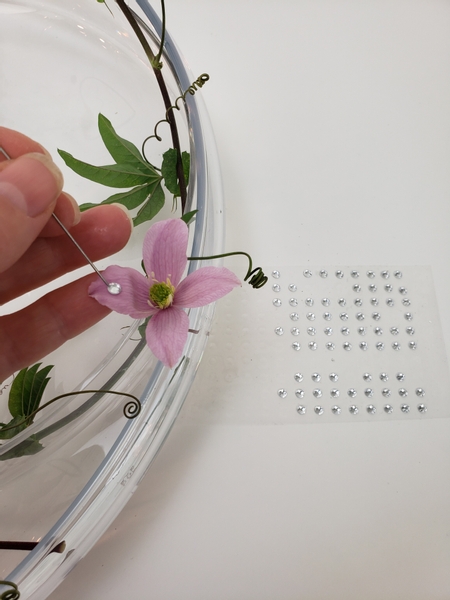
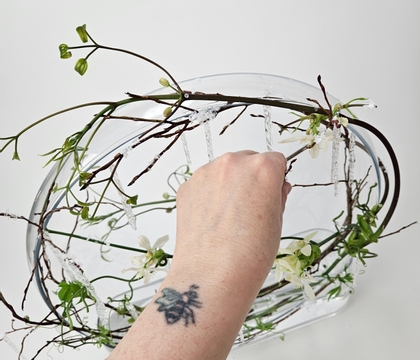
Finish off the design with a few dew drop crystals...
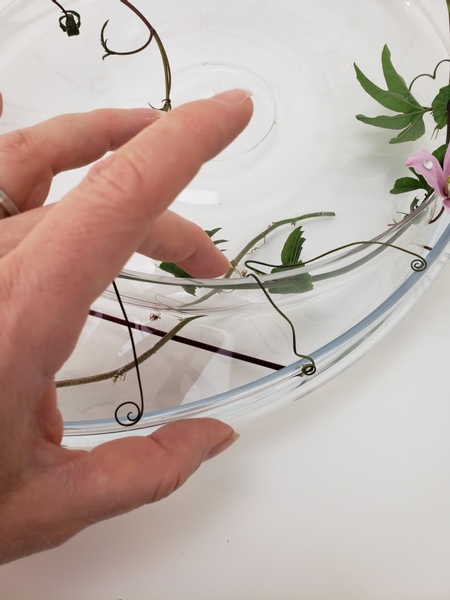
And make sure all the tendrils are secure. The idea is not for the entire design to have no movement. Part of the charm is that the container floats. When you tap on the containers or pick up the design it should still wobble but not move so much that they bubble escapes.
Sign up for my weekly newsletter
Every week I add a new design with related tutorials. Be sure to subscribe to receive an email notification with design inspiration.

