Christine de Beer - effortless floral craftsman
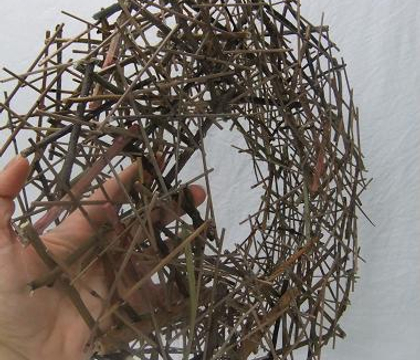
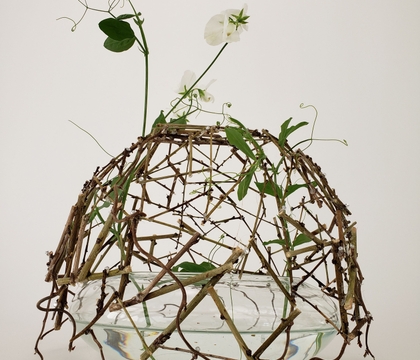
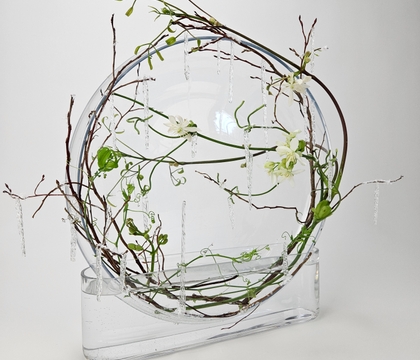
Dried twig collar in a double vase display for gravity sensitive flowers
- 11 August 2021
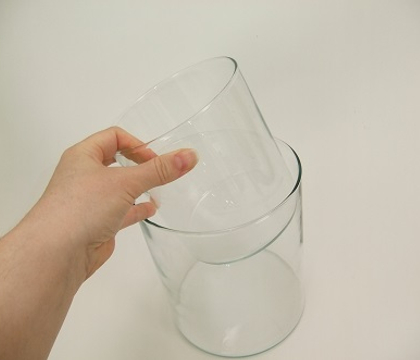
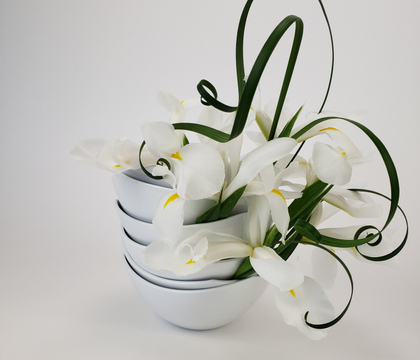
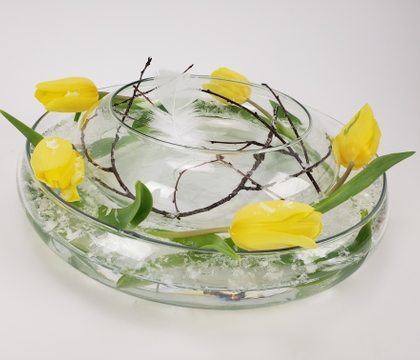
I am using that good old double vase trick to craft a collar for my design. To refresh your memory on creating a double vase design I have linked the Tutorial below this post.
These are part of my foundation techniques that I use to design. If you want to read all about foundation techniques you can find all the information in my book The Effortless Floral Craftsman
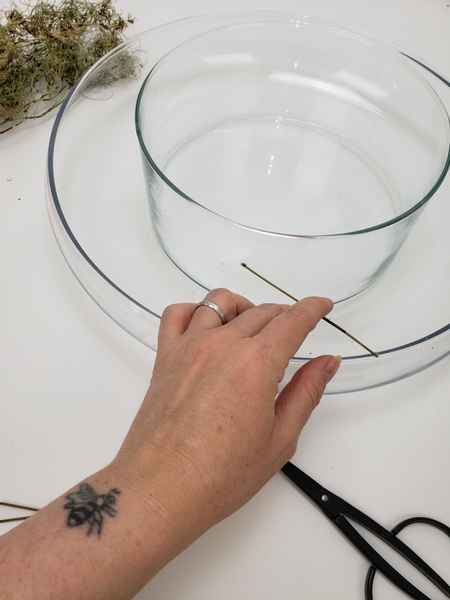
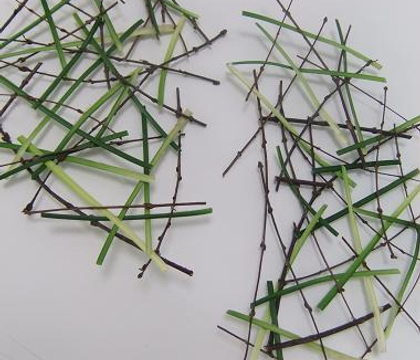
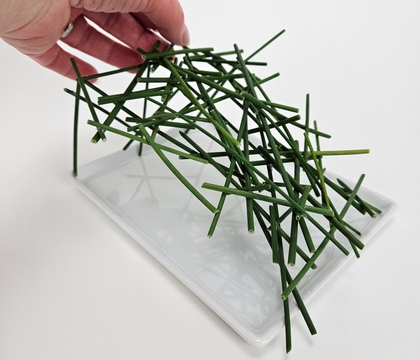
Connect the double vases with dried grass snippets.
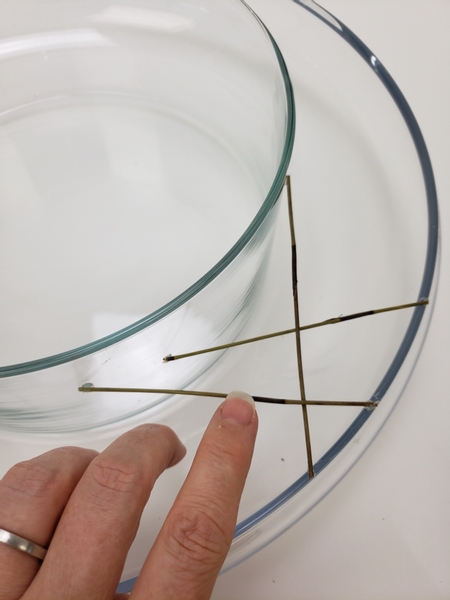
Glue the snippets from glass to glass to overlap at random places...
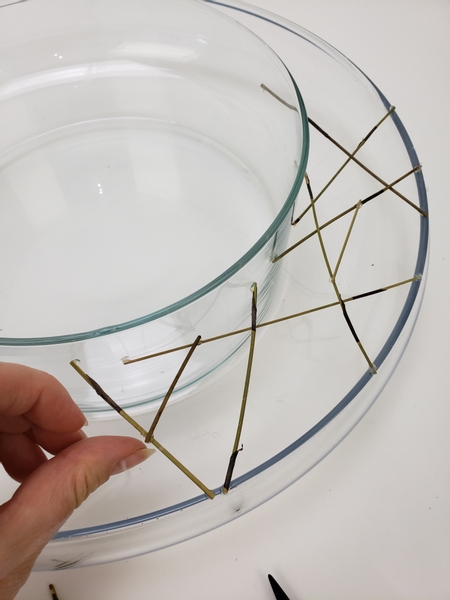
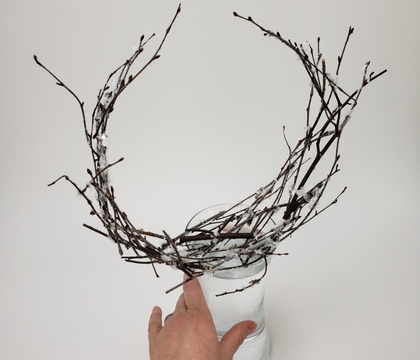
And then connect the grass snippets to create a really sturdy collar.
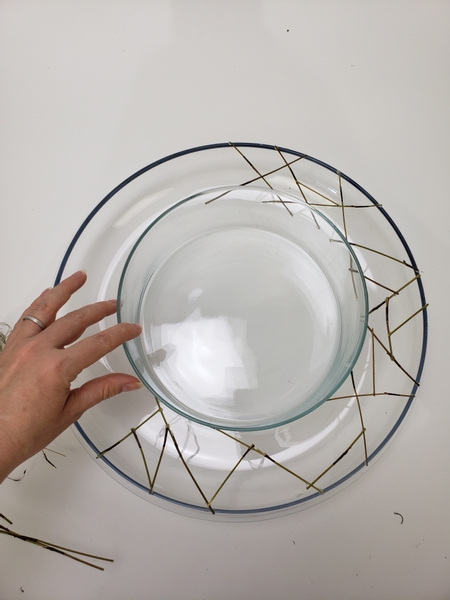
Move all the way around the containers and add grass snippets.
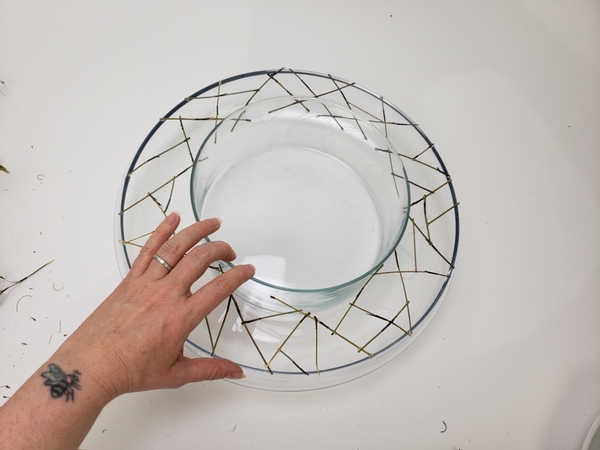
This is the basic collar structure. I will come back to it and add green stem snippets later but the collar is now sturdy enough to create a unit so that I can start working on the inside container.
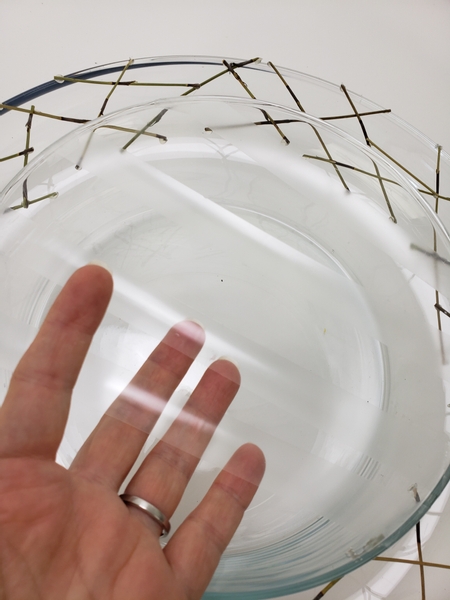
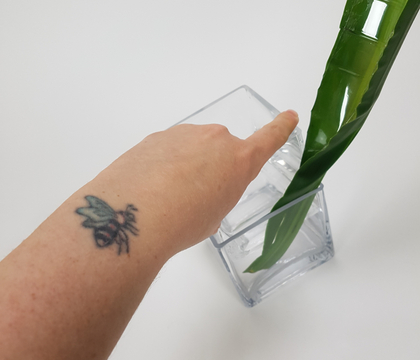
Tape a grid over the inside container.
Again I have a Tutorial for you to get you started on how to tape a sticky tape grid- my twist on this technique is I always turn the tape sticky side up so that I can use it to keep my design details in place. All this is explained in the Tutorial.

Once you have a grid tape all around the container to make sure the tape stays in place to support the heavier floral details.
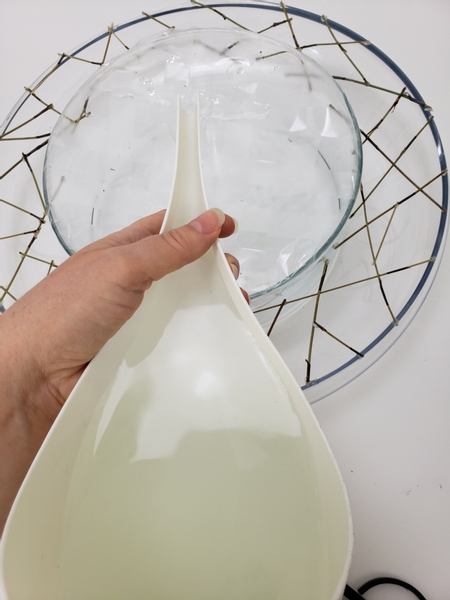
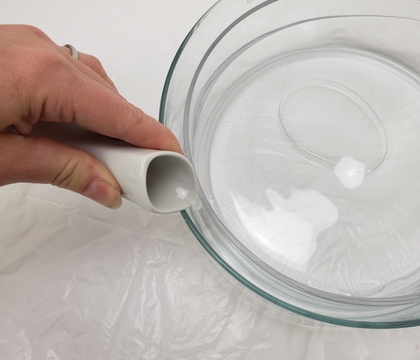
Pour water into the taped grid container.

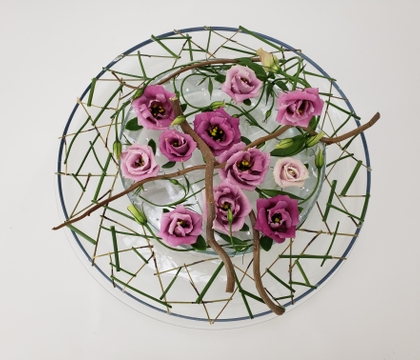
Cut the lisianthus flowers short and rest it on the tape.
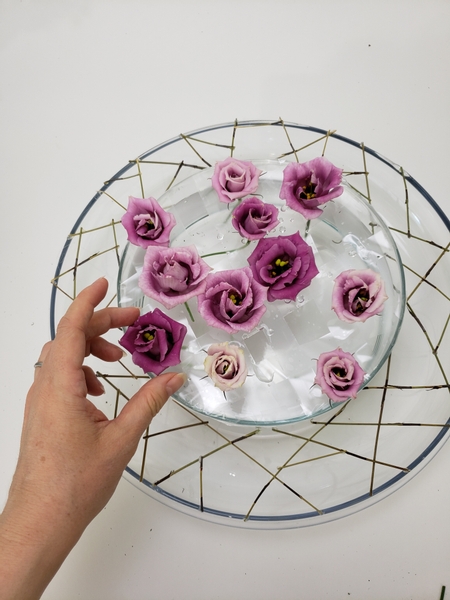
Build up the design by placing your flowers.
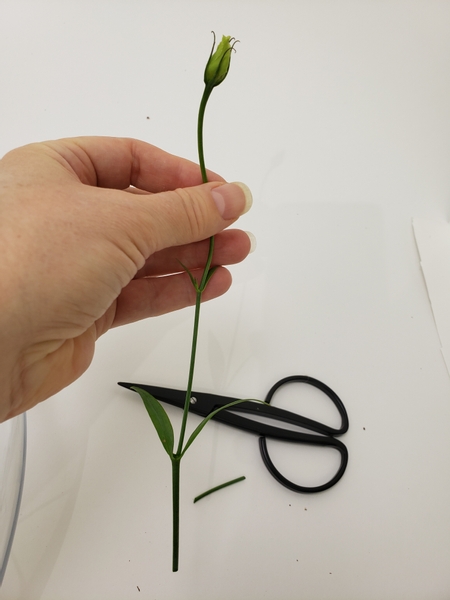
and now for that something special... cut buds to have a longer stem.
This week I explain a bit more about using negative geotropic flowers to your advantage when designing in our email. Make sure you are signed up to receive your bonus tip every week. The sign up is below this post. I send out only one email a week and these bonus tips are design specific and only available to subscribers. If you missed out on this Wednesday morning's email you can reply to the confirmation email and I will send you the tip because this one is too good to miss out on!
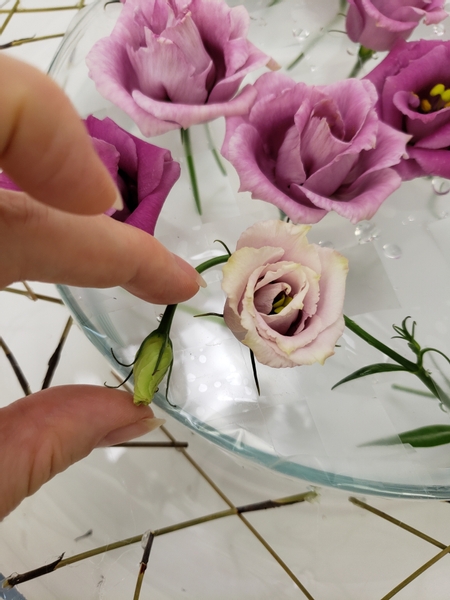
Place the buds in a horizontal position...
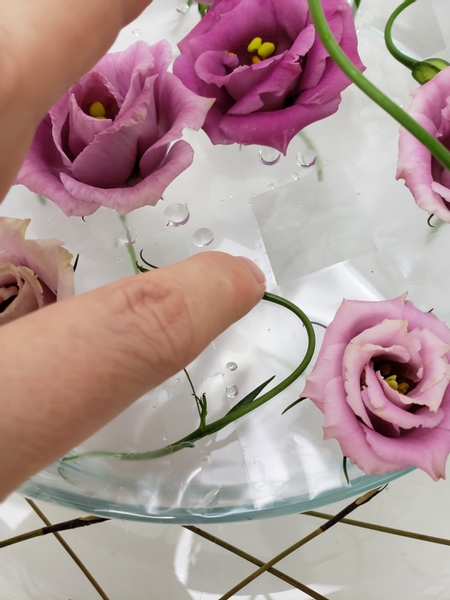
Design note: Stick the flexible stem to the sticky tape. But only the stem, keep the flower part unstuck so that it "can do it's thing" - see the email.
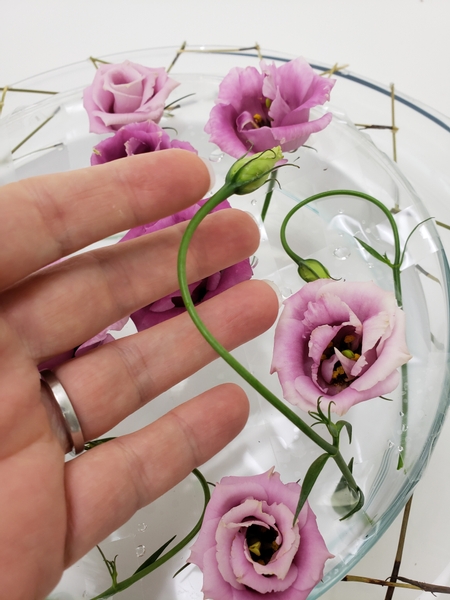
Add a few longer stems to dangle over the design...
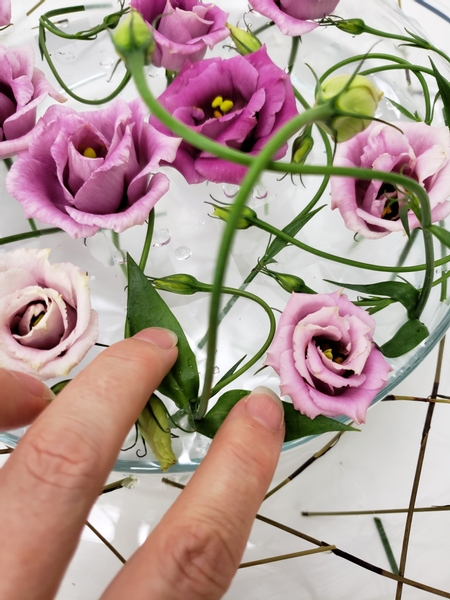
So that you have flowers on different levels.
See that one flower stuck in the tape with it's flower head over the edge? That's going to be real pretty!
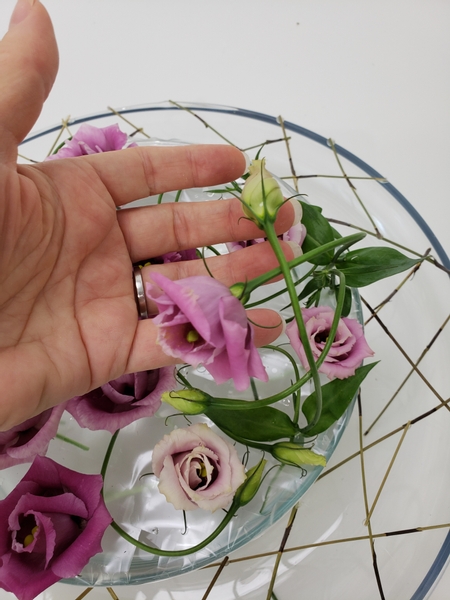
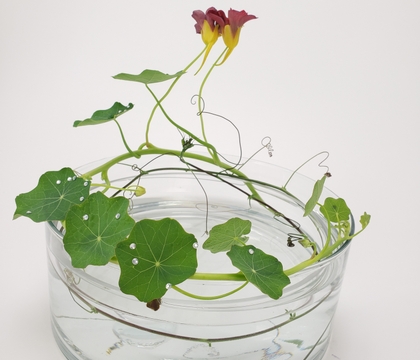
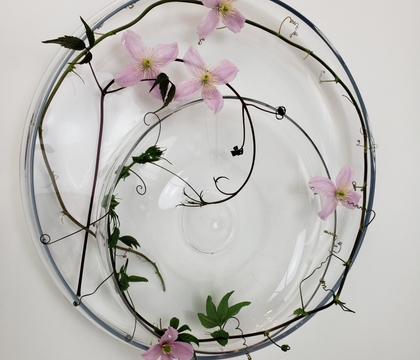
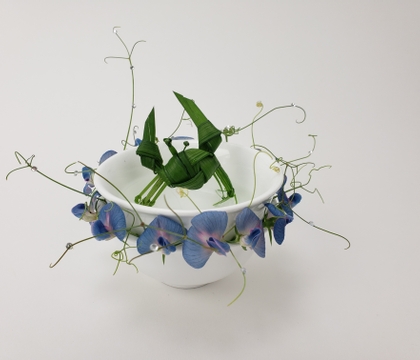
Take special note of these stems... our design inspiration image are of the exact same stems only a day or so later. Spectacular right?
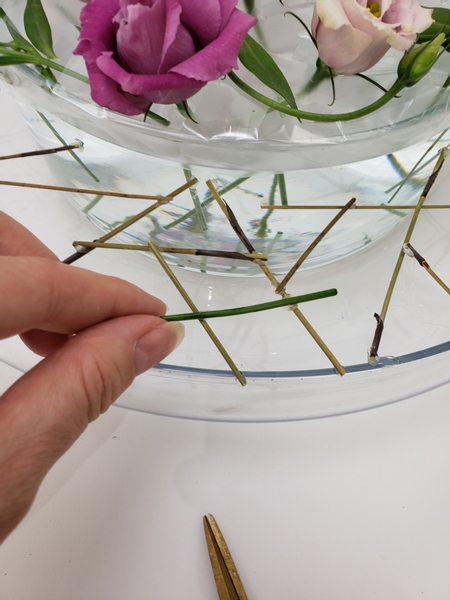
Add a few green stem snippets to the grass collar.
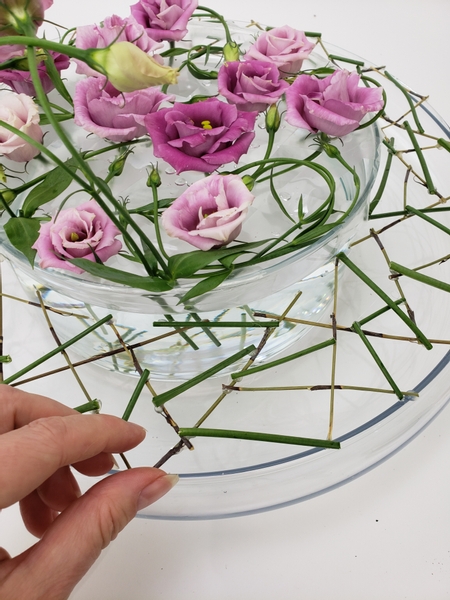
Move all around the container adding stems to blend the grass in with the flowers.
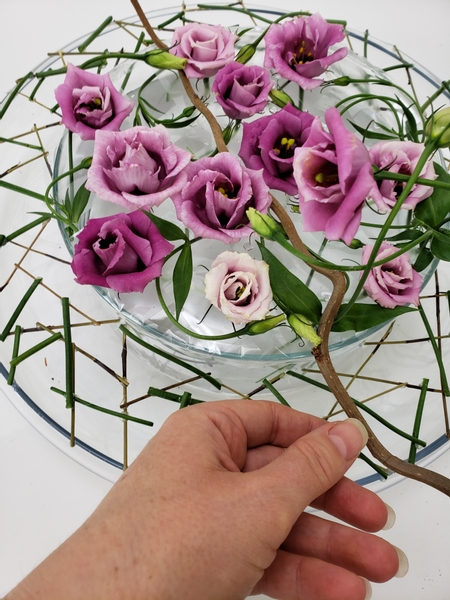
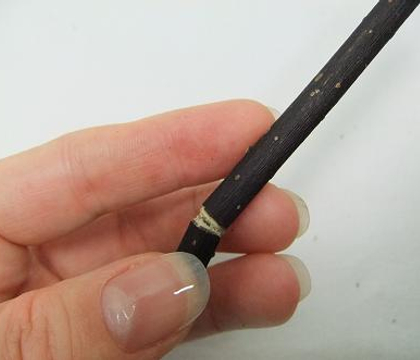
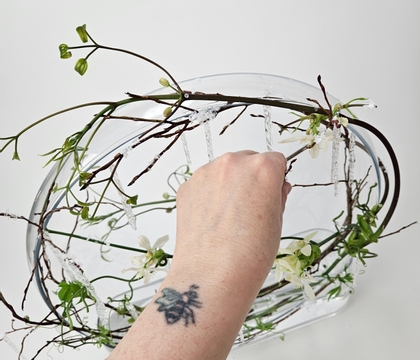
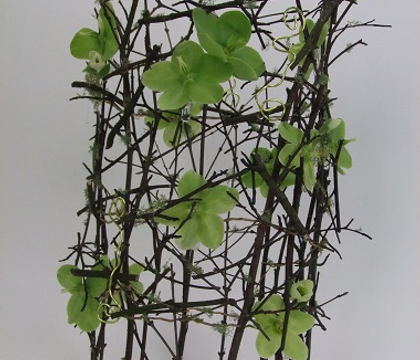
Place a few hazel stems over the inner vase to blend the flowers with the grass.
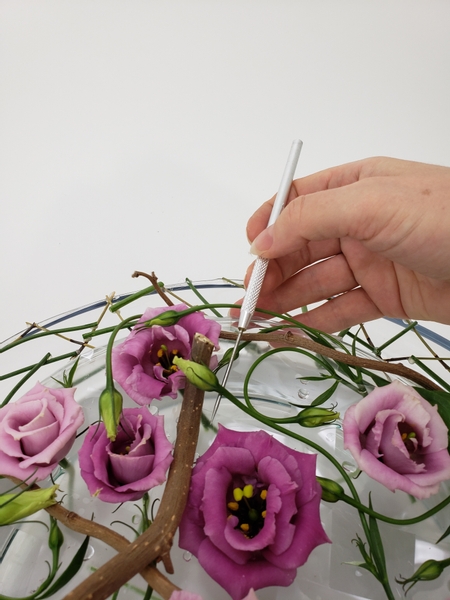
Guide some of the flower buds to rest on the twigs so that no flower looks trapped.
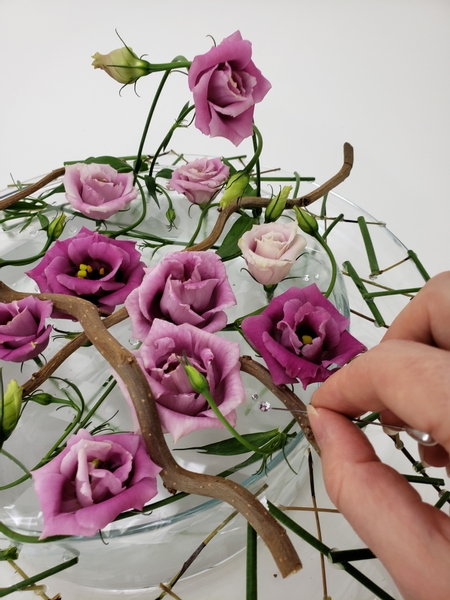
Place a few dew drop crystals on the sticky tape to finish the design.
Now we wait... for the design to complete itself.
Sign up for my weekly newsletter
Every week I add a new design with related tutorials. Be sure to subscribe to receive an email notification with design inspiration.
